Create a Machine (Virtual Machine or Physical Machine) for VDC with Redhat OS. Guest OS supported for VDC ( https://pubs.vmware.com/vcd-51/index.jsp?topic=%2Fcom.vmware.vcloud.install.doc_51%2FGUID-C258BED7-9664-4DFE-B812-100281D4D460.html )
1. First Download the Redhat Enterprise 6.2 from official Website.
Supported vCloud Director operating systems ( KB 2059451 )
CentOS 6 (64-bit) Update 4
CentOS 6 (64-bit) Update 5
Red Hat Enterprise Linux 5 (64-bit) Update 4
Red Hat Enterprise Linux 5 (64-bit) Update 5
Red Hat Enterprise Linux 5 (64-bit) Update 6
Red Hat Enterprise Linux 5 (64-bit) Update 7
Red Hat Enterprise Linux 5 (64-bit) Update 8
Red Hat Enterprise Linux 5 (64-bit) Update 9
Red Hat Enterprise Linux 6 (64-bit) Update 1
Red Hat Enterprise Linux 6 (64-bit) Update 2
Red Hat Enterprise Linux 6 (64-bit) Update 3
Red Hat Enterprise Linux 6 (64-bit) Update 4
Red Hat Enterprise Linux 6 (64-bit) Update 5
2. After that create Virtual Machine and boot from this ISO.
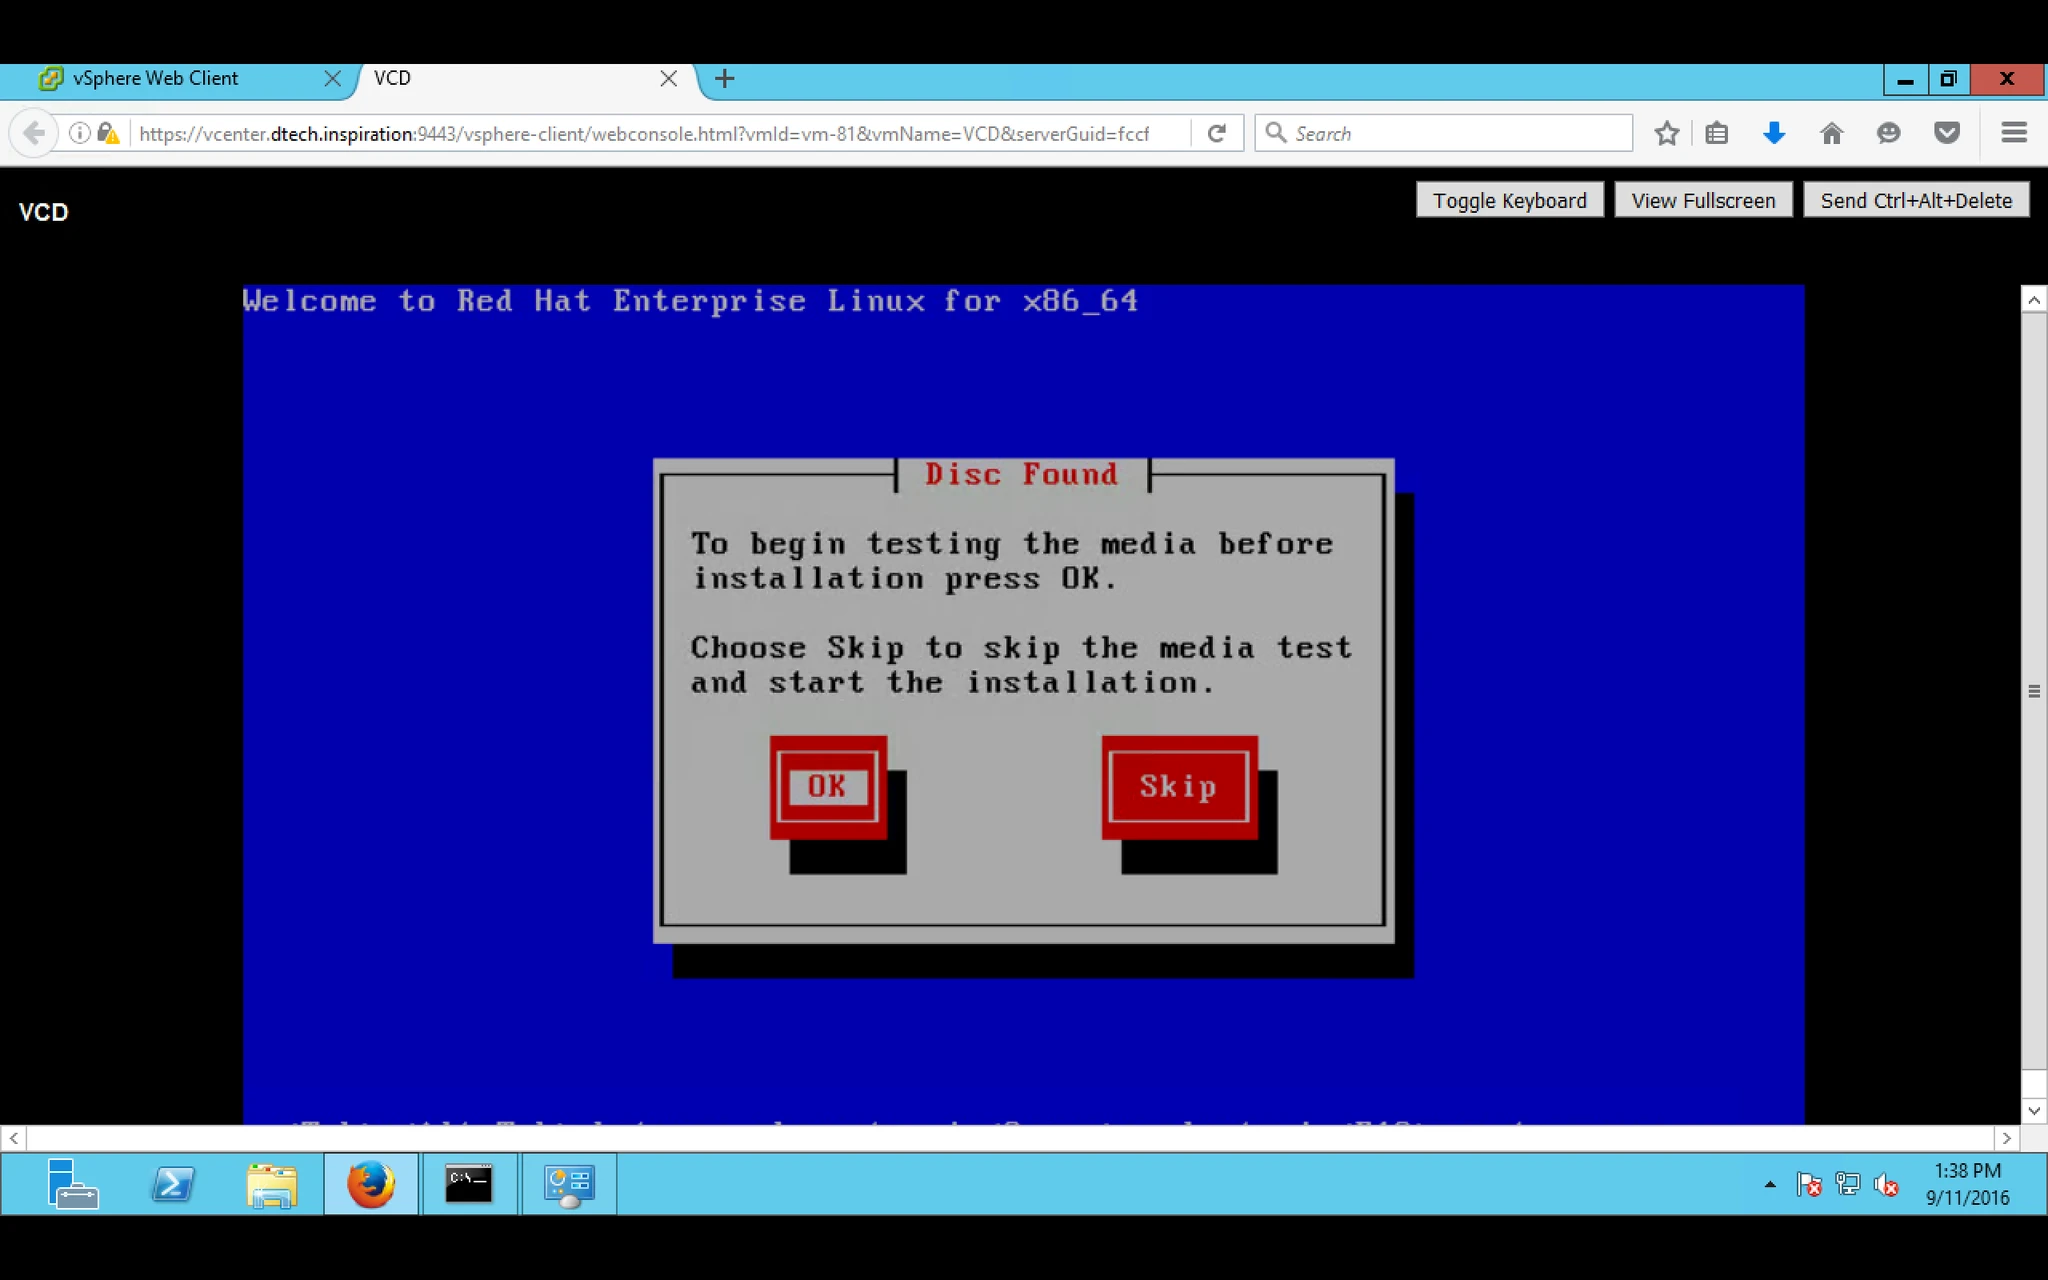
3. Follow the Steps while installing.
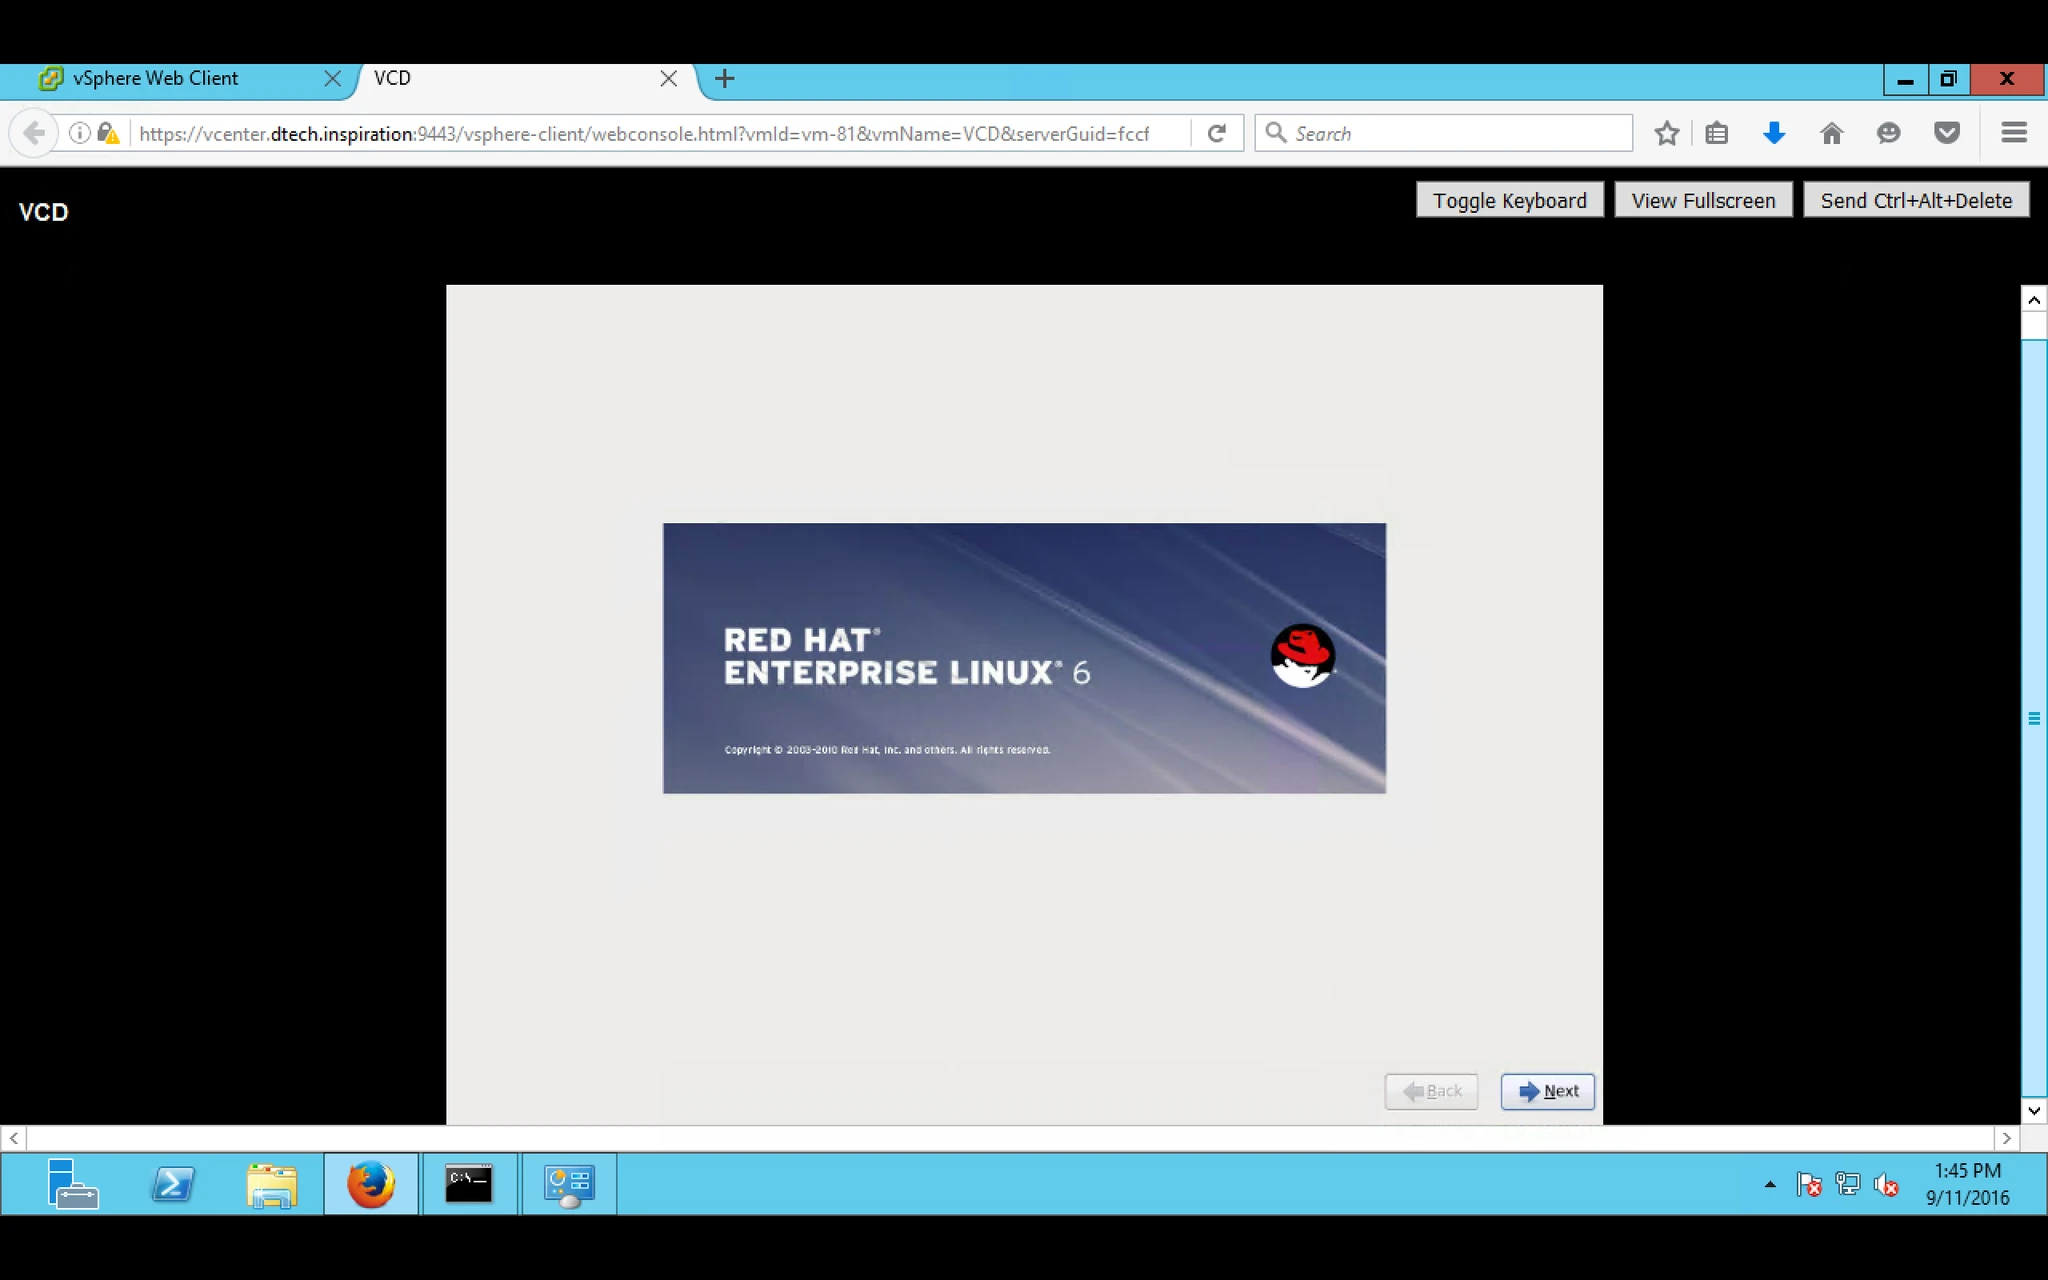
4. Select the Language as per your Region
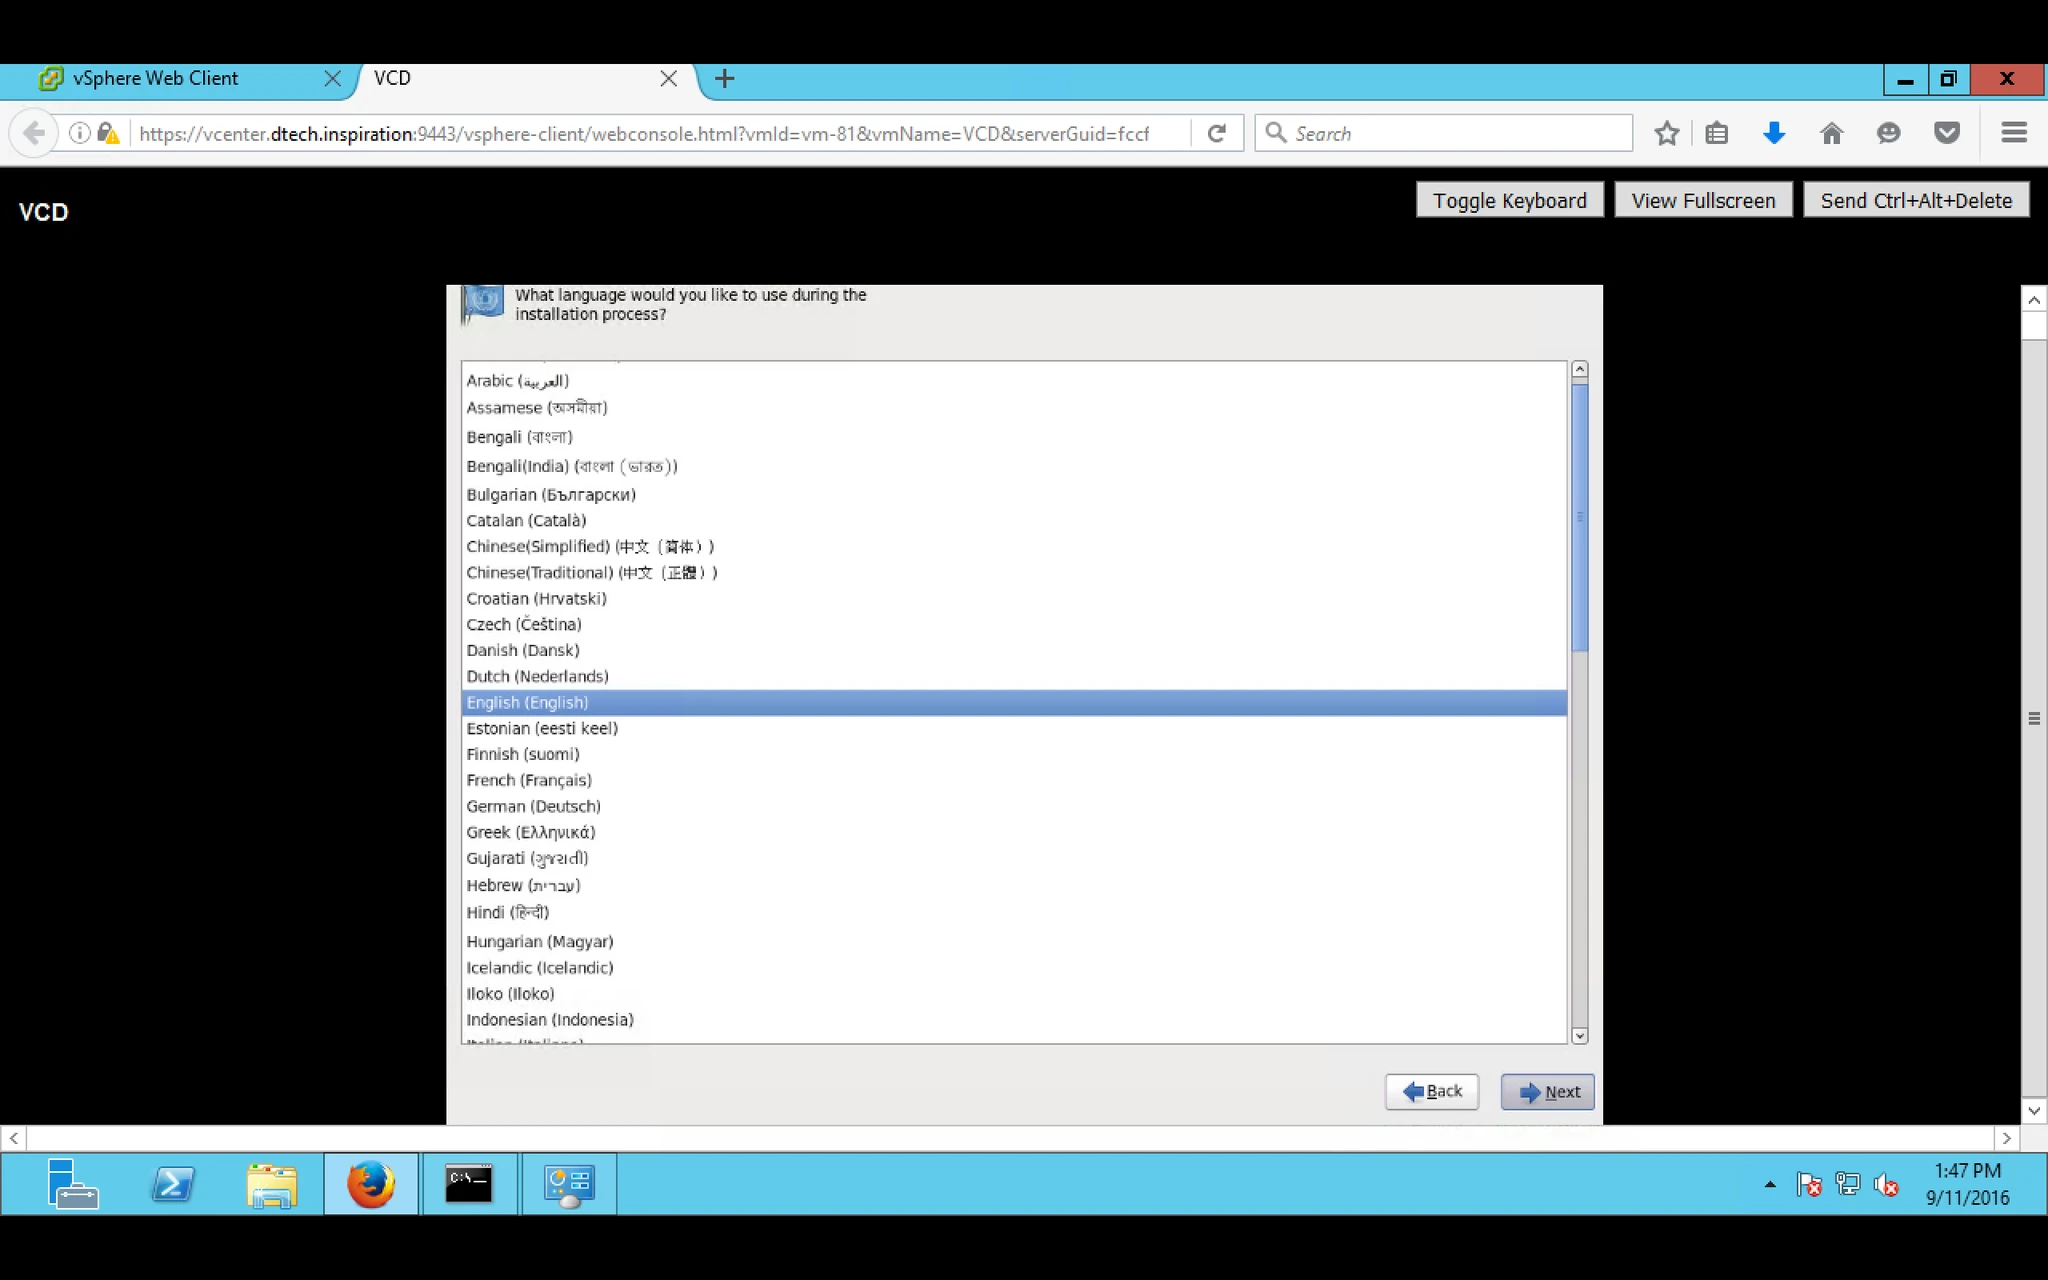
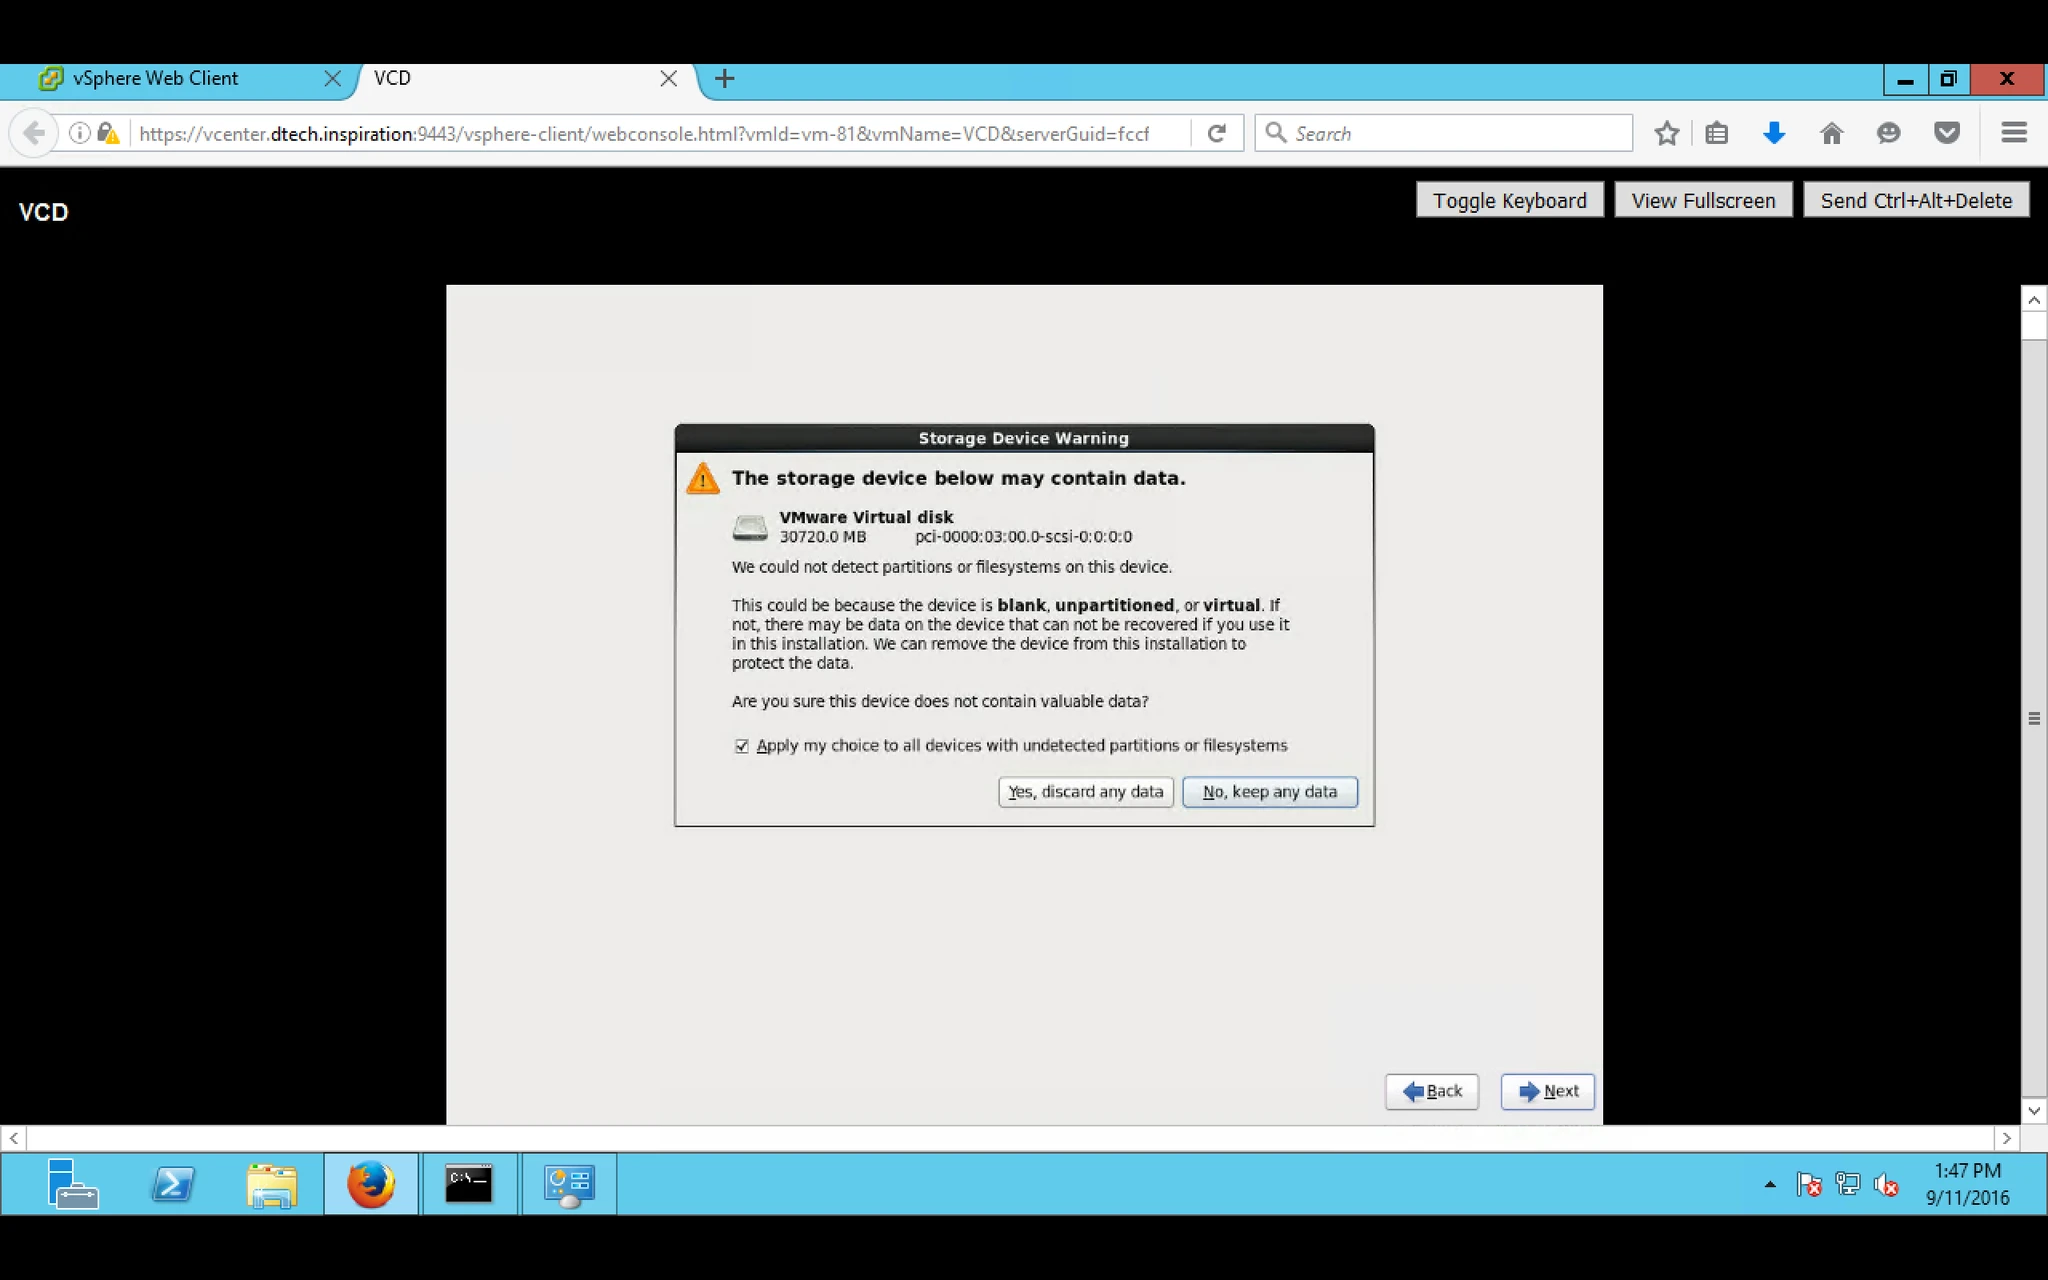
5. Select Basic Storage
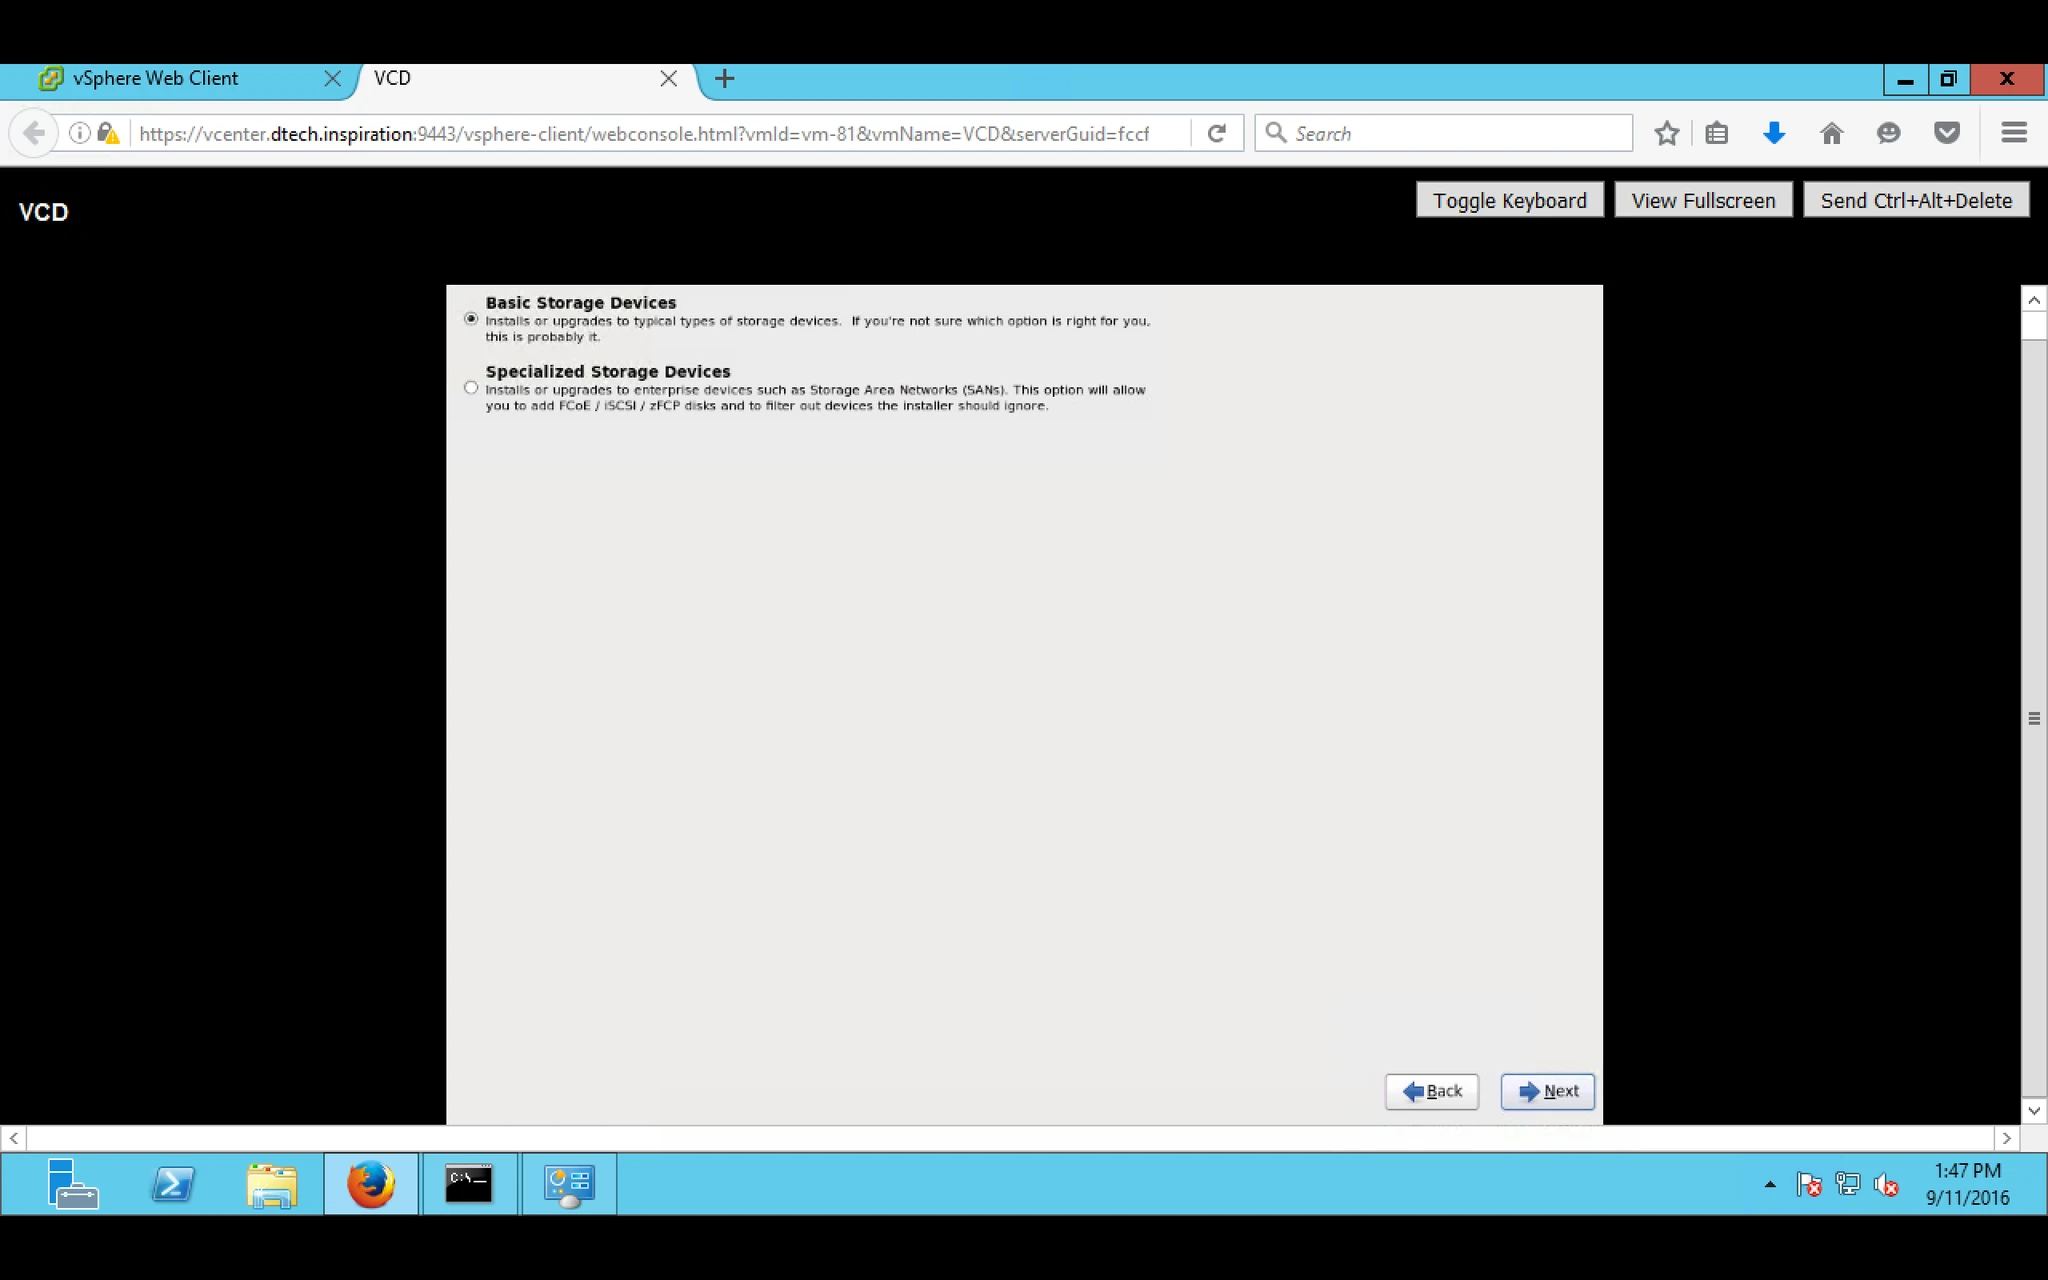
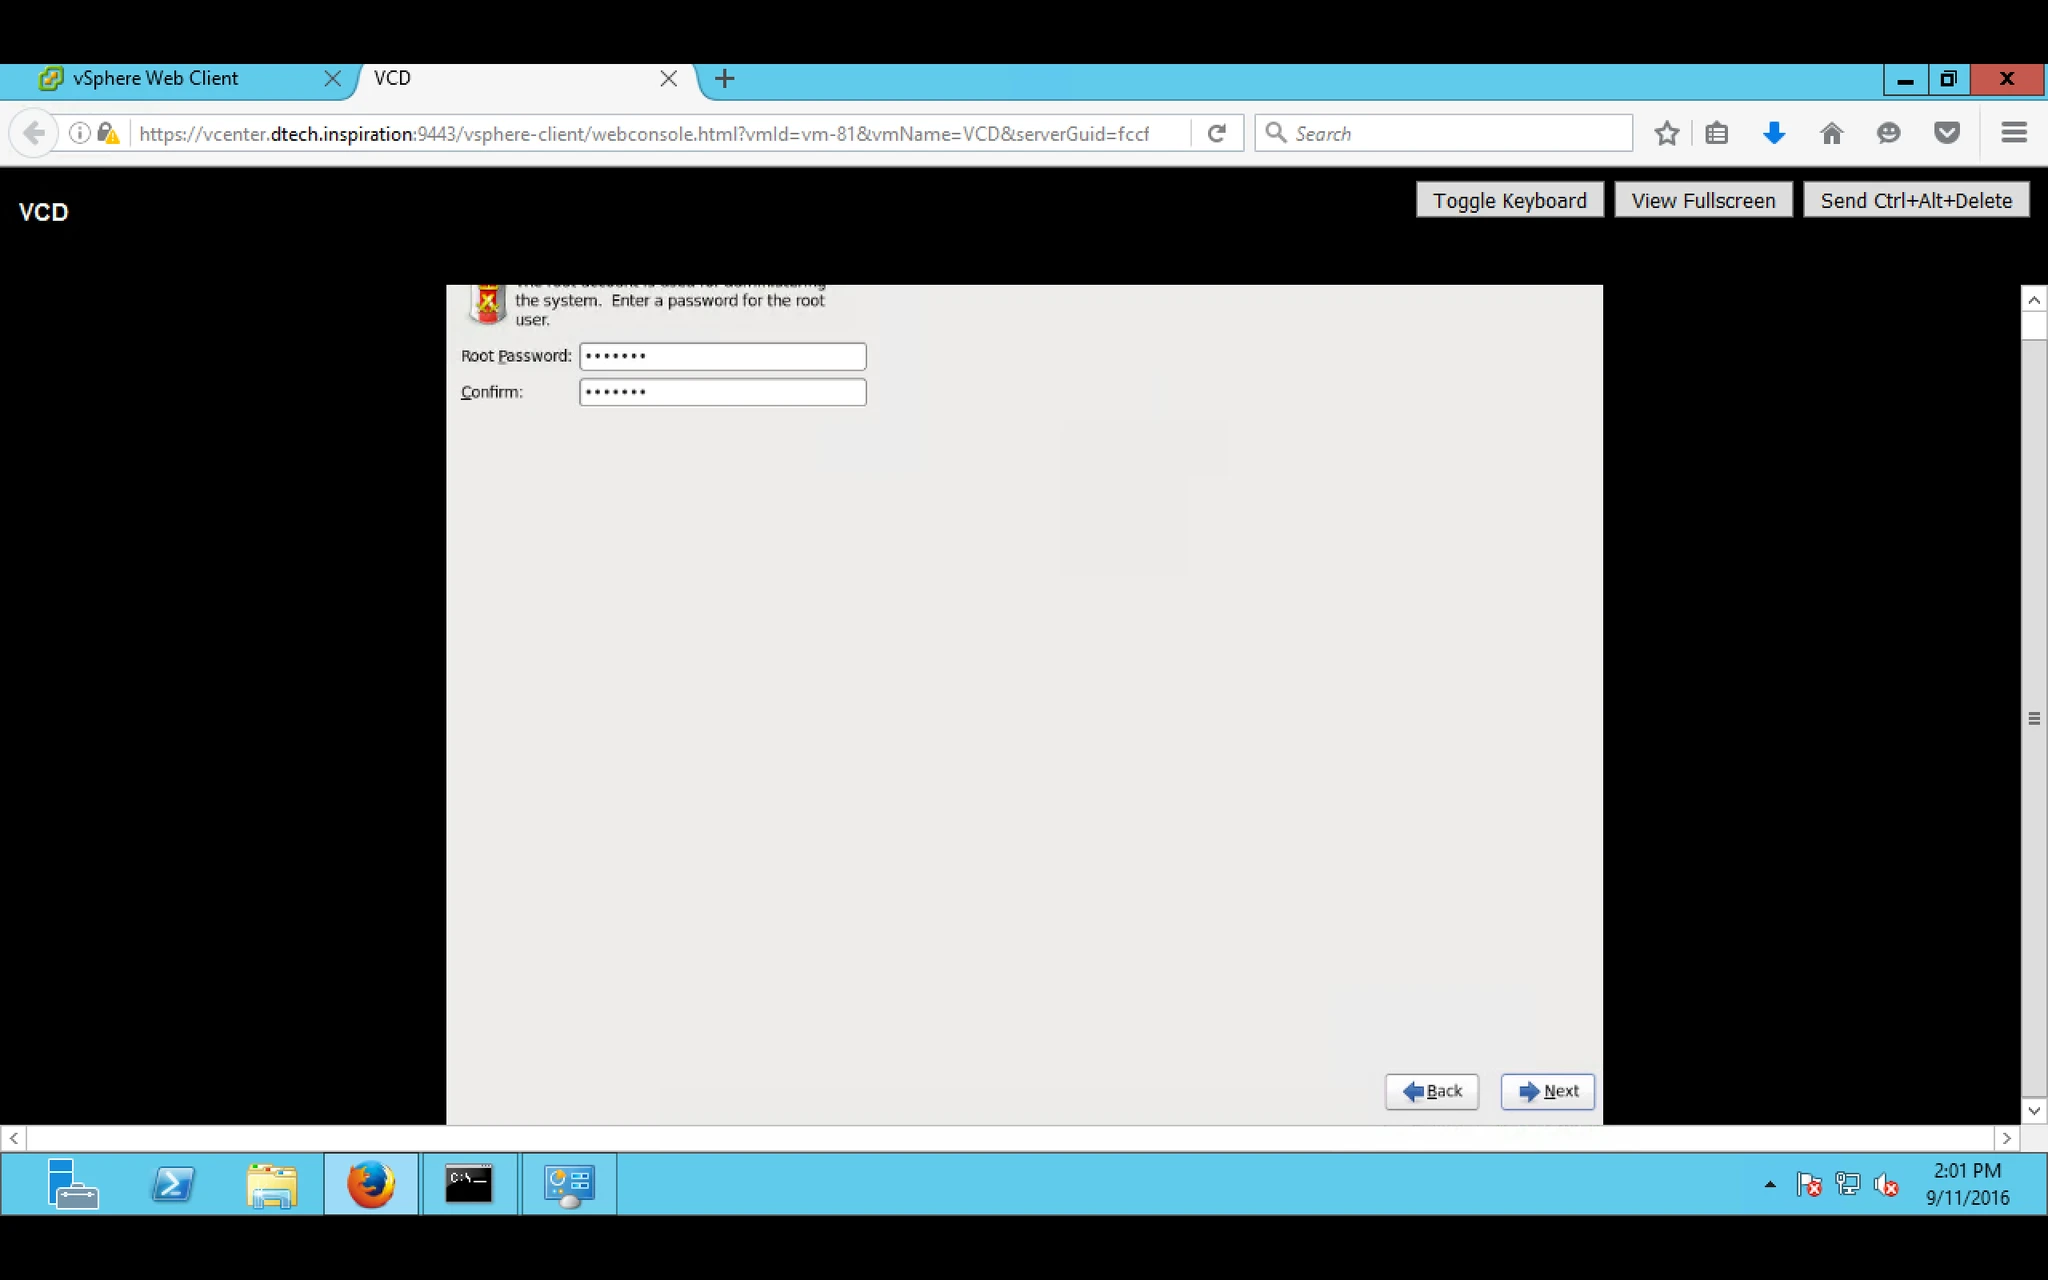
6. Provide root Password (Strong password is recommended)
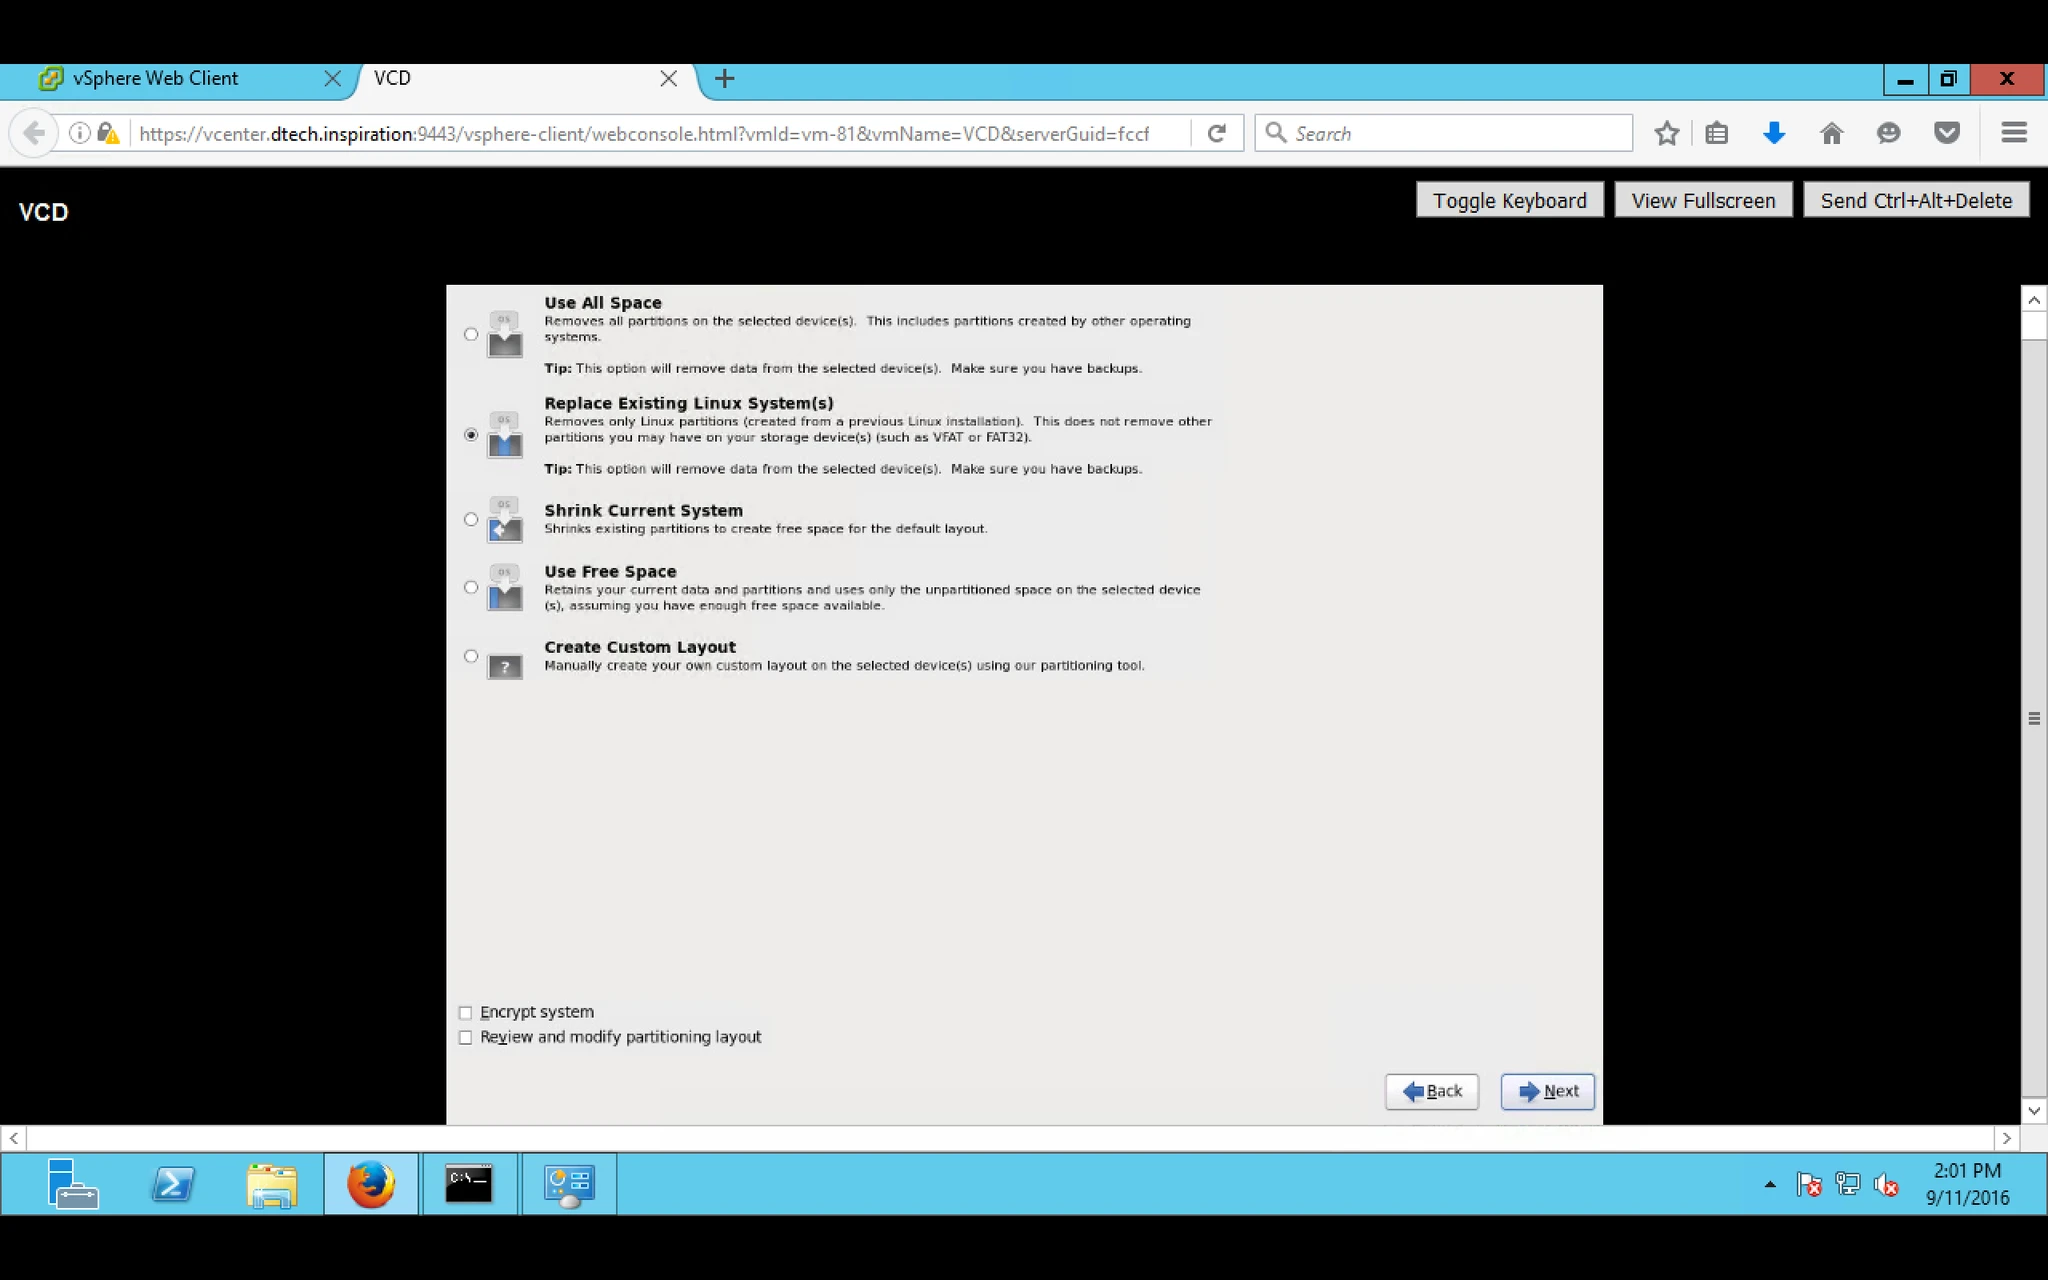
7. Replace Existing Linux System
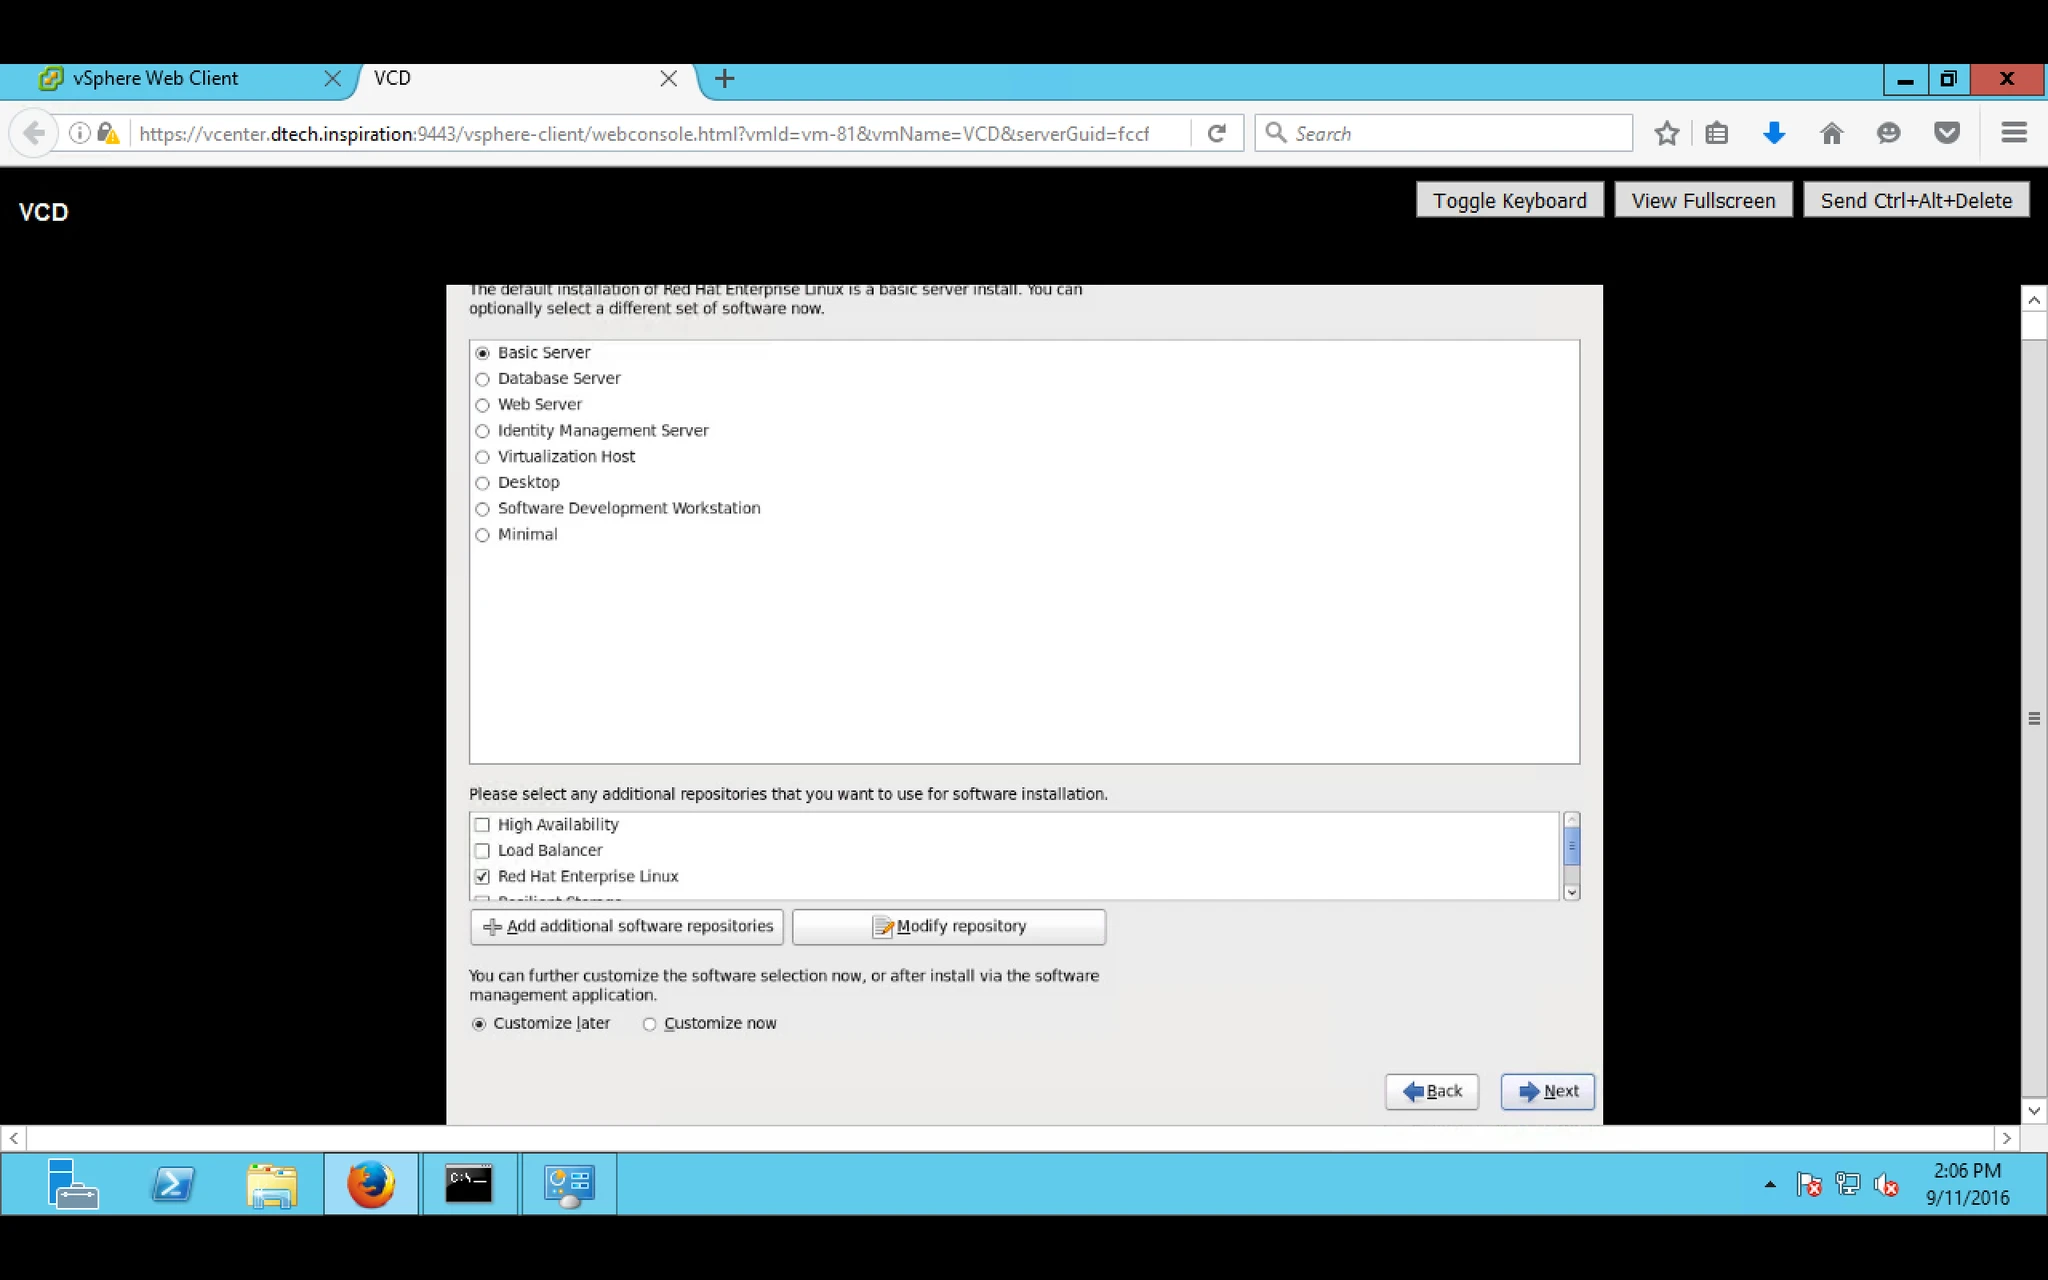
8. Select Server Type for which purpose you want to use it.
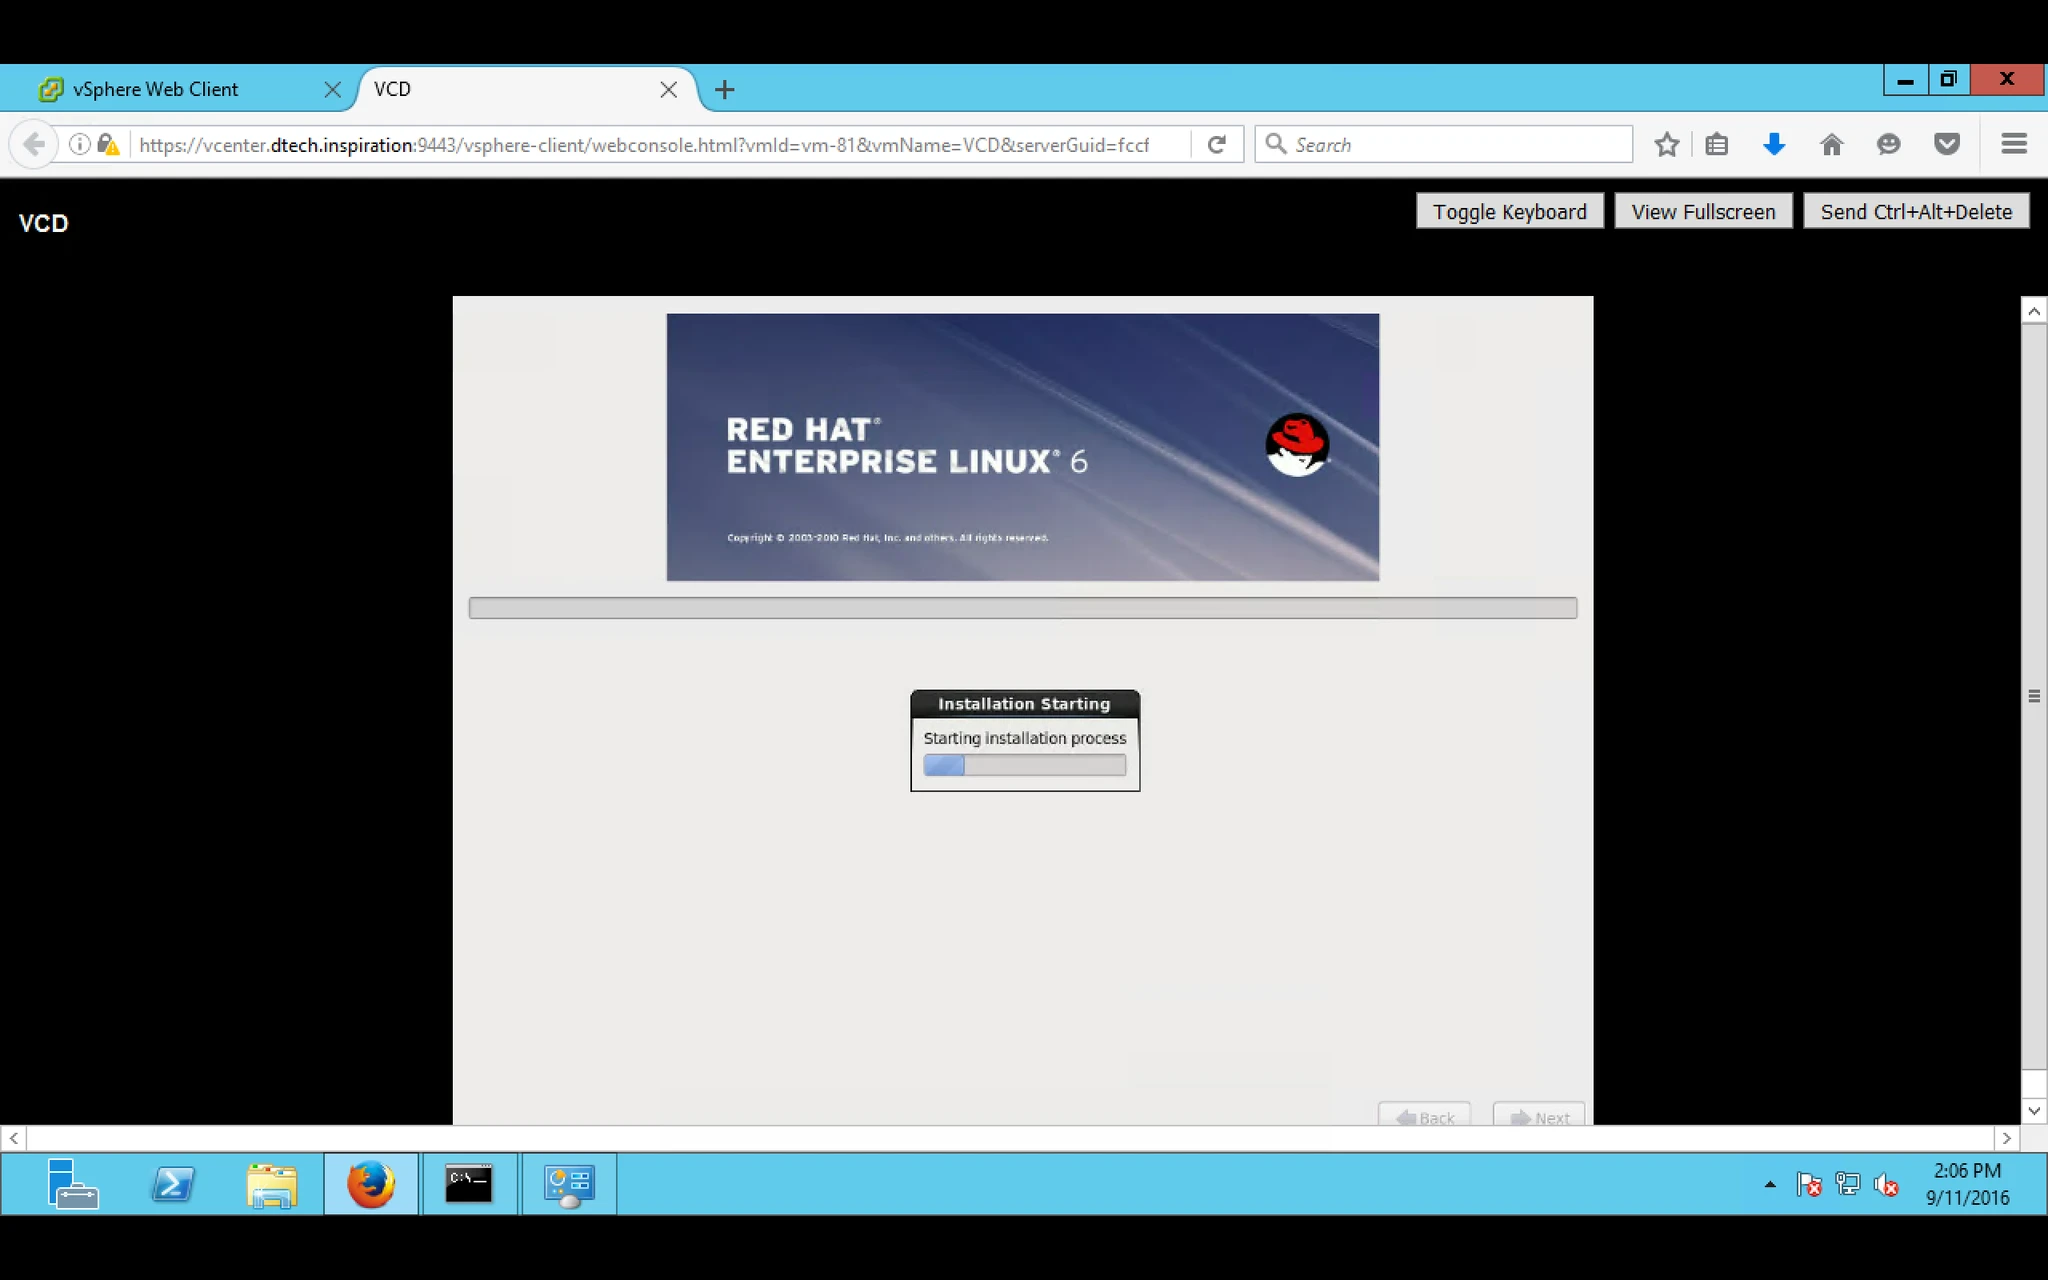
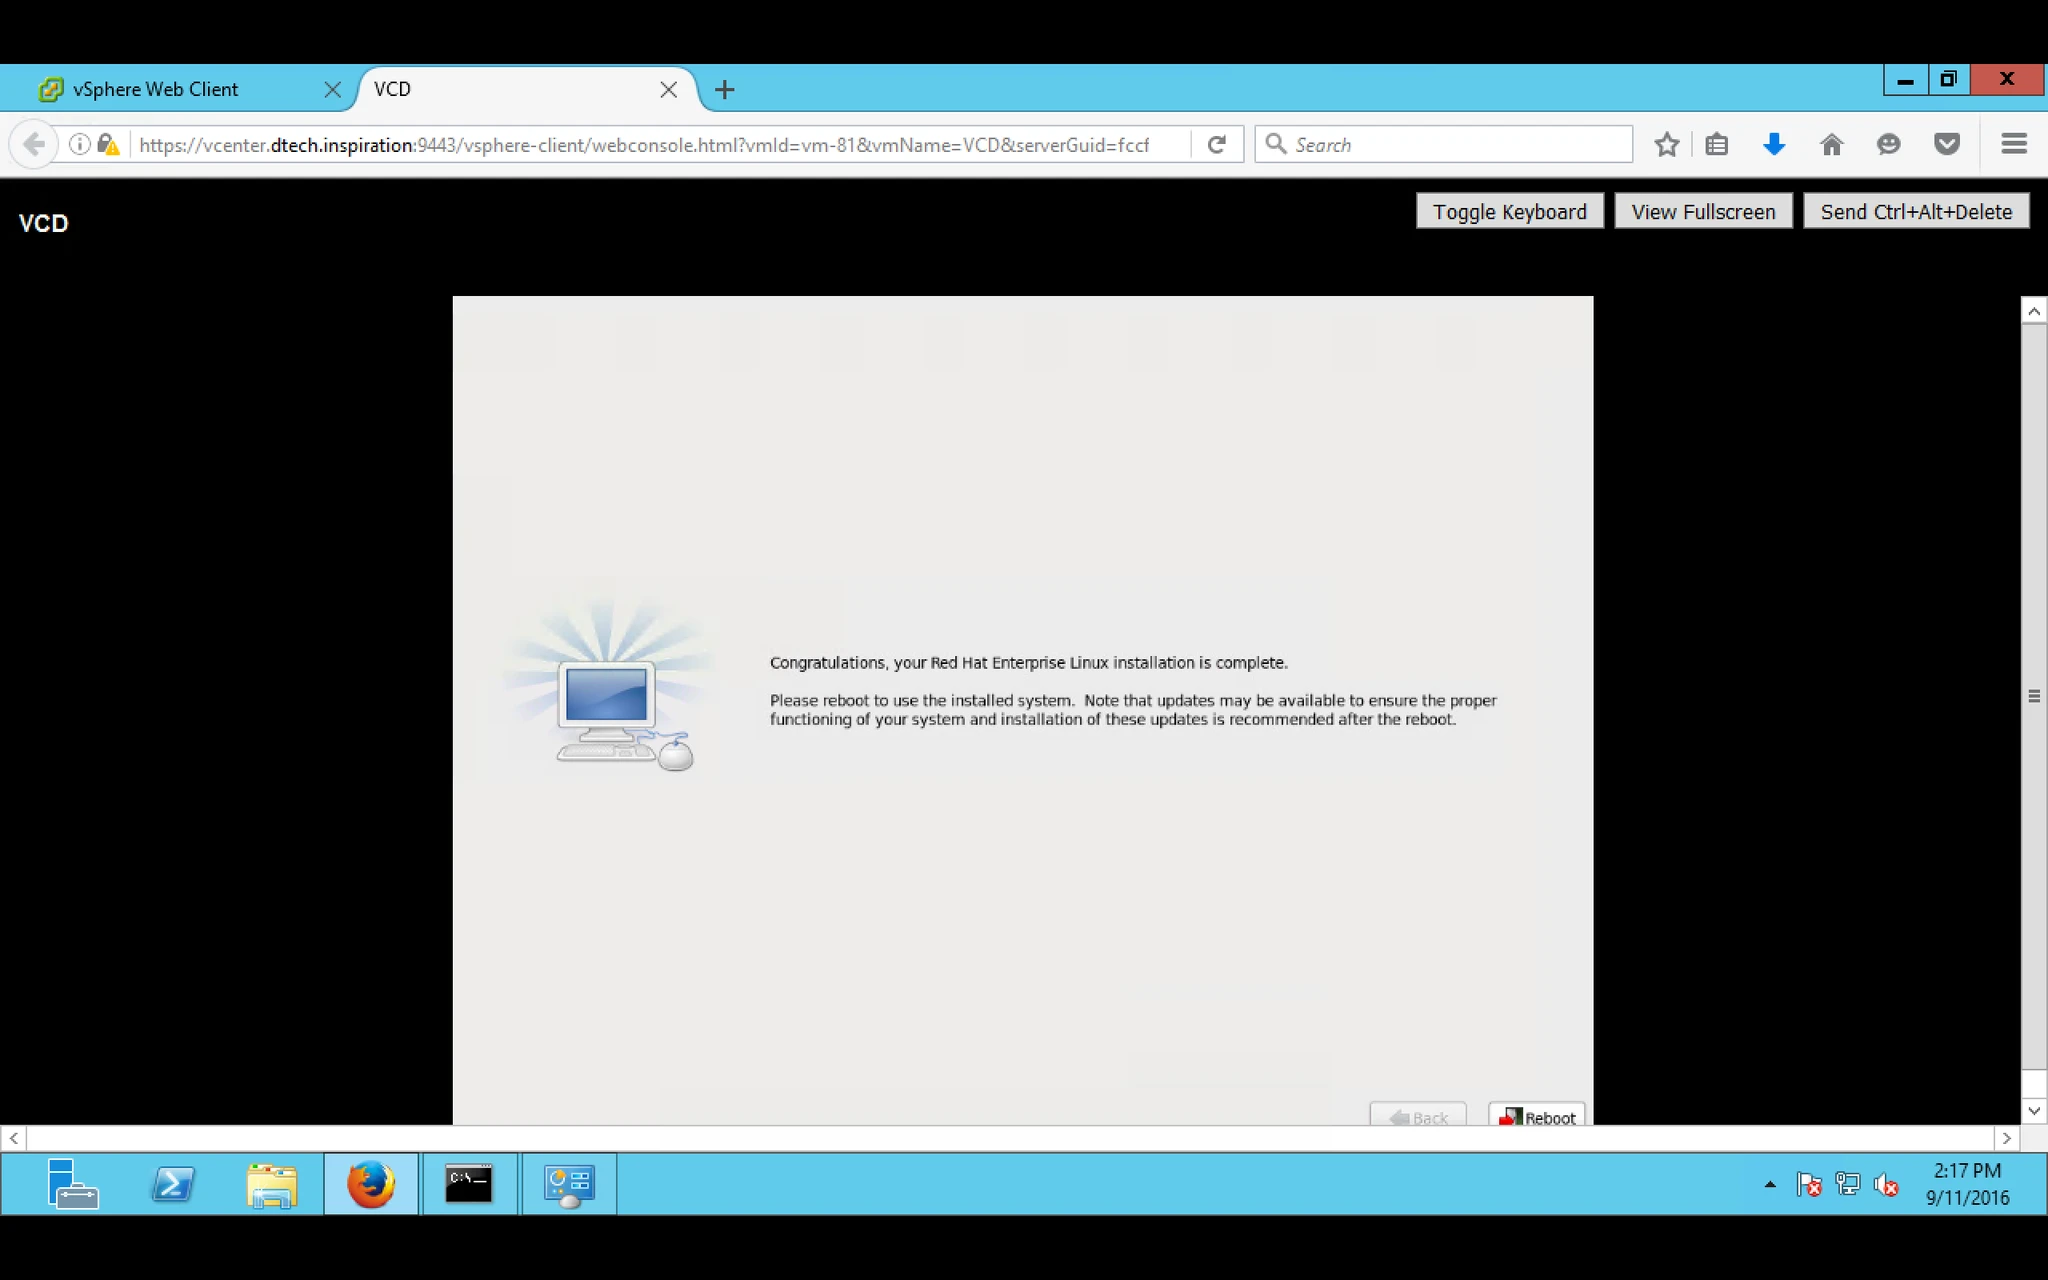
9. After installation Redhat is ready for VDC.
10. Now Start the Server to do Configuration the VDC.
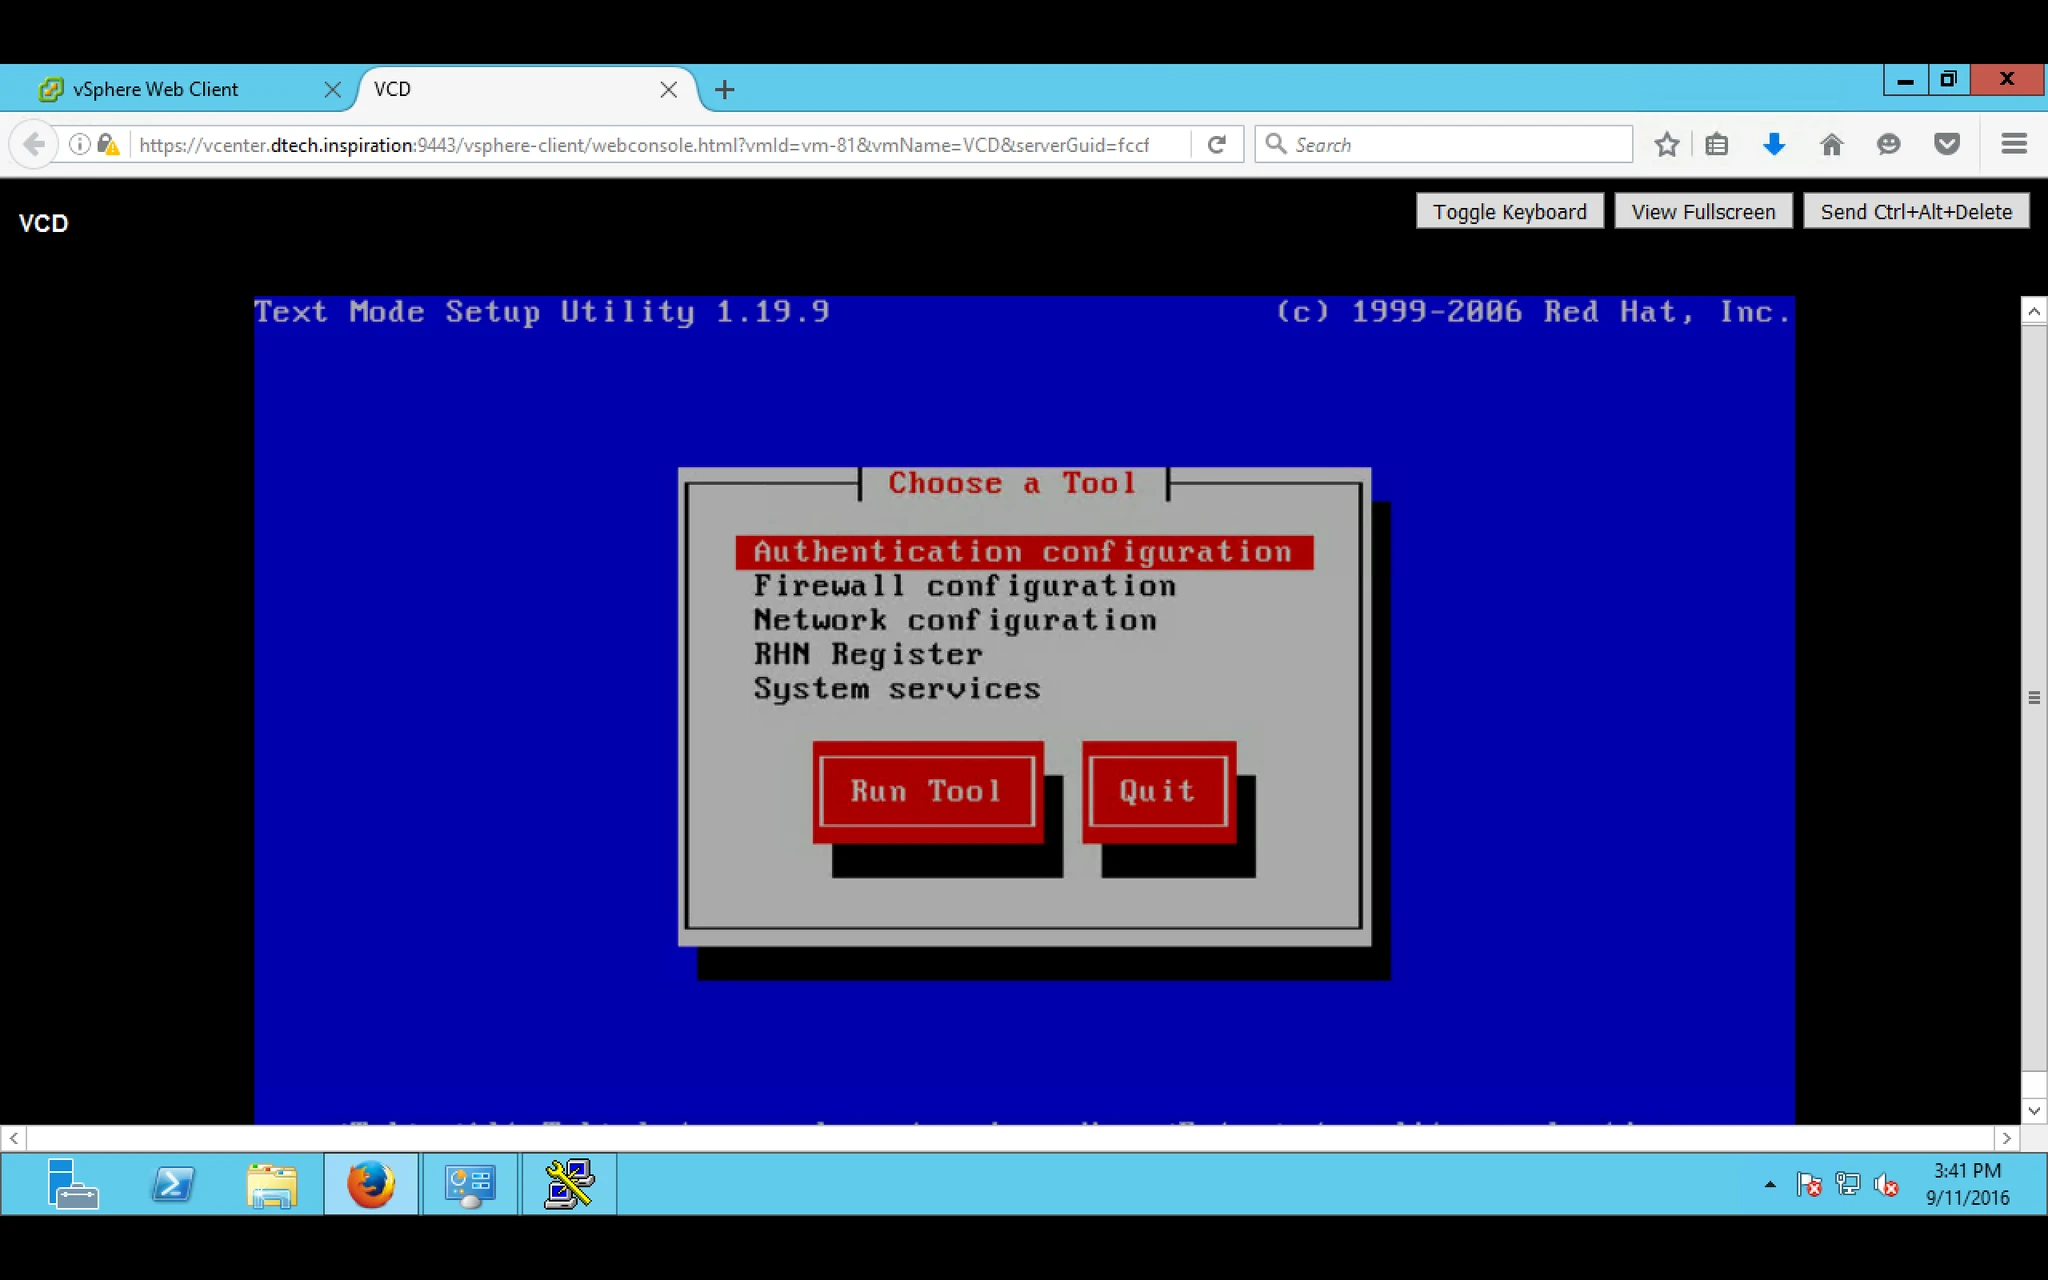
11. Login with root and type “ setup “ After that it will prompt you with given option
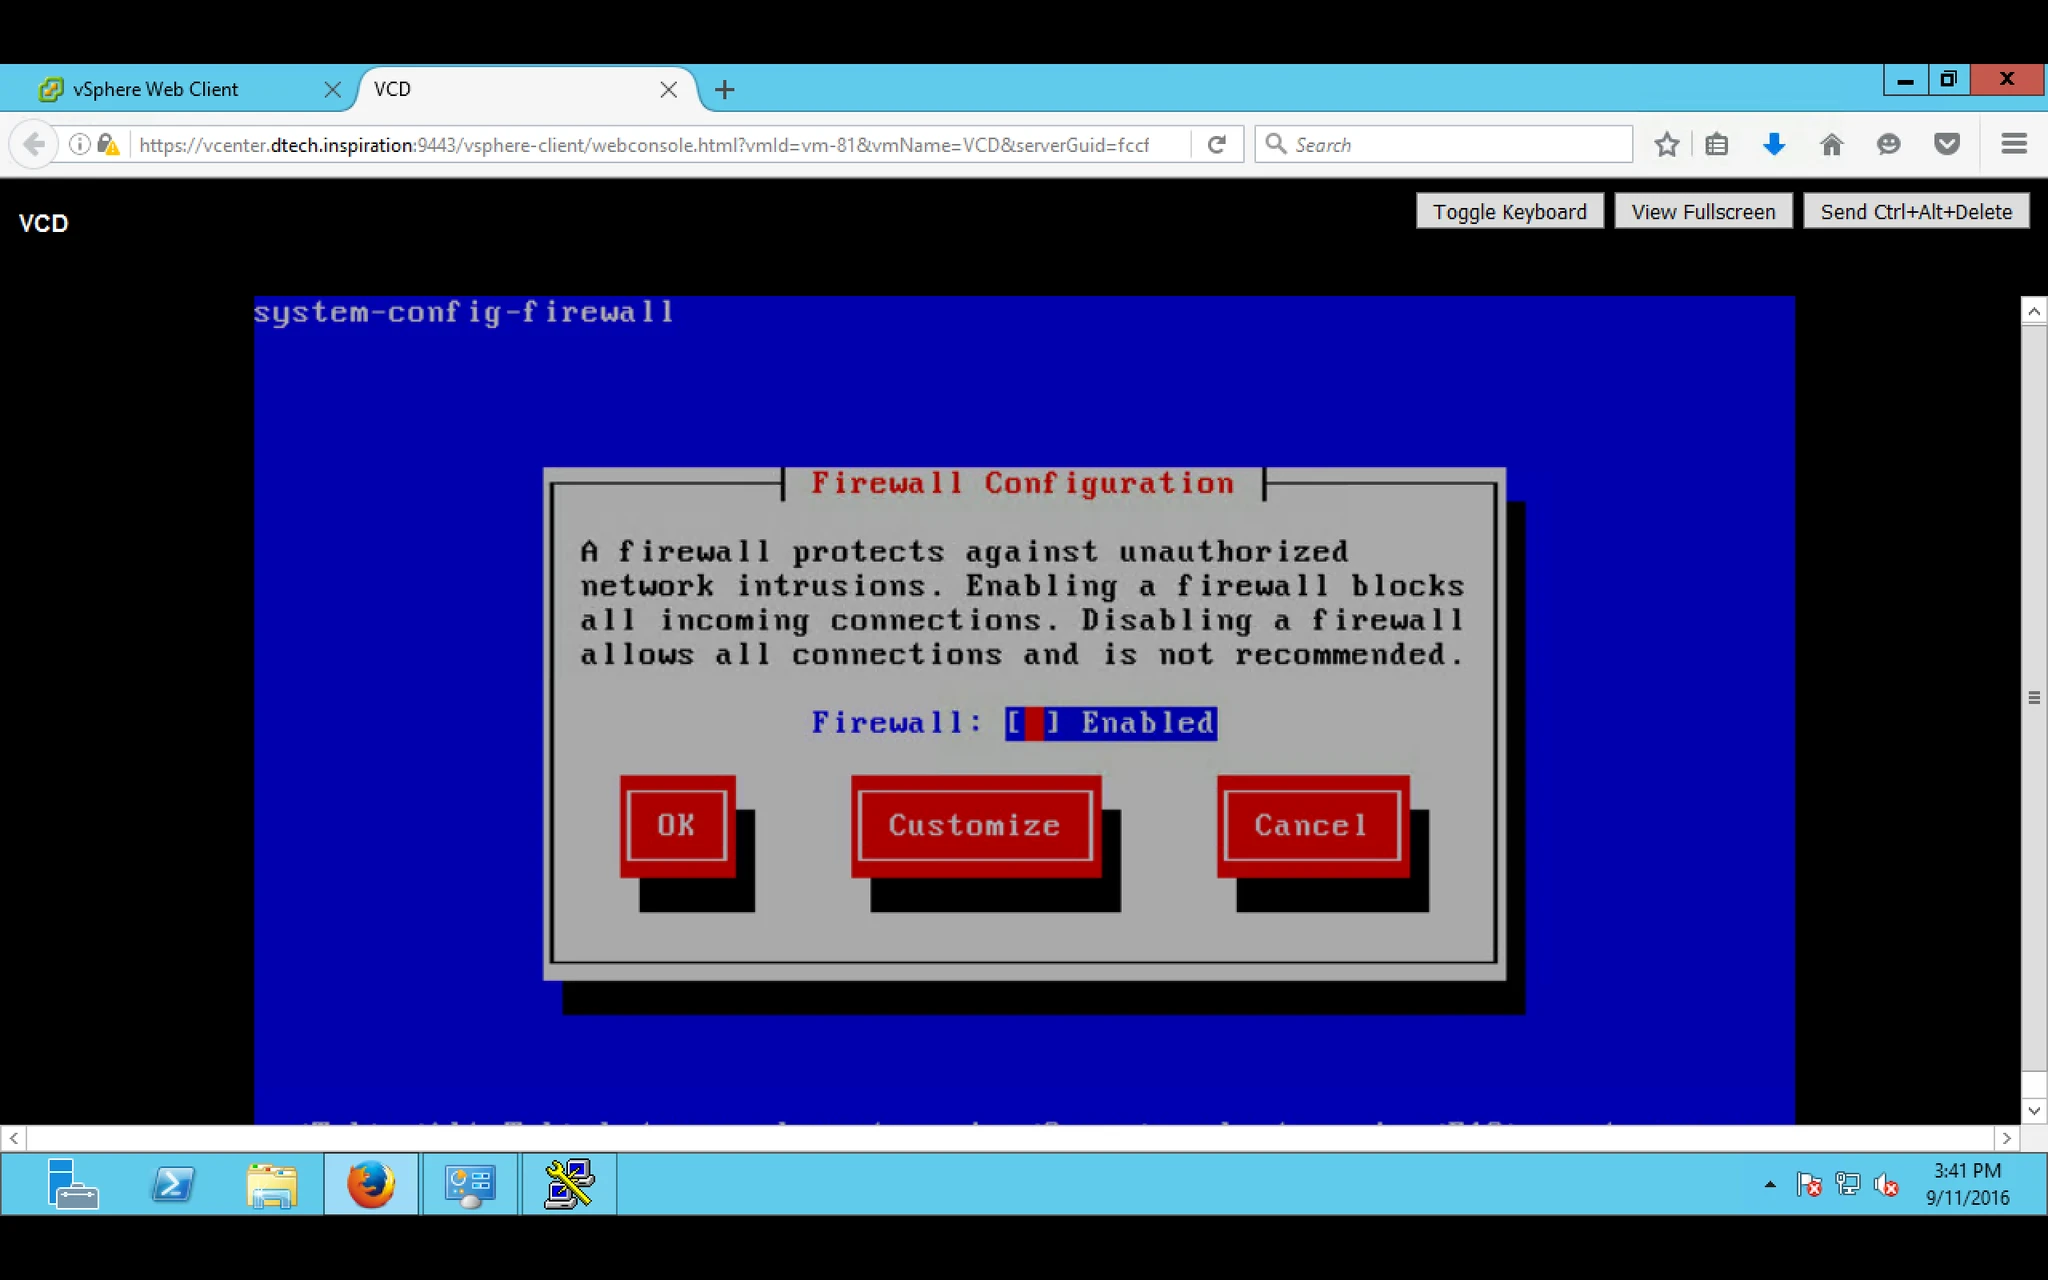
12. First Off the Firewall by clicking spacebar on that option.
13. Now do the setup for NIC card like IP address

14. Go to “ Device Configuration “

15. VDC Required Minimum 2 NIC otherwise VDC installation will be fail.
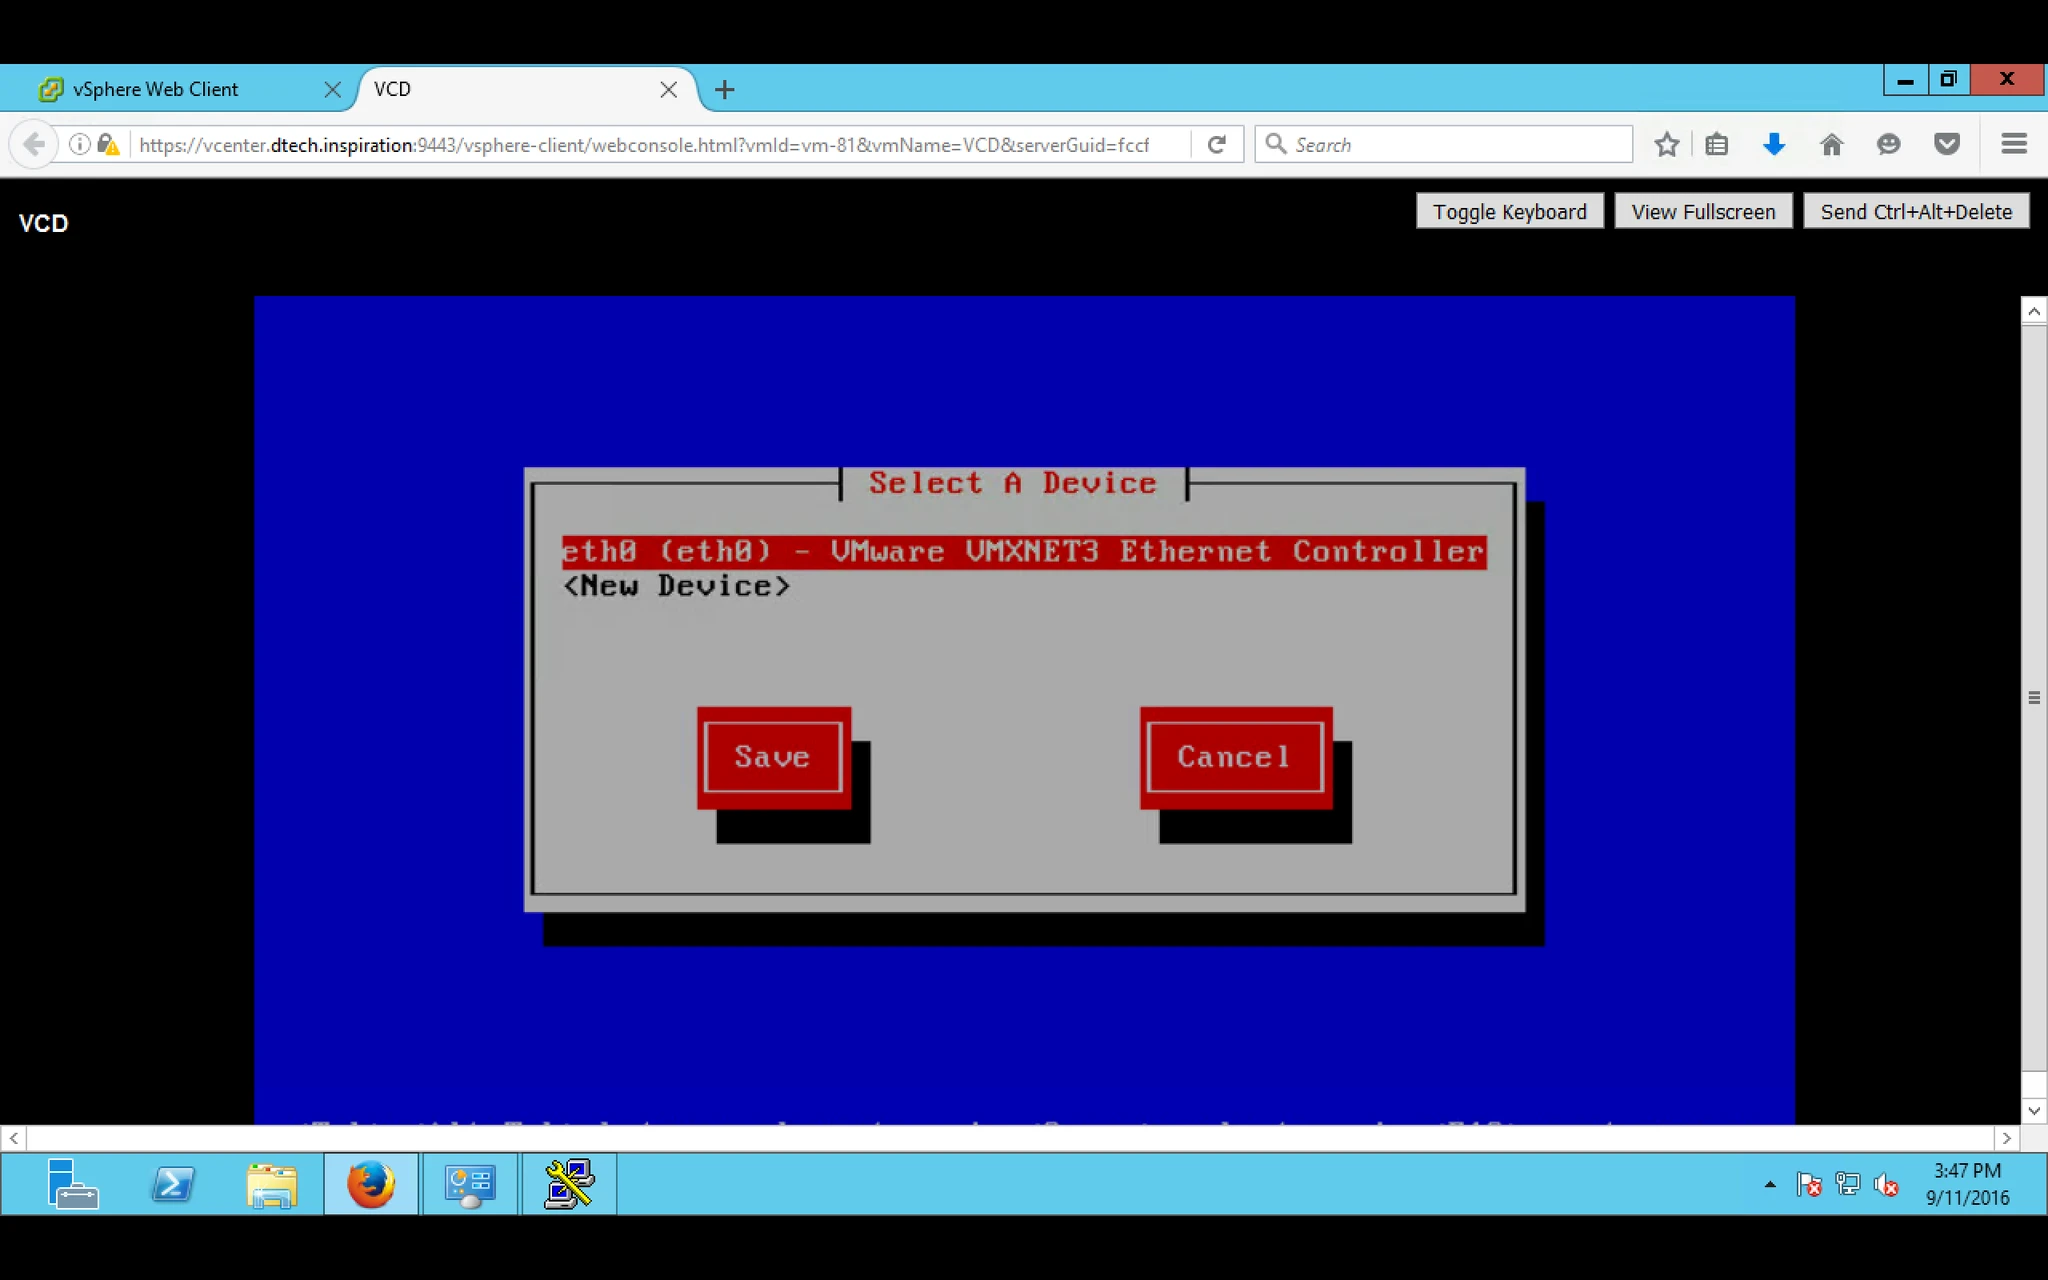
During Virtual Machine Creation i Provided One Nic but after that added 2 NIC Card.
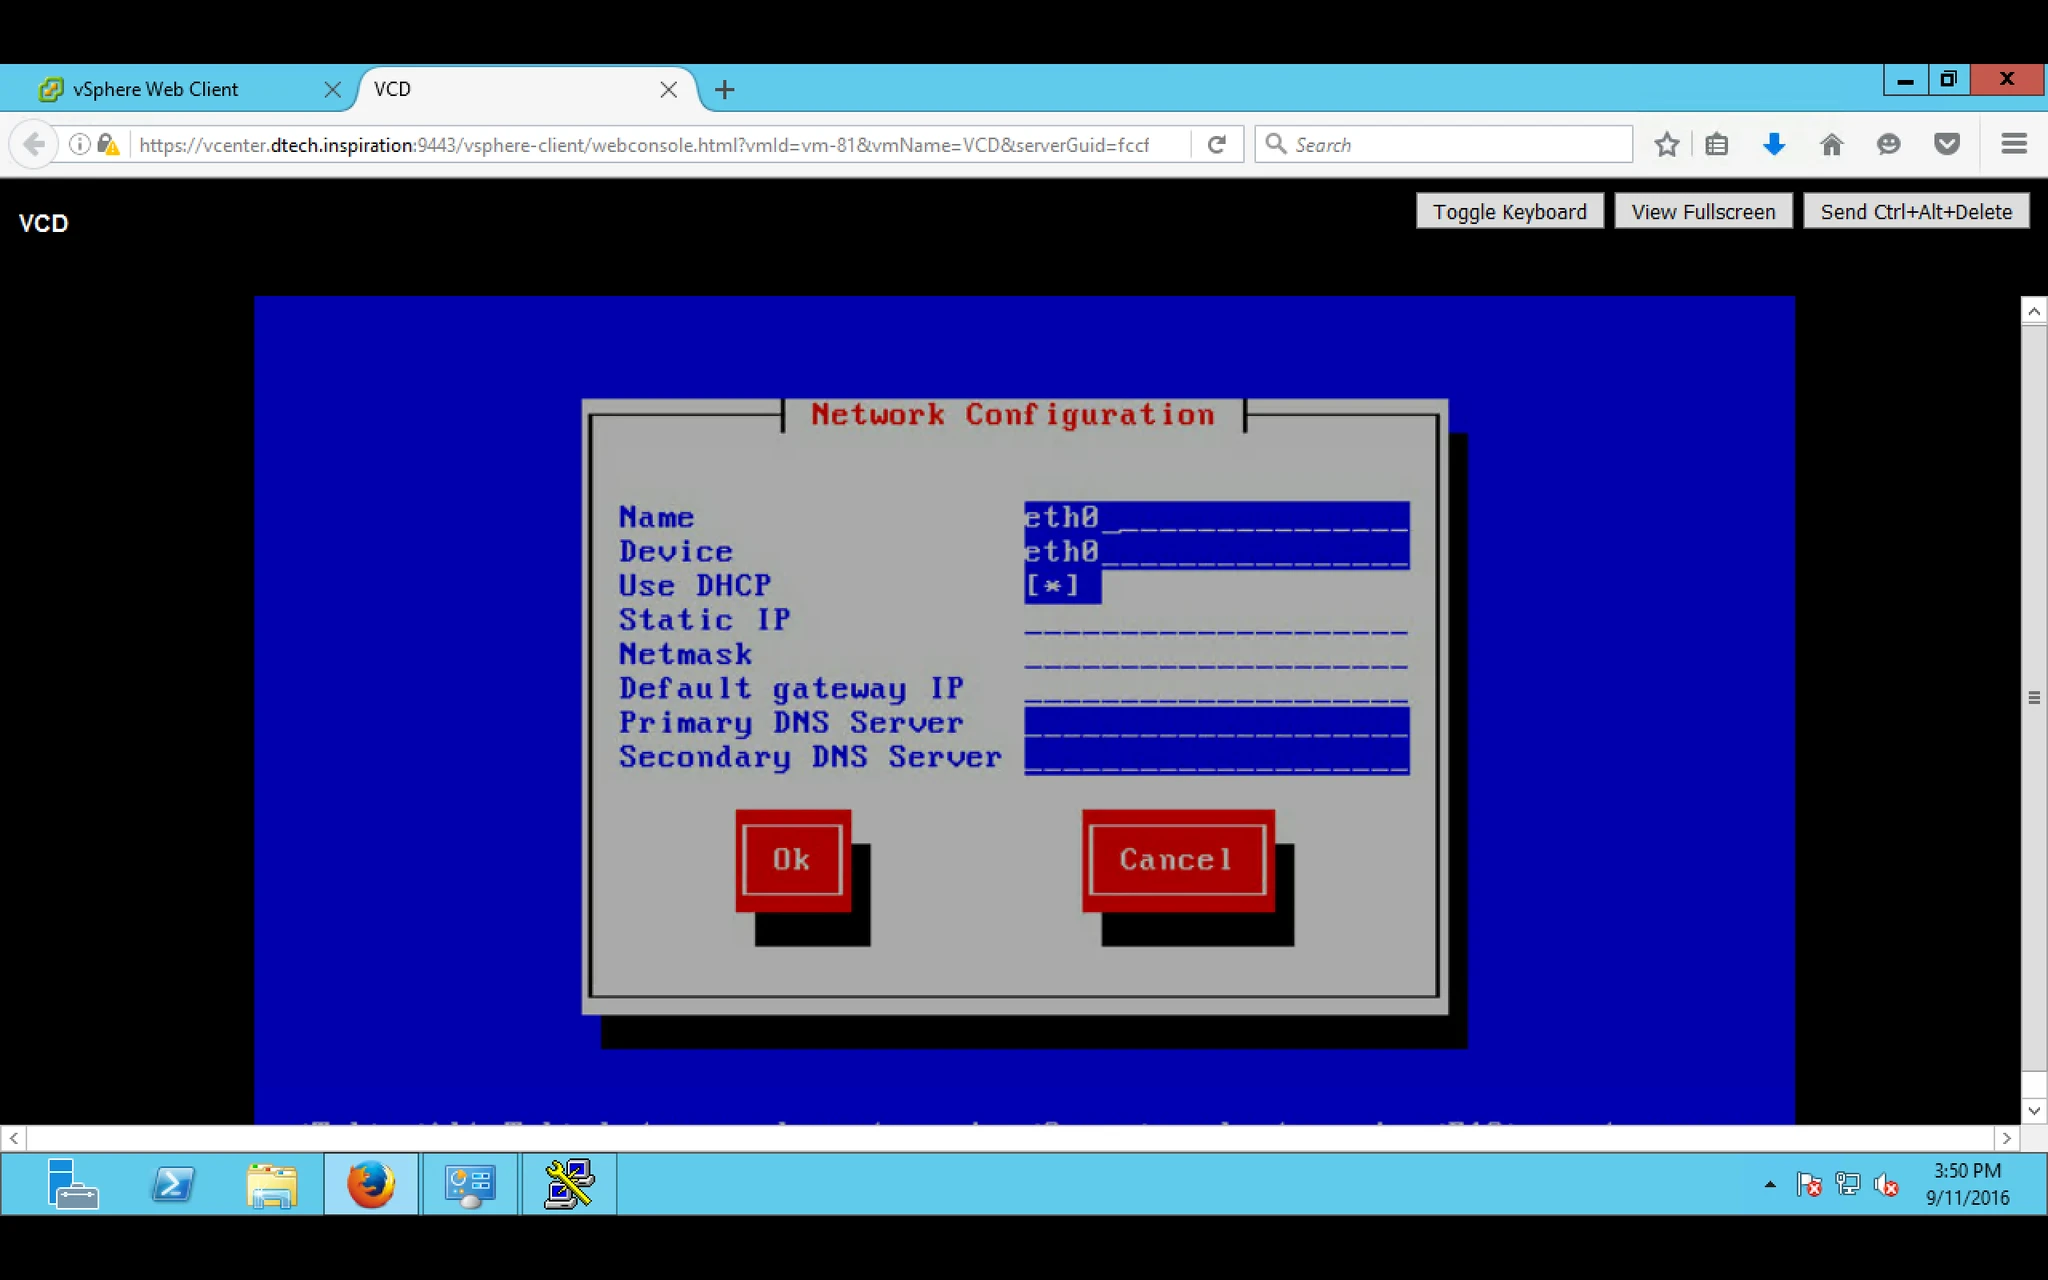
16. Here you have to provide Static IP address.
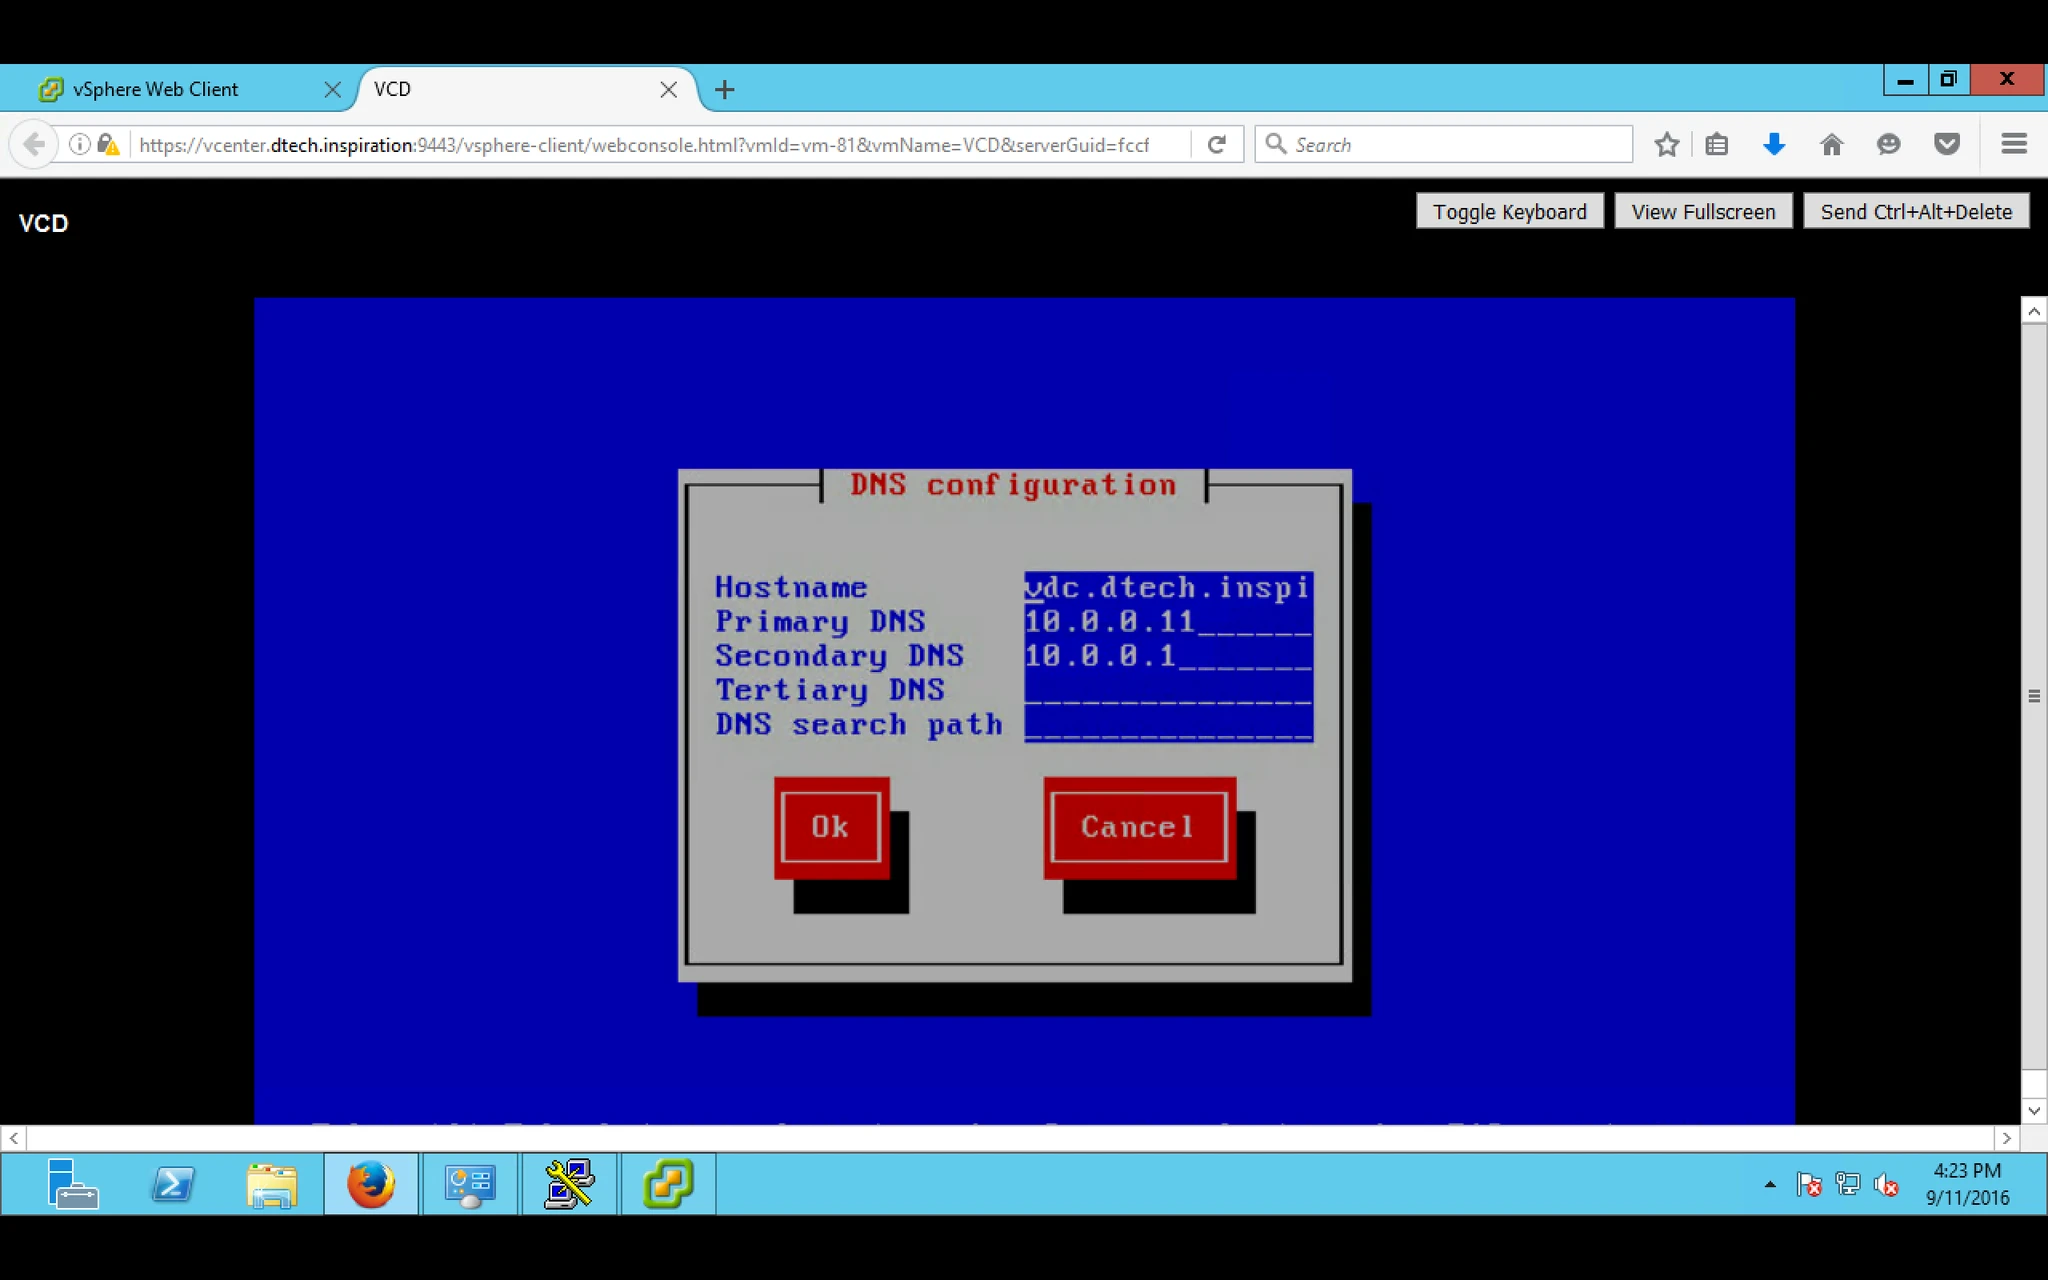
17. Configure the DNS setting aswell.
18. After that you have to Edit the cfg file for NIC0, NIC1.
Run the below command
[root@vcd ~]# ls
It will give you list of all files. Here you have to edit specific file for NIC0, NIC1
[root@vcd ~]# ls
ifcfg-nic0
ifcfg-nic1
[root@vcd ~]# vi ifcfg-nic0
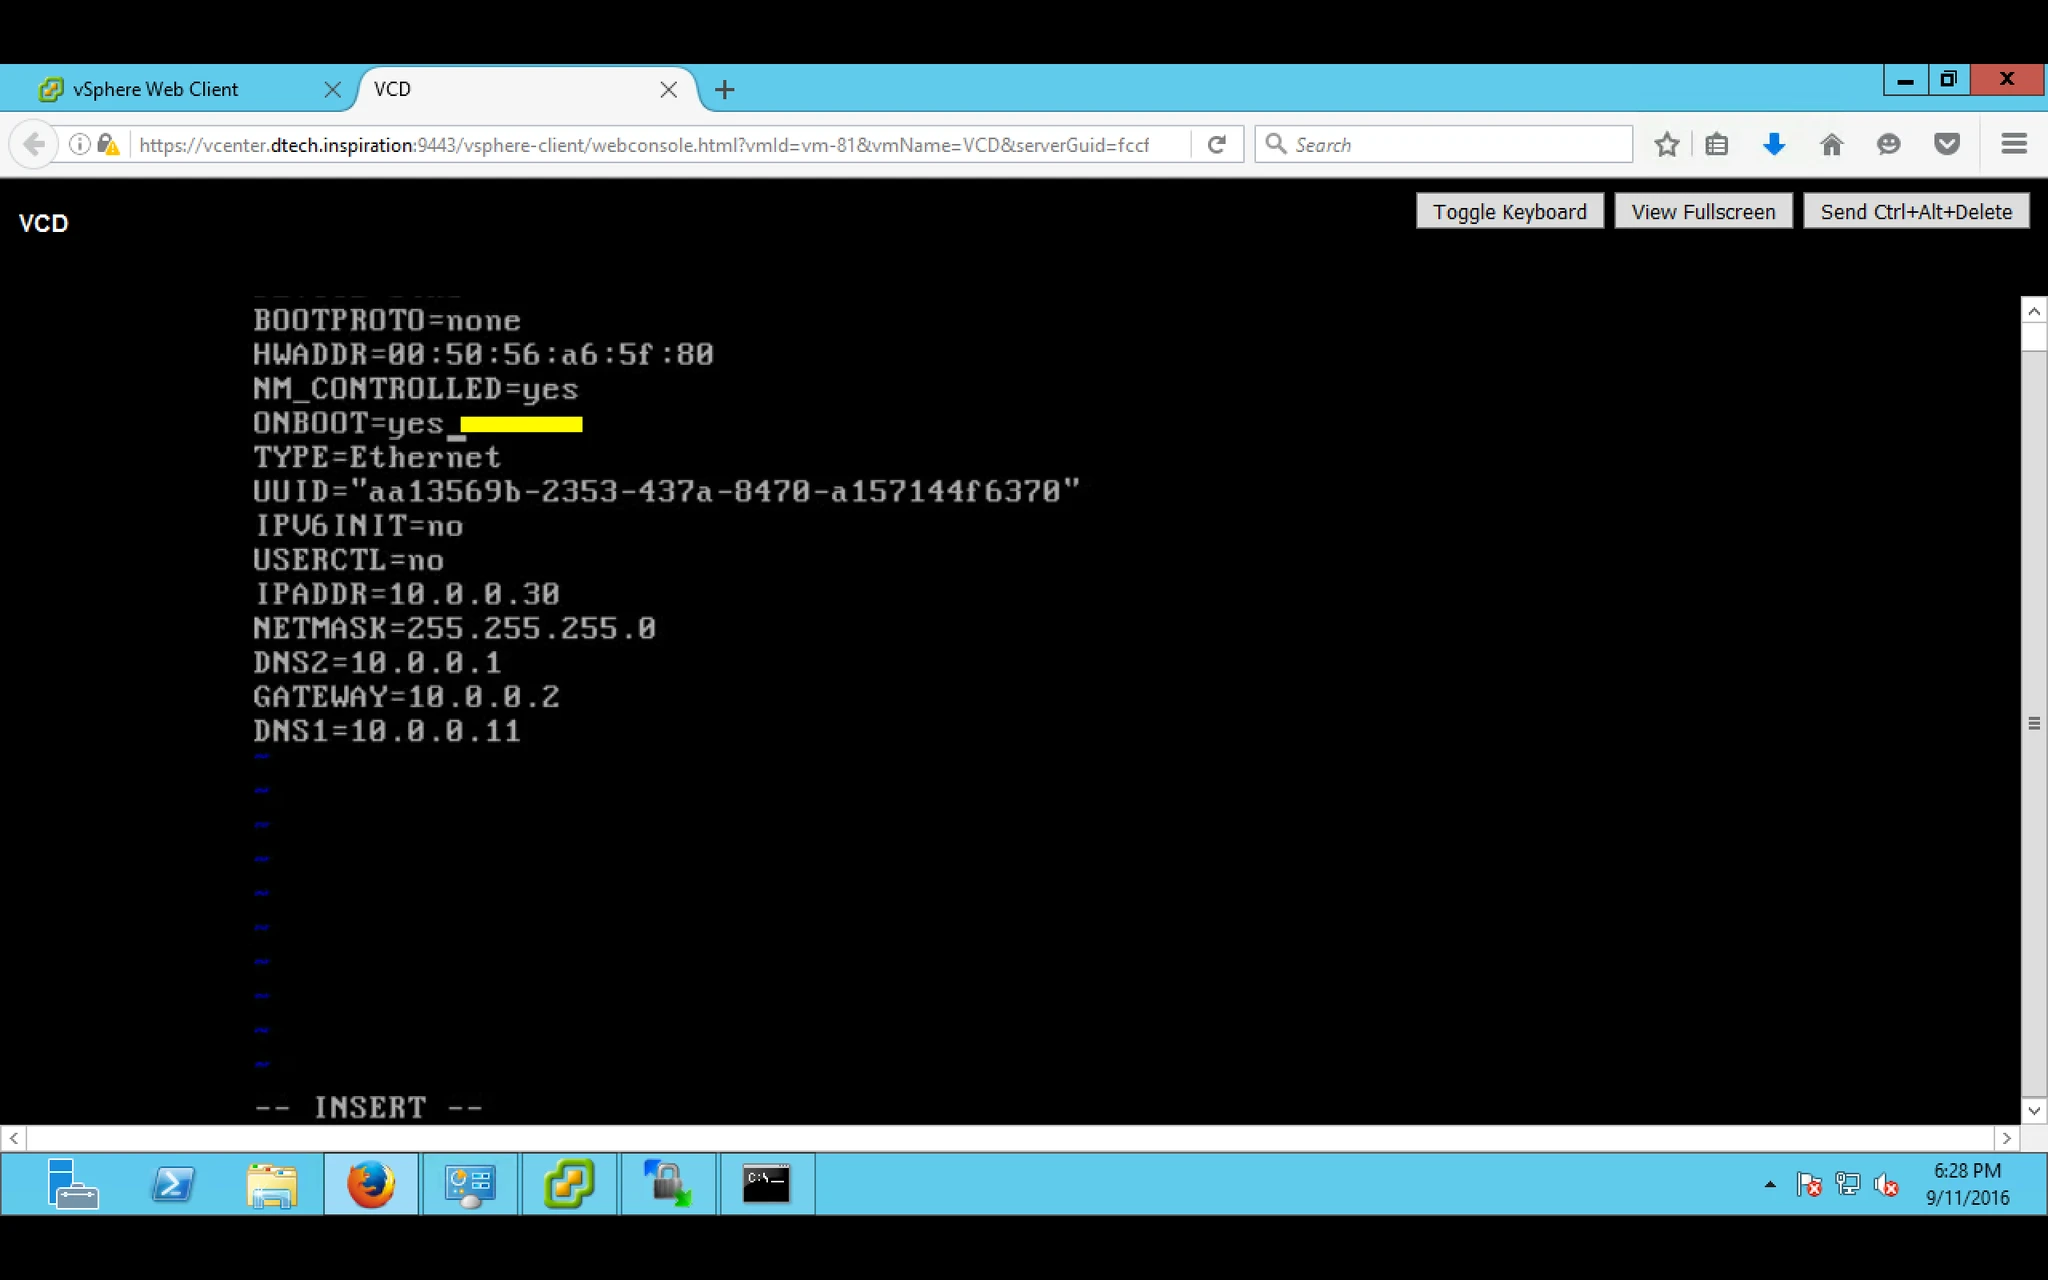
First Press “ i “ without inverse for insert and then go to ONBOOT option and change to YES.
Press Esc : wq and hit enter. ( w = write and q= quite )
Same step you have to repeat for Second NIC.