Before going to start installation let’s see Prerequisites.
Software Requirements
VDP 6.1 requires the following software:
- vCenter server 5.5 or later
- VDP 6.1 supports the Linux-based vCenter server virtual appliance and the Windows-based vCenter server.
- vSphere web client
- Web browsers must be enabled with Adobe Flash Player 11.3 or later to access the vSphere web client and VDP functionality.
- vSphere host 5.0 or later
** Unsupported Disk Types
When planning for backups, make sure the disks are supported by VDP. Currently, VDP does not support the following virtual hardware disk types:
a. Independent
b. RDM Independent – Virtual Compatibility Mode
c. RDM Physical Compatibility Mode
** Unsupported Virtual Volumes
The VDP appliance version 6.1 does not support backups and restores of virtual machines on Virtual Volumes (VVOLs).
VDP System Requirements
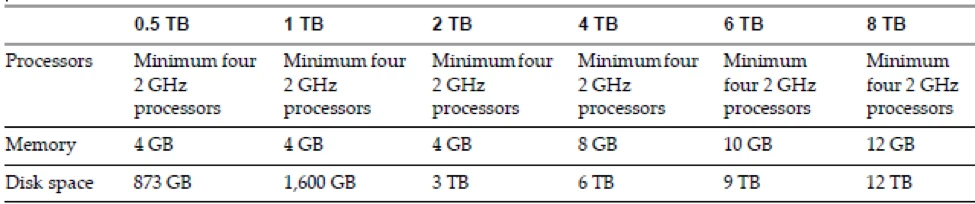
Best Practices for VDP deployment:
- Deploy the VDP appliance on shared VMFS5 or later to avoid block size limitations.
- Make sure that all virtual machines are running hardware version 7 or later to support Change Block Tracking (CBT).
- Install VMware Tools on each virtual machine that VDP will back up. VMware Tools add additional backup capability that quiesces certain processes on the guest OS before the backup.
- VMware Tools are also required for some features used in File Level Restore.
- When configuring the network for the VDP appliance and the vCenter, do not modify network address information by using NAT or other configuration methods (firewall, IDS, or TSNR). When these unsupported methods are deployed as part of the virtual network, some VDP functionality may not work as designed.
Now Let’s see VDP installation steps:
- First download the VDP from VMware website.
- Open vCenter server and right click on Datacenter/Cluster.
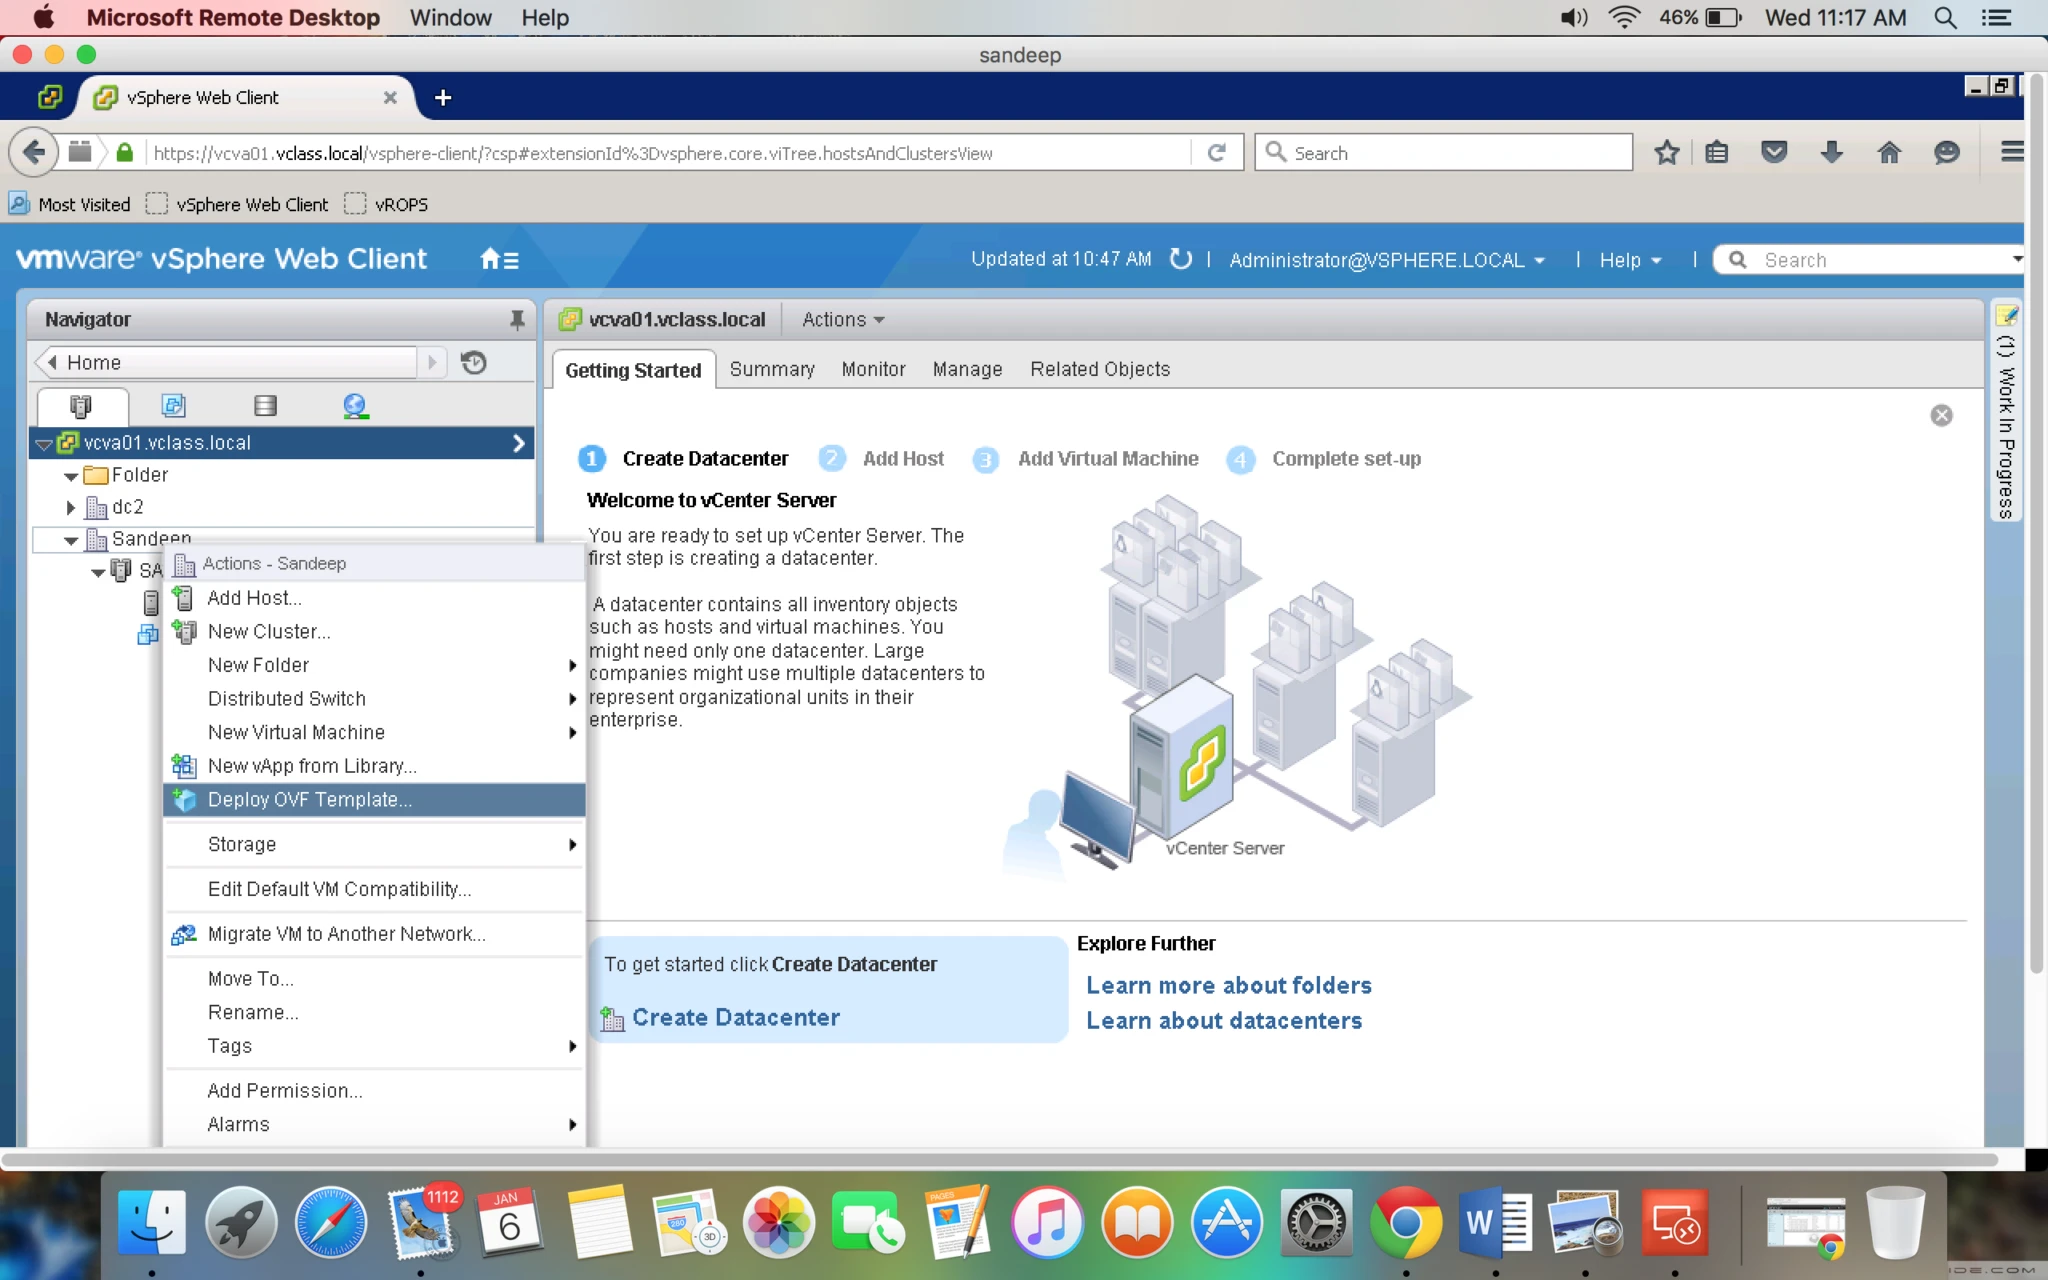
3. Before that install Client integration plug-ins after that it will give you option to upload the OVF file.
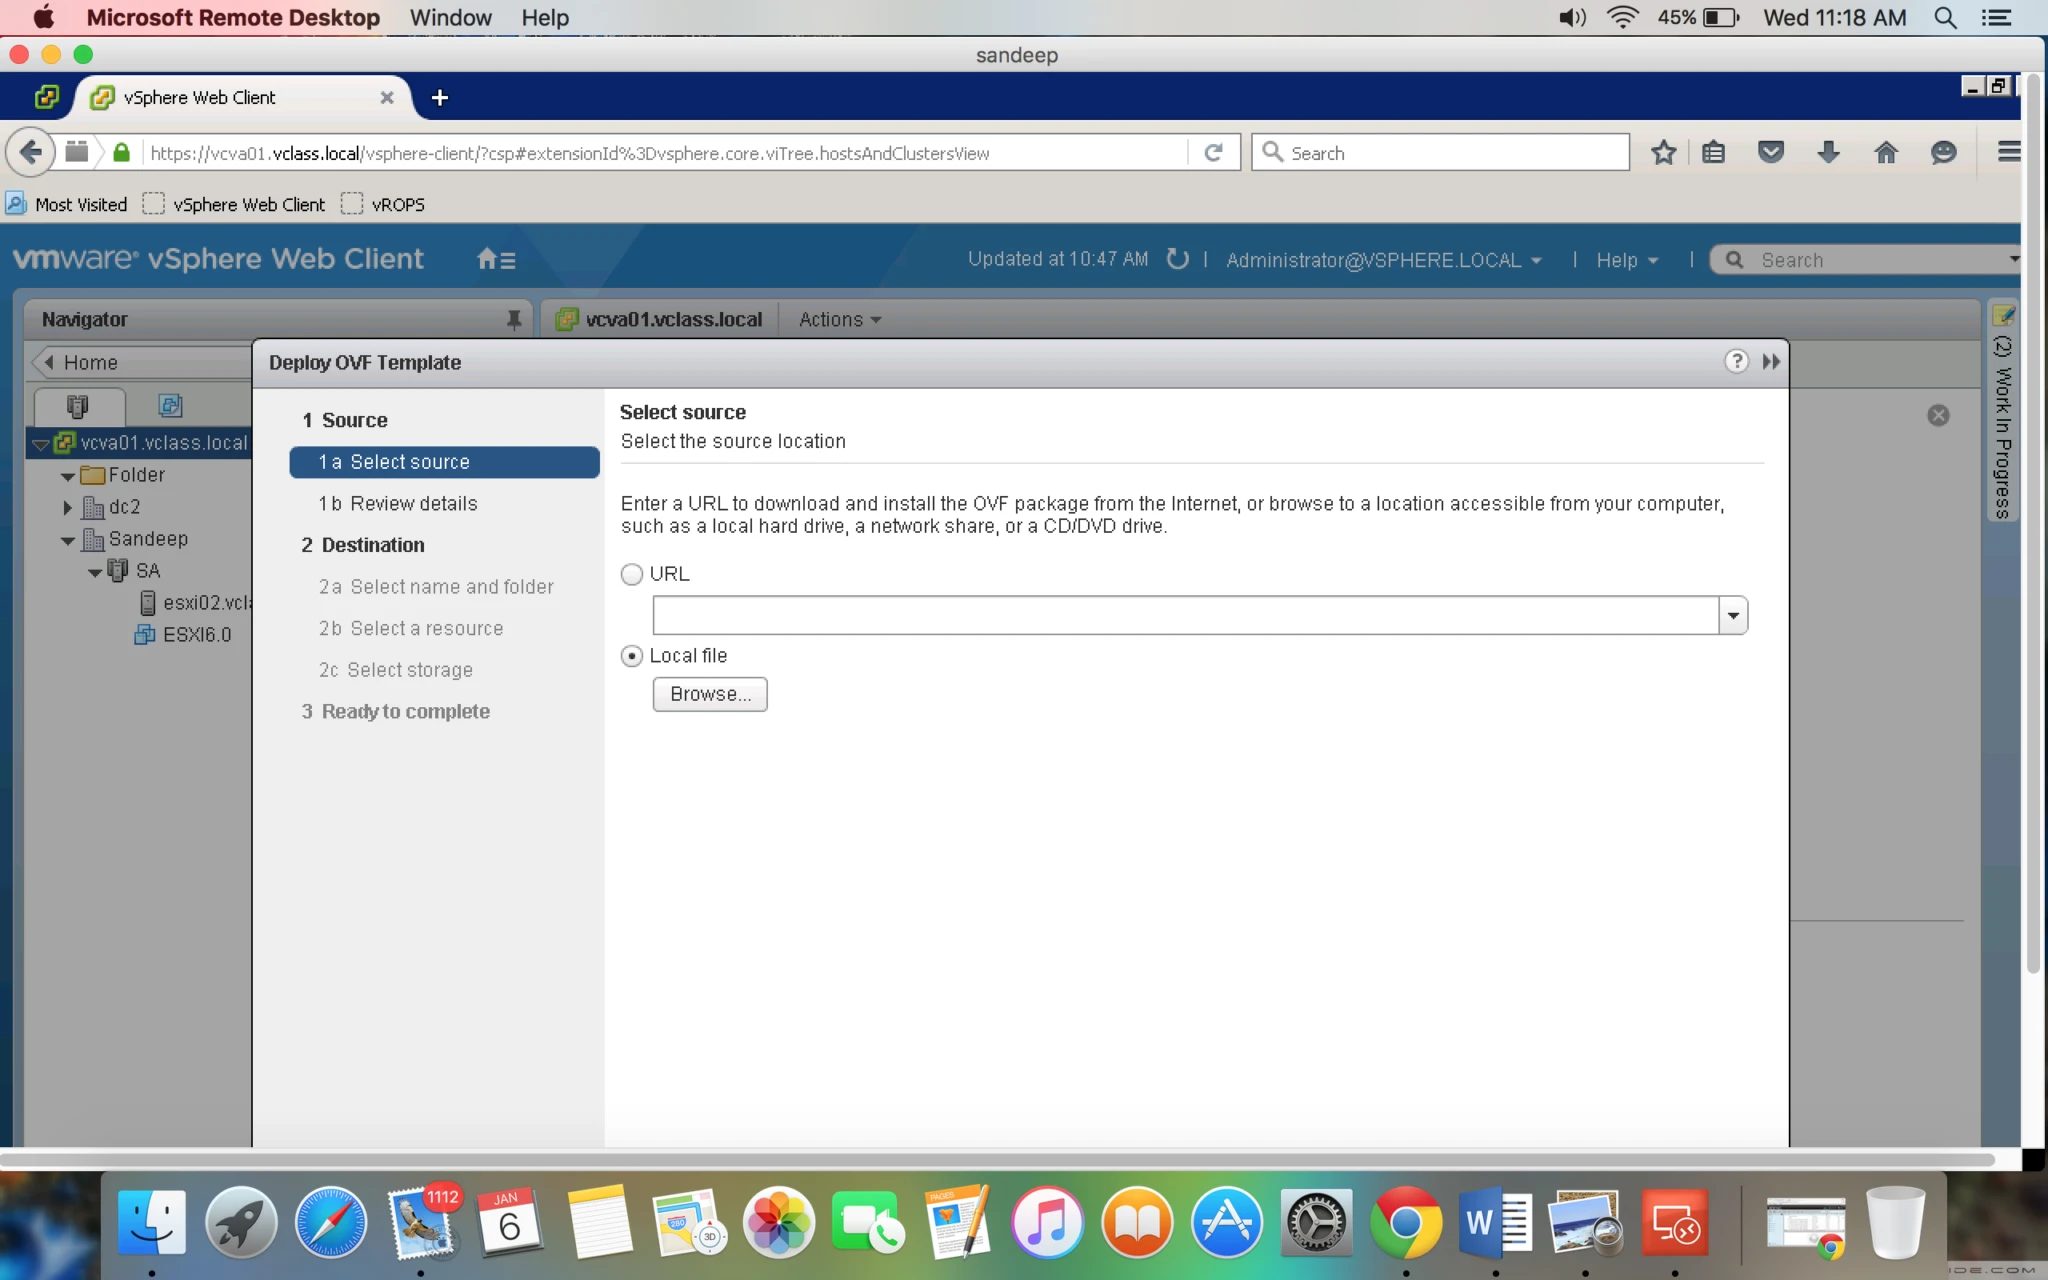
4. From here you can provide .OVF either from URL or from local disk. which is already downloaded.
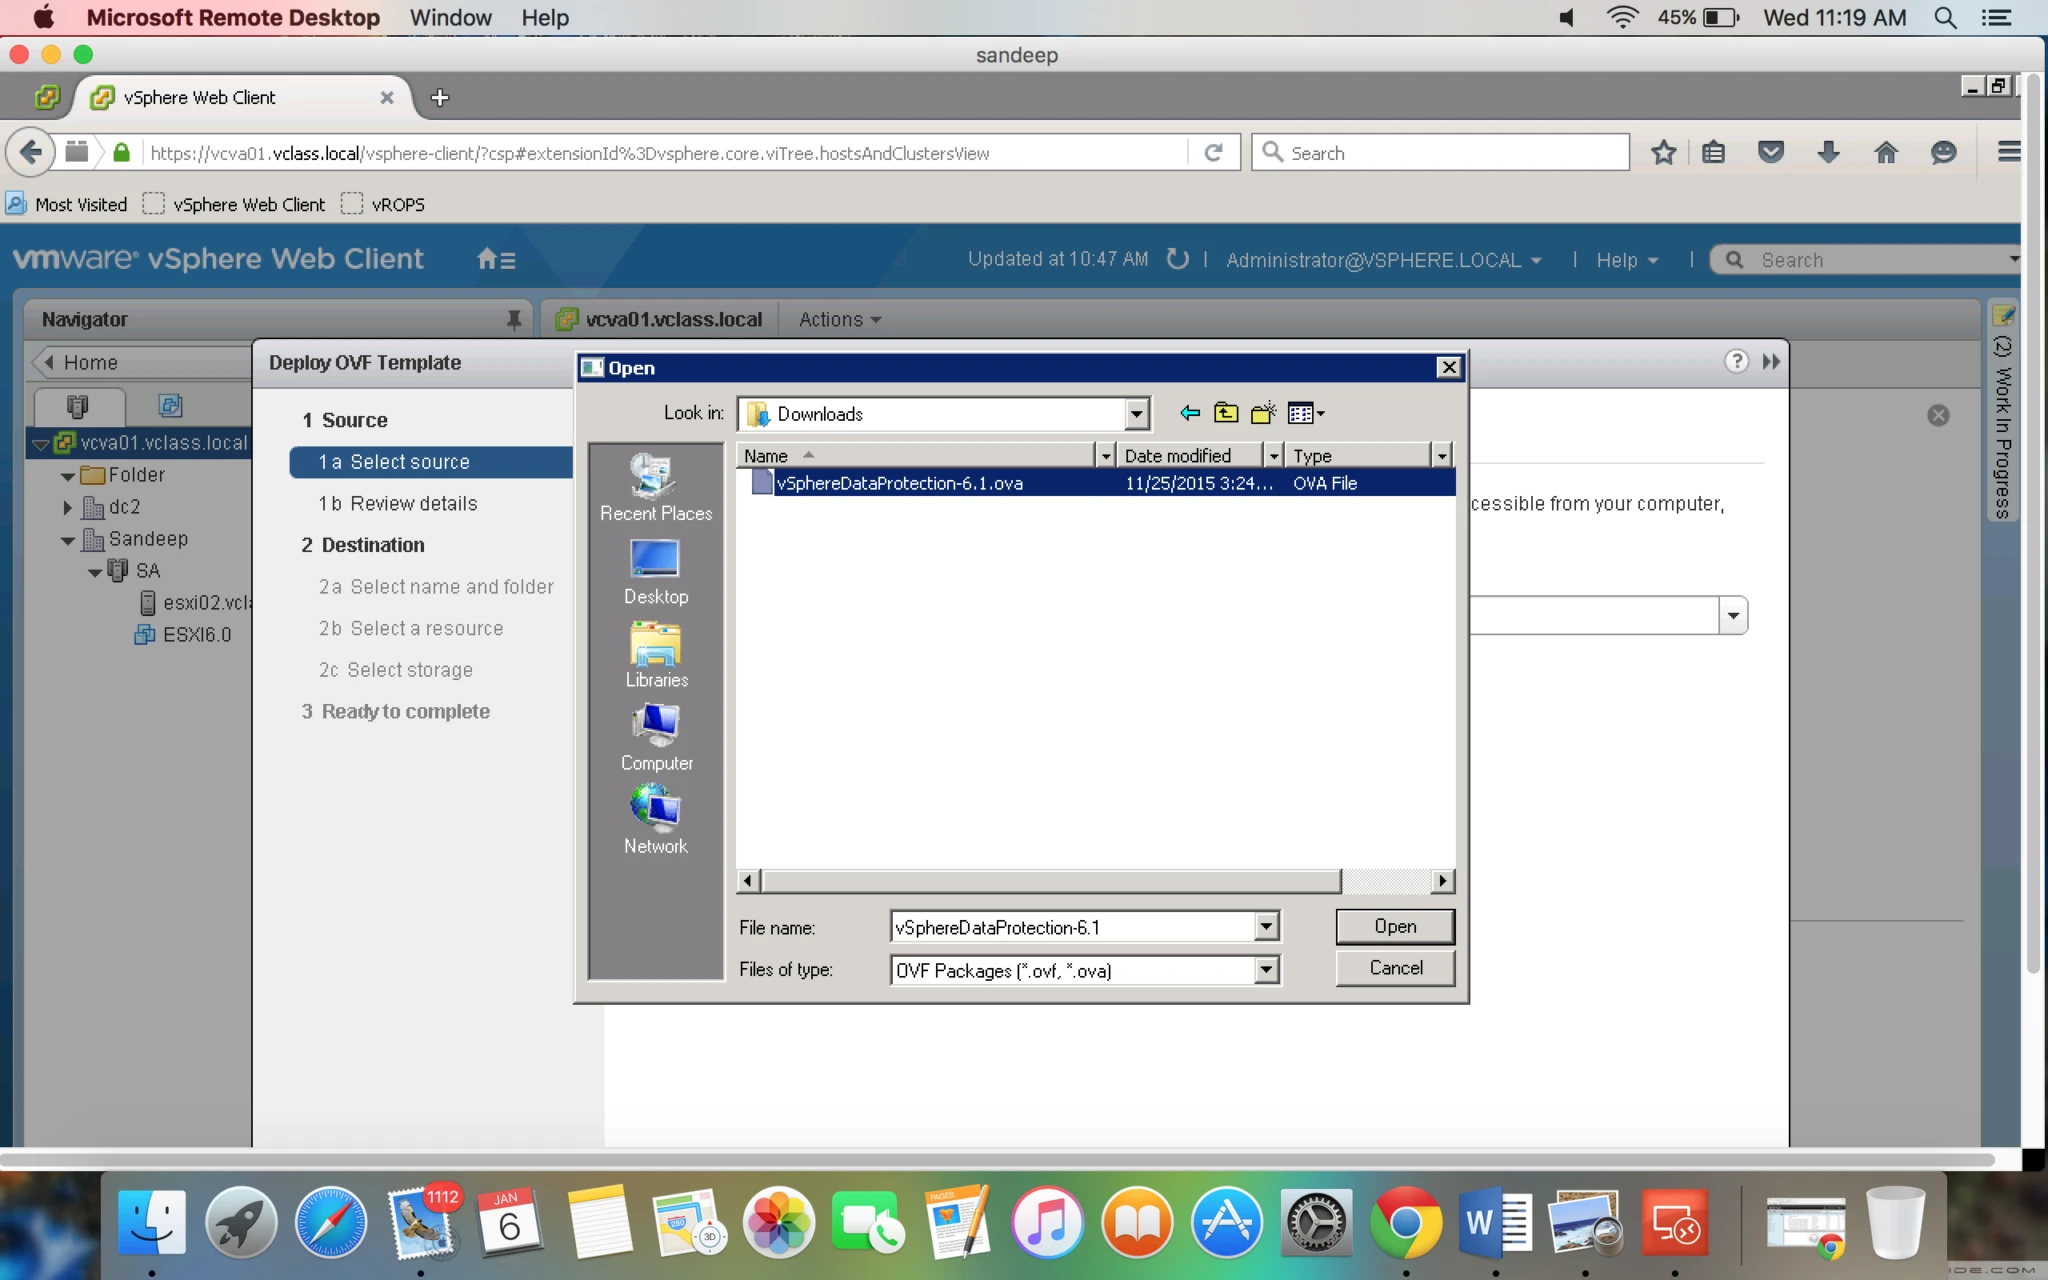
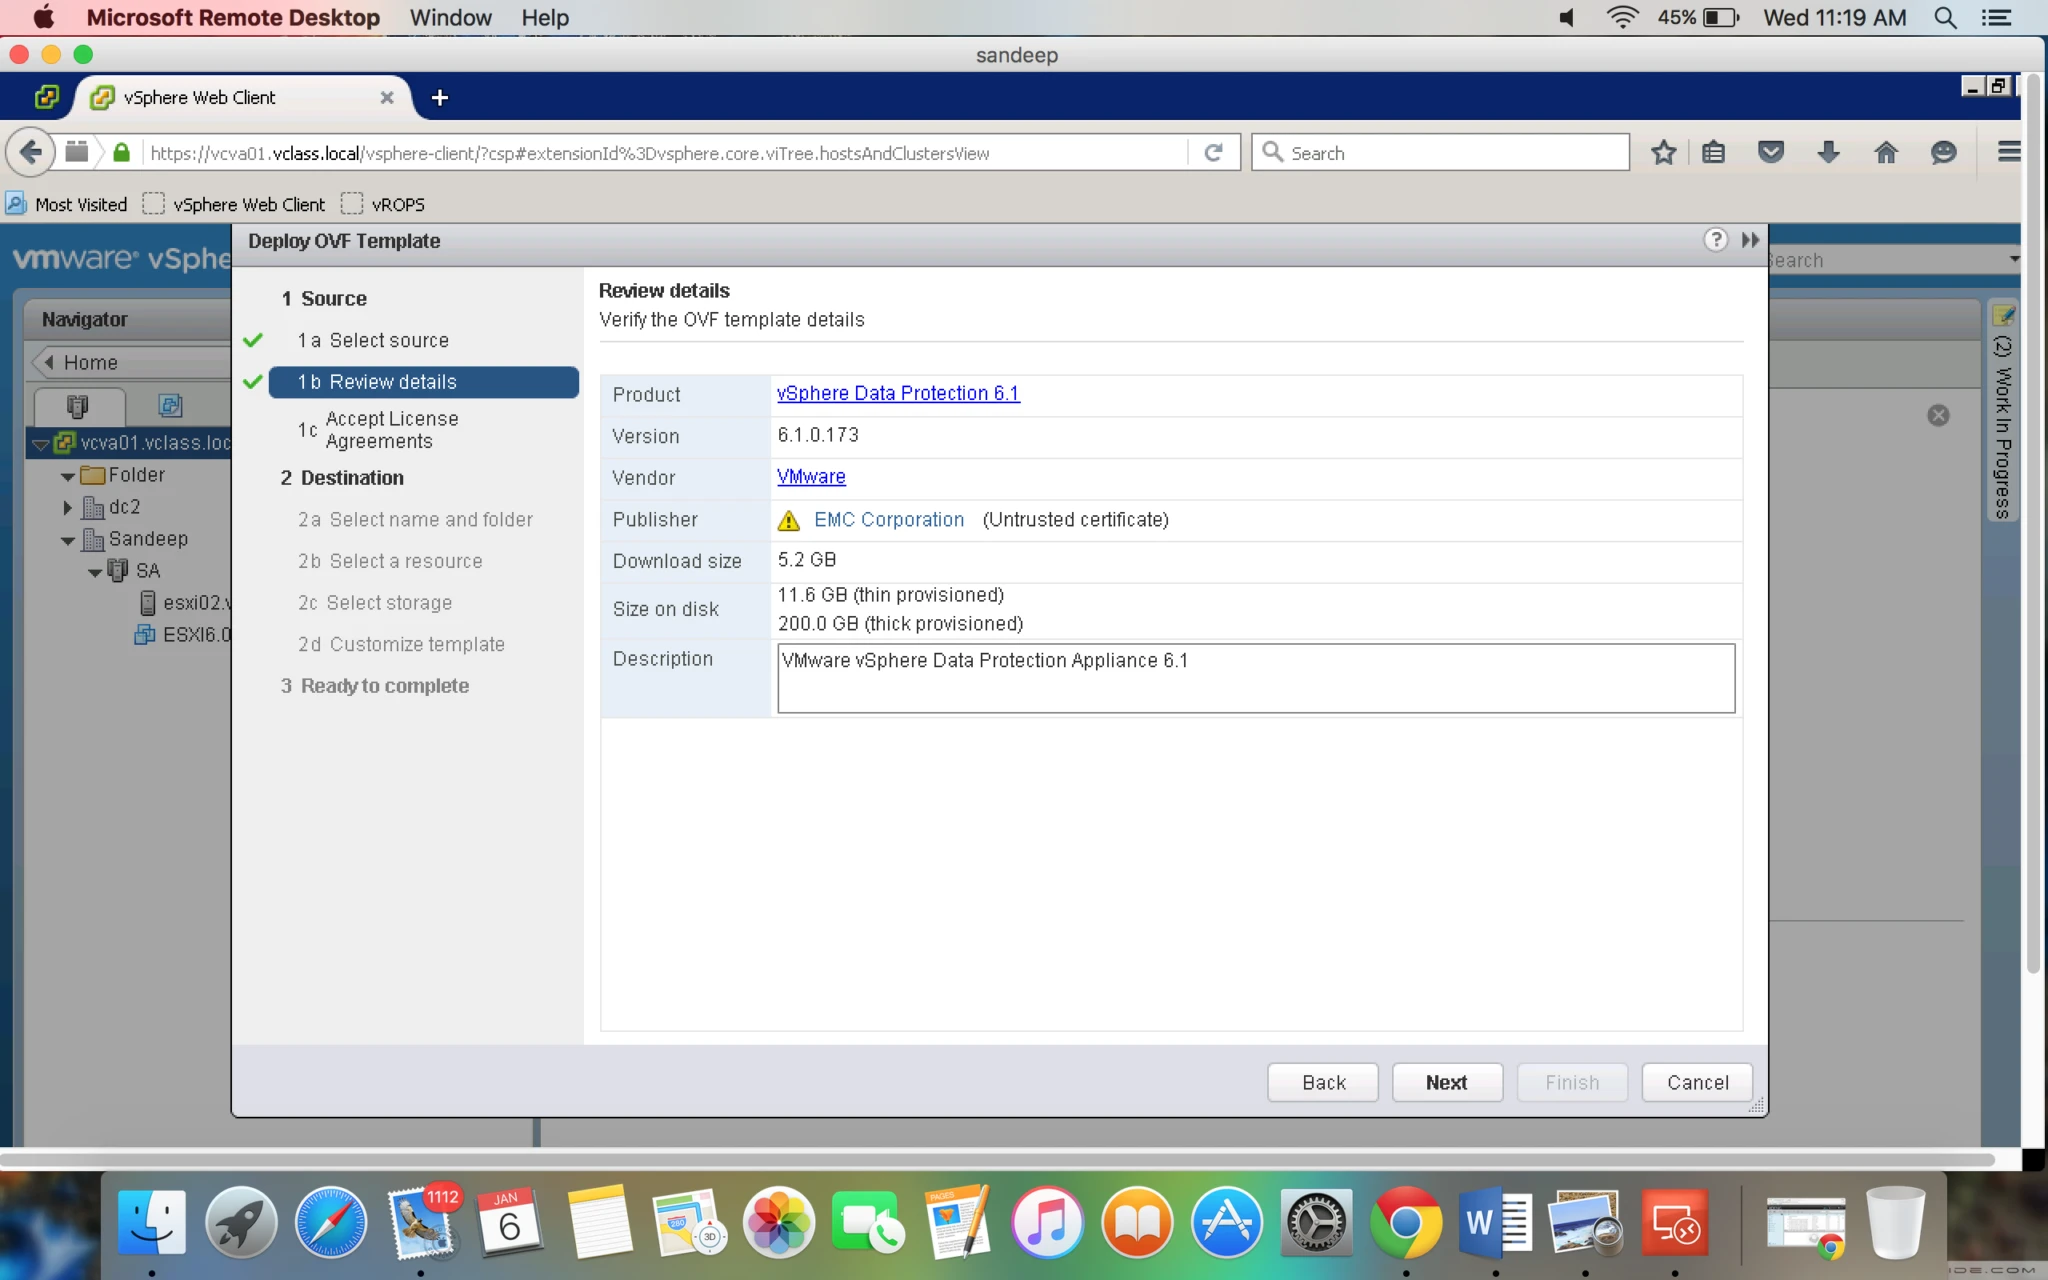
5. It will give you details regarding this .ovf click next.
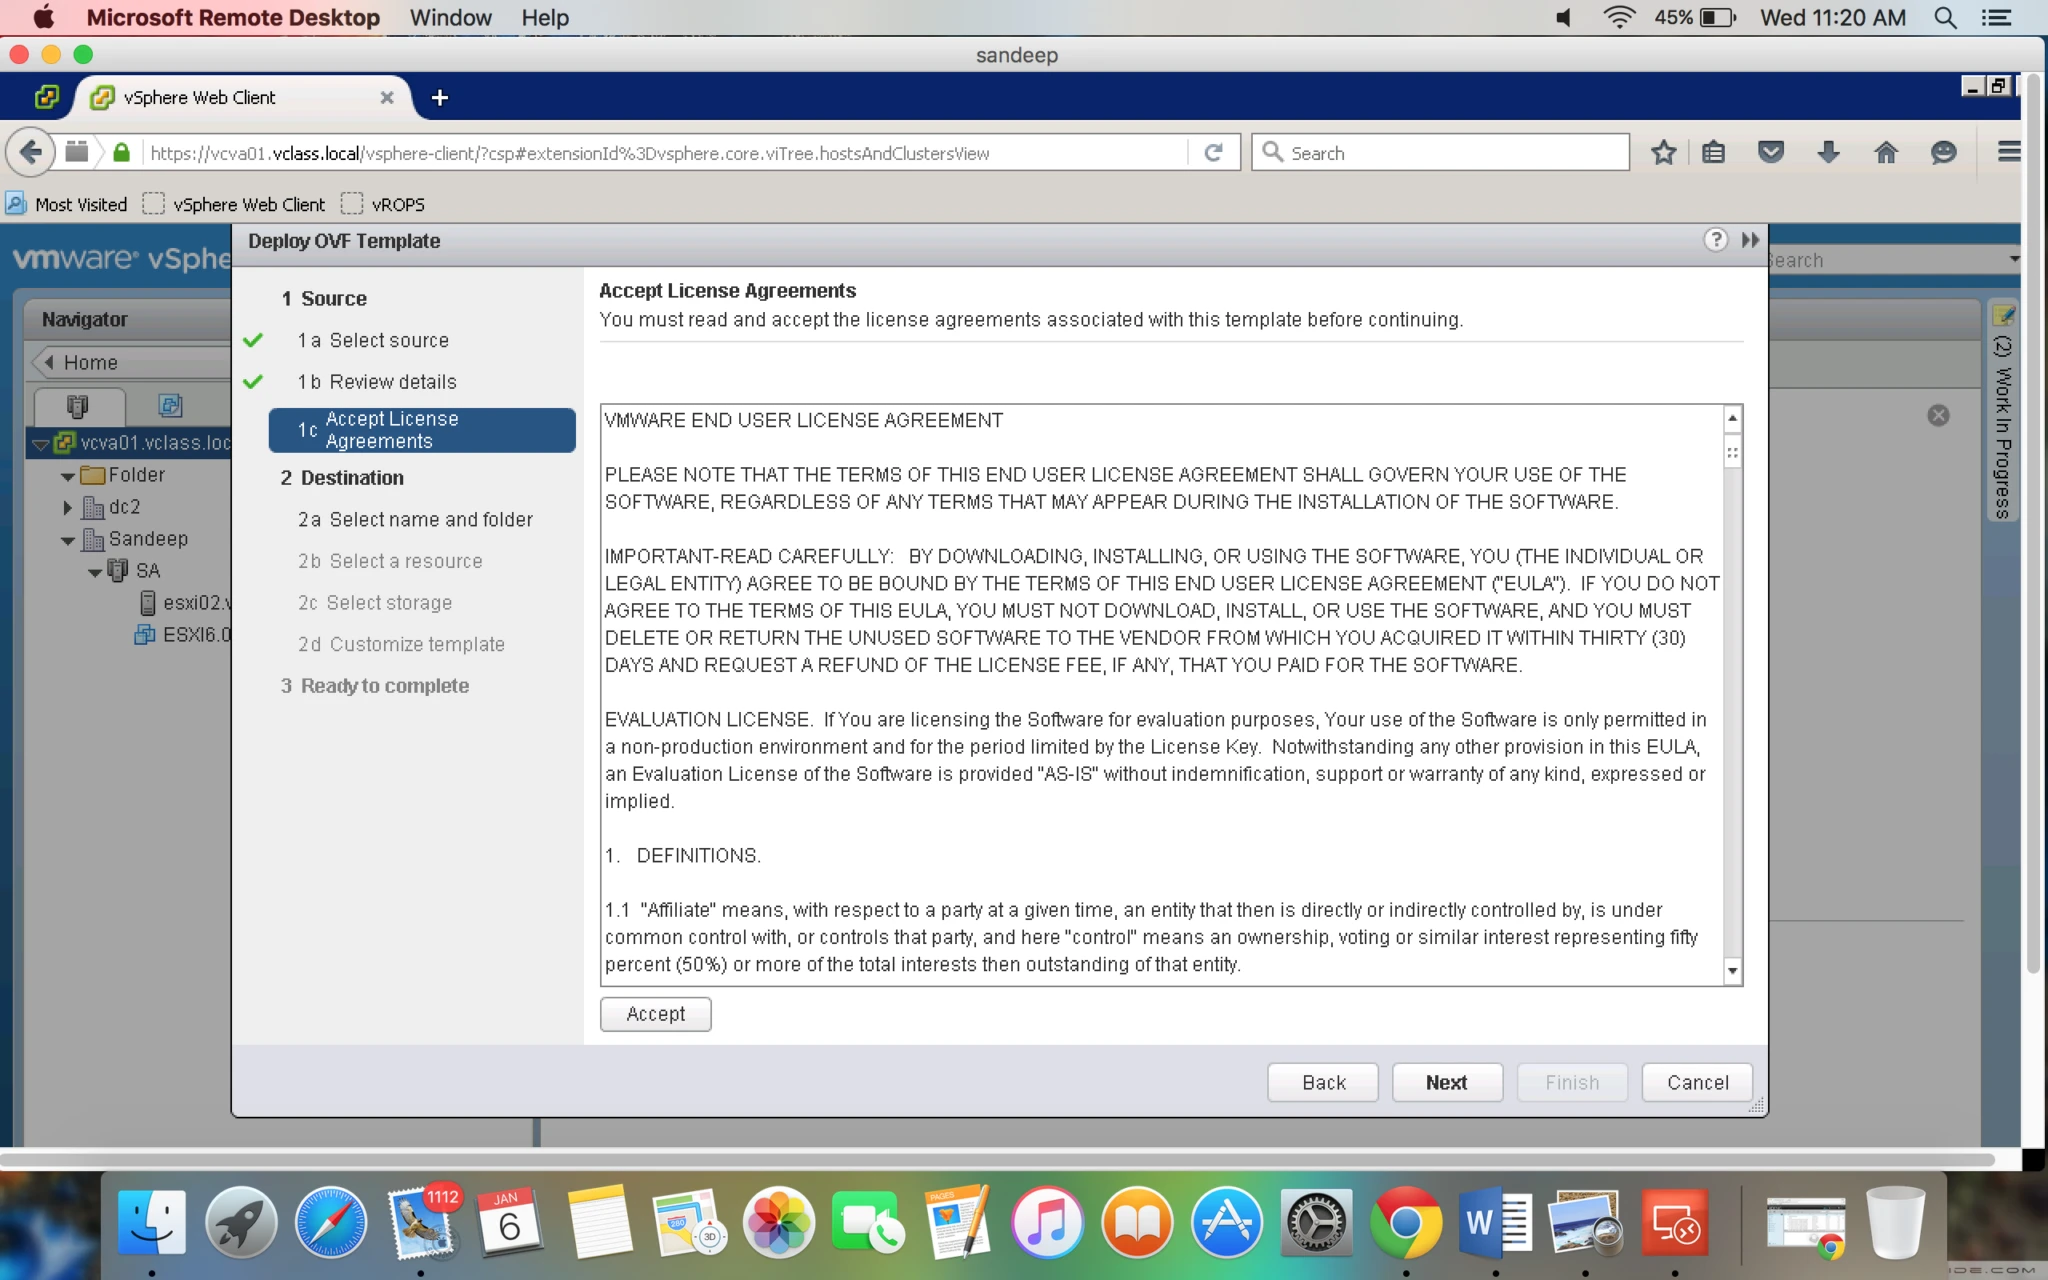
6. Accept EULA click next.
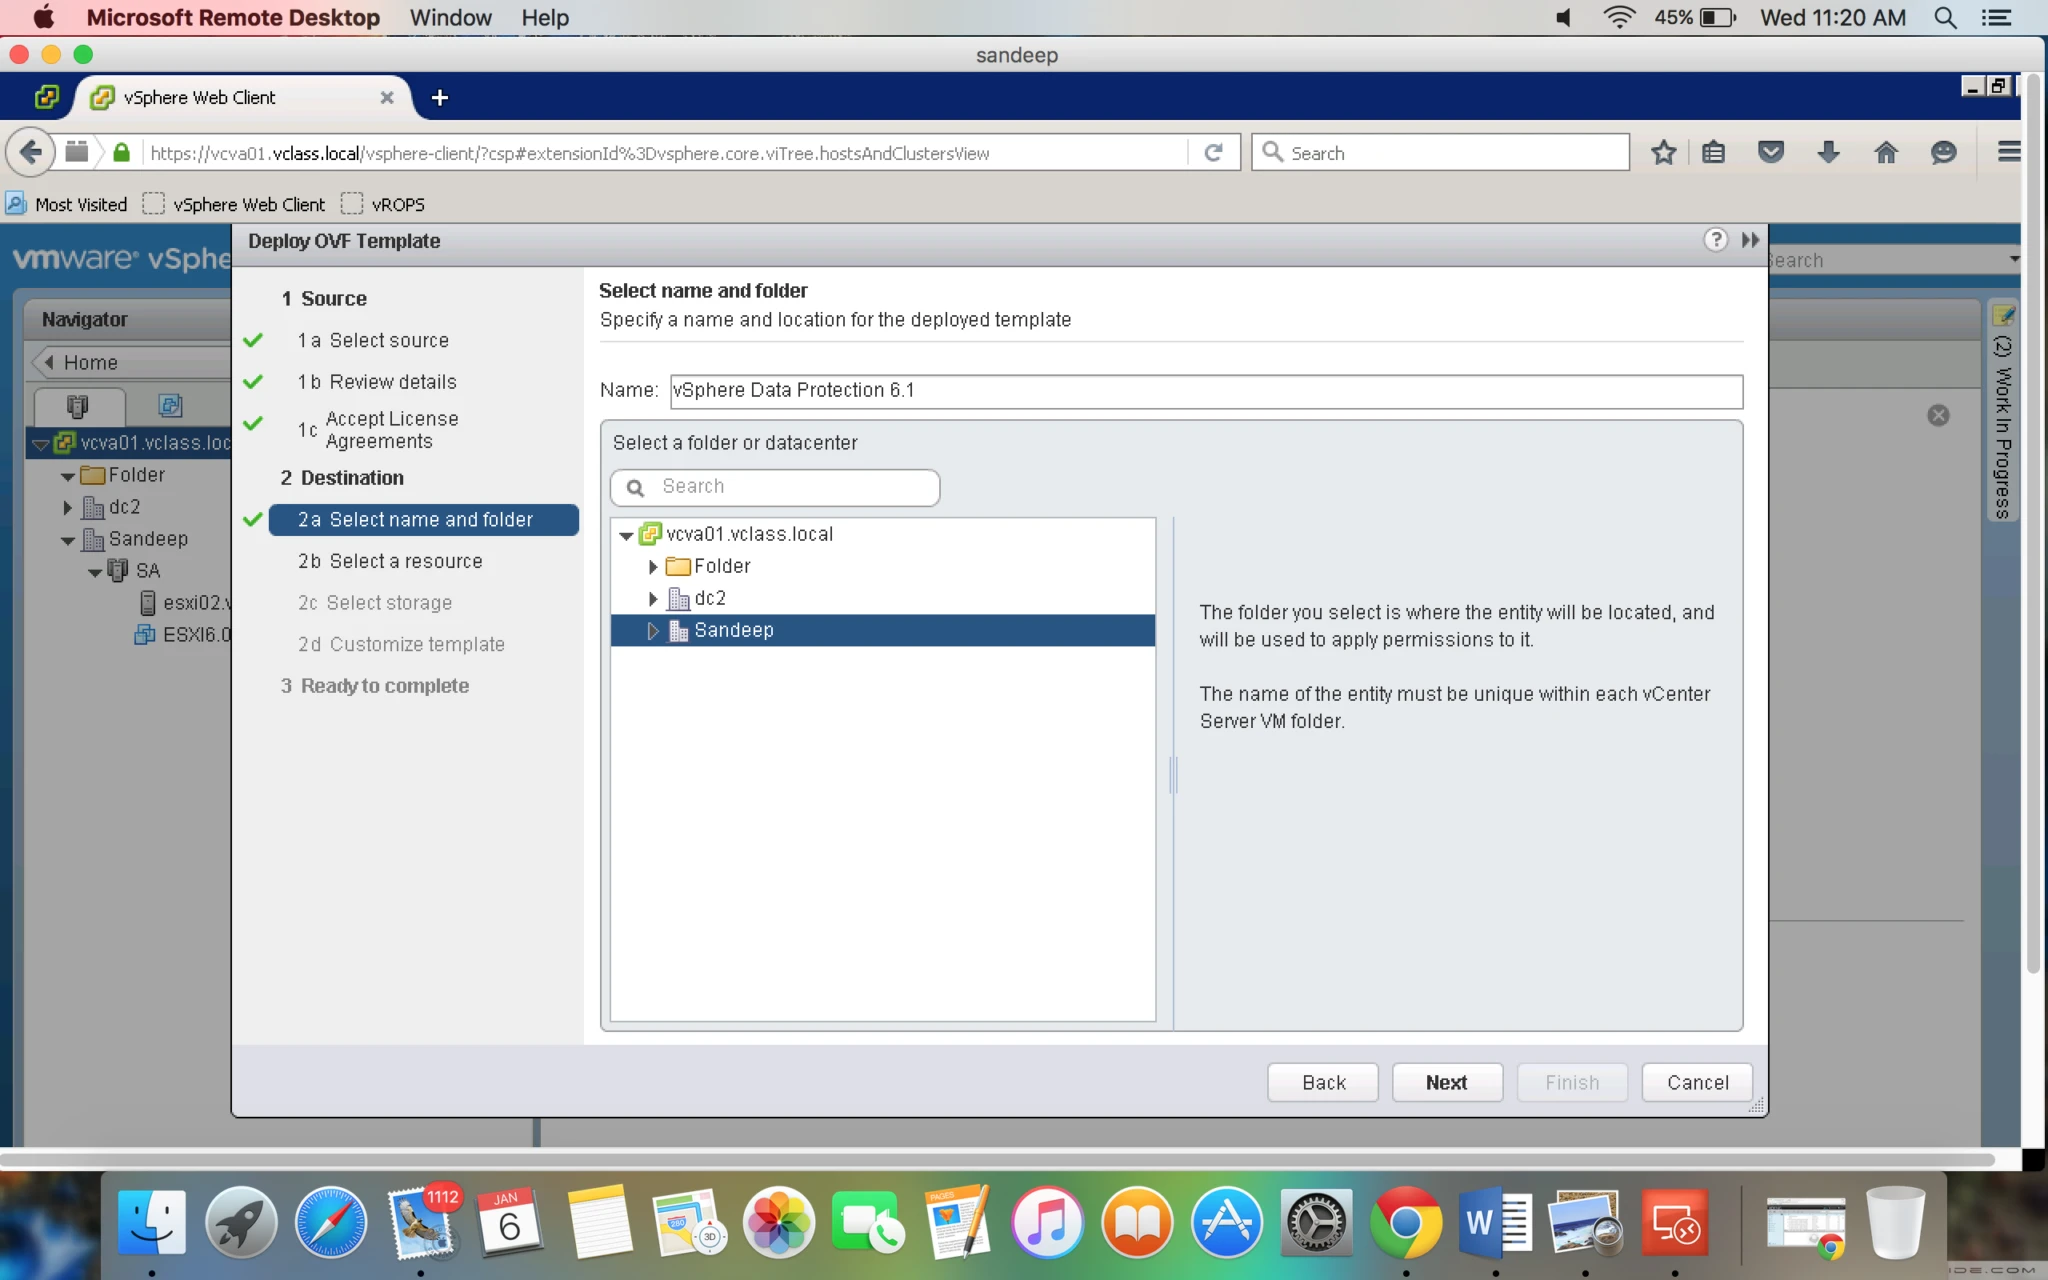
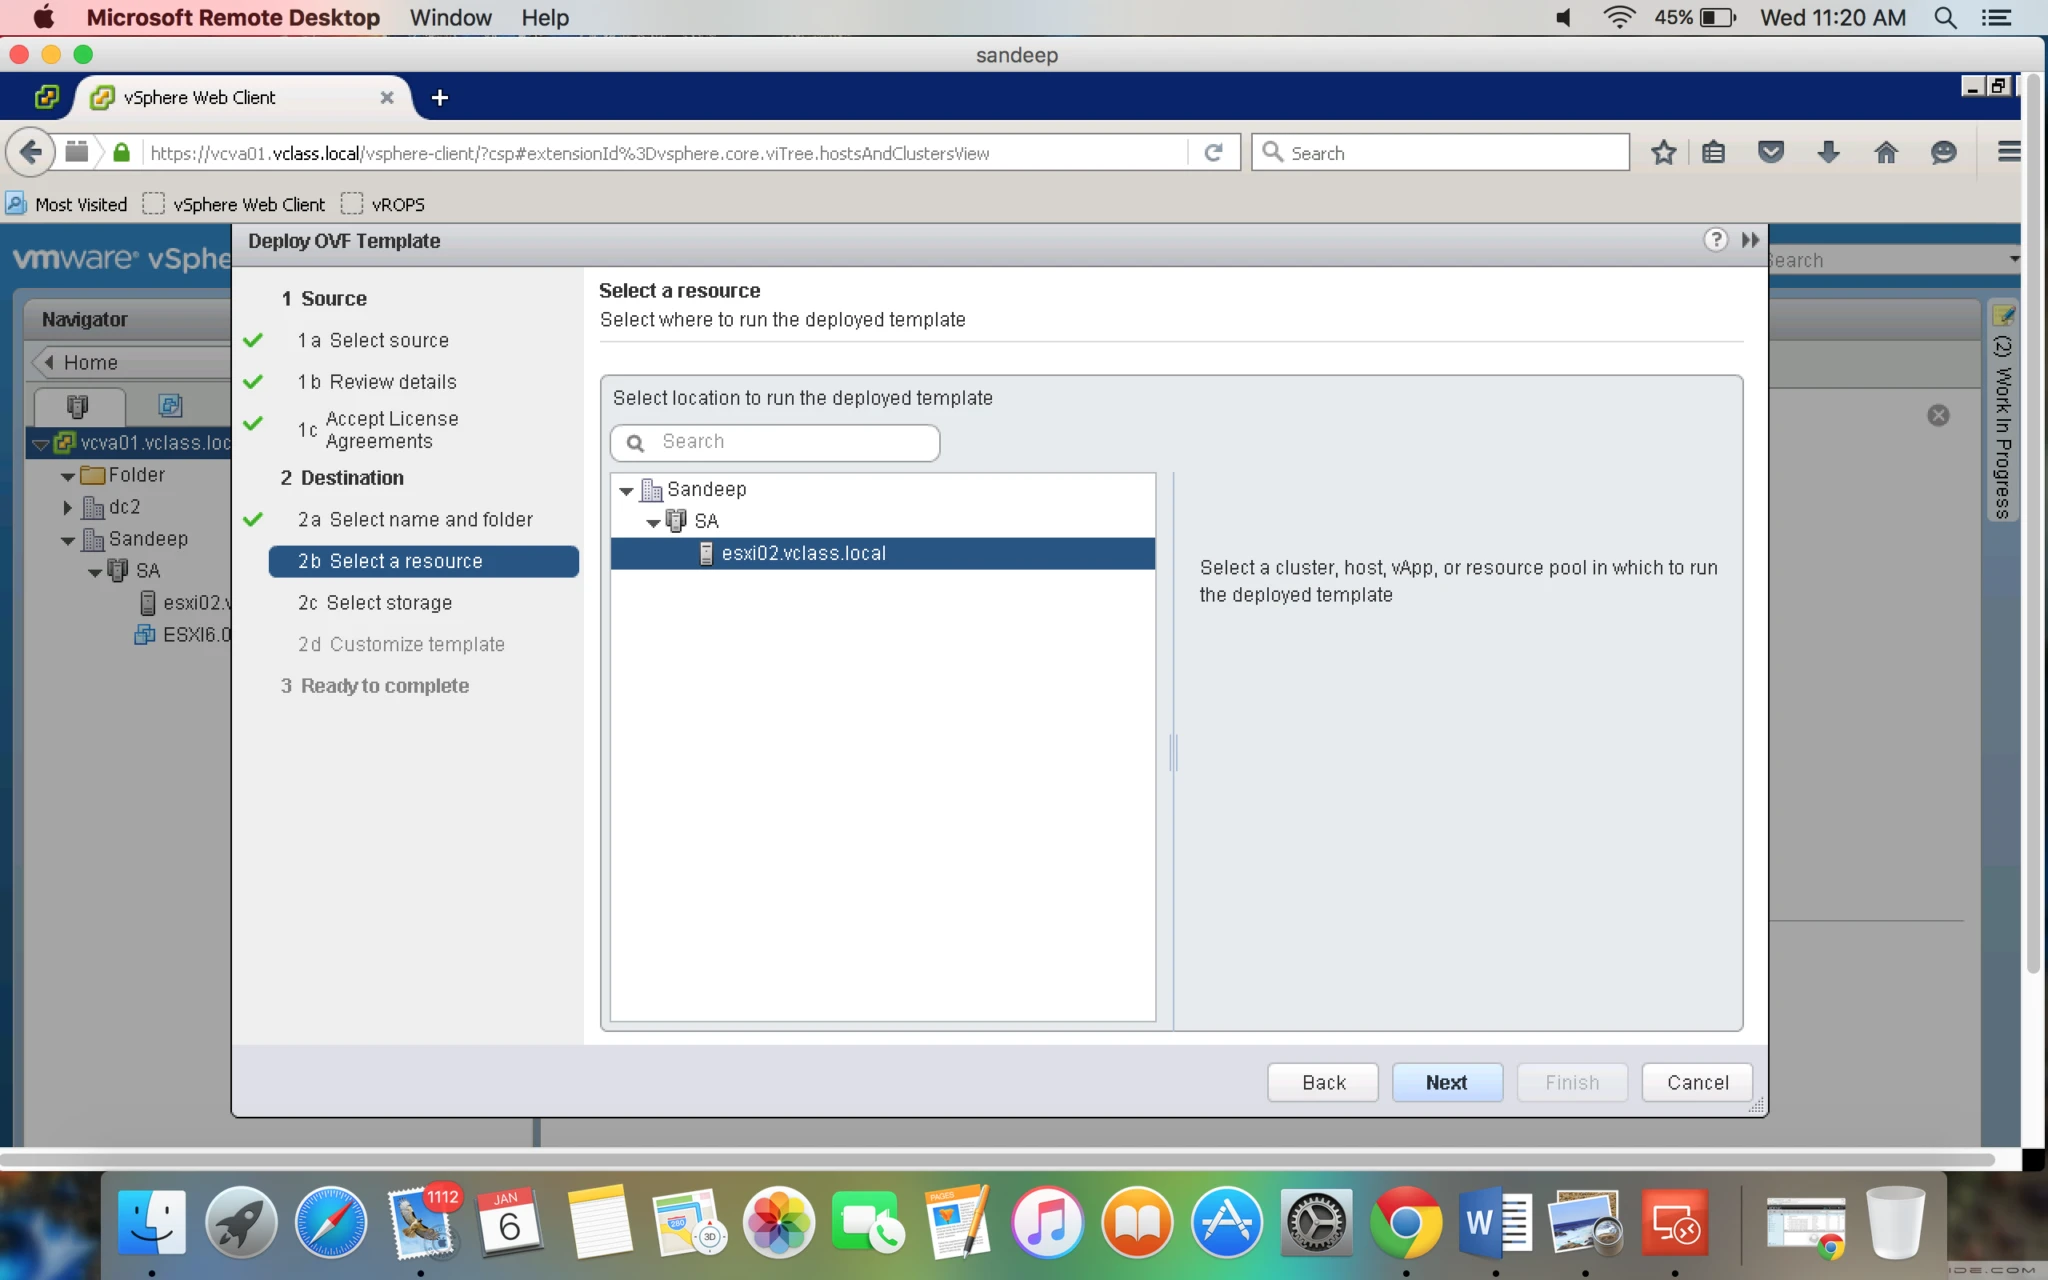
7. Select the Datacenter and ESXi Host.
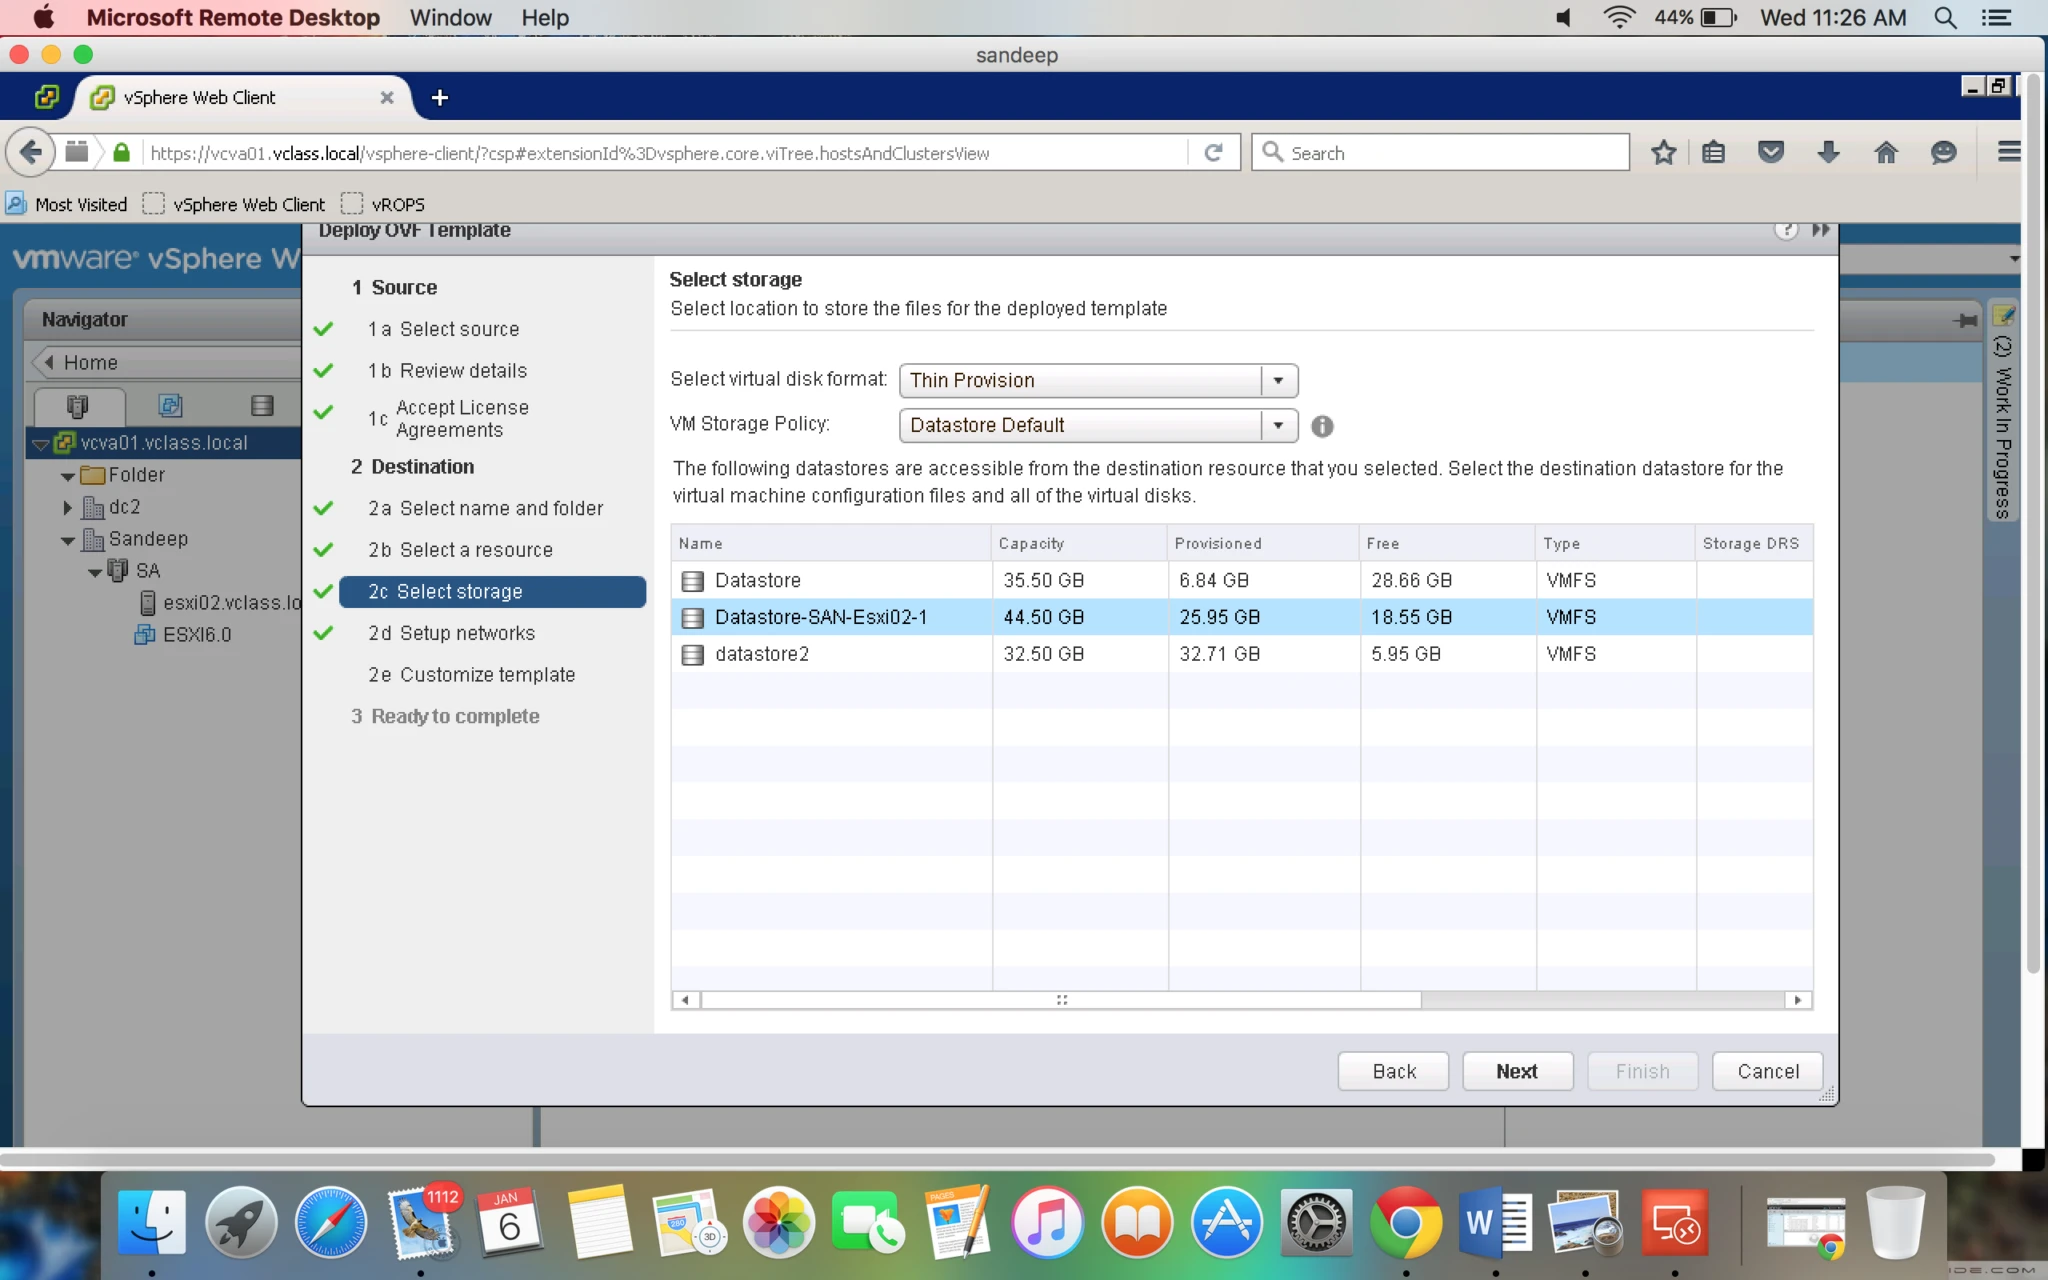
8. Select the Storage where disk will be stored.
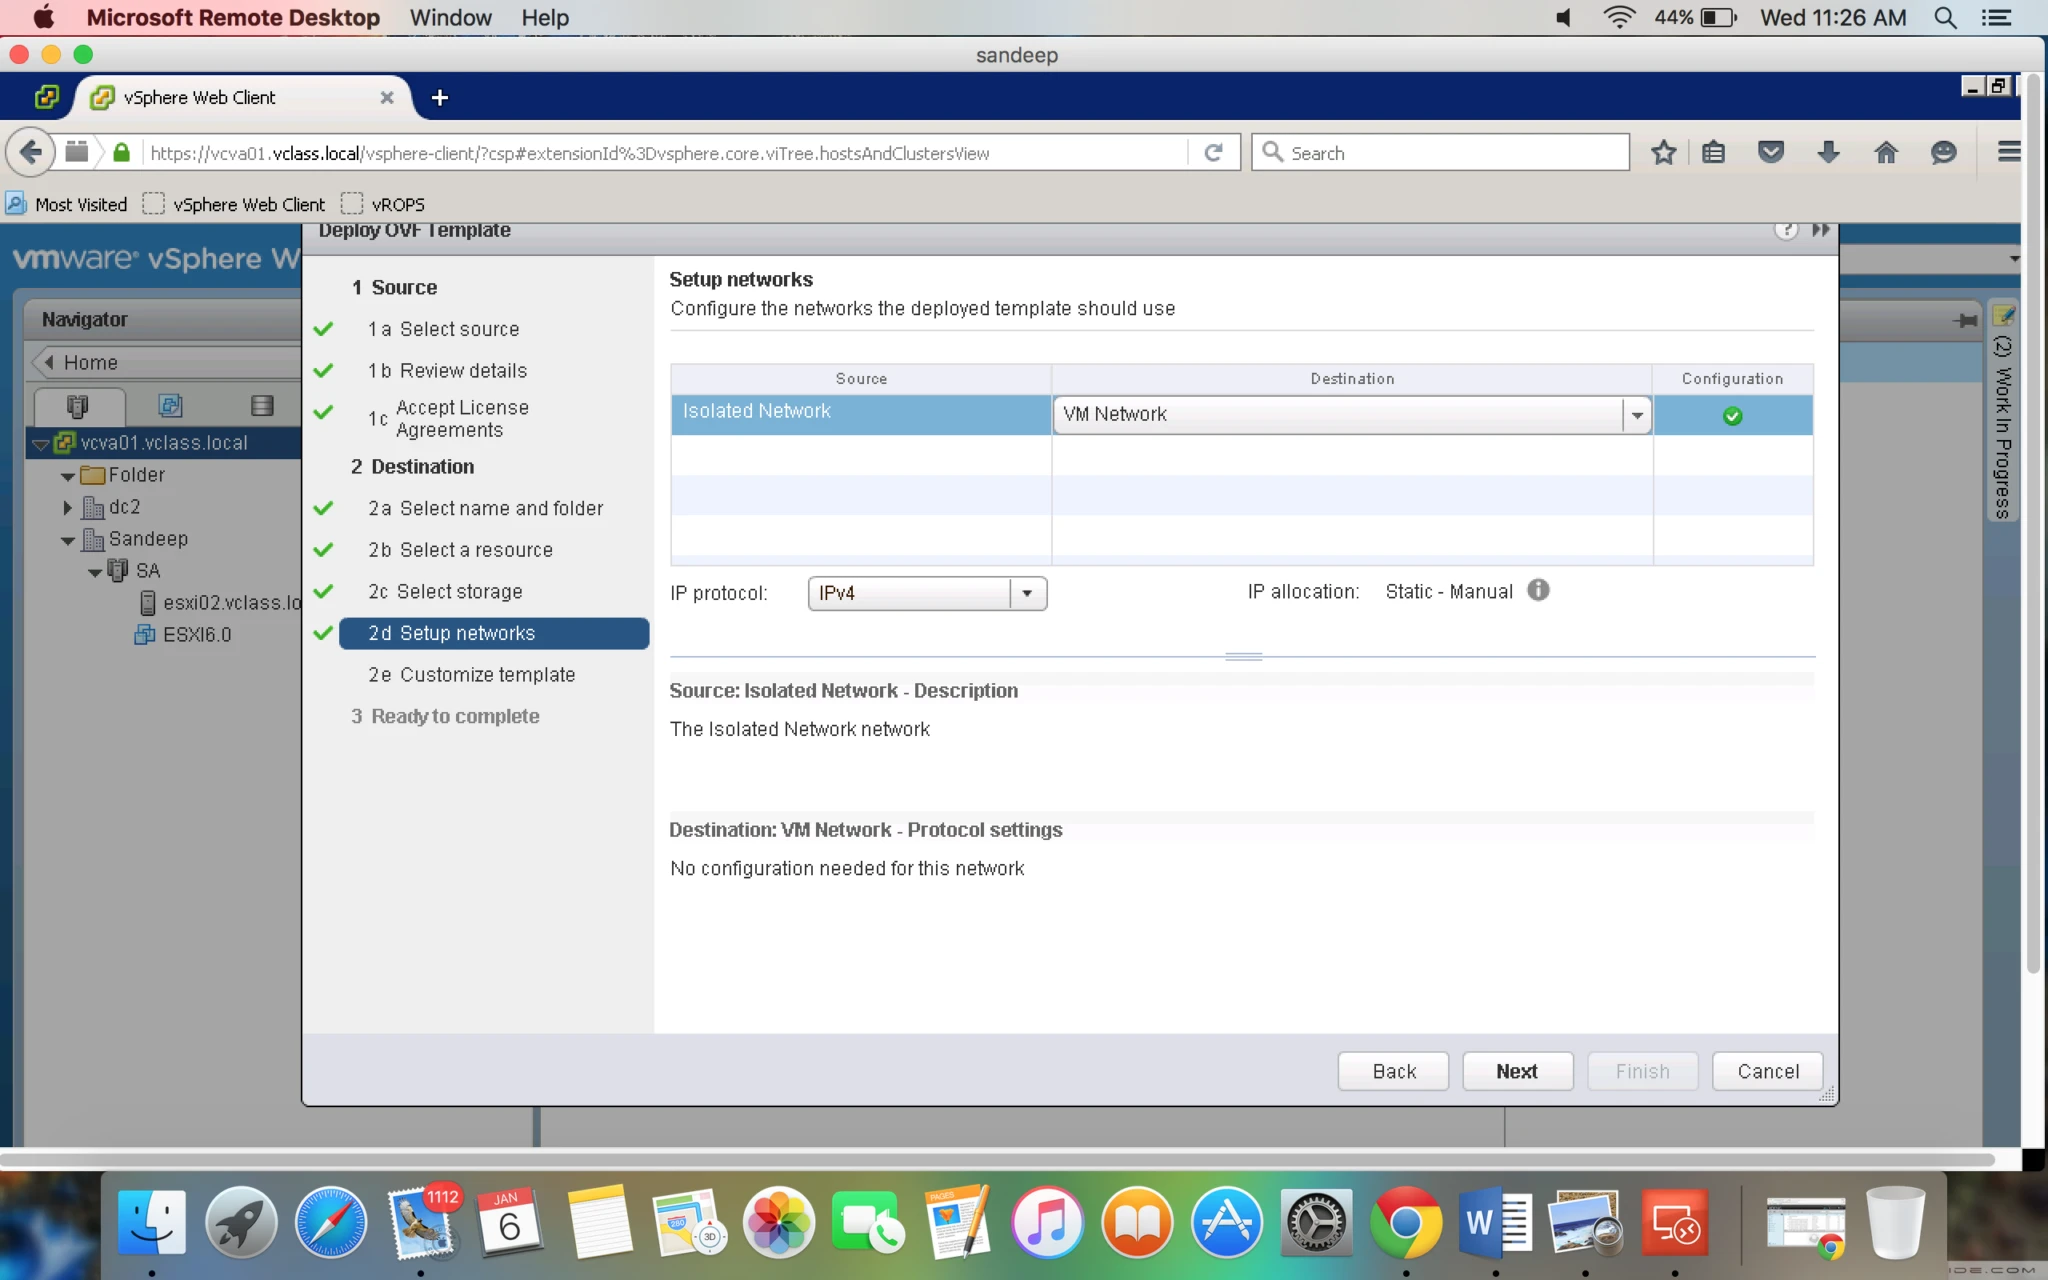
9. Select the Network
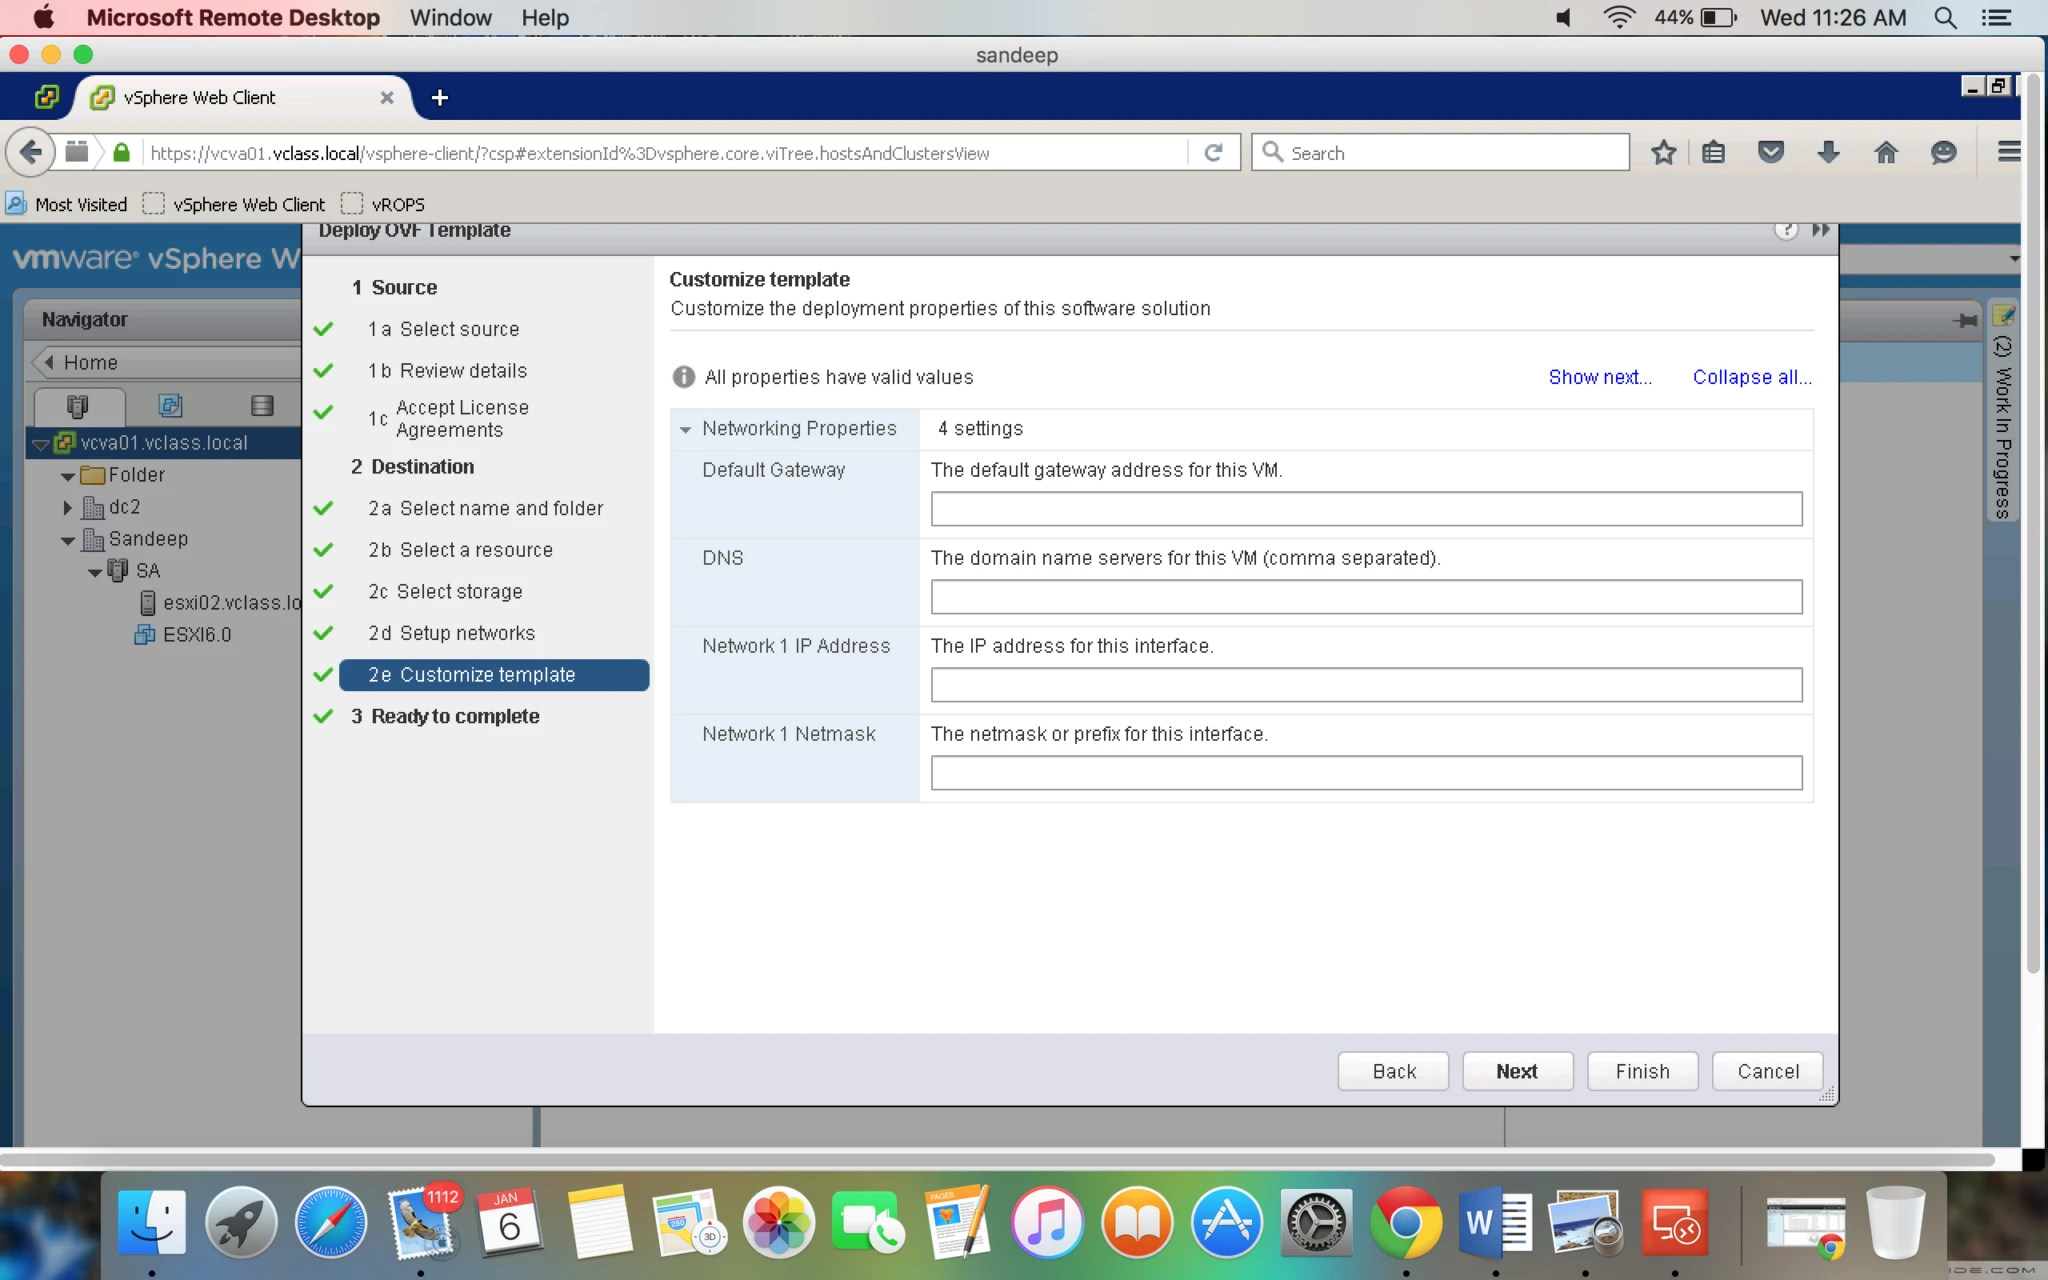
10. This is final page from here you can power on this appliance after deployment.
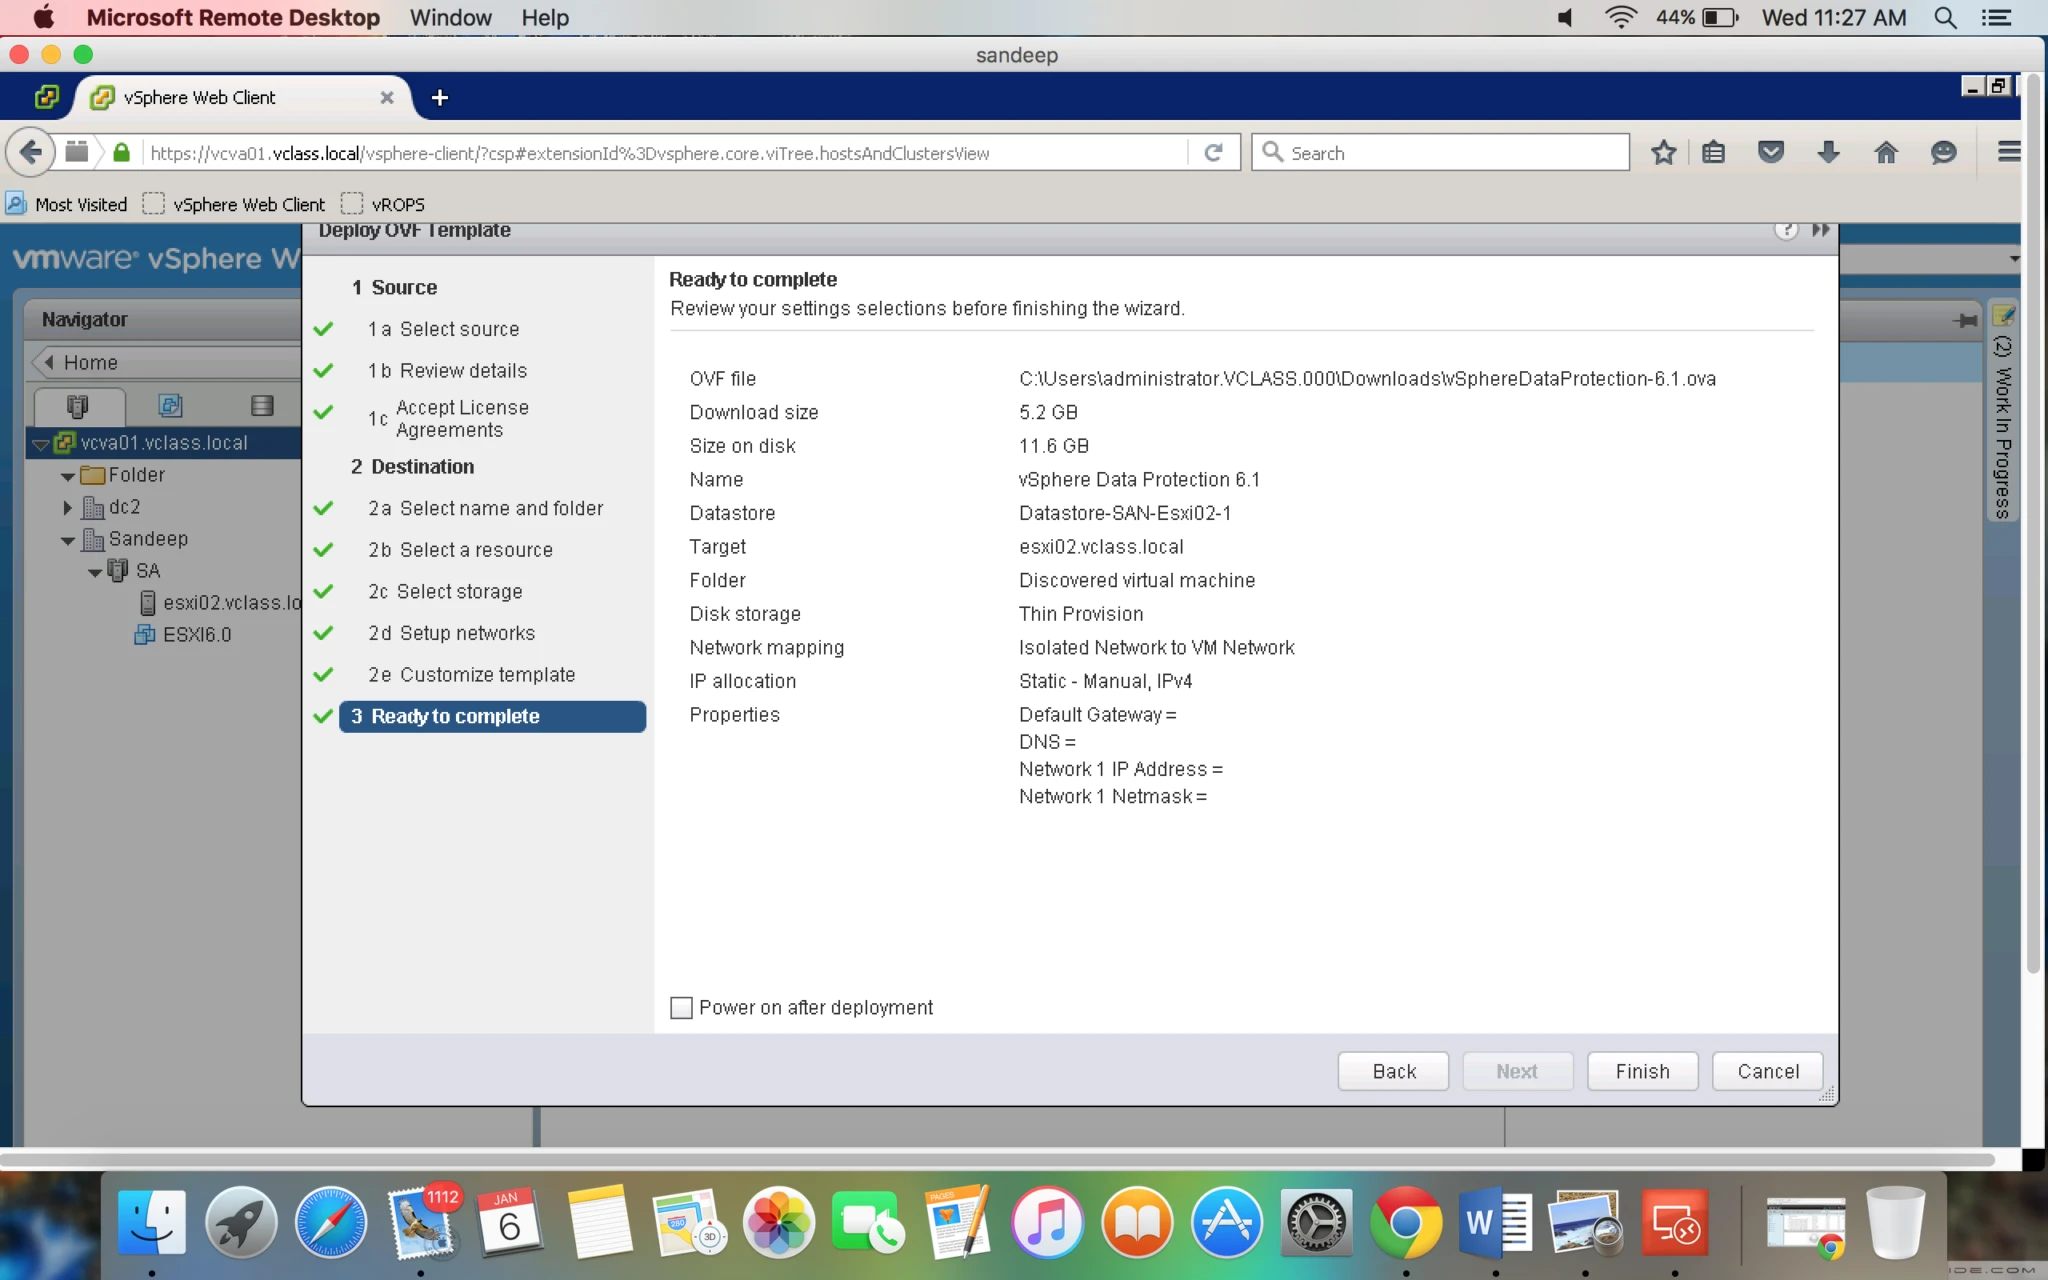
11. After deployment you can see your VM in Webclient.