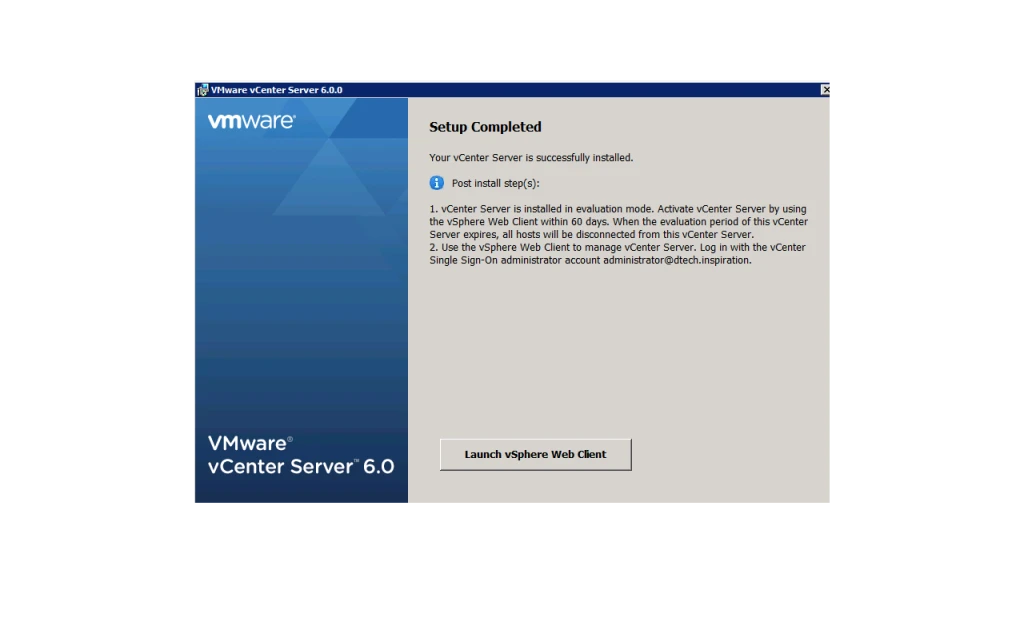
Today i am exploring about vSphere vCenter Server 6.0 Update-2
- First you have to download the ISO file from VMware and attach in Windows Box.
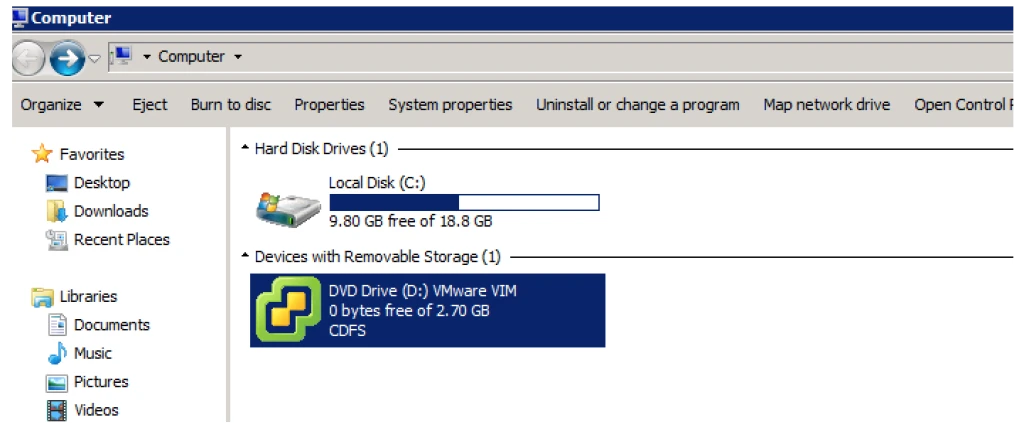
2. Double click on CD/DVD and it will open below Console. Now select vCenter Server for Windows and click Install.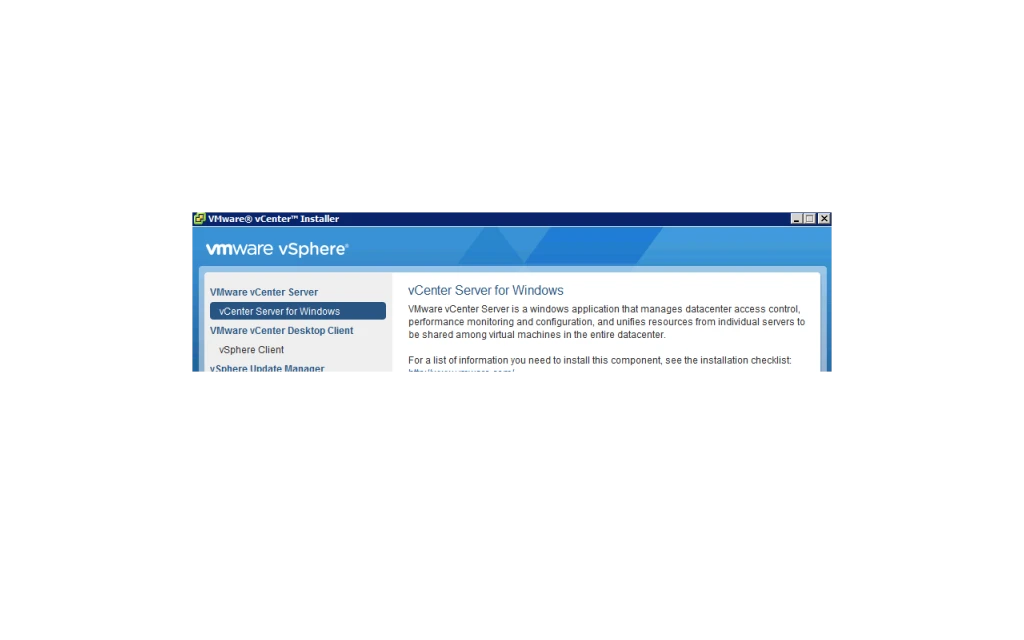
3. Click On Next.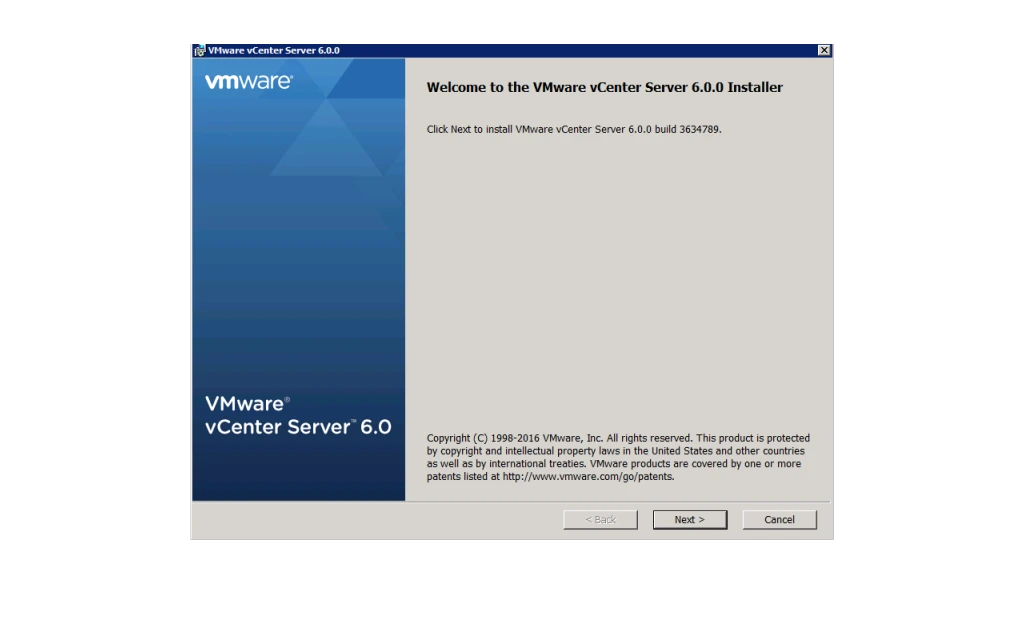
4. Accept The EULA.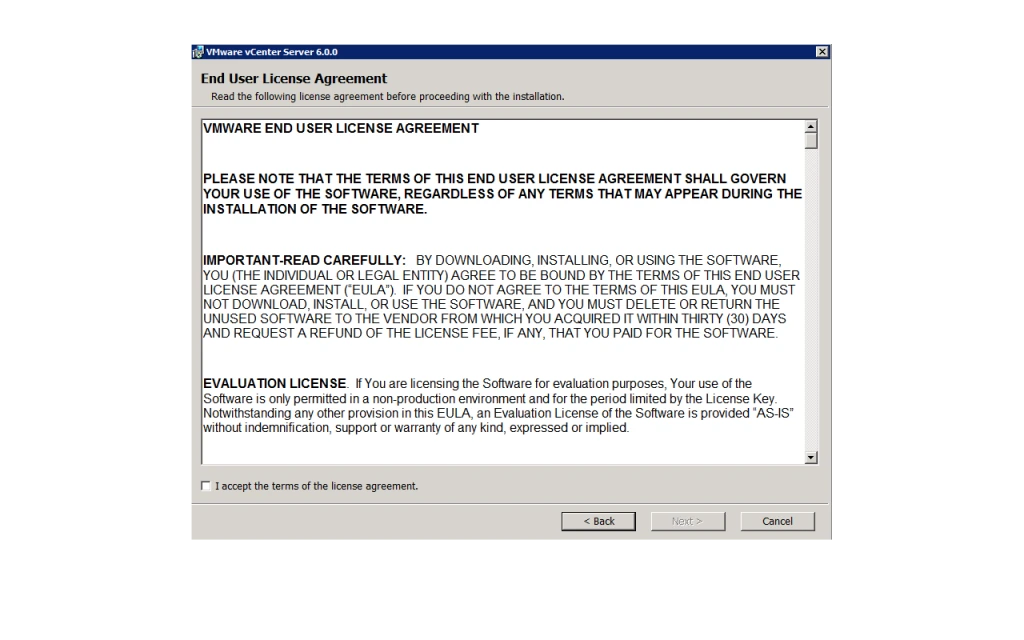
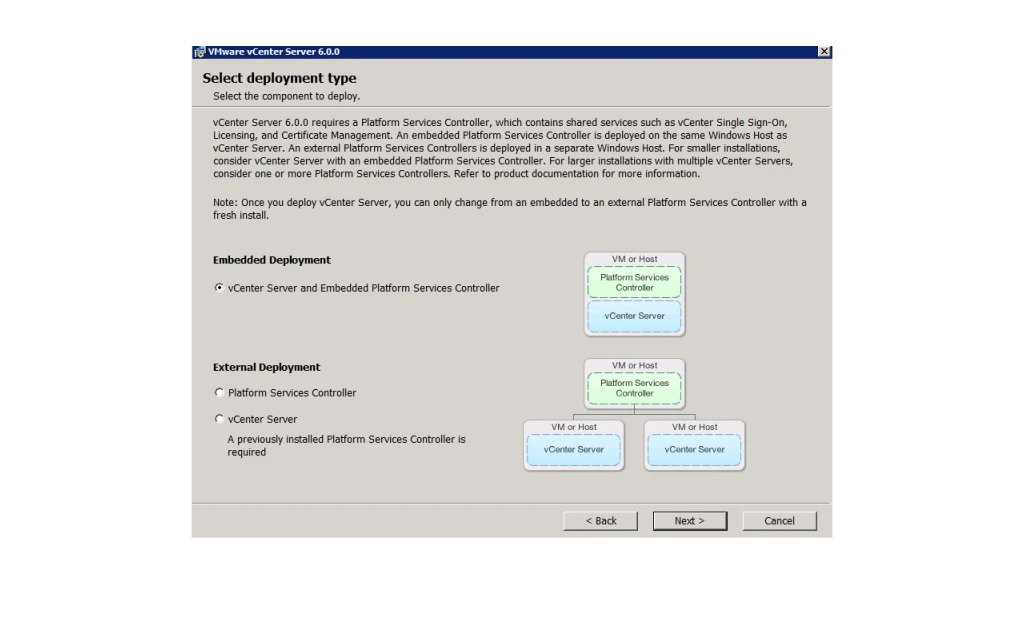
5. Now Time To Select Whether Go With A.) Embedded ( PSC + vCenter Server ) or B.) External ( PSC ) Seperate ( vCenter Server ).
Note: When you go with First Embedded Model Then in That Case -> First It Will Install PSC and Then vCenter Server
If You Will Go With Second Deployment Model Then in That Case -> You Must Have PSC Preinstalled or You Have To Install it Before vCenter Server Installation.
6. It will Ask you for System Name.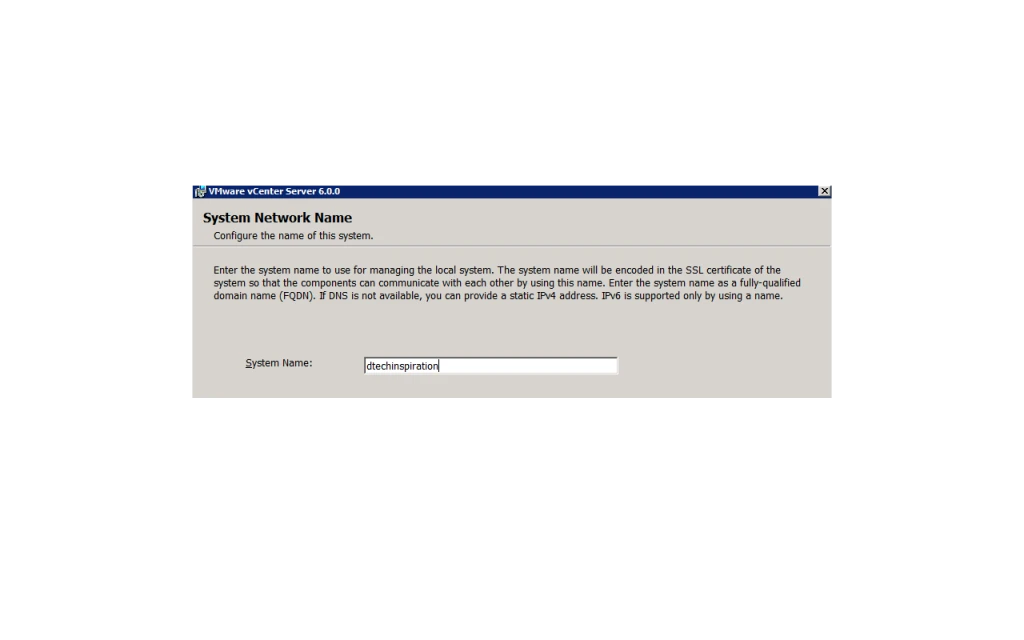
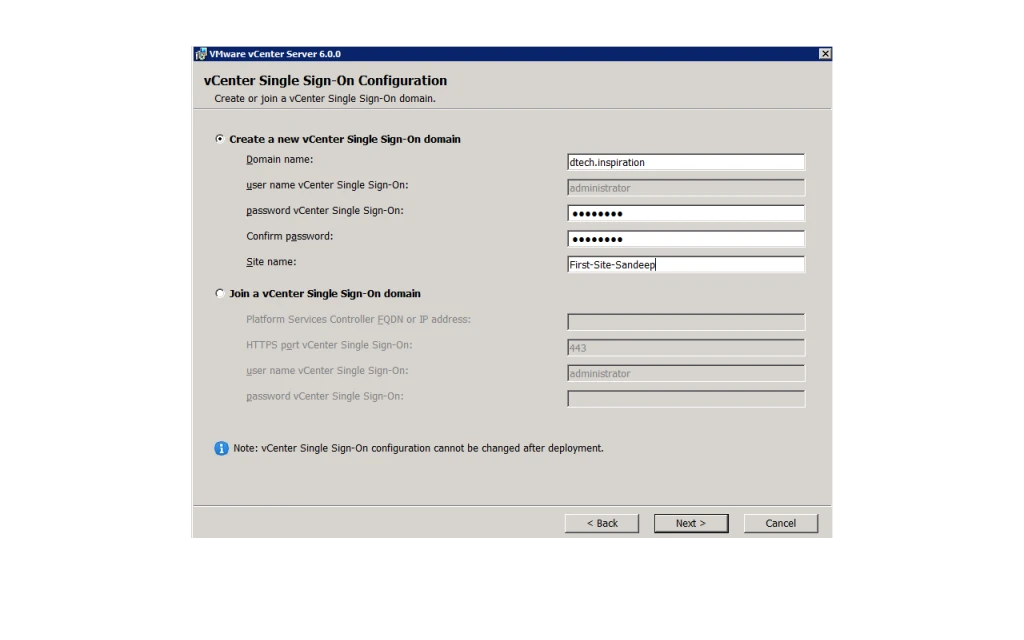
7. Here It Will Ask You for SSO Joining. A.) If You Have Already SSO Then Join or Create New SSO Domain.
Note: Here it Will Ask for Site Name. Example ( Under INDIA you have Multiple Sites – Delhi, Mumbai, Gujrat etc ).
8. Here It Will Ask You To Use Either Local Account or Use Specific Account.
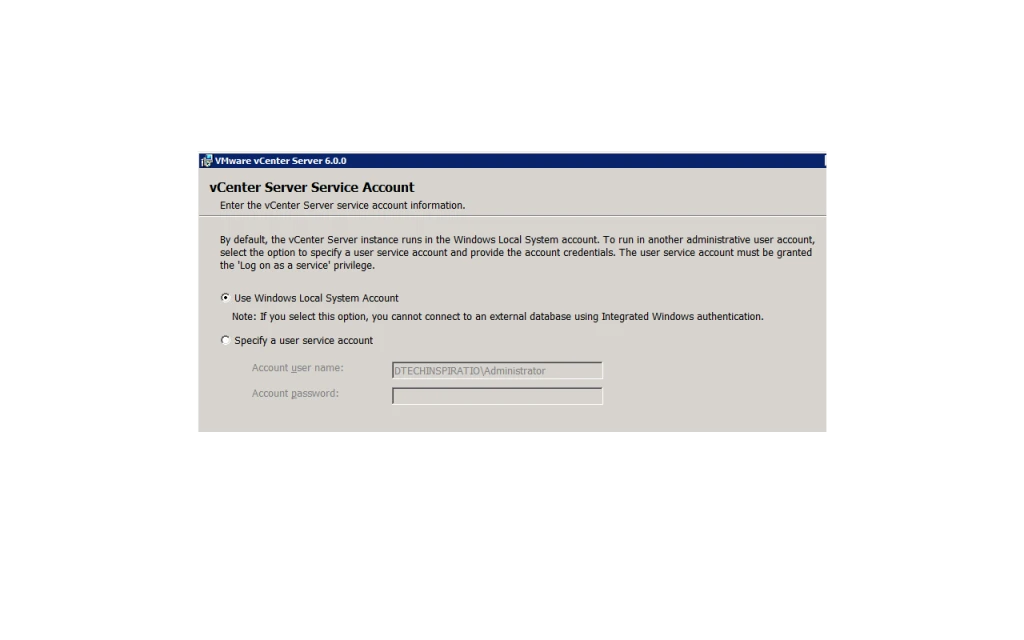
9. Here You Have to Decide Wether You have to Go With Embedded One or External.
Note: Why Embedded: If You Have Small Setup or SMB Then You Can Go with it. ( Eight or Less – vCenter Server you can connect with single PSC)
Why External: If You Have Enterprise Or Big Organisation then Use External Database or if You Have Existing Database Server then Use that it will save cost and management ).
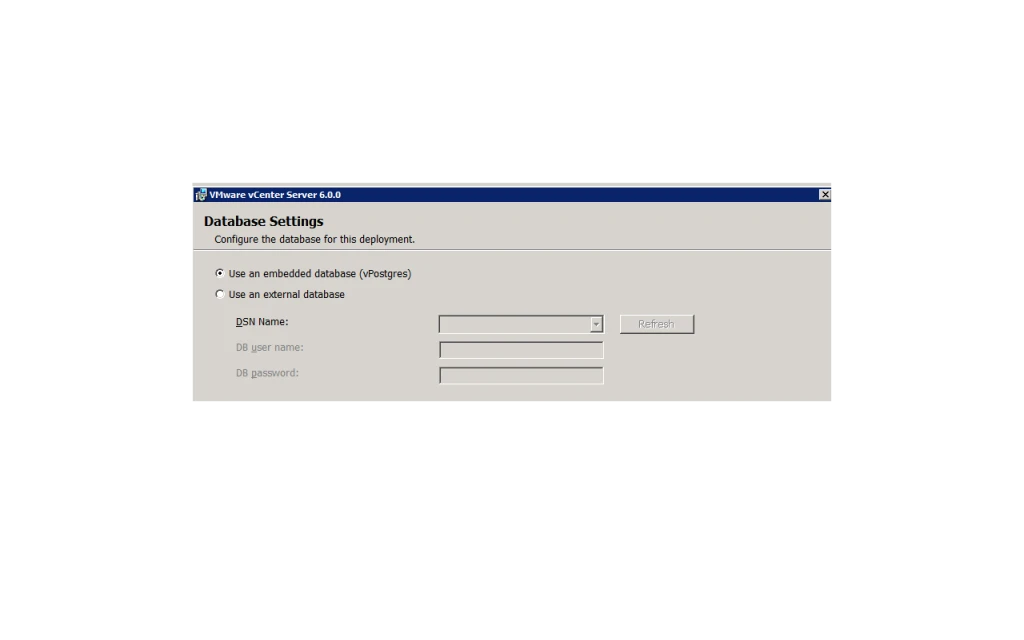
10. For External You Have to Create DSN and Database @ Server End.
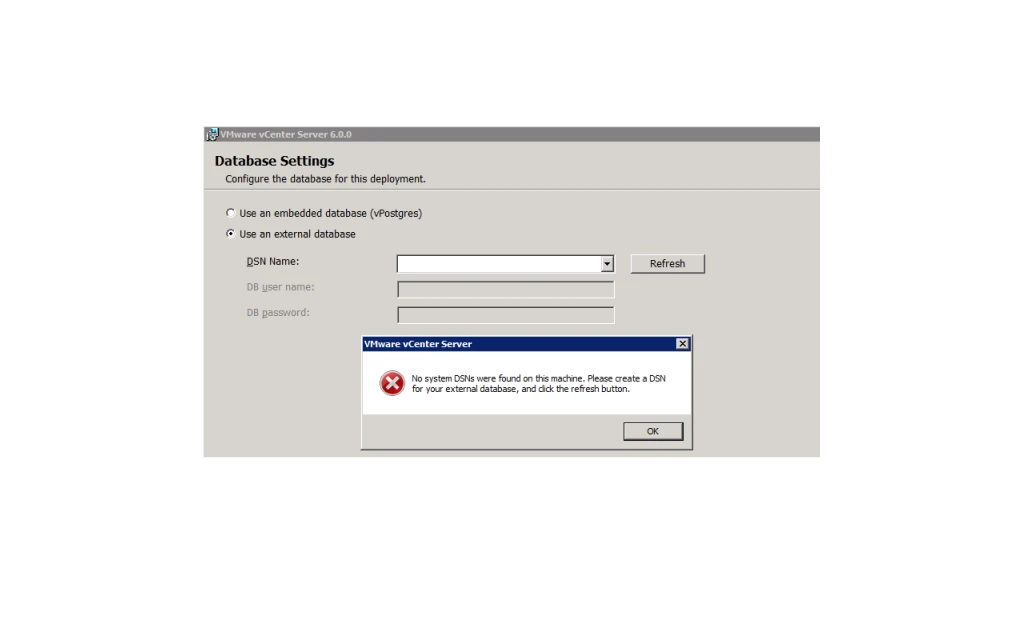
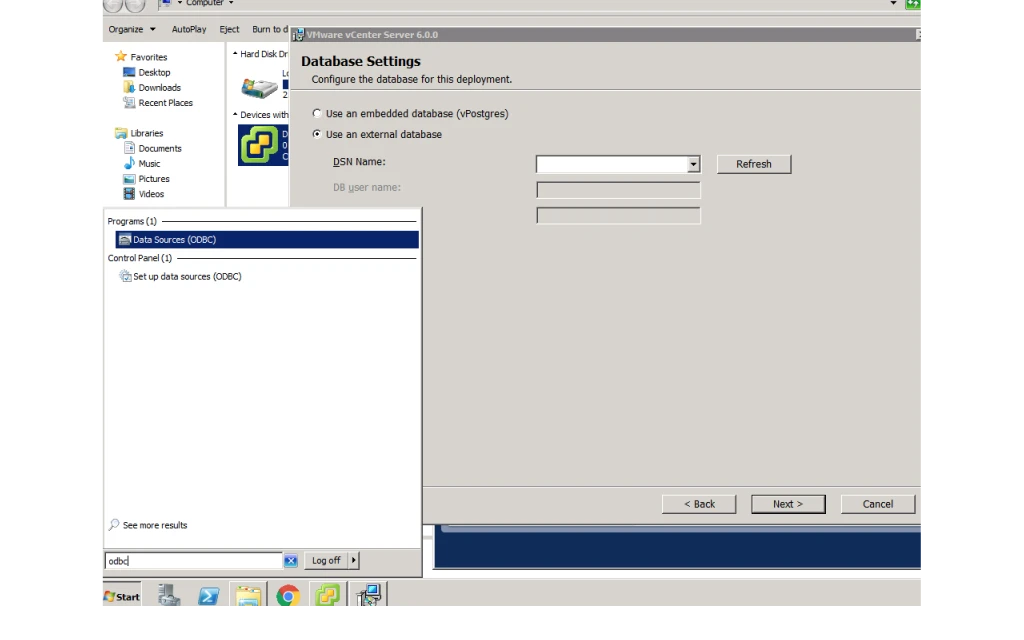
11. Open ODBC In Your Windows Box And Check if Native SQL Client Is There or Not. If Not Then Download And Install The Same.
12. Click On Add.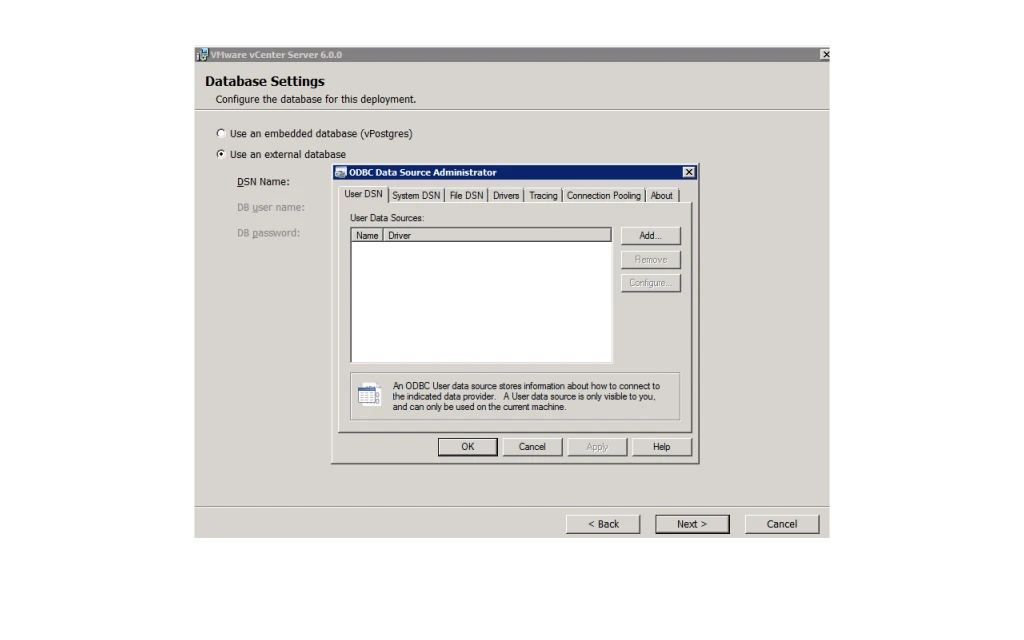
13. Here Native SQL Client Is Not Installed.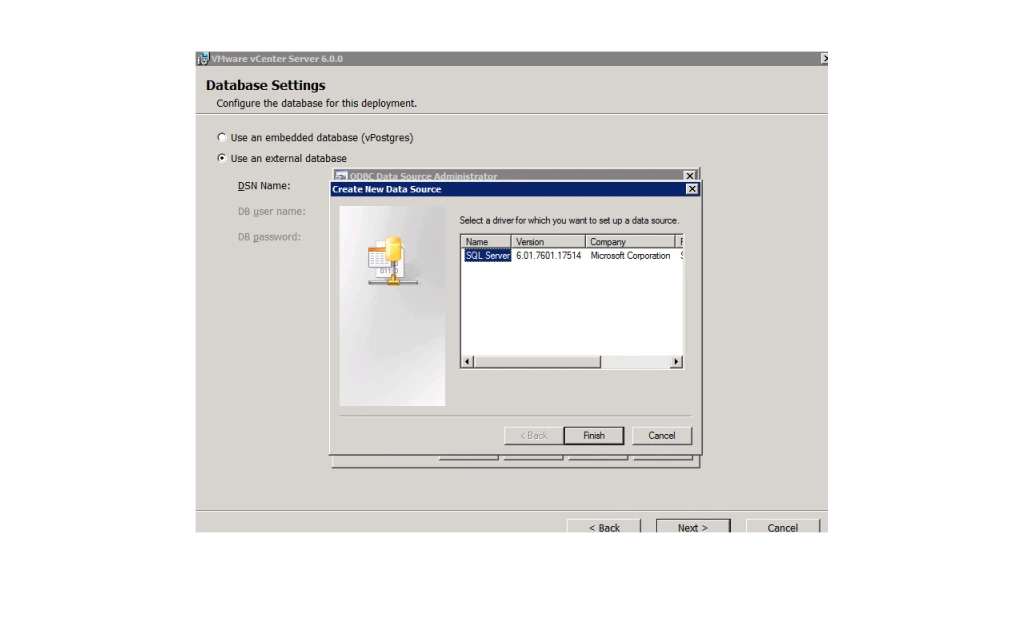
14. Go To This Link And Download The Same.

15. You Will Get This .Exe Just Install The Same.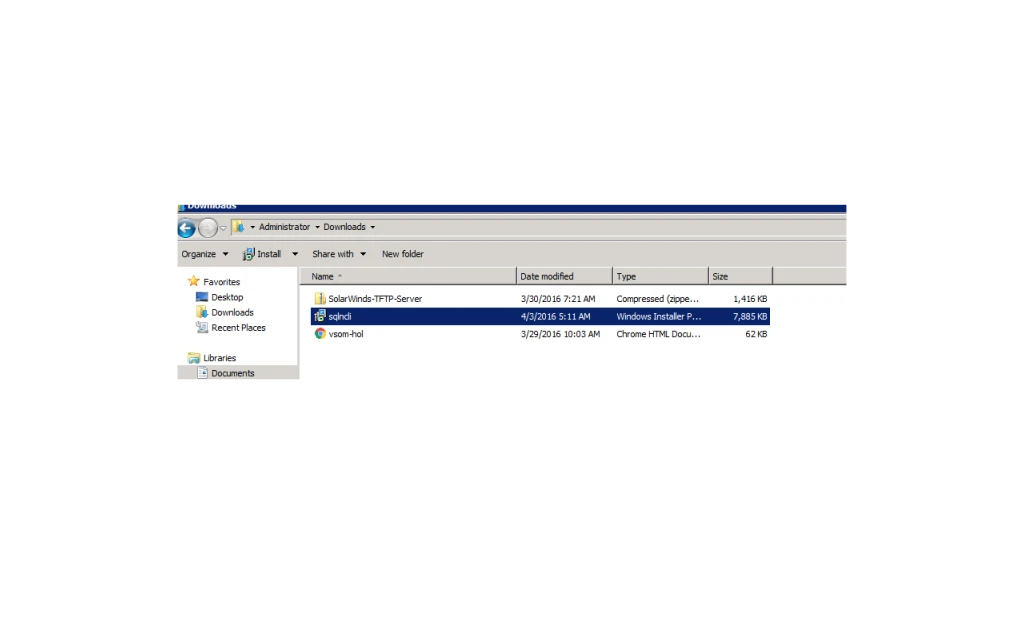
16. After Installation, You Will Be Able To See List of Data Source. 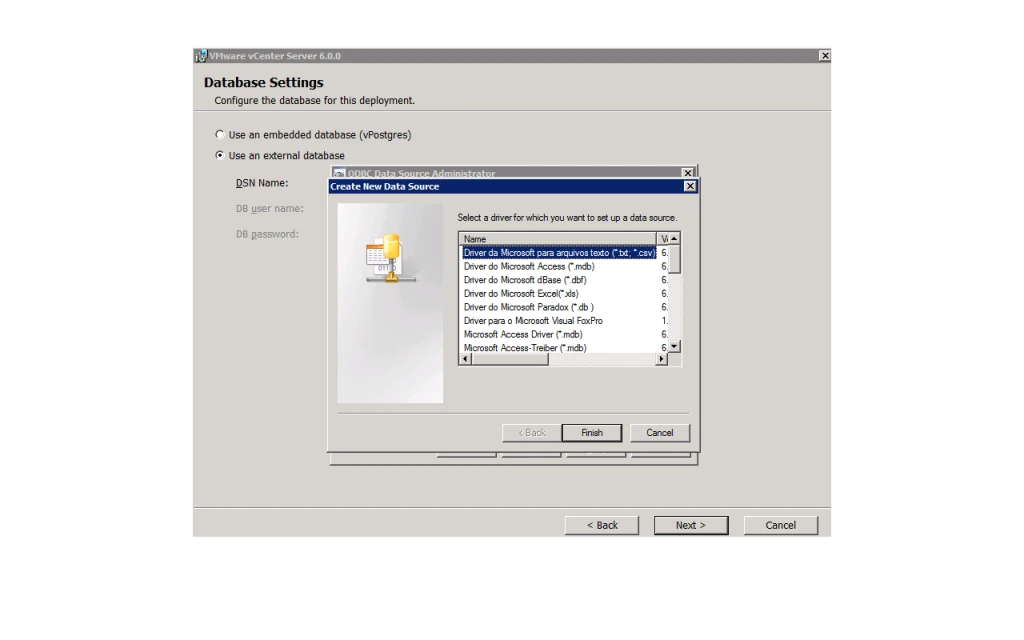
17. Select The SQL Server Native Client.
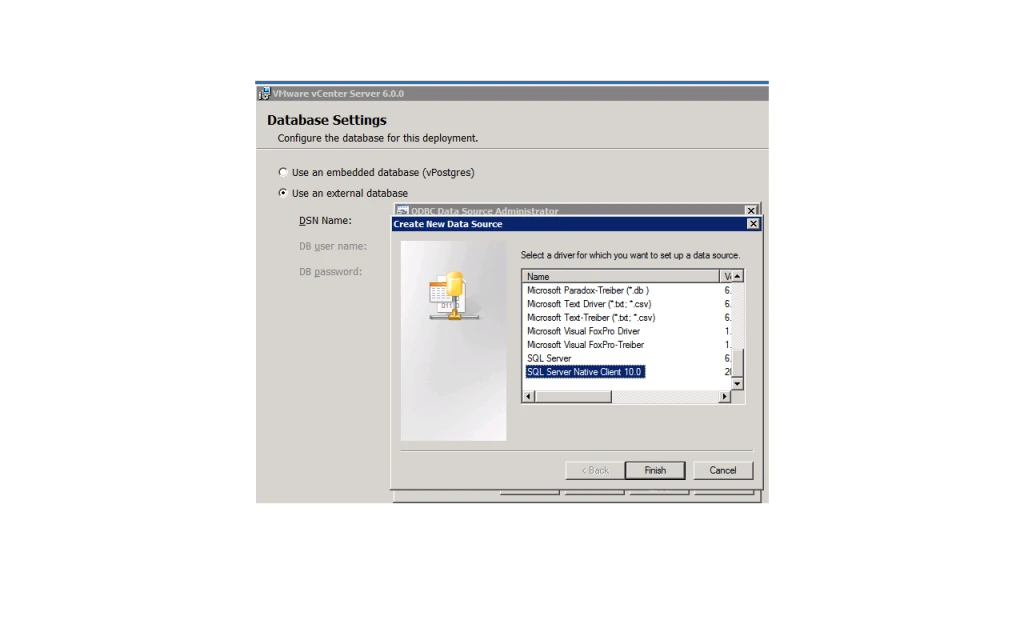
18. Now Create The Same.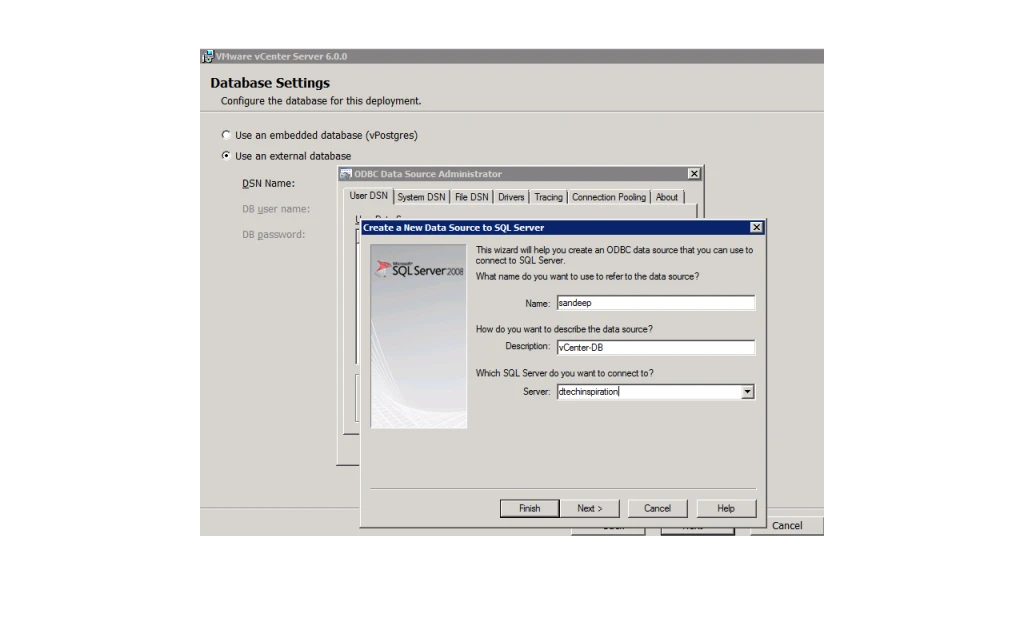
19. Provide the Details Also Discuss With SQL Admin For The Same.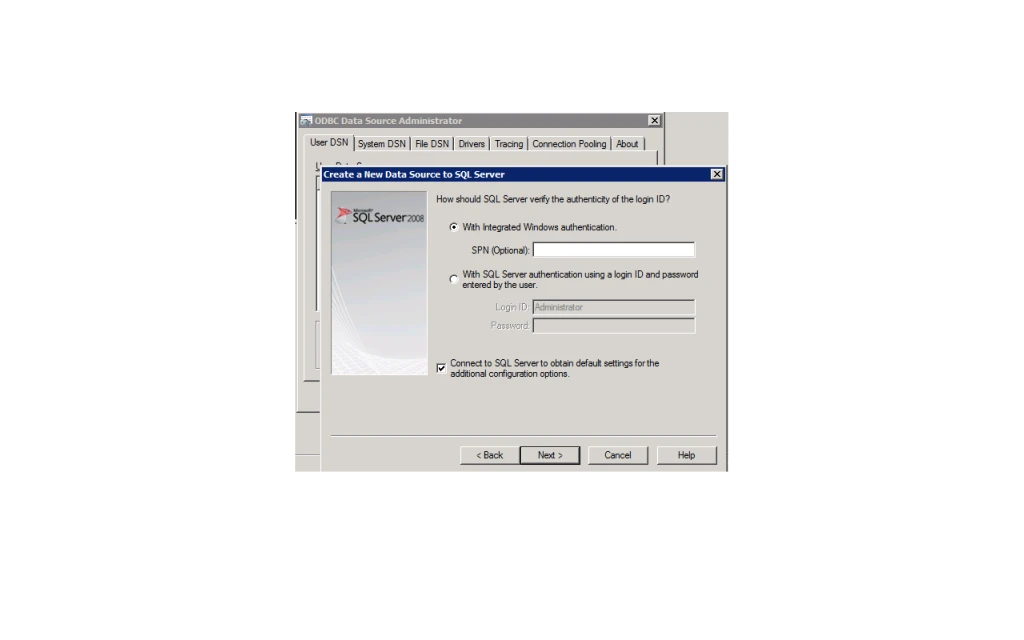
20. It will Ask You For Port. Make Sure Below Ports Are Not Used By Other Application. If So Then You Have To Change It Manually And Keep The Records. ( Take Care About Firewall As Well ).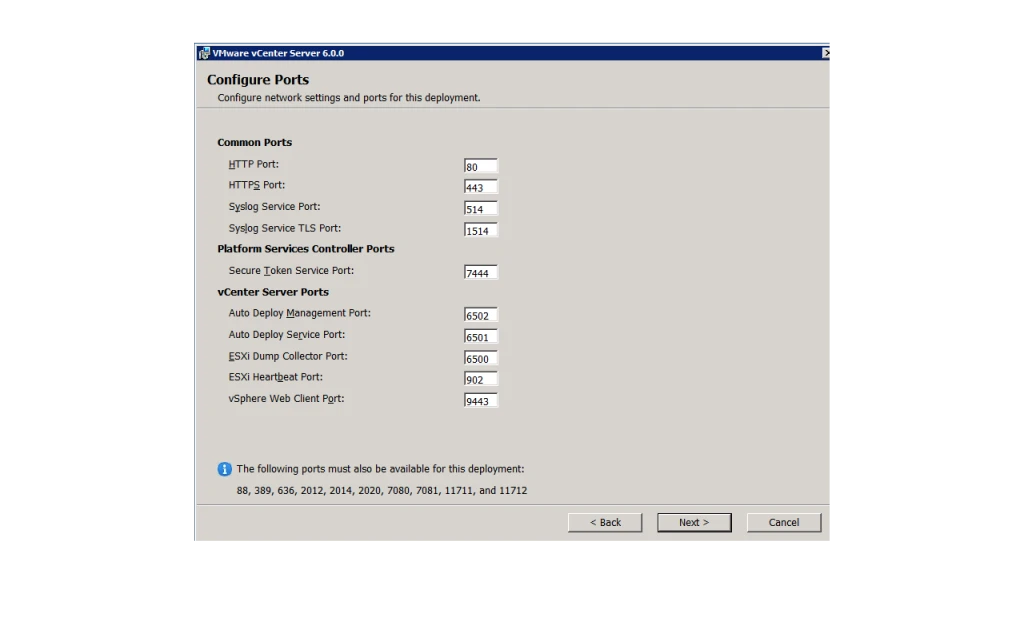
21. Here It Will Let You Know that It Is Going To Install In Given Directory, If You Want To Change Then Change It.
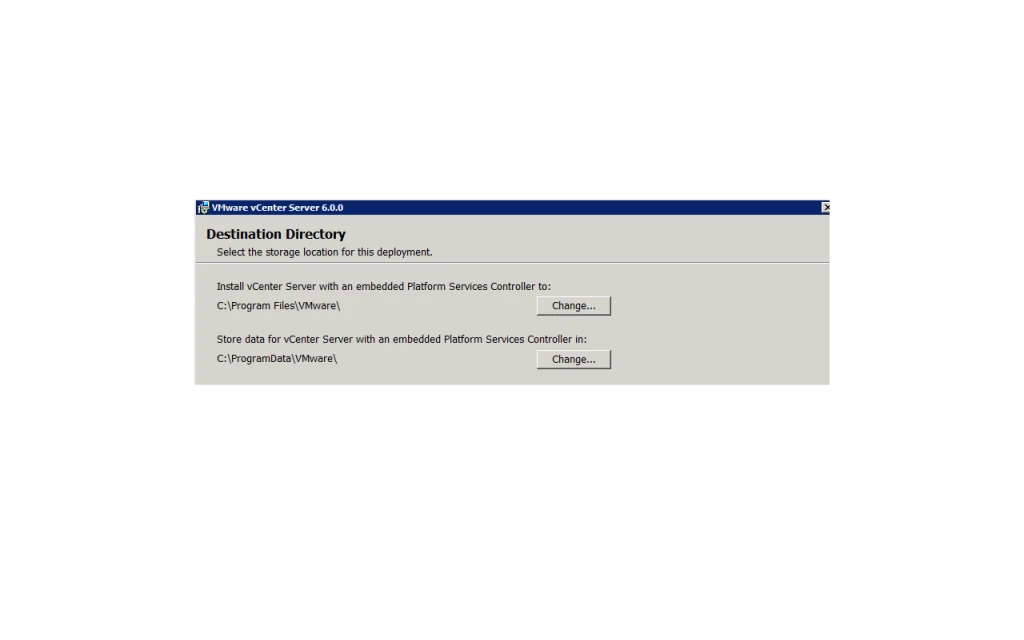
22. Here It Will Ask You To Join CEIP.
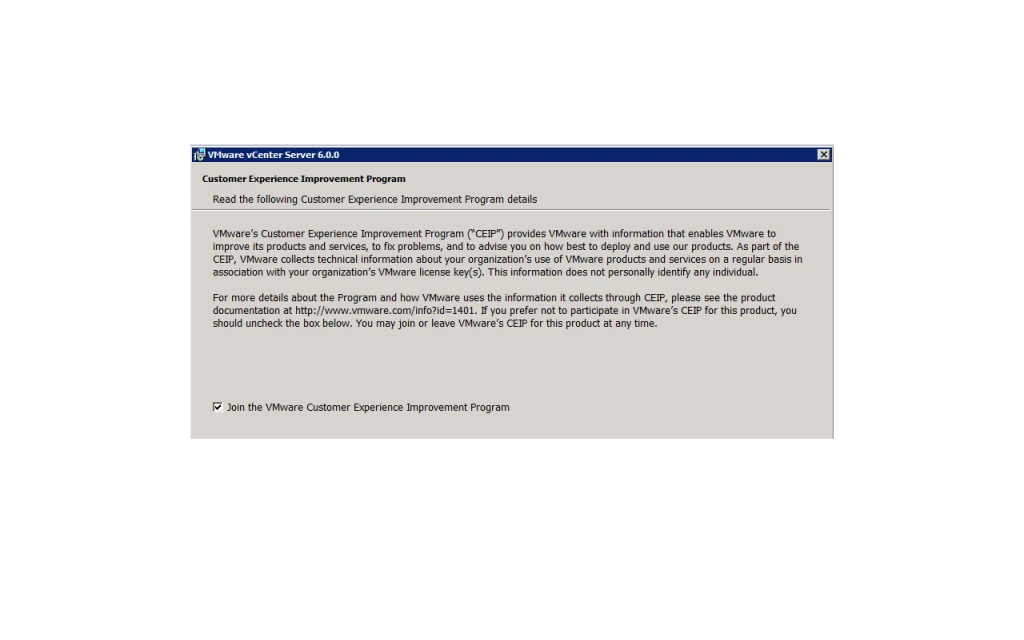
23. Final Summary Page Before Begin The Installation.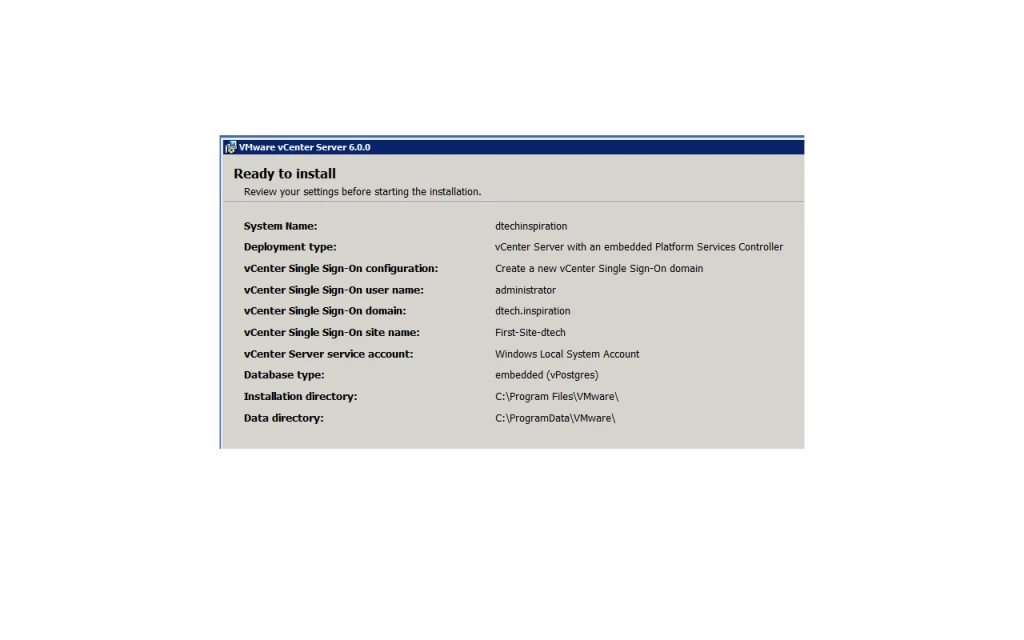
24. Start Installation.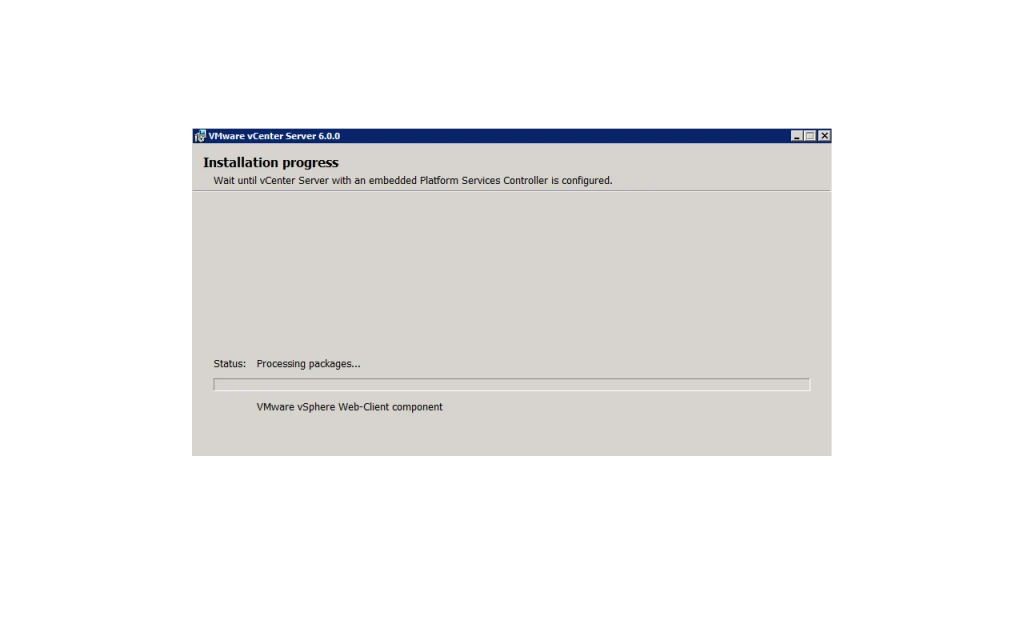
25. Done With Installation. You Can Launch vSphere Web Client.