0

VMware vCloud Director 9.x SQL database repoint to new DB

Login into vCD cell and run below commands:

[root@localhost ~]# service vmware-vcd stop

[root@localhost ~]# cd /opt/vmware/vcloud-director/bin/

[root@localhost bin]# ./vmware-vcd-cell maintenance

image

[root@localhost bin]# ./cell-management-tool -u administrator cell –shutdown

Copy the backup files to these locations (or check your database mdf and ldf location)

c:\Program Files\Microsoft SQL Server\MSSQL\DATA\VCDDB.mdf
c:\Program Files\Microsoft SQL Server\MSSQL\DATA\VCDDB.ldf

Manually copy the files on sql server.

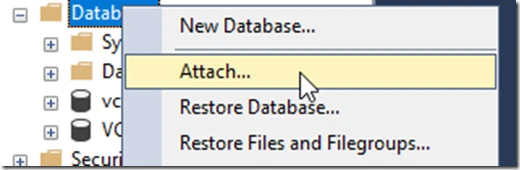
Log in to the new vCD database and attach the backup manually

image

Select the MDF and LDF file.

Now run some query from this attached database

image

Create a login user by running these commands:

USE master
GO
exec sp_addlogin ‘vcloud1‘, ‘your_password’, ‘your_database_name‘

image

USE [VCDDB]
GO
CREATE LOGIN [VCDDB] WITH PASSWORD = ‘x8FcC37’, DEFAULT_DATABASE =[VCDDB],
    DEFAULT_LANGUAGE =[us_english], CHECK_POLICY=OFF
GO
CREATE USER [VCDDB] for LOGIN [VCDDB]
GO

image

Login into VCD cell

use cell-management-tool reconfigure-database options

For more information, see the Update Database Connection Properties section in the vCloud Director Administrator Guide.

There are two options first edit the global.properties file.

Open the /opt/vmware/vcloud-director/etc/global.properties file using a text editor.

Comment out or remove these lines:

#database.jbdcUrl=
#database.username=
#database.password=

image

image

Second option run the below command

[root@localhost ~]# cd /opt/vmware/vcloud-director/bin/

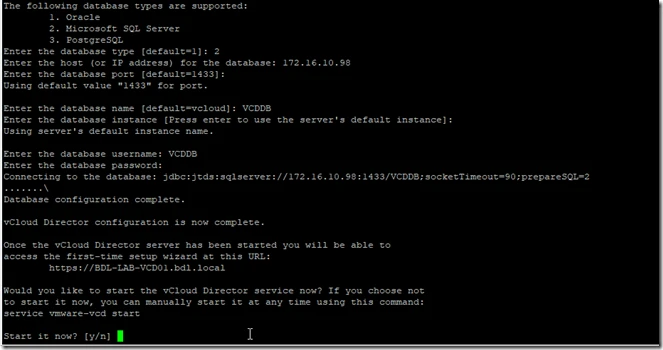
[root@localhost bin]# ./cell-management-tool reconfigure-database –database-host your_database_IP –database-port 1433 –database-type sqlserver –database-name your_database_name -dbuser your_database_username -dbpassword your_database_password.

0

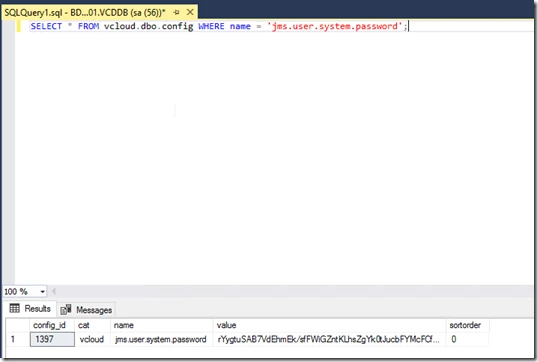
Recovering the System Administrator Password for vCloud Director 9.7

If you know the vCloud Director database username and password, you can use the recover-password command of the cell management tool to recover the vCloud Director system administrator password.

With the recover-password command of the cell management tool, a user who knows the vCloud Director database username and password can recover the vCloud Director system administrator password.

To recover the system administrator password, use a command line with the following form:

cell-management-tool recover-password options

image

0

Migrating vCloud Director from 9.1 to 9.7 with External SQL database

The migration workflow includes four major stages.

  • Creating the new vCloud Director server group by deploying one or more instances of the vCloud Director 9.7 appliance
  • Upgrading the existing vCloud Director environment
  • Migrating the external to the embedded database
  • Copying the shared transfer service data and the certificates data.

Procedure

  1. Upgrade your current vCloud Director environment to version 9.7, and upgrade the source database schema.
  2. Verify that the migration source vCloud Director restart is successful.
  3. If you want the new vCloud Director environment to use the IP addresses of the existing environment, change the IP addresses of the existing cells to temporary IP addresses.
  4. If you want the new vCloud Director environment to use the NFS server of the existing environment, create and export a new directory on this NFS server as the new shared NFS mountpoint.

    You cannot reuse the existing mountpoint because the user and group IDs (UID/GID) of the users in the old NFS might not match the user and group IDs in the new NFS.

  5. Create the new server group by deploying one or more instances of the vCloud Director 9.7 appliance.
    • If you want to use the database high availability function, deploy one primary and two standby cells, and, optionally, one or more vCD application cells.
    • If you changed the IP addresses of the existing cells to temporary IP addresses, you can use the original IP addresses for the new cells.
    • If you exported a new path on the existing NFS server, you can use this new shared mountpoint for the new environment.

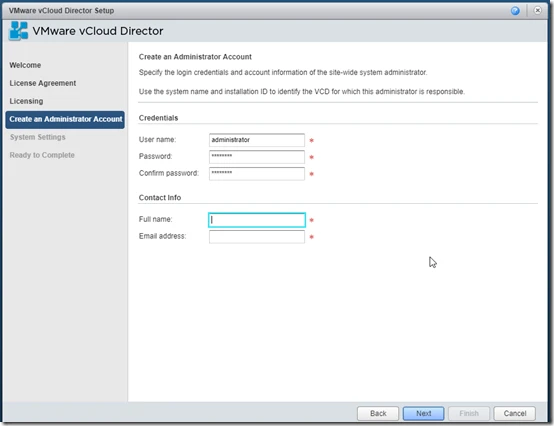
Note: After login into vCloud director it will ask you to change the password but i forgot mine so here is the article to reset the password.

https://kb.vmware.com/s/article/56638

  1. On each existing cell and on each newly deployed cell, run the command to stop the vCloud Director service.

    /opt/vmware/vcloud-director/bin/cell-management-tool -u <admin username> cell –-shutdown


image

Check the password otherwise you will not be able to shutdown this cell.

image

  1. Choose one of the existing cells to serve as a migration source.

    The migration source must have access to the eth1 network IP address of the newly deployed primary cell.

  2. On the new primary cell, enable access to the embedded database from the migration source.

    https://docs.vmware.com/en/vCloud-Director/9.7/com.vmware.vcloud.install.doc/GUID-3A3BB3A9-F6F3-47BA-A785-2B99882A692B.html#GUID-3A3BB3A9-F6F3-47BA-A785-2B99882A692B

Procedure

  1. Log in directly or SSH to the primary cell as root.
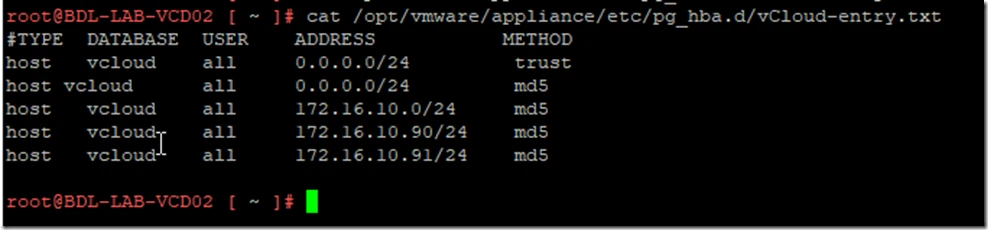
  2. Navigate to the database directory, /opt/vmware/appliance/etc/pg_hba.d/.
  3. Create a text file containing entries for the target external IP addresses similar to:

    #TYPE DATABASE USER ADDRESS METHOD host vcloud vcloud CIDR_notation md5

    For example:

    #TYPE DATABASE USER ADDRESS METHOD host vcloud vcloud .5/32 md5 host vcloud vcloud 172.168.20.5/32 md5

    Your entries are appended to the dynamically updated pg_hba.conf file, which controls the access to the primary database in the HA cluster.

image

image

image

  1. On the migration source, run the cell management tool to migrate the external database to the database that is embedded in the new primary cell.

    The embedded database uses the eth1 network IP address of the appliance.


    /opt/vmware/vcloud-director/bin/cell-management-tool dbmigrate -dbhost eth1_IP_new_primary \ -dbport 5432 -dbuser vcloud -dbname vcloud -dbpassword database_password_new_primary

  2. Here IP is for newly deployed appliance

image

image

For information about using the cell management tool, see the vCloud Director Administrator’s Guide.

  1. On each newly deployed cell, back up and replace the configuration data, and reconfigure and start the vCloud Director service.
    1. Back up the properties and the certificates files, and copy and replace these files from the migration source.

      The global.properties, responses.properties, certificates, and proxycertificates files are at /opt/vmware/vcloud-director/etc/.

      Important:If you are migrating to vCloud Director version 9.7.0.1 or later, you must also back up, copy, and replace the truststore file from the migration source, along with the other files.

    2. Back up the keystore file that is at /opt/vmware/vcloud-director/certificates.ks.

      Do not copy and replace with the keystore file from the migration source.

    3. Run the command to reconfigure the vCloud Director service.

      /opt/vmware/vcloud-director/bin/configure --unattended-installation --database-type postgres --database-user vcloud \ --database-password db_password_new_primary --database-host eth1_ip_new_primary --database-port 5432 \ --database-name vcloud --database-ssl true --uuid --keystore /opt/vmware/vcloud-director/certificates.ks \ --keystore-password root_password_new_primary --primary-ip appliance_eth0_ip \ --console-proxy-ip appliance_eth0_ip --console-proxy-port-https 8443

image

  1. Run the command to start the vCloud Director service

    1. service vmware-vcd start

  2. You can monitor the progress of the cell startup at /opt/vmware/vcloud-director/logs/cell.log.
    1. After all cells of the new server group finish the startup process, verify that the migration of your vCloud Director environment is successful.
      1. Open the vCloud Director Web Console by using the eth0 network IP address of any cell from the new server group, https://et0_IP_new_cell/cloud.
      2. Log in to the vCloud Director Web Console with your existing system administrator credentials.
      3. Validate that your vSphere and cloud resources are available in the new environment.
    2. After the successful verification of the vCloud Director migration, use the vCloud Director Web Console to delete the disconnected cells that belong to the old vCloud Director environment.
      1. From the Manage & Monitor tab, click Cloud Cells.
      2. Right-click a cell name and select Delete.
    You can deploy the vCloud Director appliance to add members to the server group of the migrated environment.
0

How to deploy VMware vCloud Director Appliance 9.7

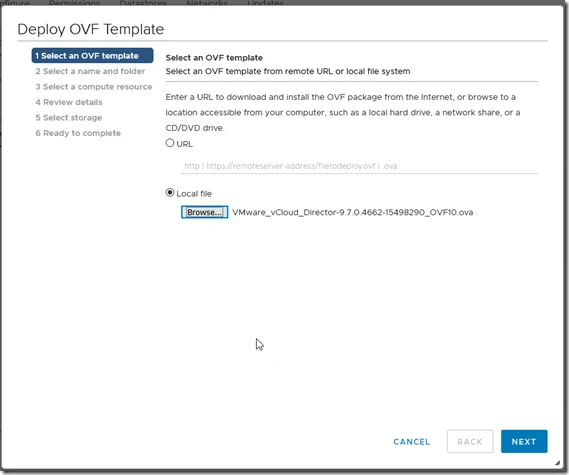
First download the OVF file from vmware site.

Now go to vCenter server and select deploy ovf option and provide the path of vCloud OVF.

image

Select the cluster for VM deployment

image

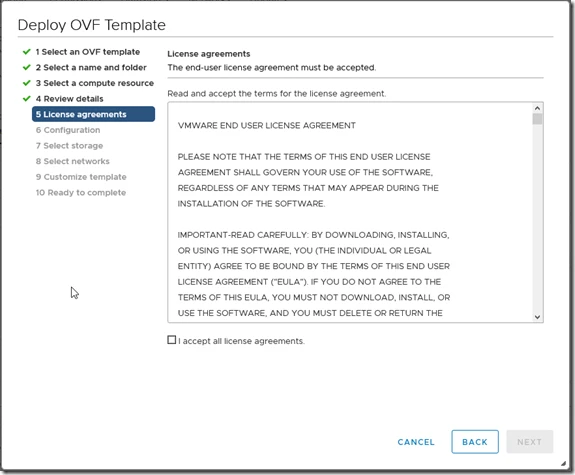
Accept the Agreement

image

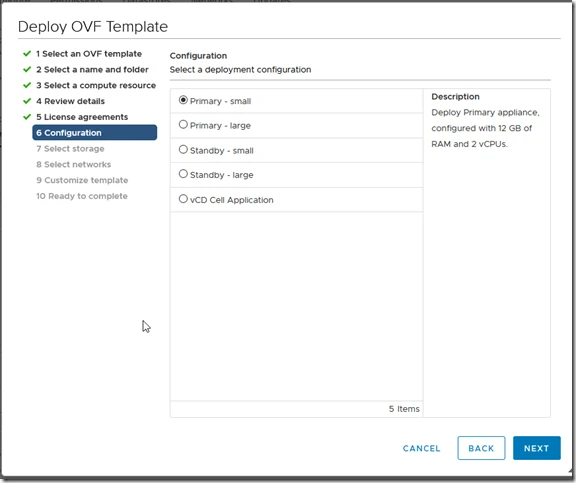
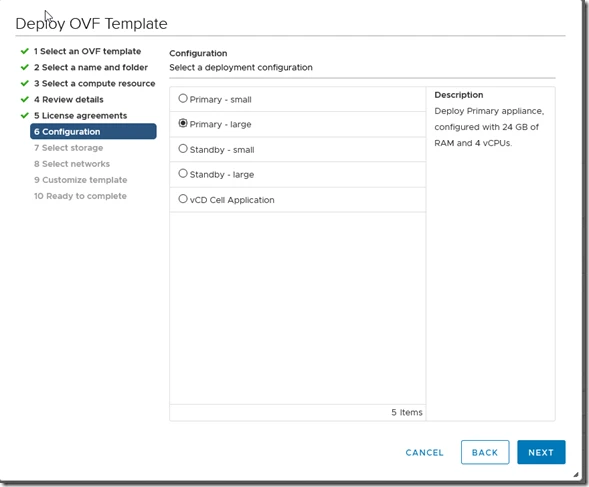
Now on this page you can select the deployment model or as per your organization size.

image

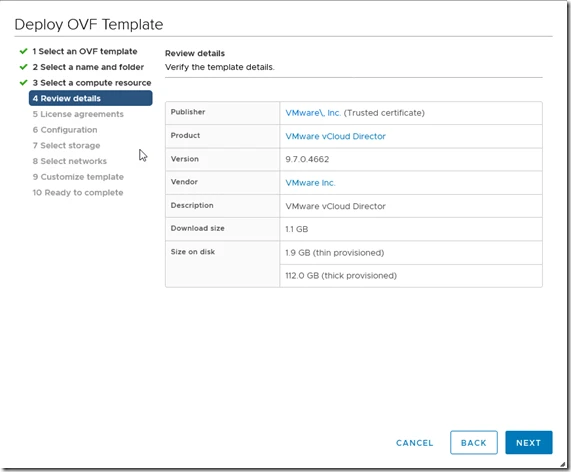
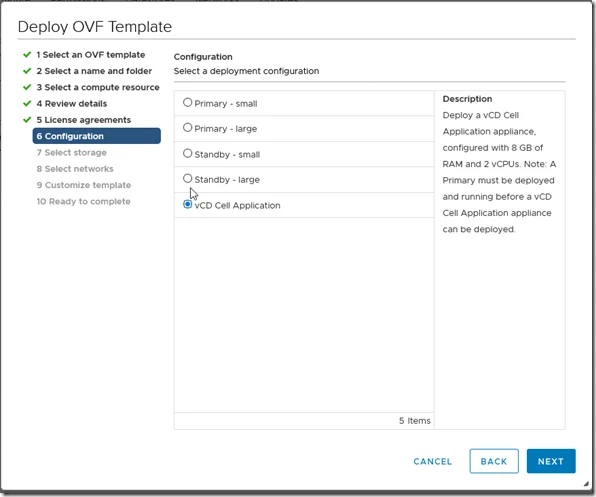
Below are the other options.

image

image

image

Now select the datastore.

image

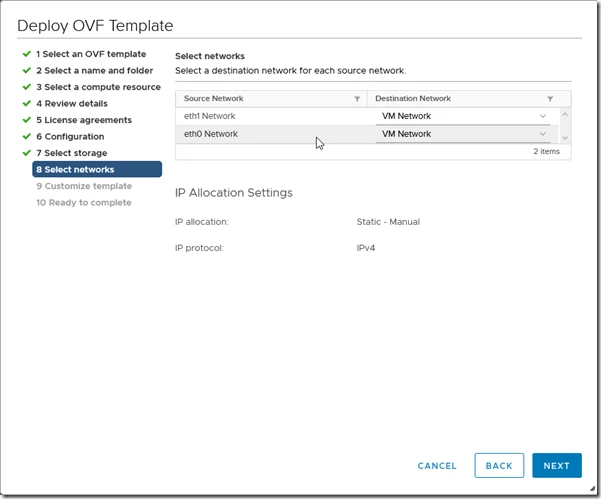
Choose the Network

image

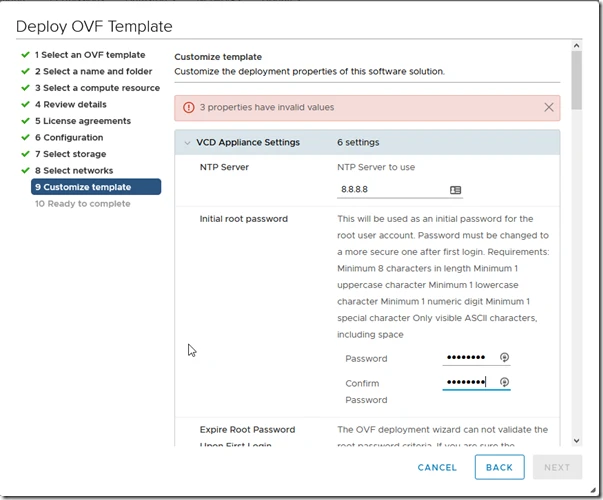
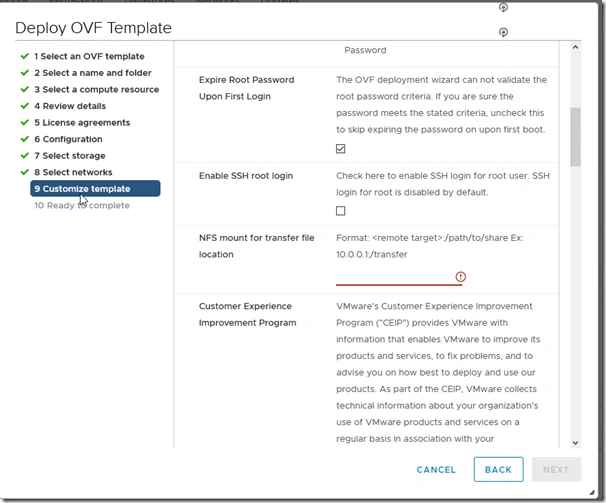
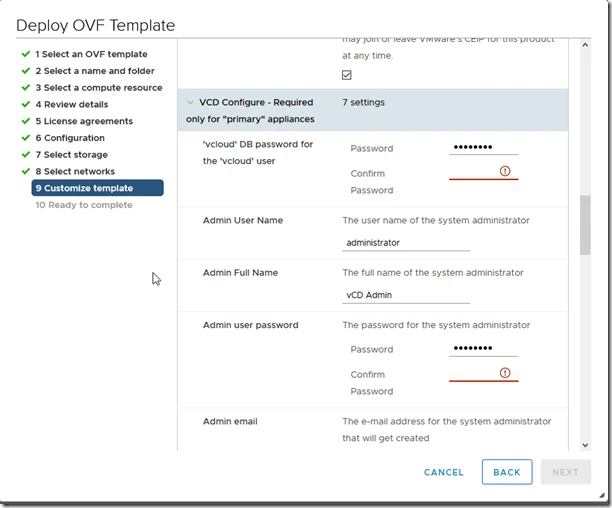
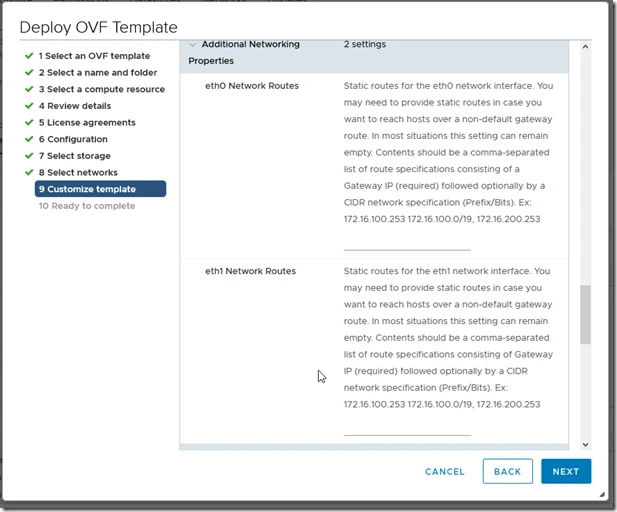
Here you have to fill out few details regarding NTP and Database password and IP

image

Before deploying this vCloud appliance you need NFS server with required permission.

image

image

image

image

image

Note: Please fill all the columns otherwise your deployment will be failed. Example: email address etc


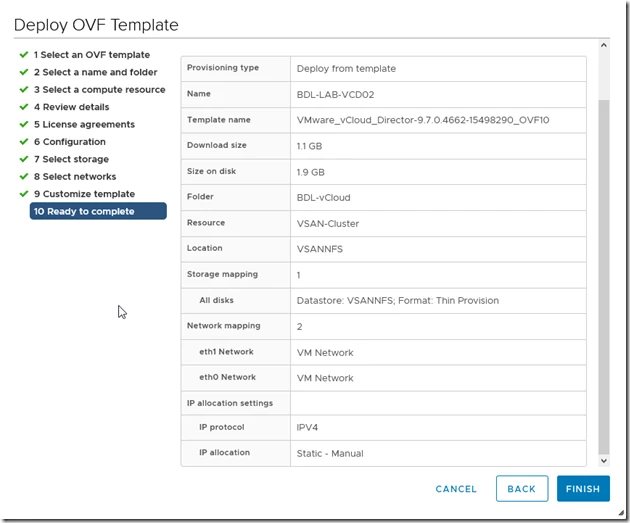
Once appliance is deployed you can power on it.

image

image

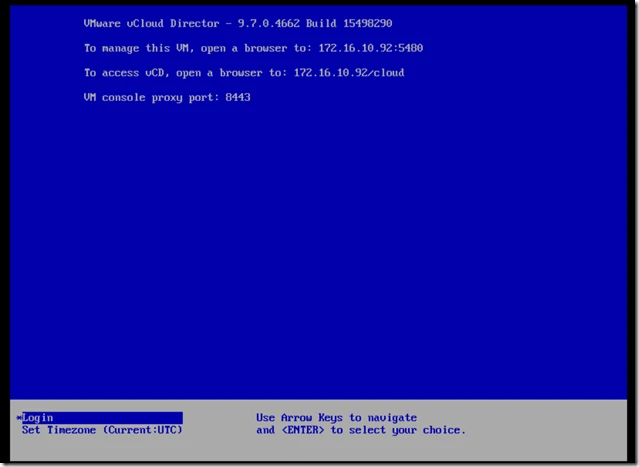
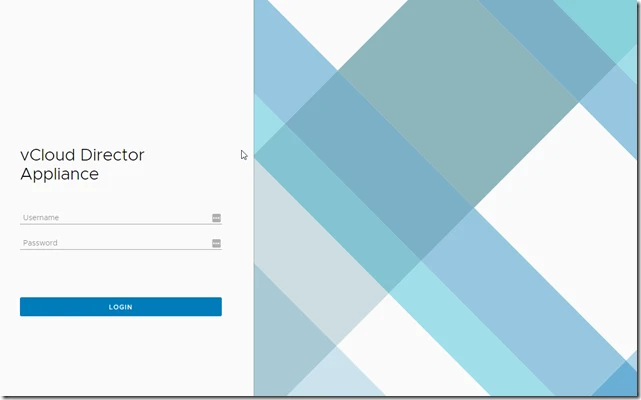
Console

image

image

0

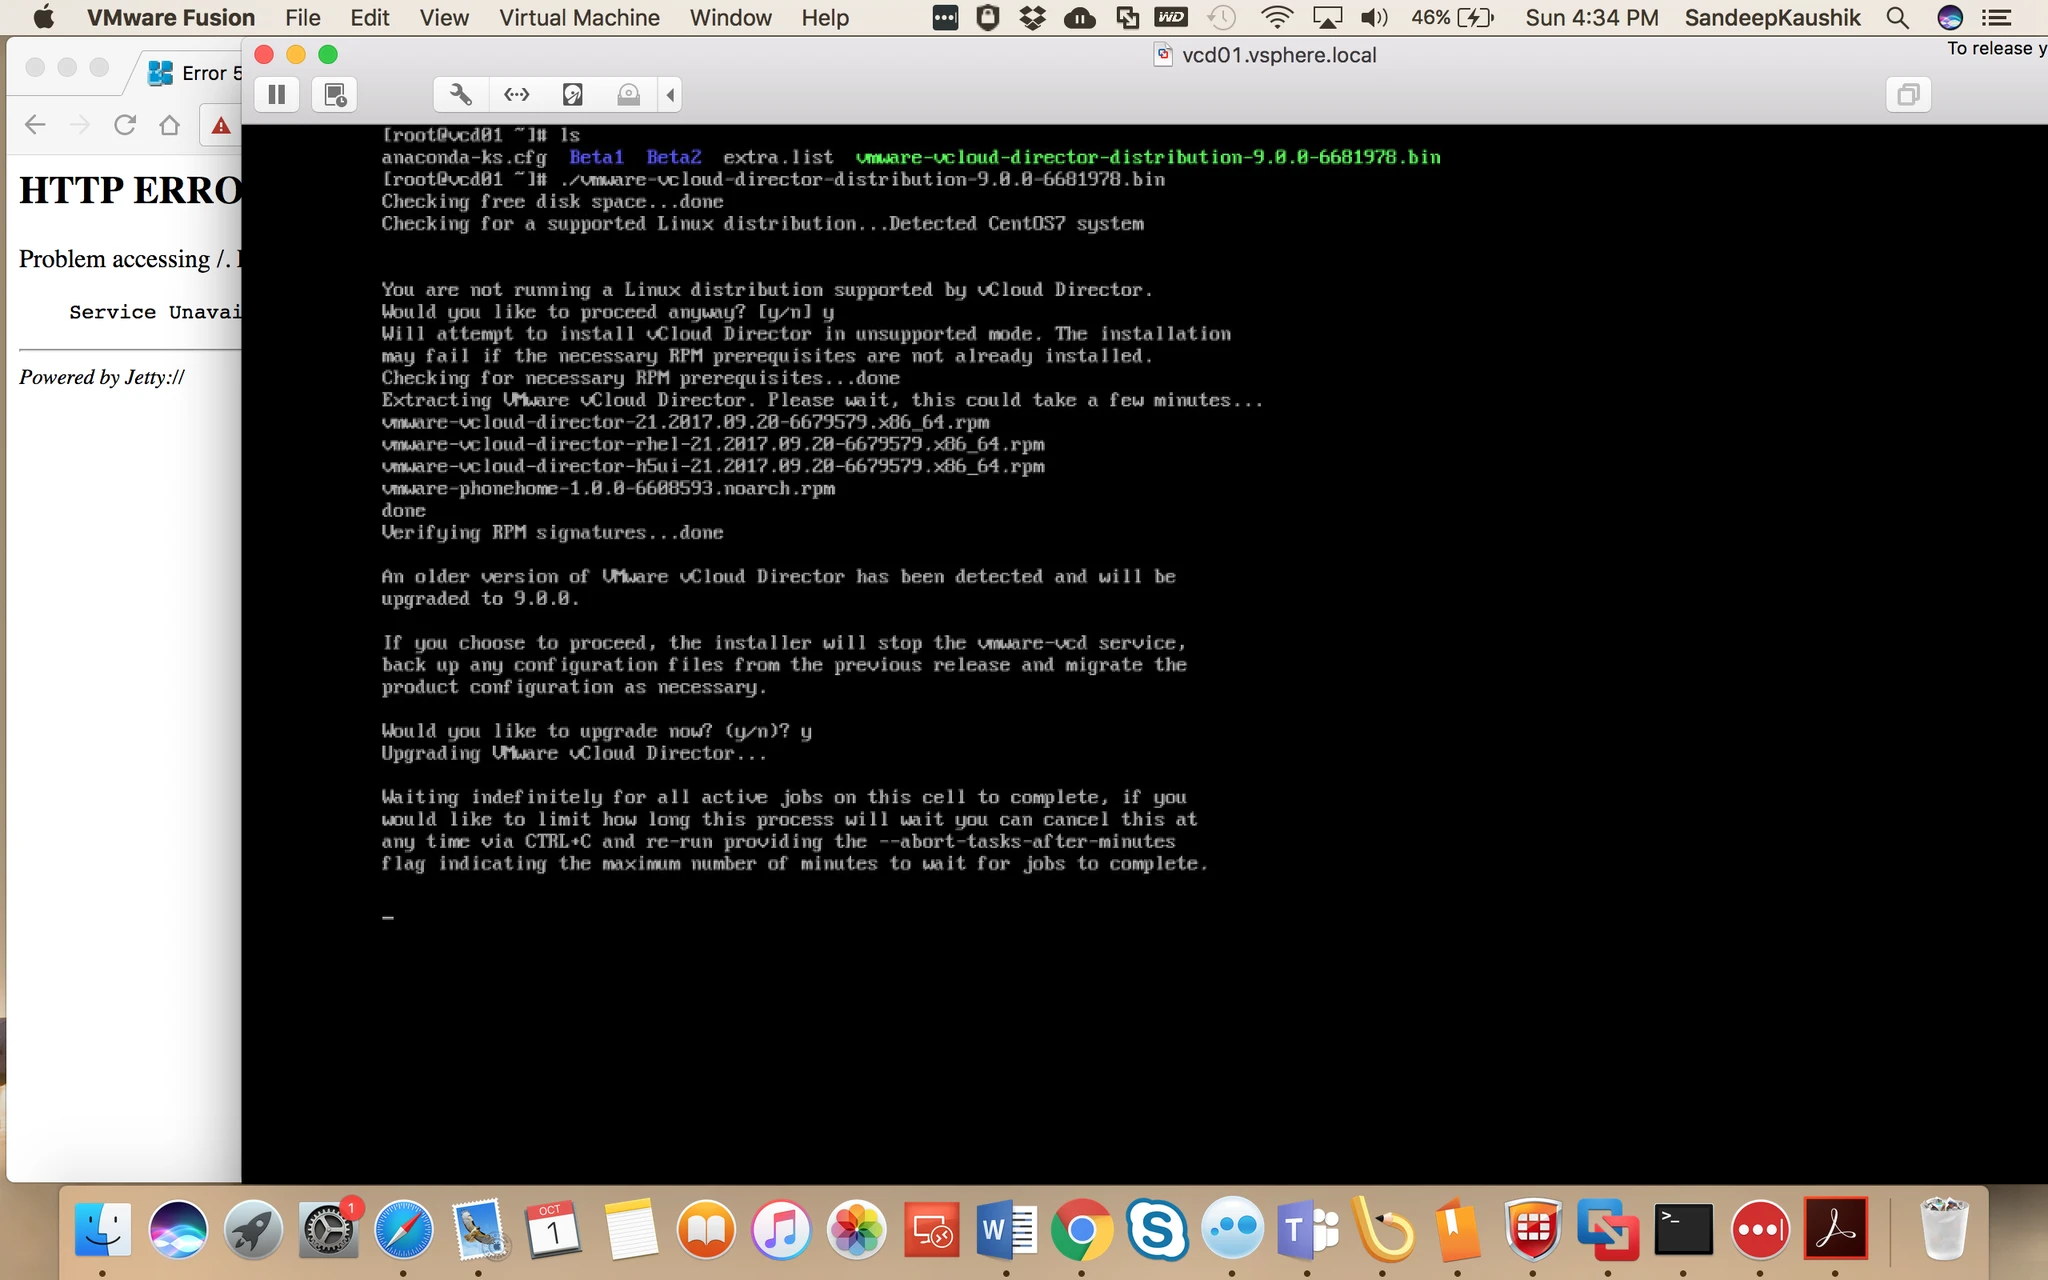
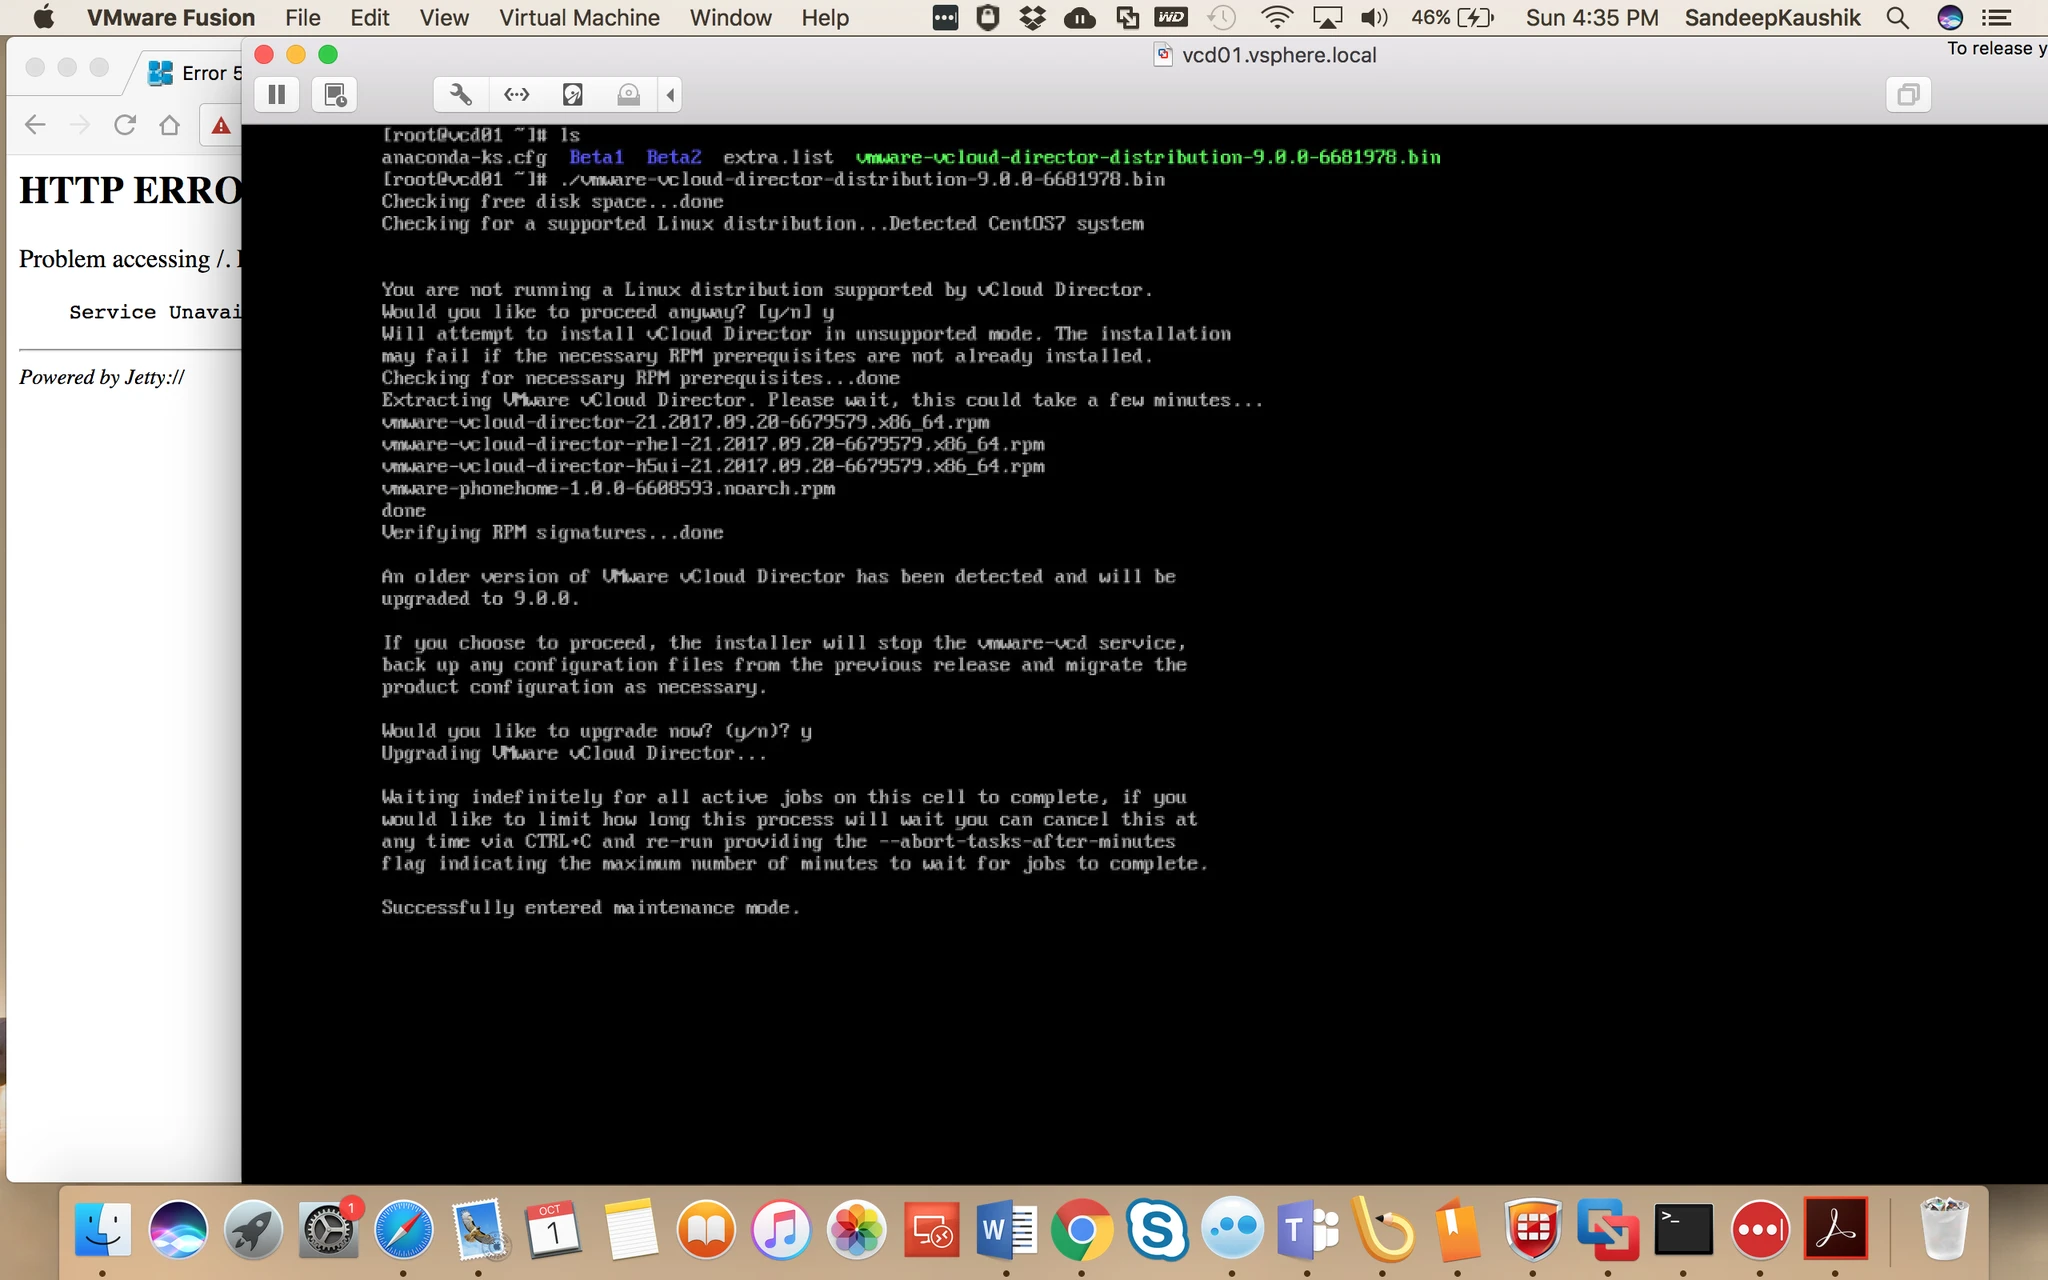
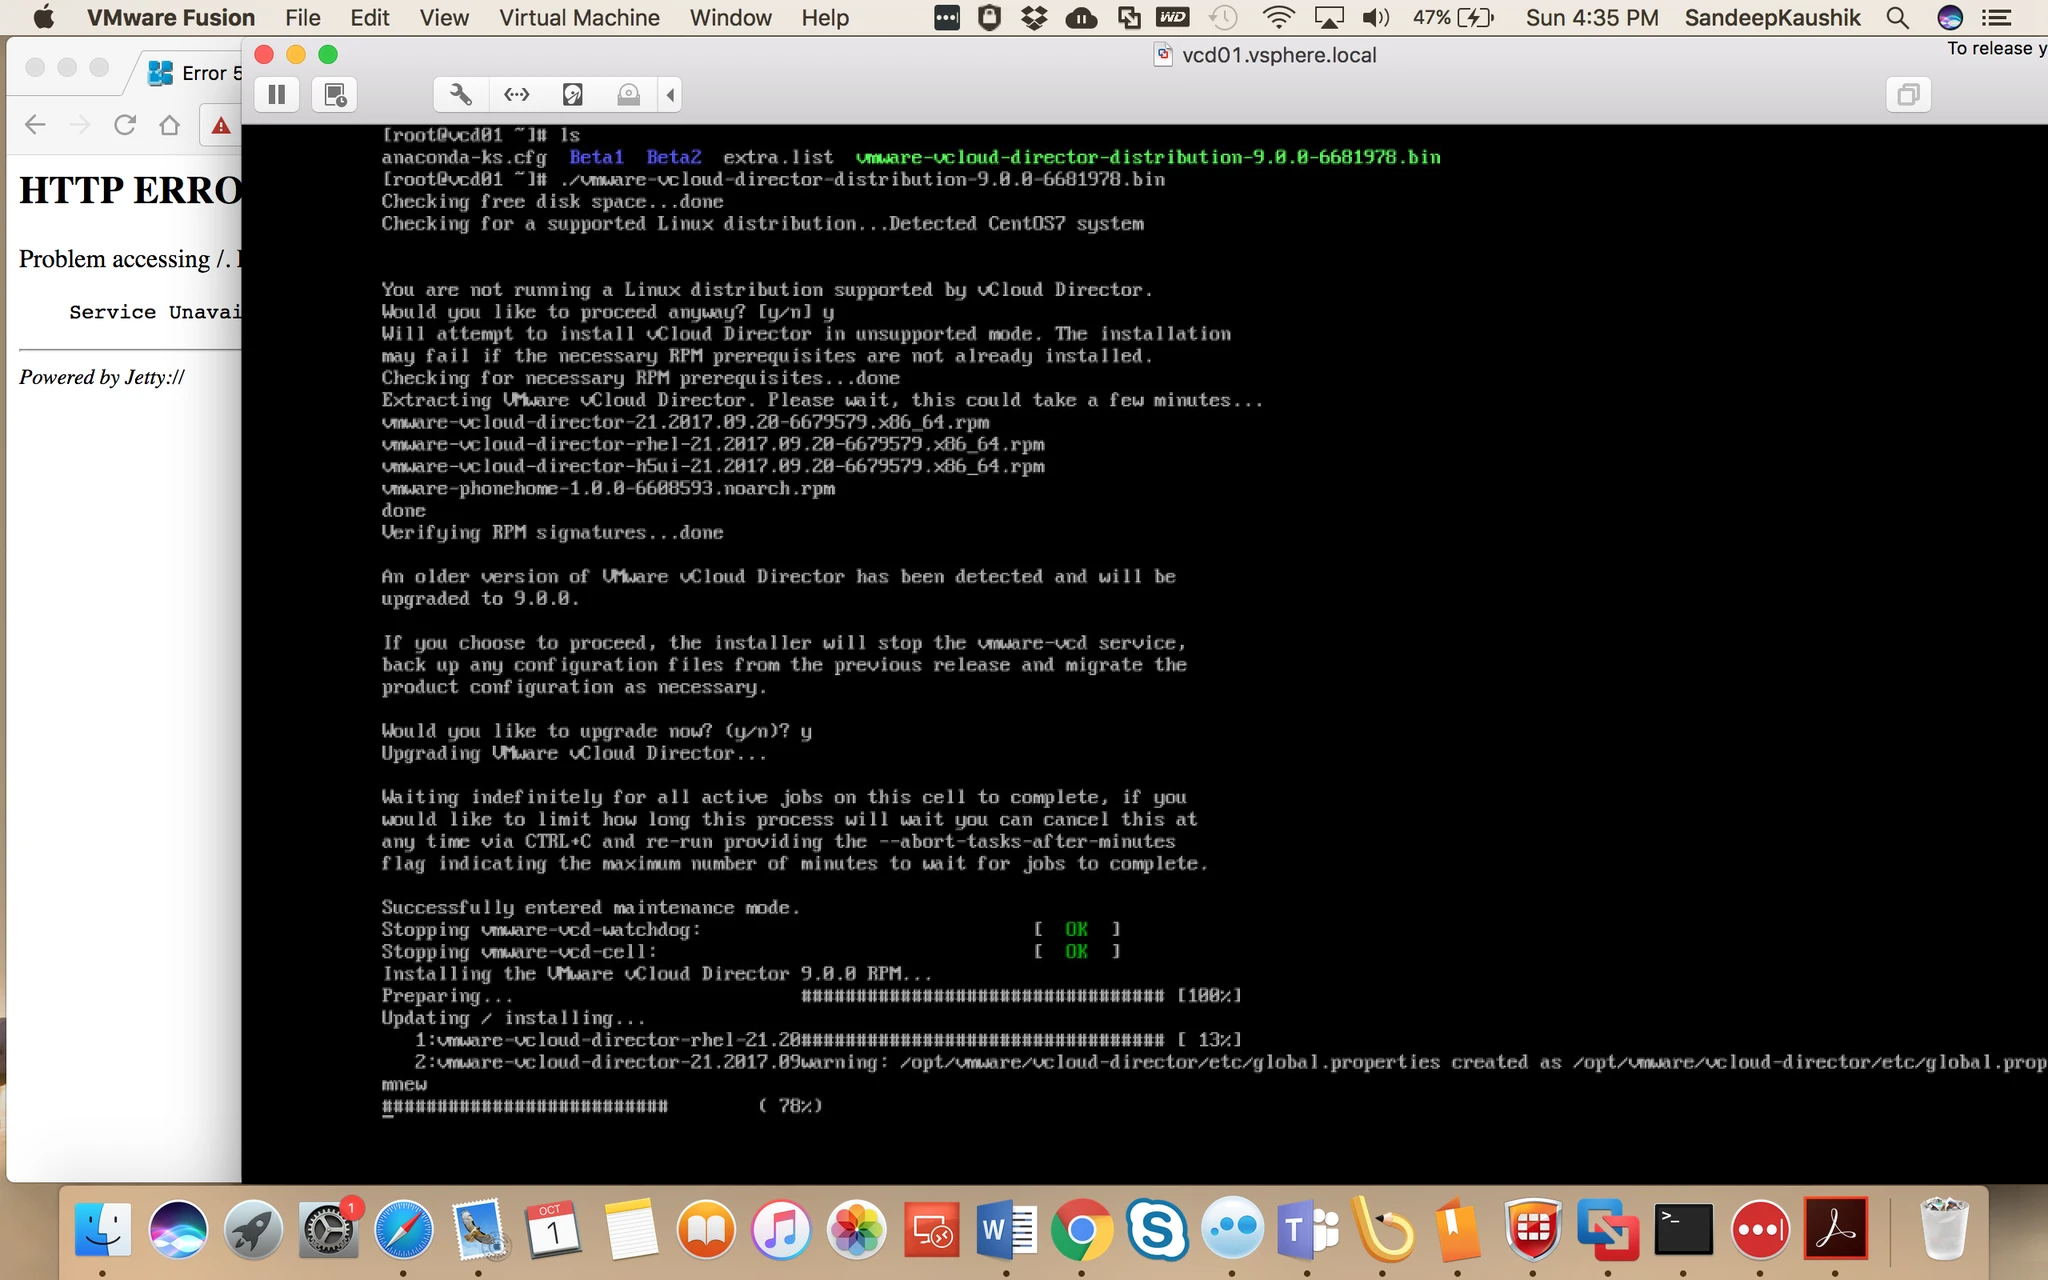
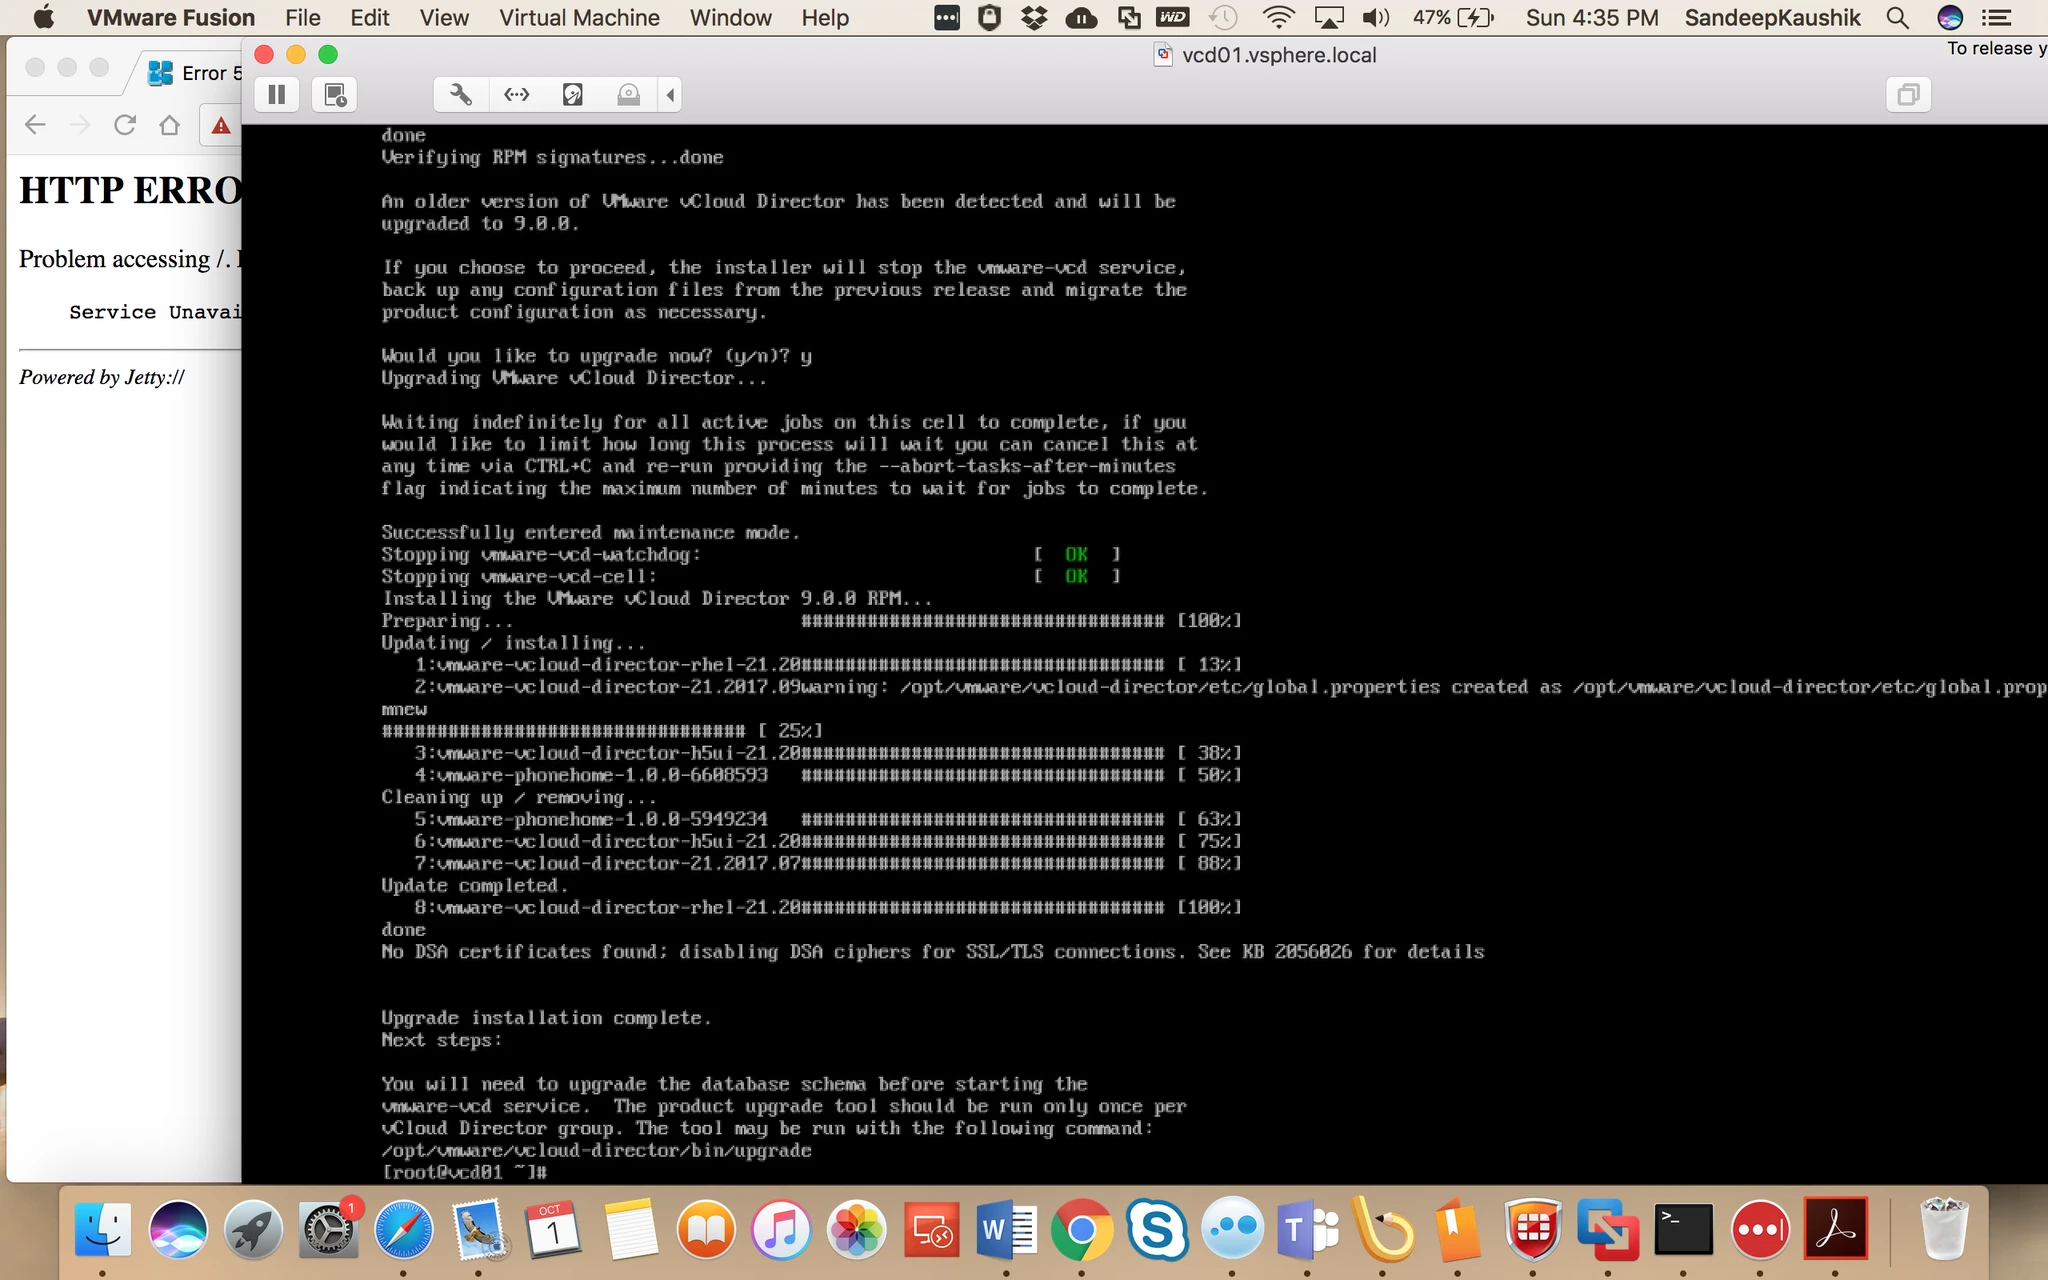
Upgrade VMware vCloud Director for Service Providers v8.20 to v9.0.0

Now before starting this activity need to take backup for few VMs like. You can check my last blog regarding same.

Here is the link http://www.dtechinspiration.com/upgrade-vmware-vcloud-director-for-service-providers-v8-1-0-to-v8-20/

Now starting activity


Steps to upgrade

We are running only one vCD cell server. Here is the process:

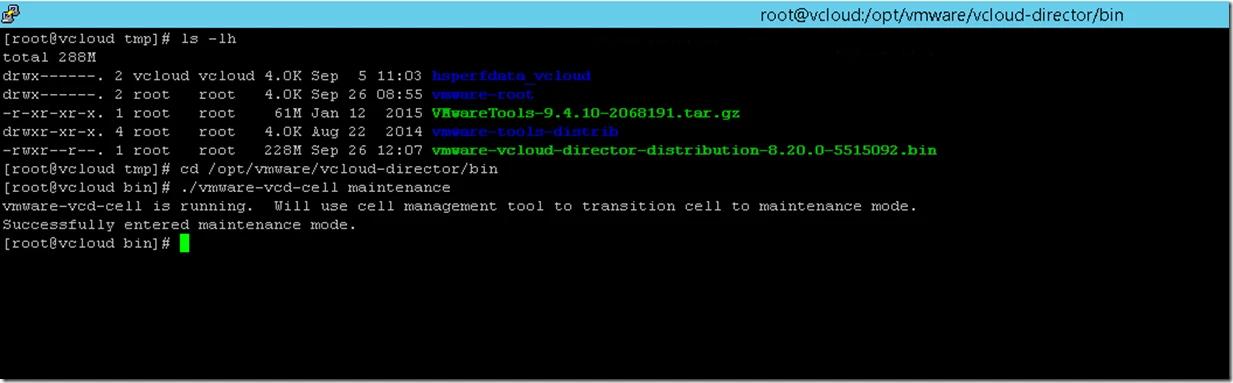
  1. Restrict access to vCD and display a maintenance message for the duration of the upgrade.
 

0

Upgrade VMware vCloud Director for Service Providers v8.1.0 to v8.20

Today we are upgrading our vCloud Director from 8.10 to 8.20.

Now before starting this activity need to take backup for few VMs like.

  • Take Snapshot of vCloud Director VM
  • Take Snapshot of vCenter VM
  • Take Snapshot of NSX VM
  • Do the FTP backup for NSX VM
  • Take vCloud Database backup
  • Take vCenter Database backup
  • Login into vmware website and download the upgrade bin file from there
  • Copy it on vCloud Director Server using winscp software to copy this in tmp folder


Steps to upgrade

We are running only one vCD cell server. Here is the process:

  1. Restrict access to vCD and display a maintenance message for the duration of the upgrade.
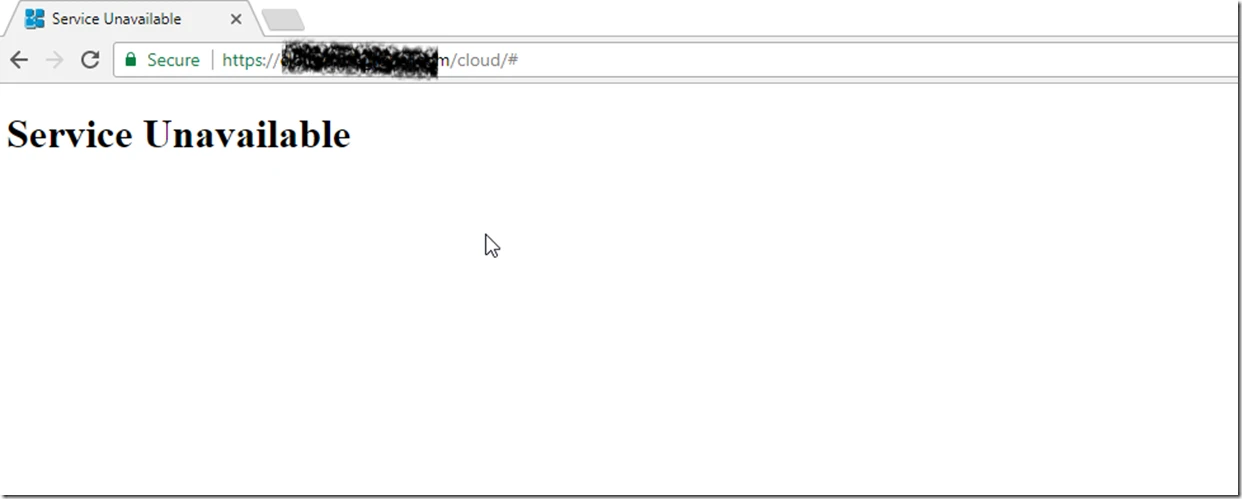
2017-09-27 15_34_30-mRemoteNG - confCons.xml - vCenter-Cloud-D2017-09-27 15_34_48-Service Unavailable


2. Quiesce vCD cell servers from the Cell Management Tool.

  • cd /opt/vmware/vcloud-director/bin/
    ./cell-management-tool -u username -p password cell –status
    ./cell-management-tool -u username -p password cell –quiesce true
    ./cell-management-tool -u username -p password cell –maintenance true

3. Upgrade the vCD software on all cell servers (If you have). Do not restart vCD services until the database is upgraded.

Log in to the target server as root.

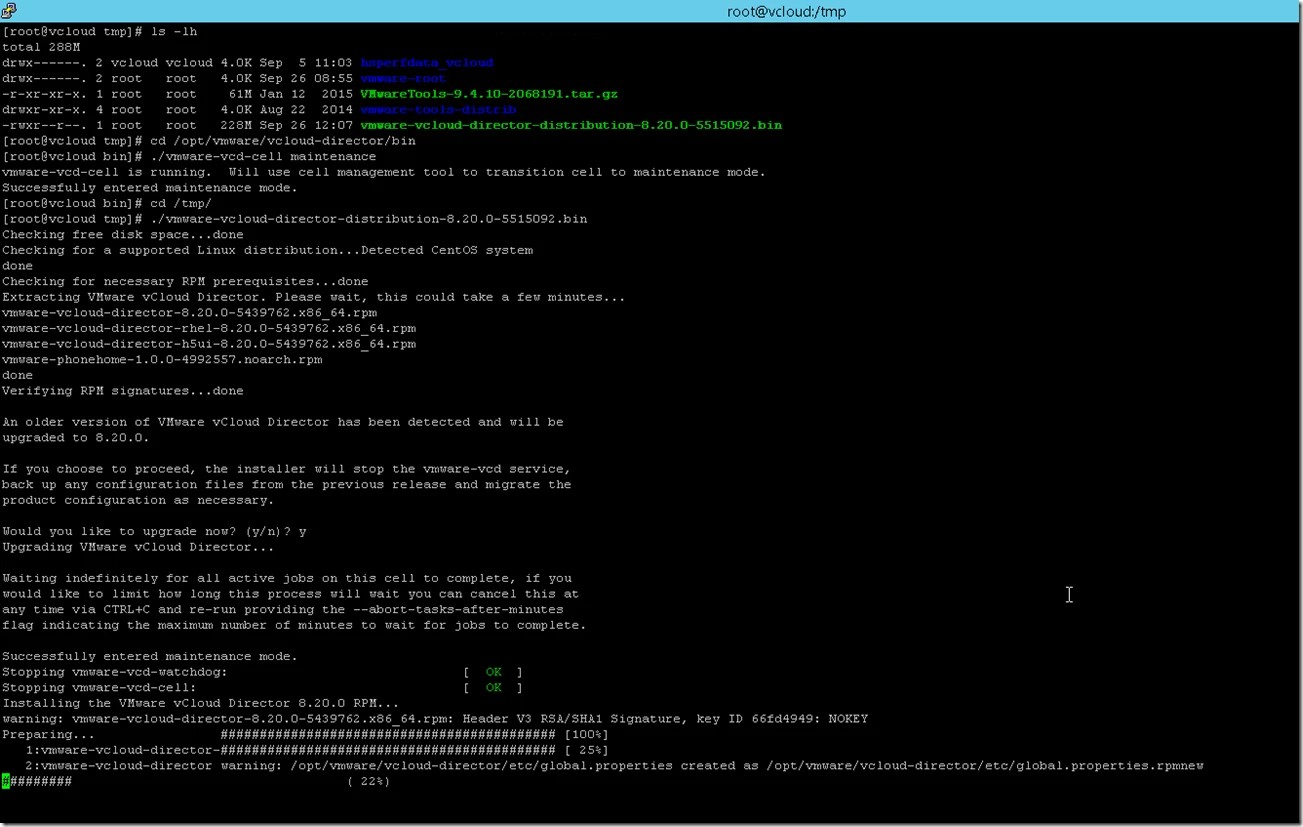
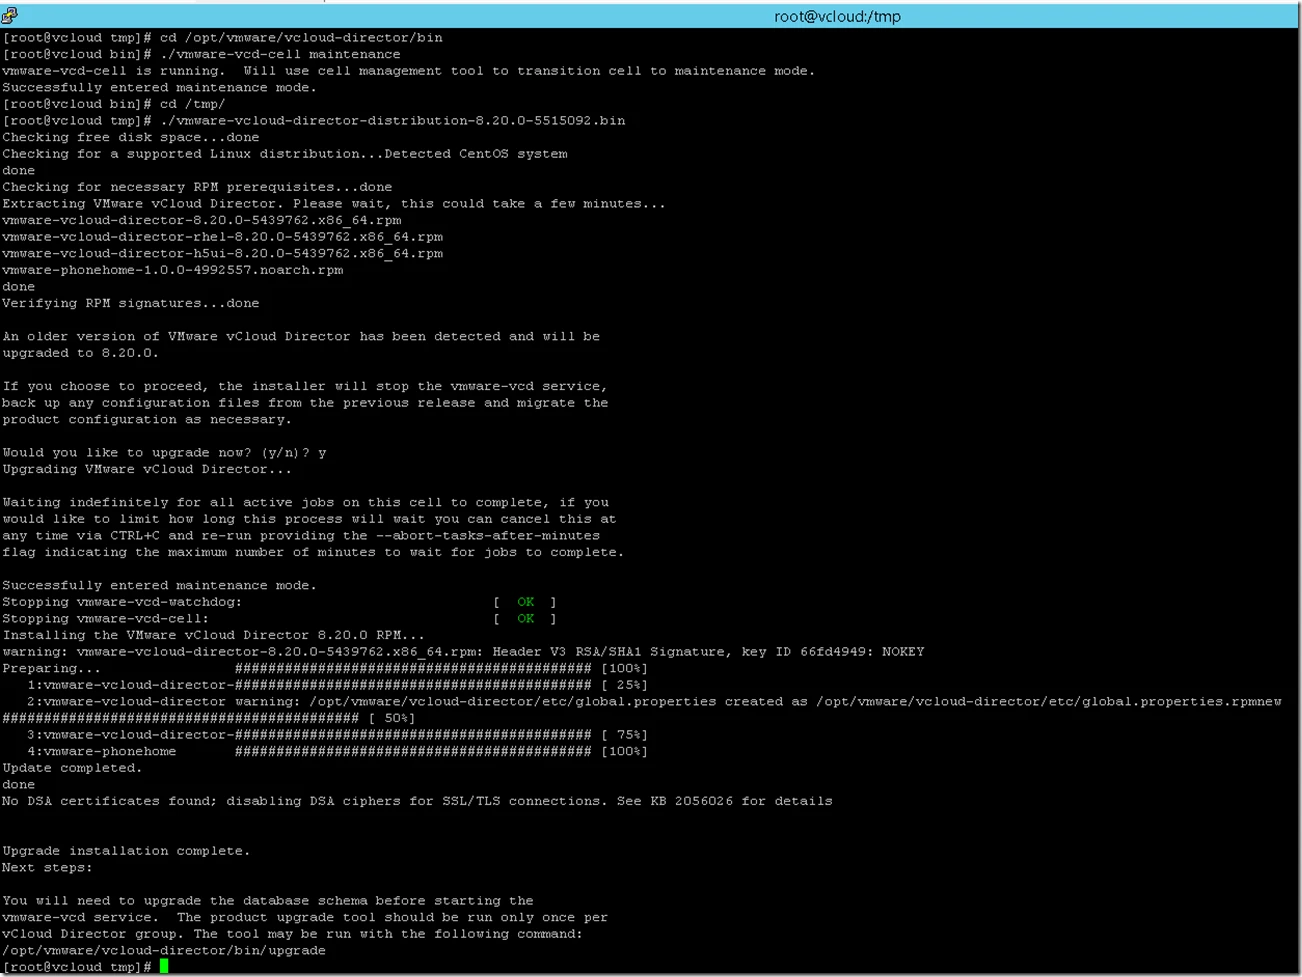
  • Go to cd /tmp folder make this vCloud file as executable
  • chmod u+x vmware-vCloud-director-distribution-8.20.0-5515092.bin

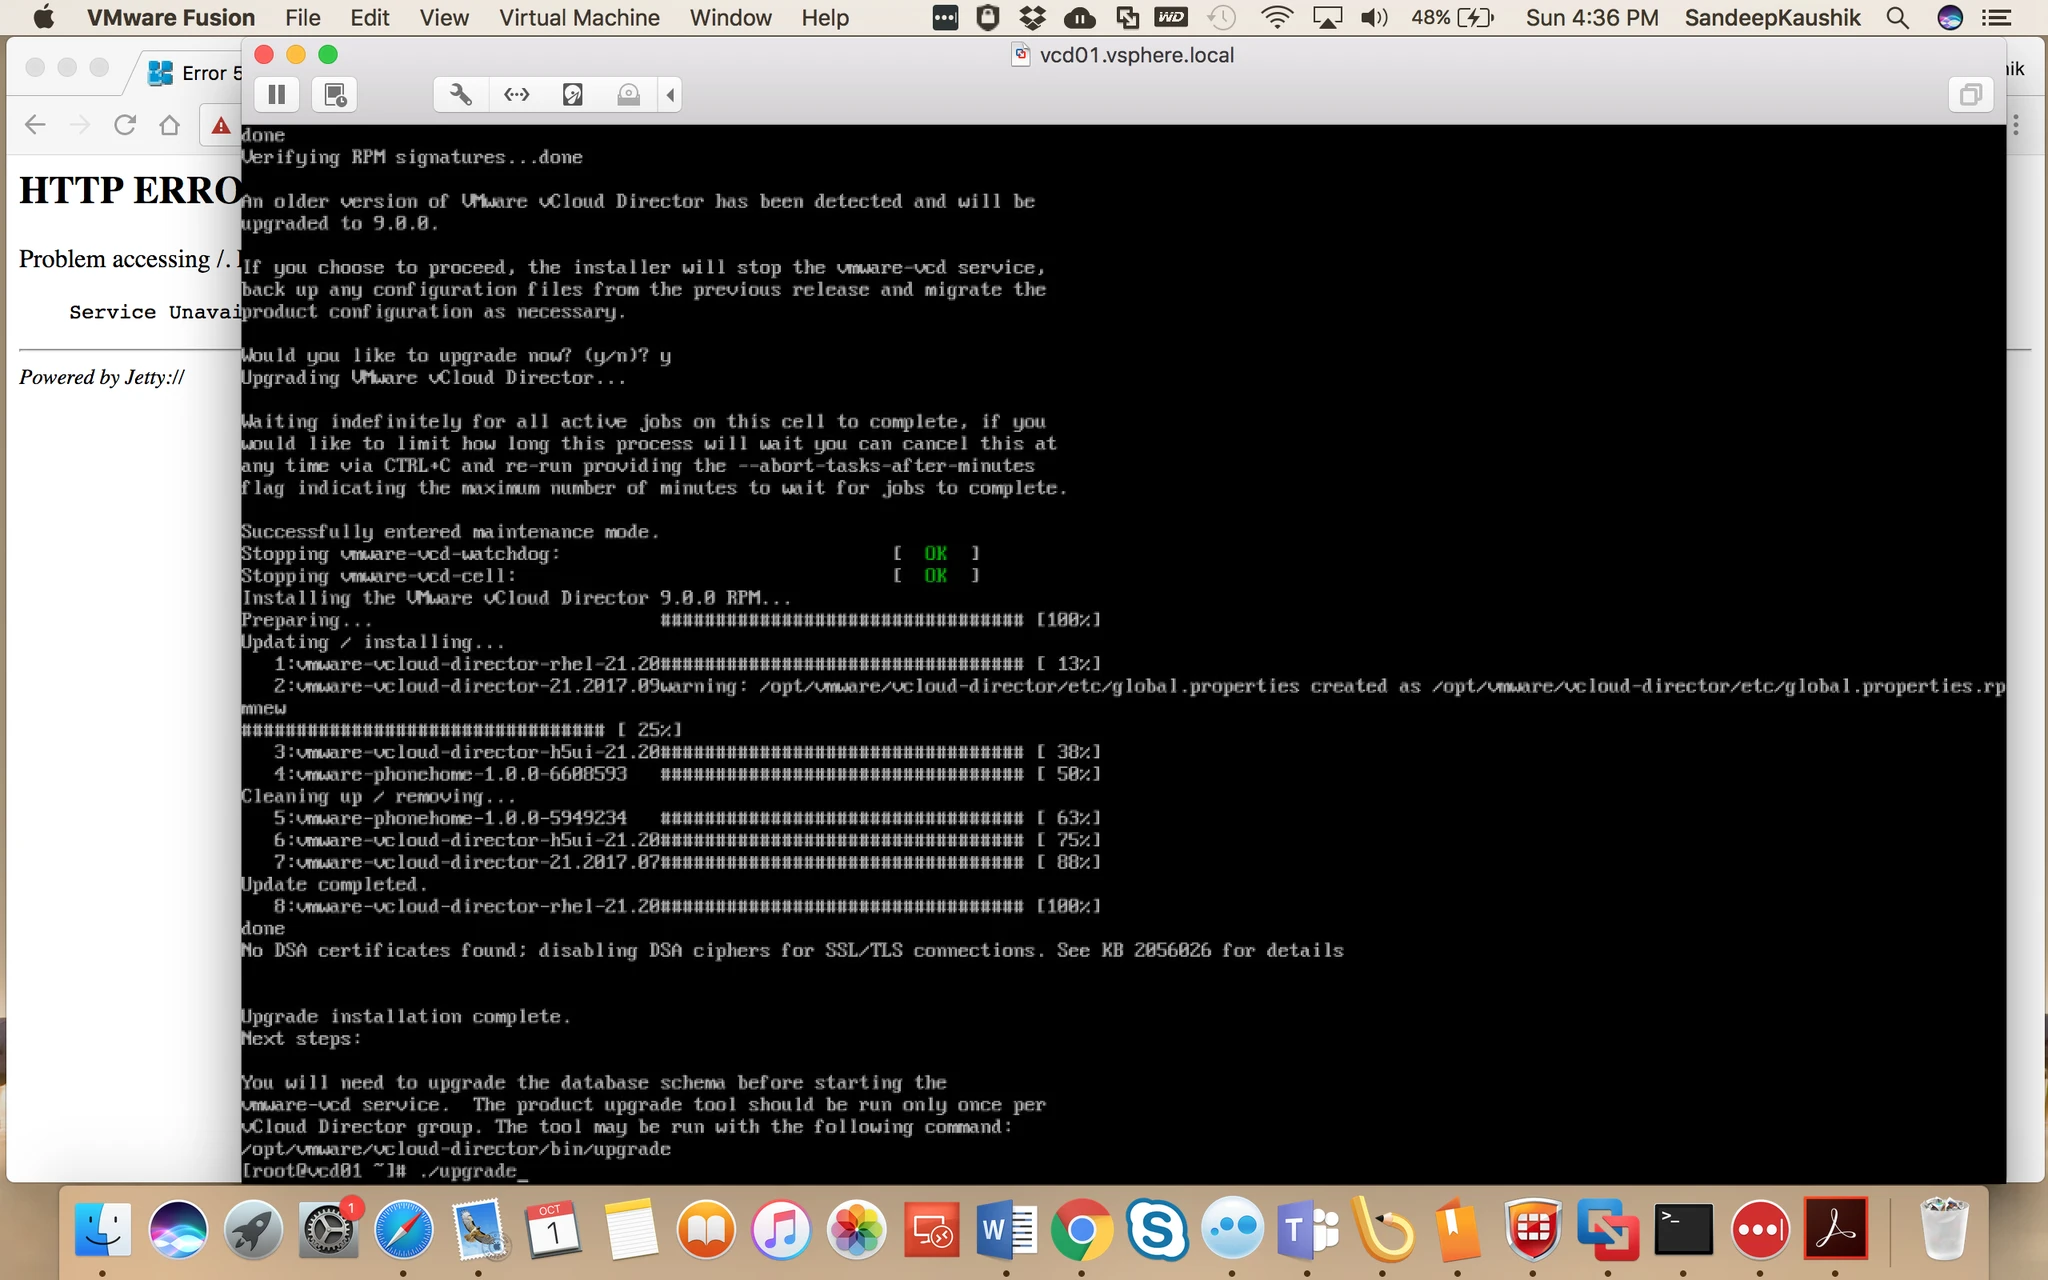
After that run this command ./vmware-vCloud-director-distribution-8.20.0-5515092.bin

If the installer detects a version of vCloud Director installed on this server that is equal to or later than
the version in the installation file it displays an error message and exits. Otherwise, it prompts you to
confirm that you are ready to proceed to upgrade this server.
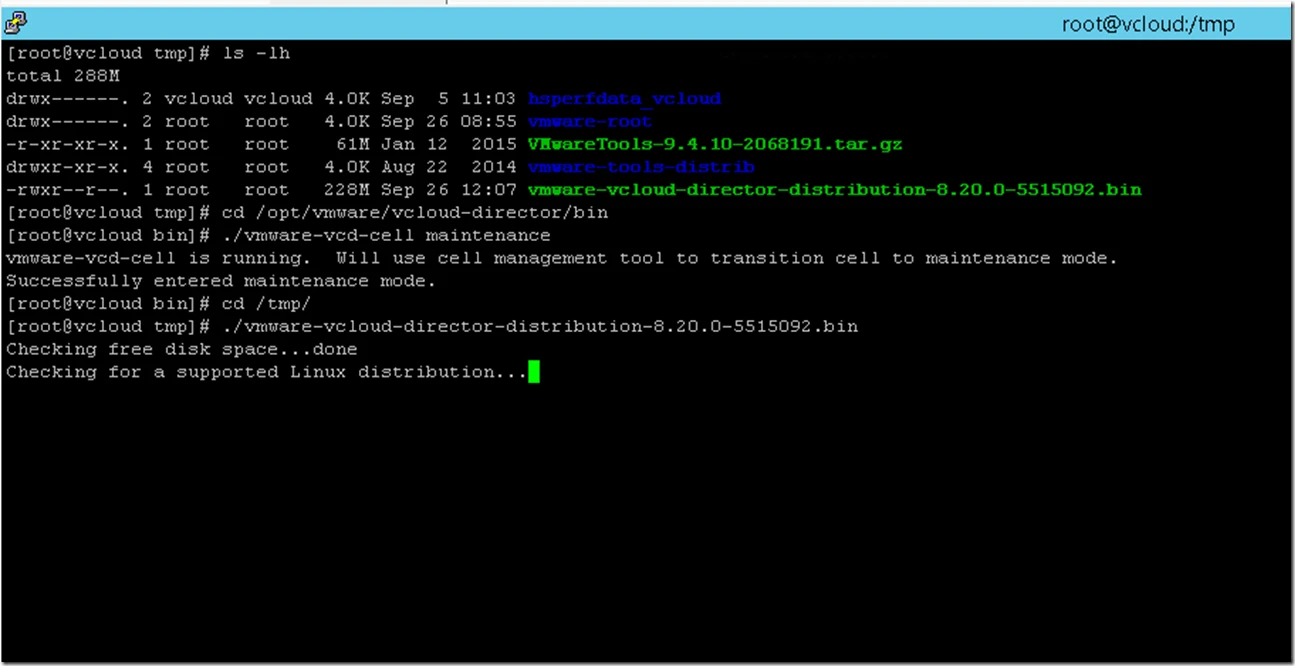
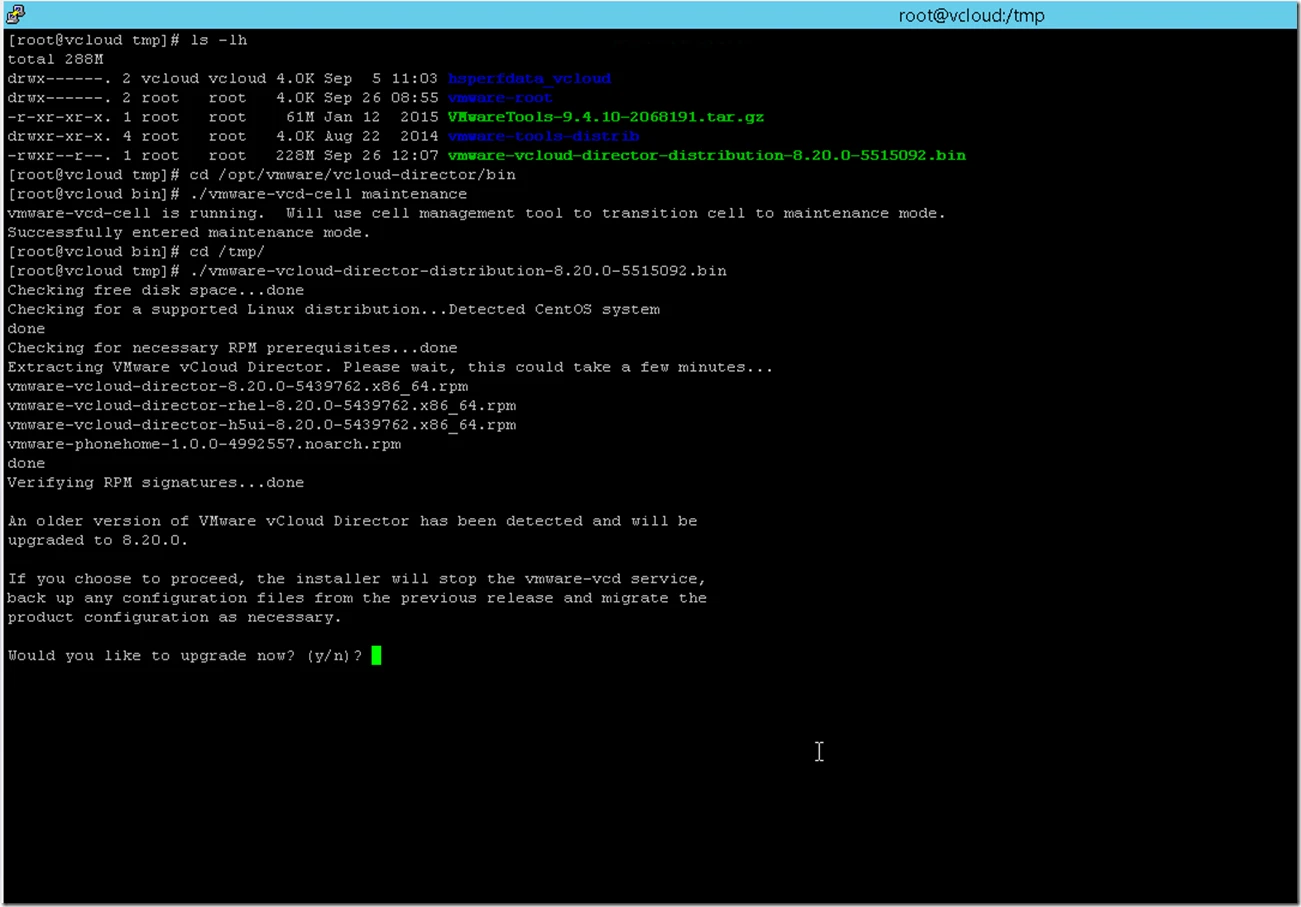
 

2017-09-27 15_36_17-mRemoteNG - confCons.xml - vCenter-Cloud-D2017-09-27 15_36_23-mRemoteNG - confCons.xml - vCenter-Cloud-D2017-09-27 15_36_41-mRemoteNG - confCons.xml - vCenter-Cloud-D2017-09-27 15_36_53-mRemoteNG - confCons.xml - vCenter-Cloud-D


Upgrade the vCD database.

Note: Make Sure you have Database backup before upgrading Schema for database.
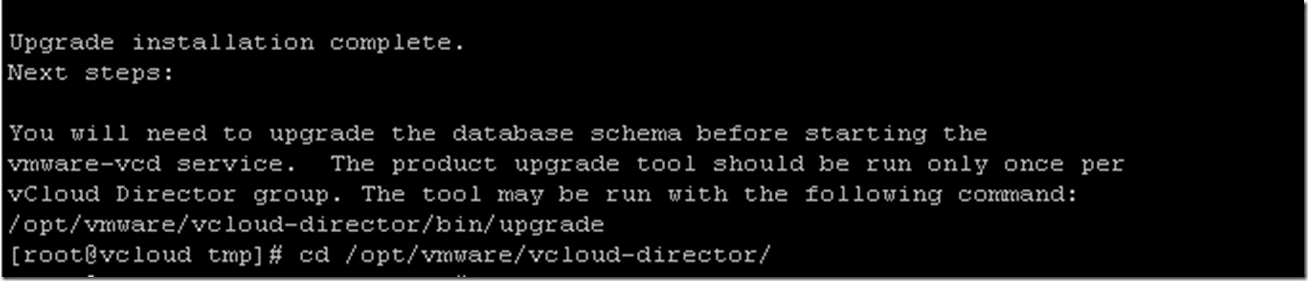
image


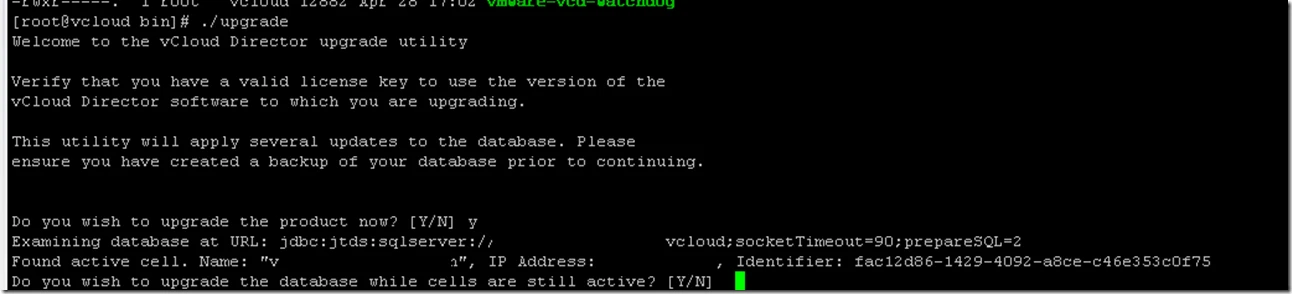
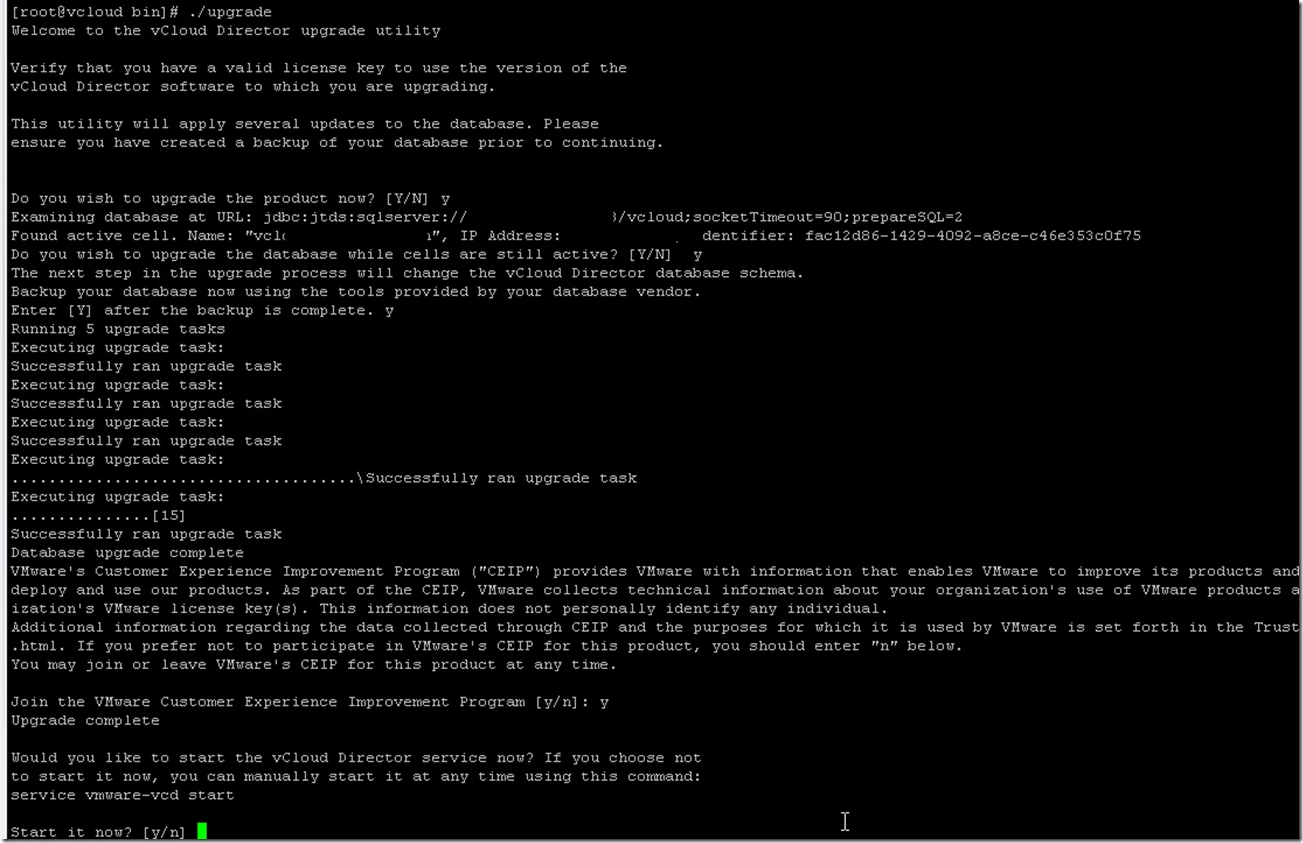
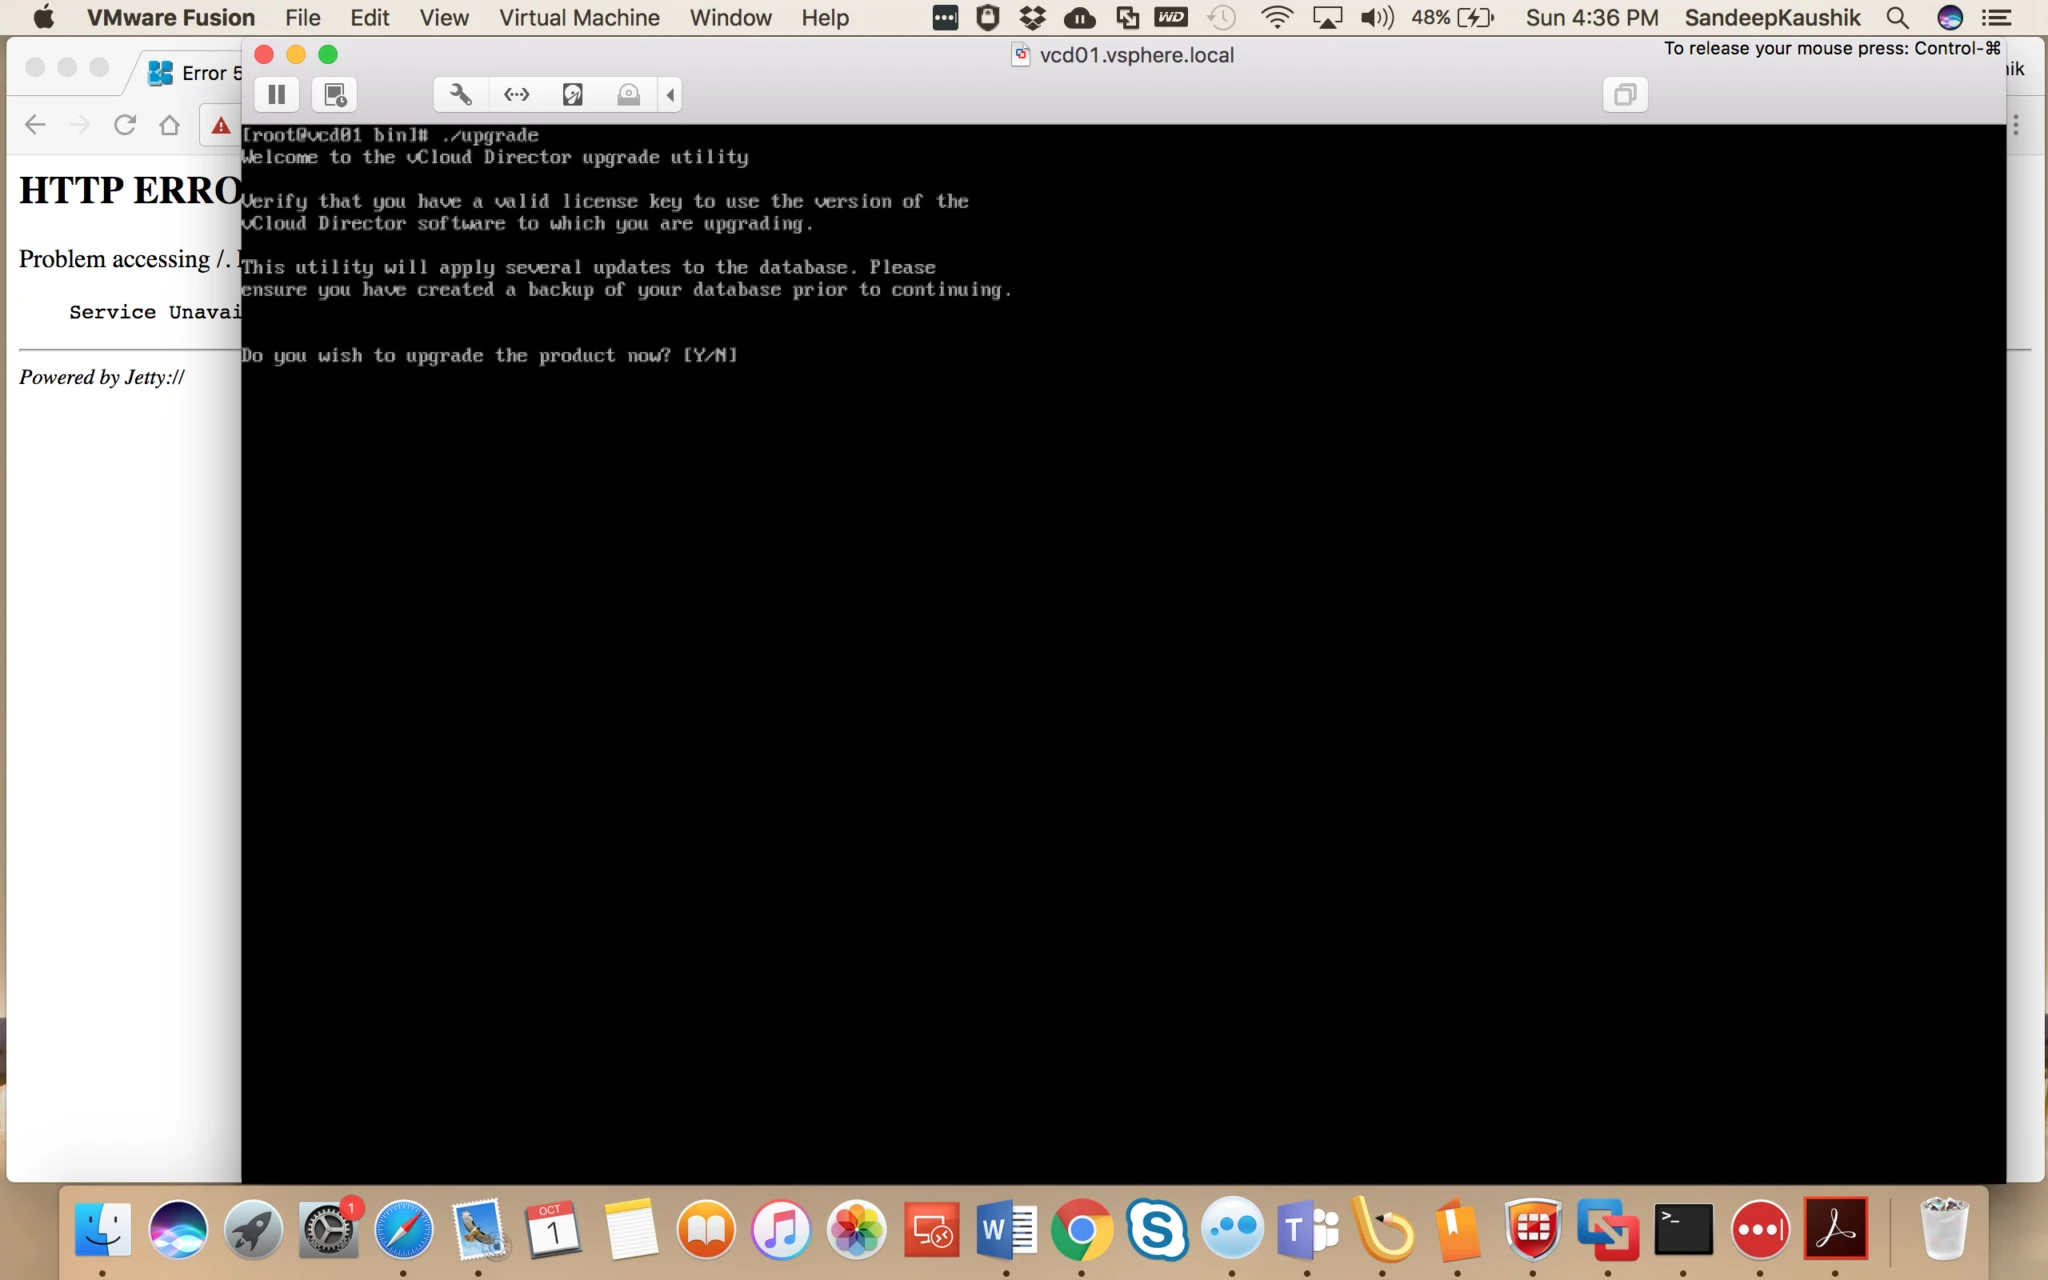
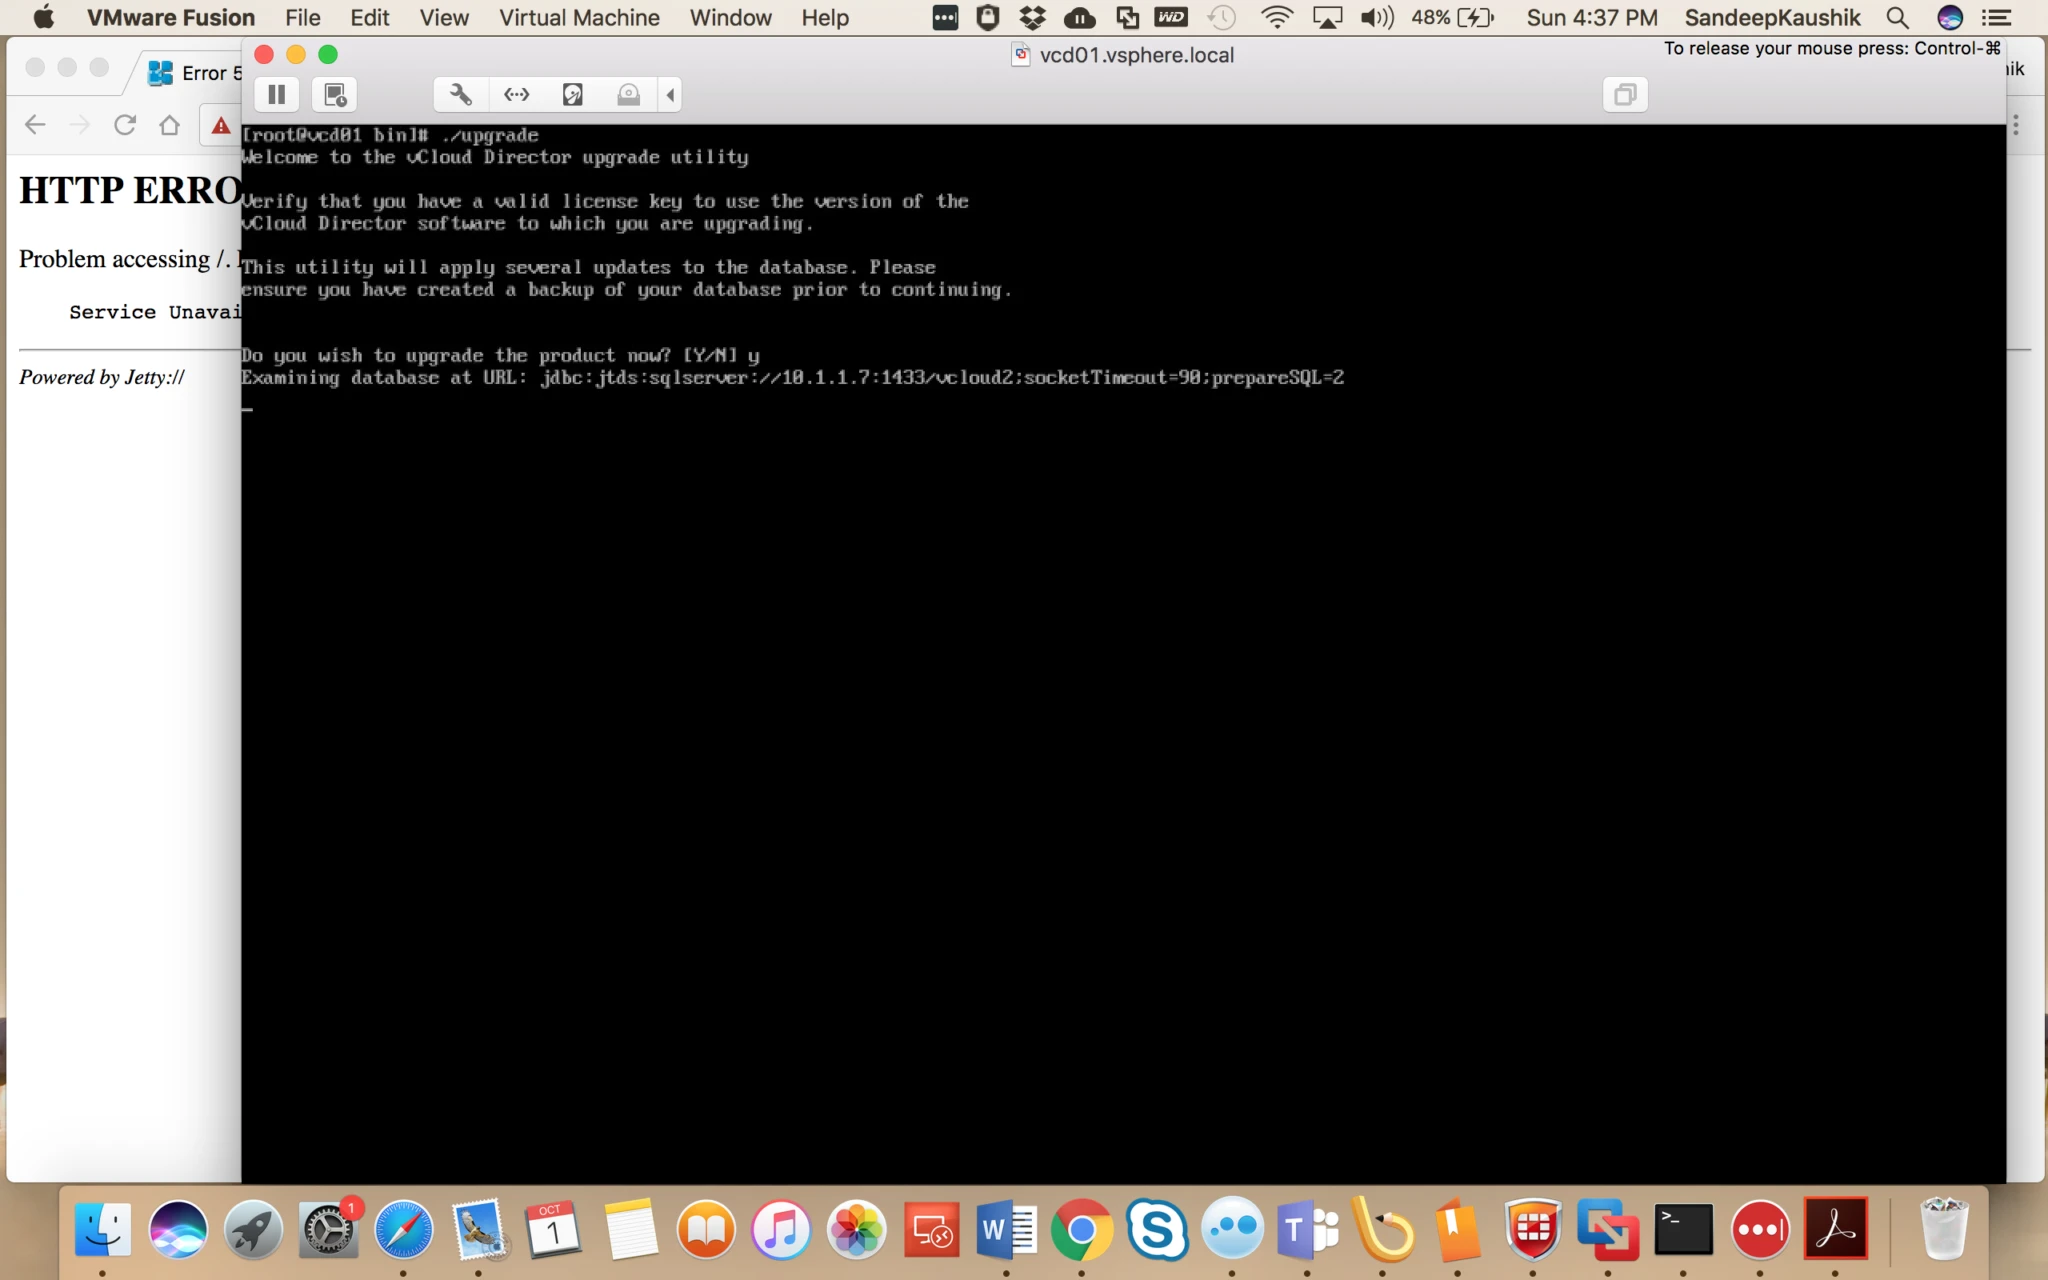
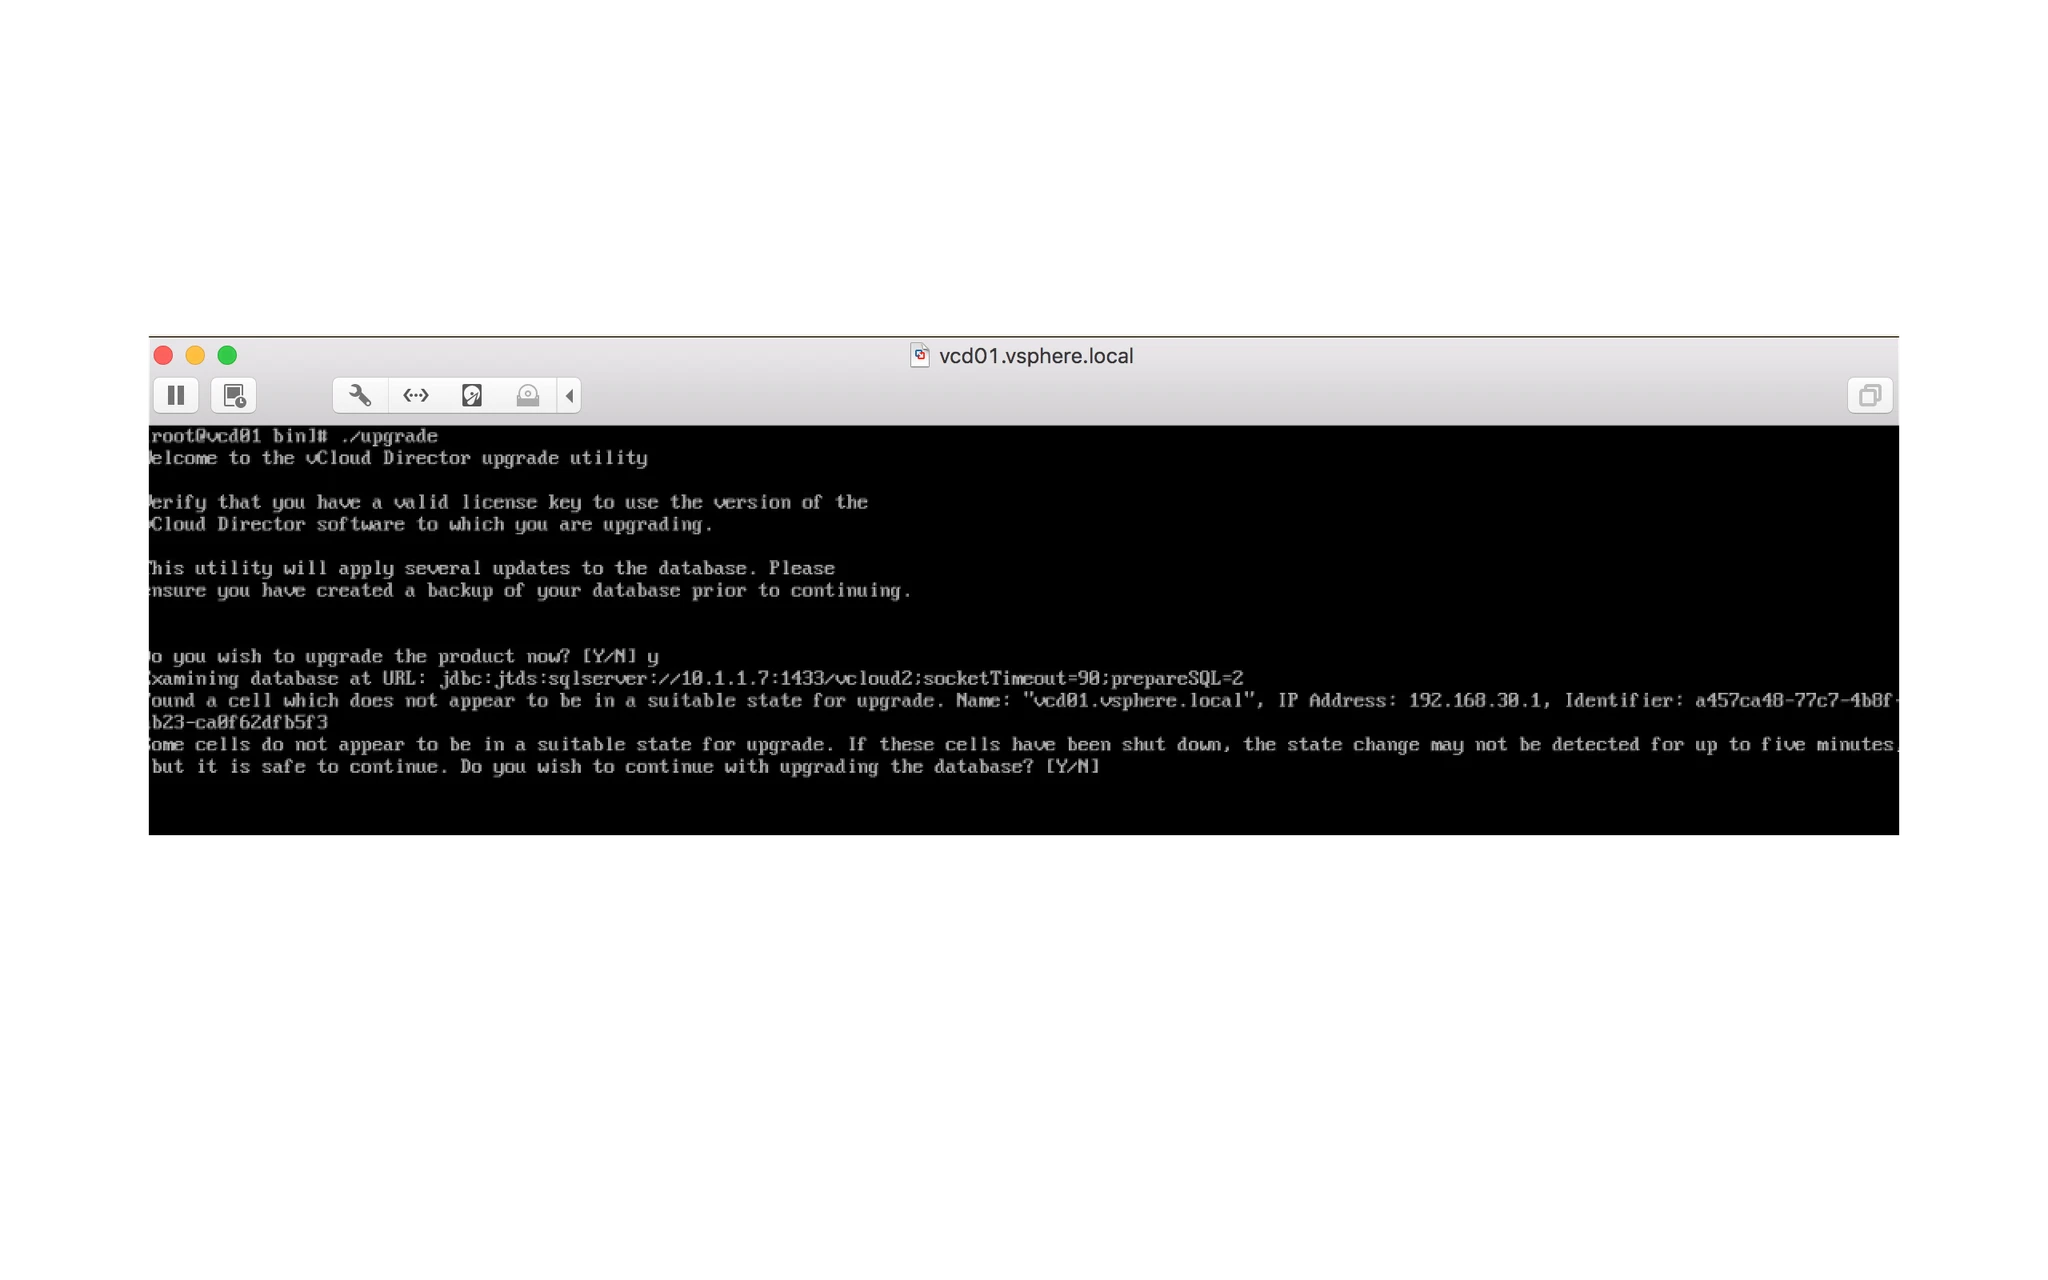
Go to this location: cd /opt/vmware/vCloud-director/bin/

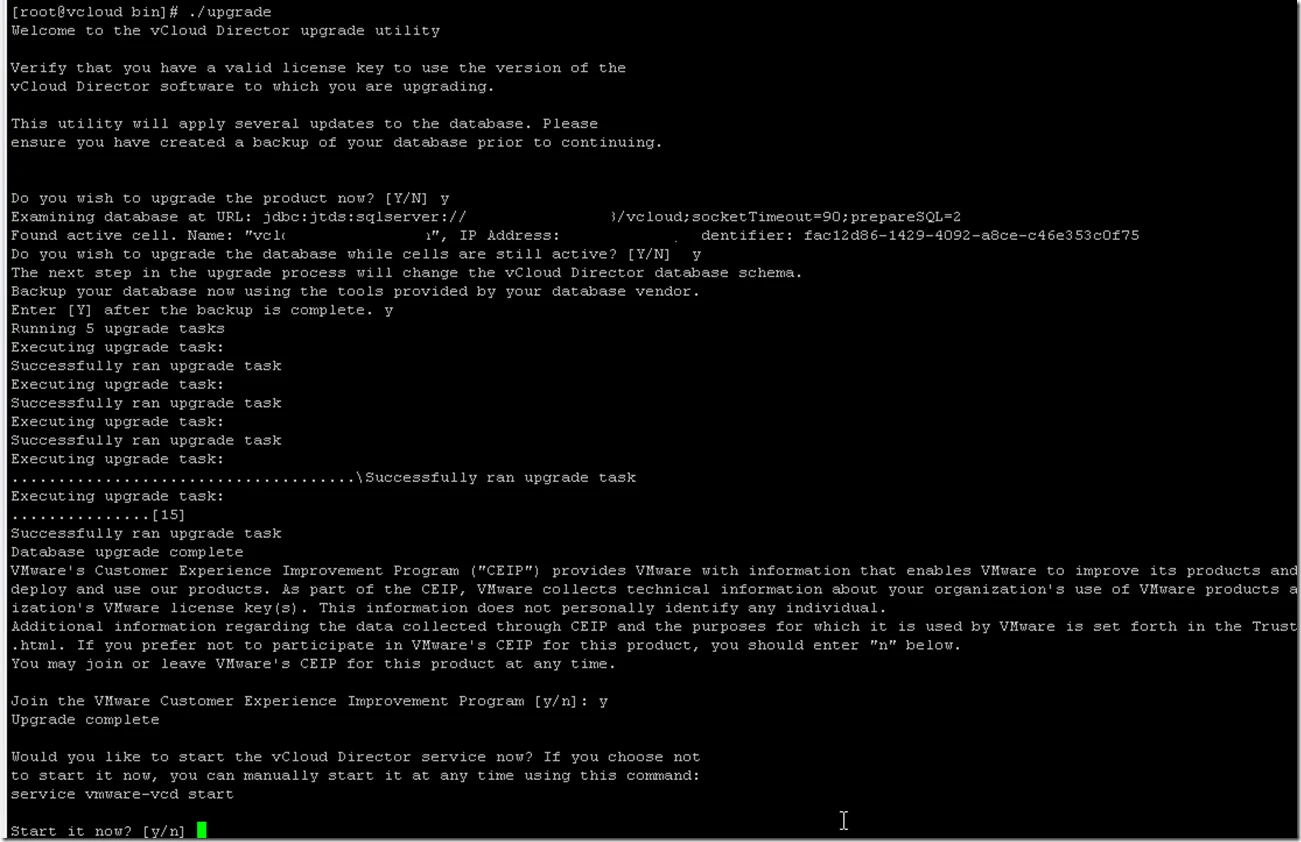
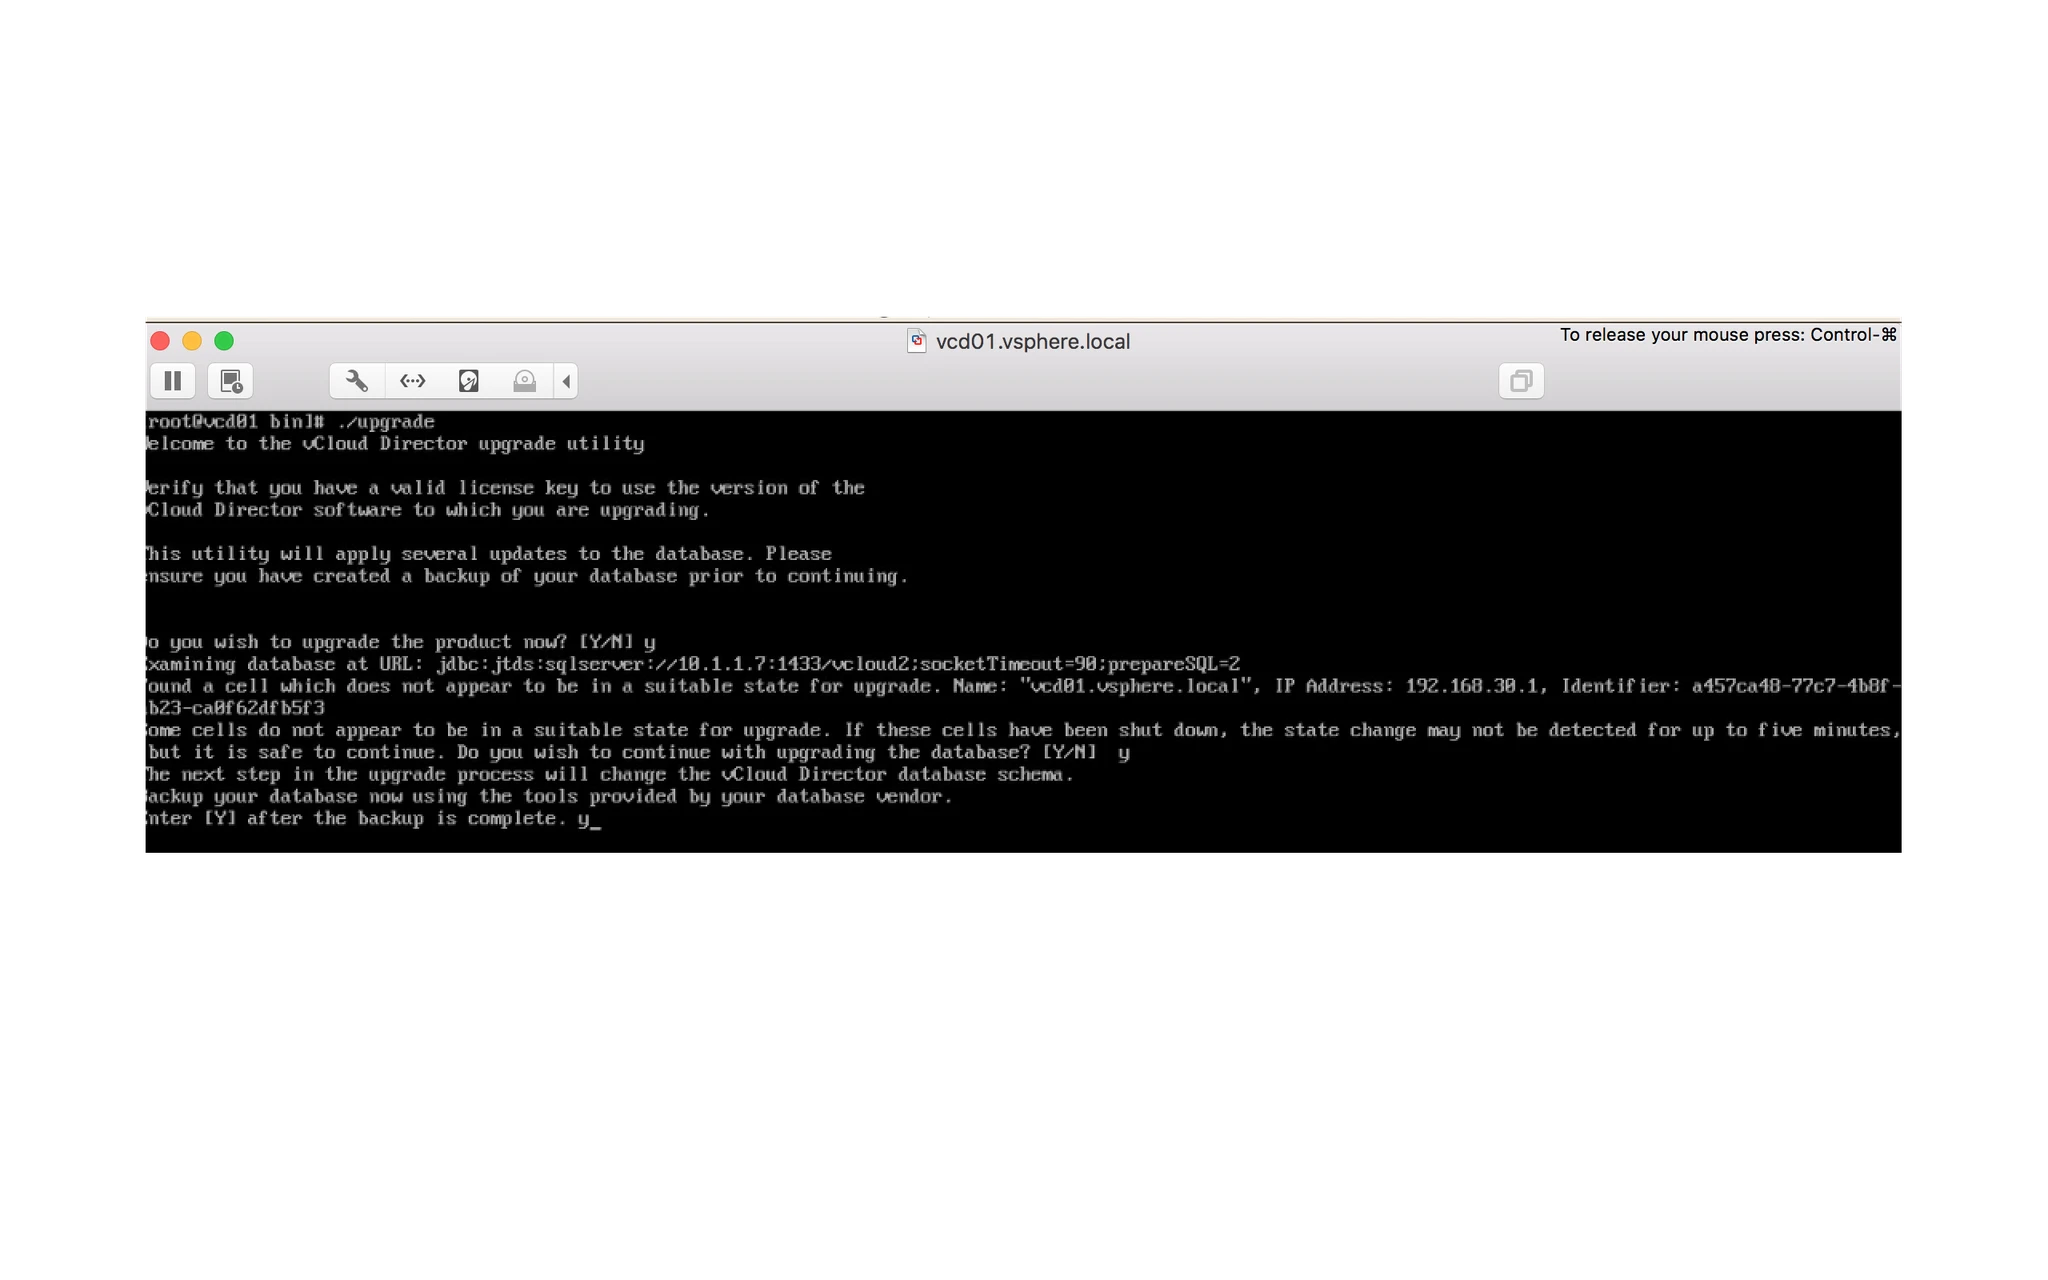
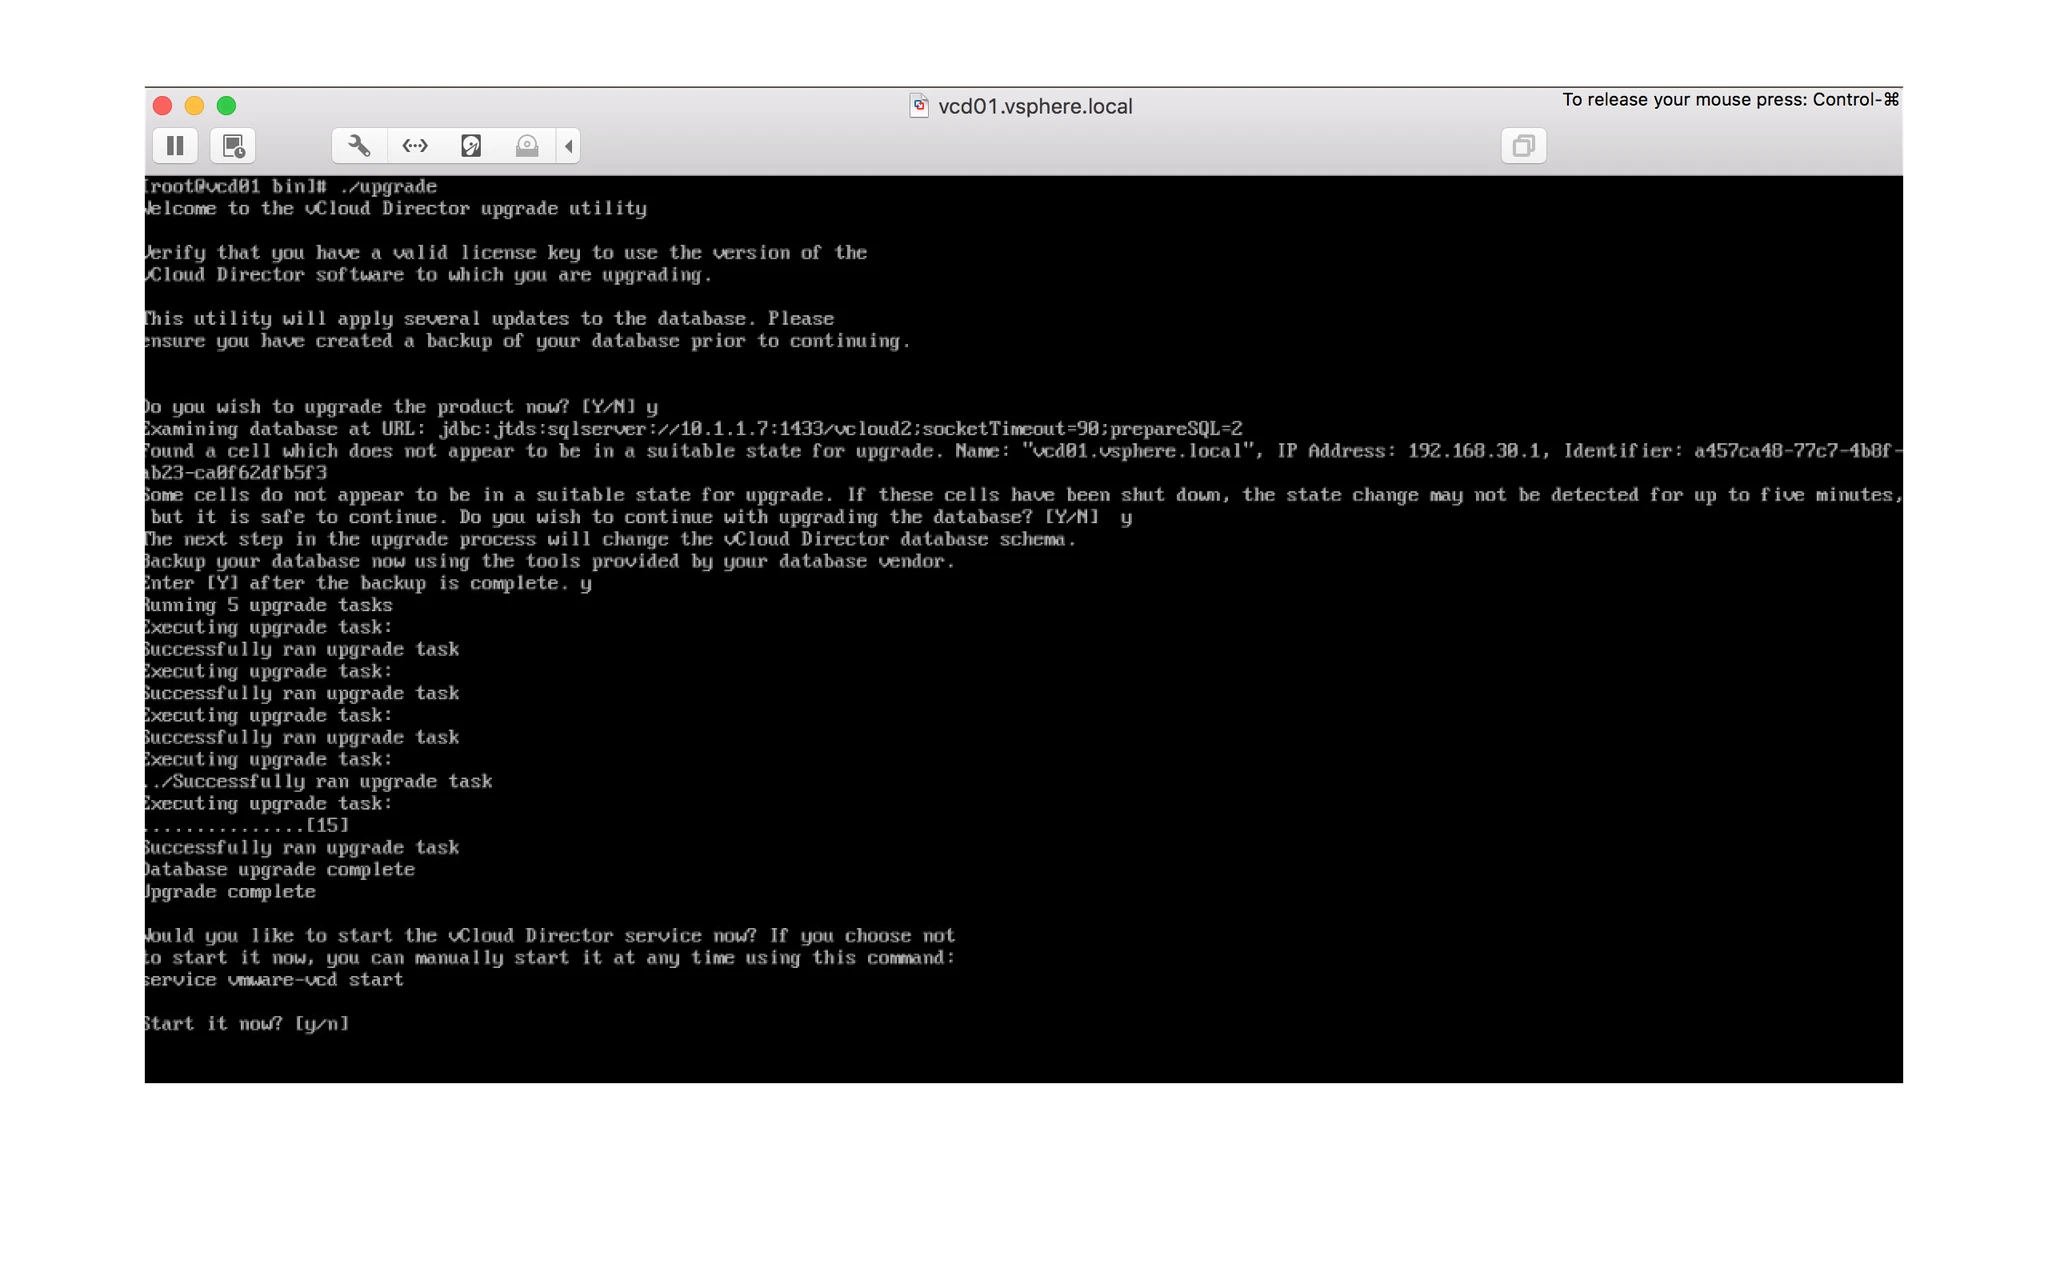
type ./upgrade
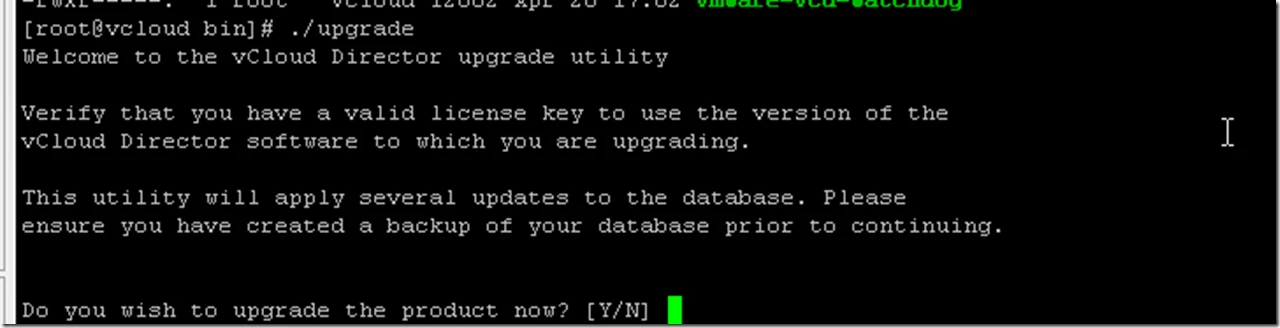
2017-09-27 15_39_54-mRemoteNG - confCons.xml - vCenter-Cloud-D2017-09-27 15_40_24-mRemoteNG - confCons.xml - vCenter-Cloud-D


After that it will ask you to restart vCD server press Y.
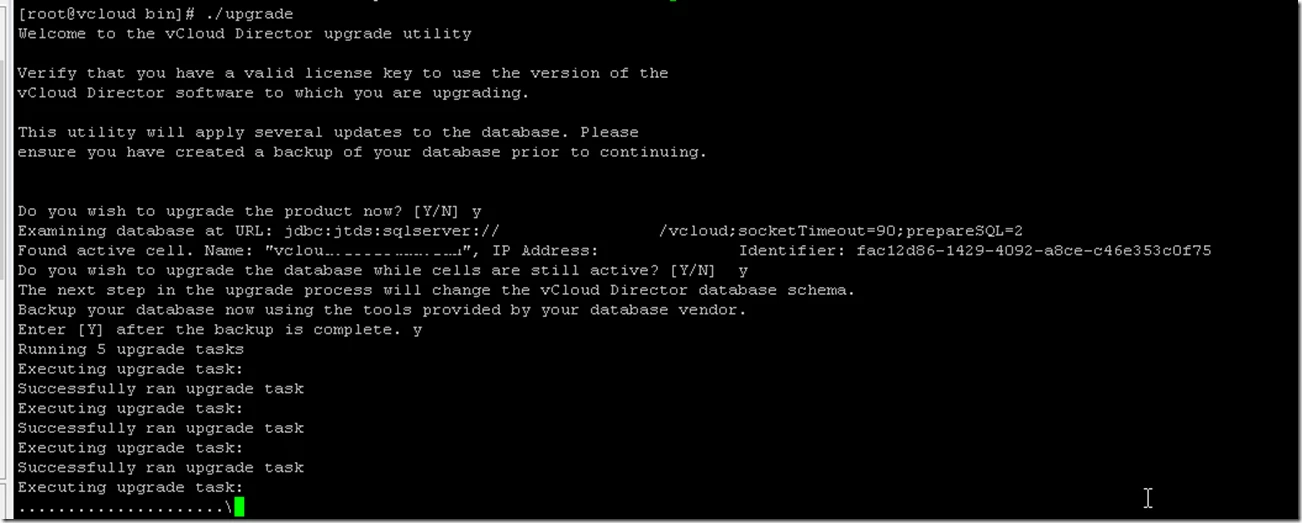
2017-09-27 15_41_09-mRemoteNG - confCons.xml - vCenter-Cloud-D2017-09-27 15_41_43-mRemoteNG - confCons.xml - vCenter-Cloud-D


Restart the vCD services on the cell servers.
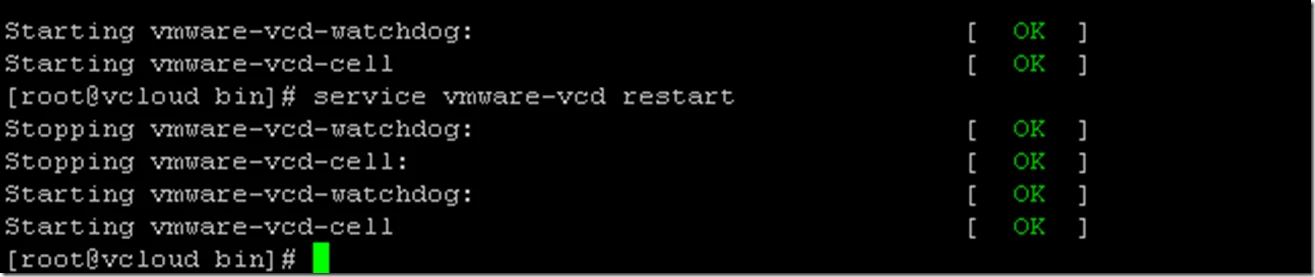
2017-09-27 15_42_53-mRemoteNG - confCons.xml - vCenter-Cloud-D2017-09-27 15_41_43-mRemoteNG - confCons.xml - vCenter-Cloud-D


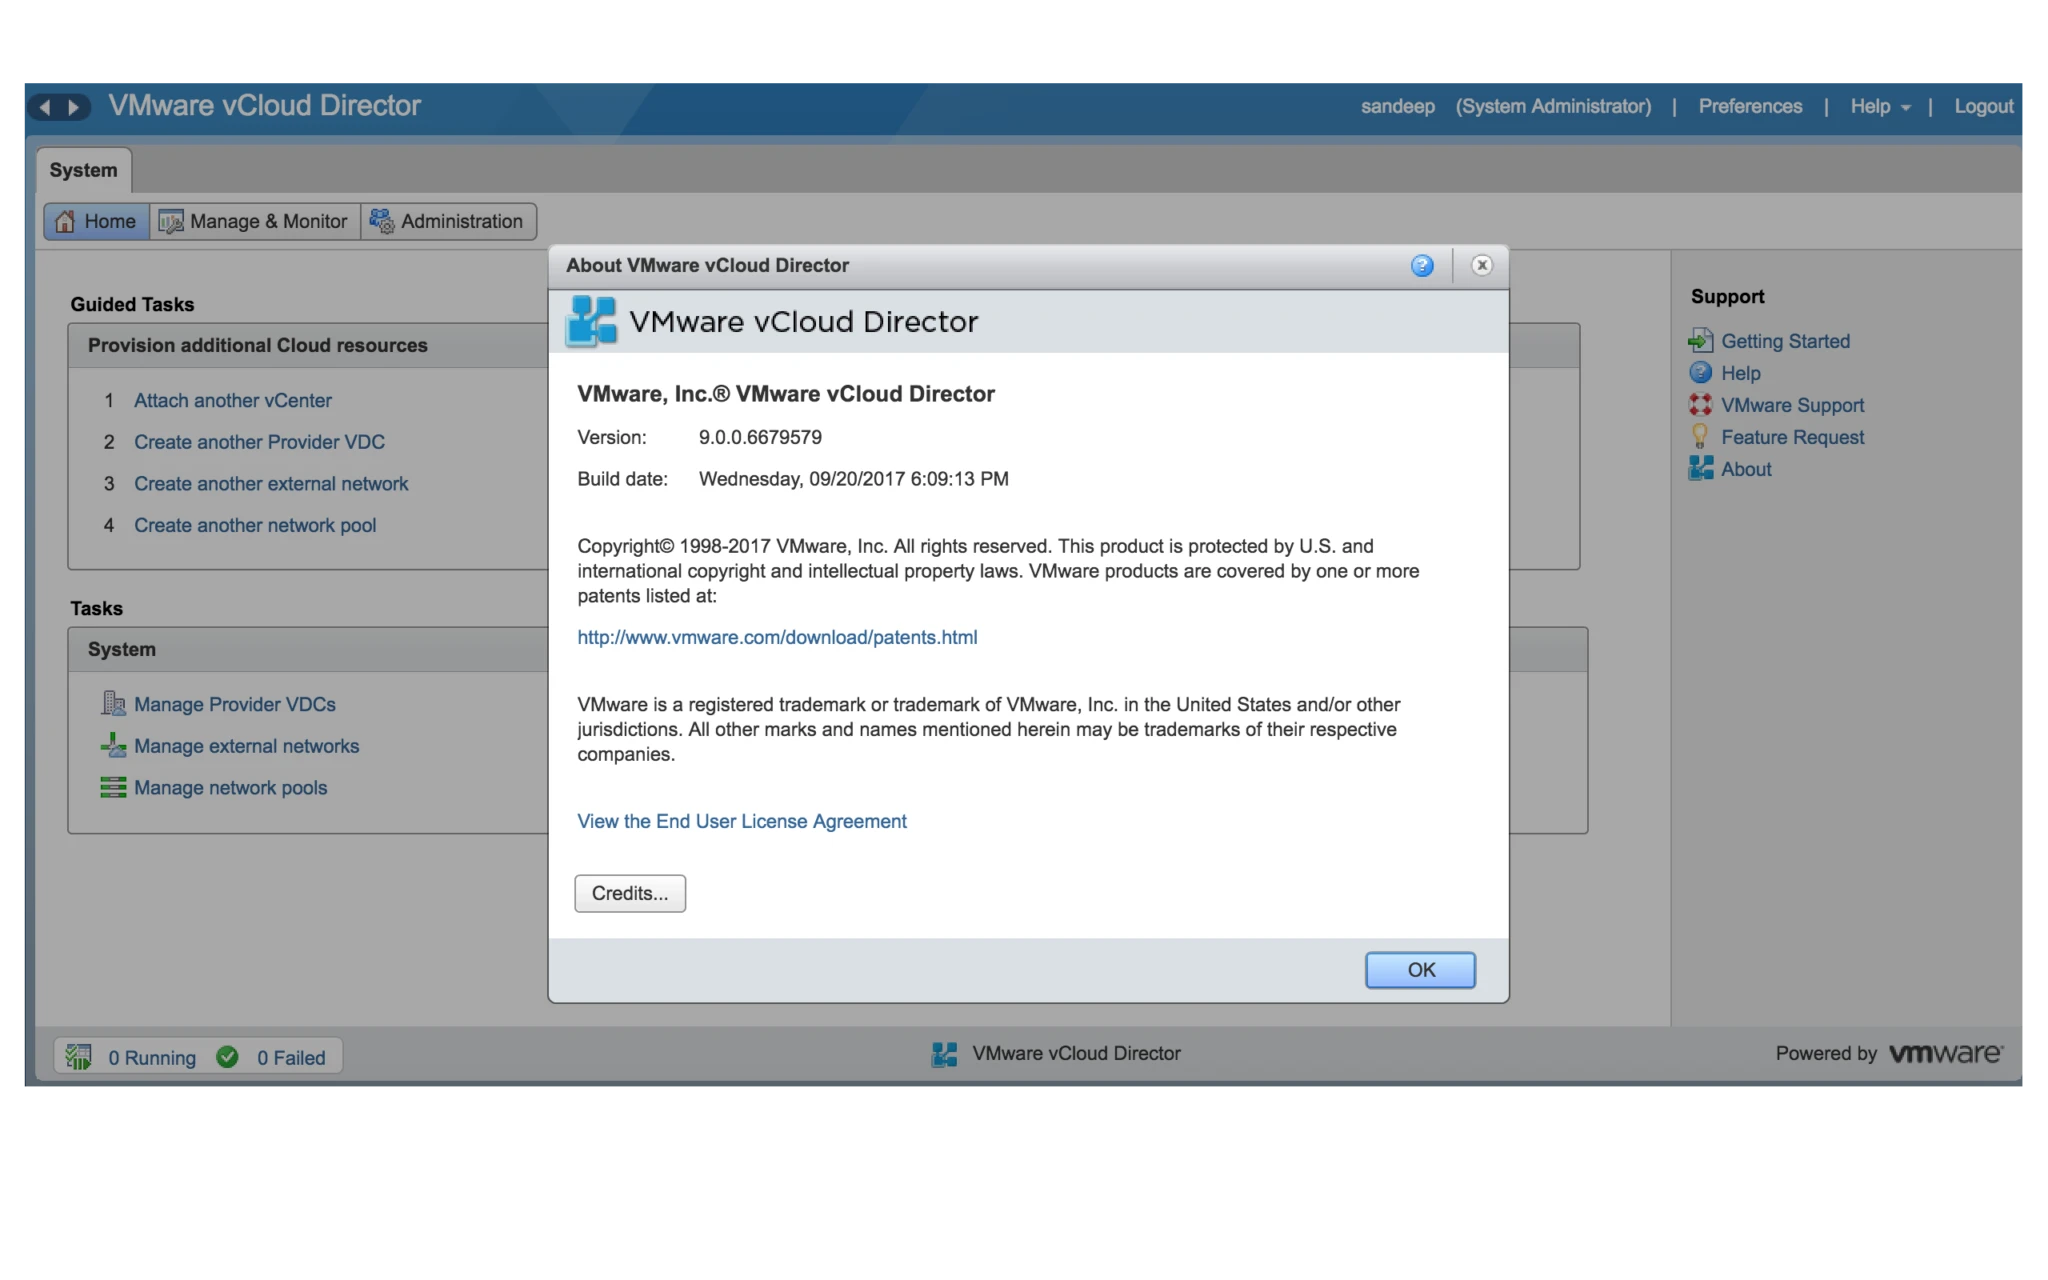
If you had the vCD web console open during the upgrade, log out to clear the browser cache.
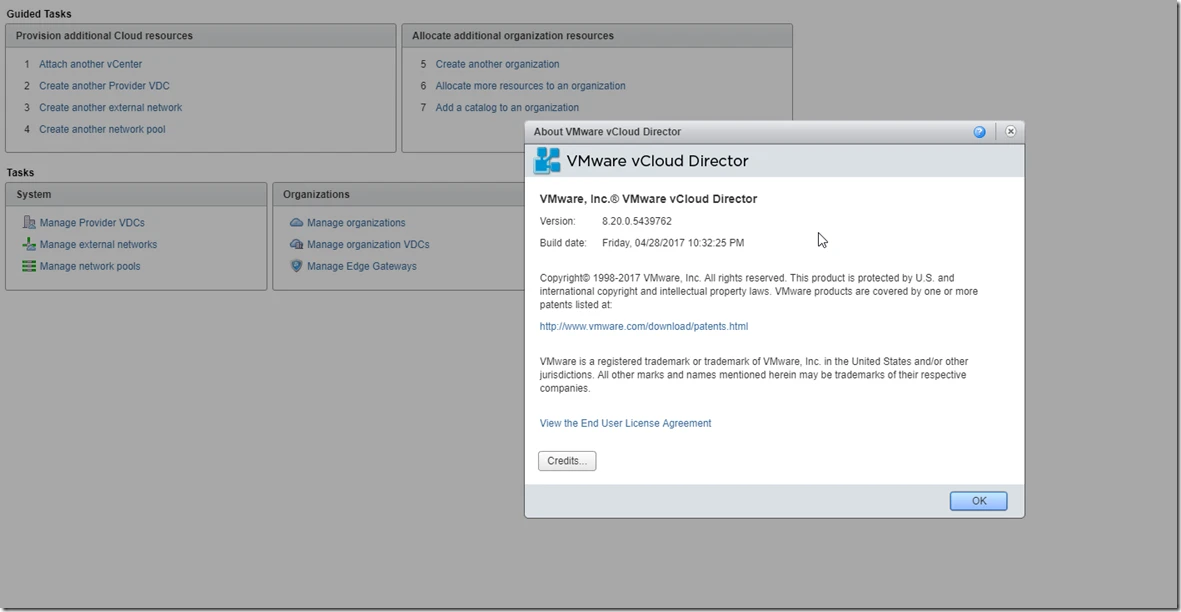
2017-09-27 15_47_00-VMware vCloud Director

Errors during and After upgrade:


1. First thing after upgrade vCloud Director, vCD VM not getting IP address

To resolve this issue you have to make nic UP and Down for Centos or Linux

  • ifup eth0 and ifdown eth0
  • Also known error (Due Gratuitous ARP issue)

2. After that vCenter not connecting in vCloud Director.

We discovered the connection issue was due to vCenter using TLSv1 which we needed to enable on the vCD cell by running

  • /opt/vmware/vcloud-director/bin]# ./cell-management-tool ssl-protocols -d SSLv3,SSLv2Hello

and then restarting the cell services.

To perform this activity you have to follow below steps.

  • A. Login to the vCloud Director cell via SSH as root.
  • B. Change directory to where the cell-management-tool is located.
    ># cd /opt/vmware/vcloud-director/bin
  • C. Run the tool to verify the job count and active state (true):
    ># ./cell-management-tool -u administrator cell -t
    Please enter the administrator password:
    Job count = 2
    Is Active = true
  • D. Use the quiesce feature to ensure the cell takes no new jobs
    ># ./cell-management-tool -u administrator cell -q true
    Please enter the administrator password:
  • E. Run the tool to verify the job count and active state (false):
    ># ./cell-management-tool -u administrator cell -t
    Please enter the administrator password:
    Job count = 0
    Is Active = false
  • F. Shut down the cell once the Job count = 0 and Is Active = false:
    ># ./cell-management-tool -u administrator cell -s
    Please enter the administrator password:
  • G. Stop the vCloud Director services:
    ># service vmware-vcd stop
    Stopping vmware-vcd-watchdog:        [  OK  ]
    Stopping vmware-vcd-cell:                   [  OK  ]

3. Here you need to access your vCloud Director SQL database

and run these commands. (Run these command in one go)

  • update jobs set status = 3 where status = 1;
    update last_jobs set status = 3 where status = 1;
    delete from busy_object;
    delete from QRTZ_SCHEDULER_STATE;
    delete from QRTZ_FIRED_TRIGGERS;
    delete from QRTZ_PAUSED_TRIGGER_GRPS;
    delete from QRTZ_CALENDARS;
    delete from QRTZ_TRIGGER_LISTENERS;
    delete from QRTZ_BLOB_TRIGGERS;
    delete from QRTZ_CRON_TRIGGERS;
    delete from QRTZ_SIMPLE_TRIGGERS;
    delete from QRTZ_TRIGGERS;
    delete from QRTZ_JOB_LISTENERS;
    delete from QRTZ_JOB_DETAILS;
    delete from compute_resource_inv;
    delete from custom_field_manager_inv;
    delete from ccr_drs_vm_host_rule_inv;
    delete from cluster_compute_resource_inv;
    delete from datacenter_inv;
    delete from datacenter_network_inv;
    delete from datastore_inv;
    delete from dv_portgroup_inv;
    delete from dv_switch_inv;
    delete from folder_inv;
    delete from managed_server_inv;
    delete from managed_server_datastore_inv;
    delete from managed_server_network_inv;
    delete from network_inv;
    delete from resource_pool_inv;
    delete from storage_pod_inv;
    delete from task_inv;
    delete from task_activity_queue;
    delete from activity;
    delete from activity_parameters;
    delete from failed_cells;
    delete from lock_handle;
    delete from vm_inv;
    delete from property_map;

4. Start the vCloud Director services:
># service vmware-vcd start
Starting vmware-vcd-watchdog: [ OK ]
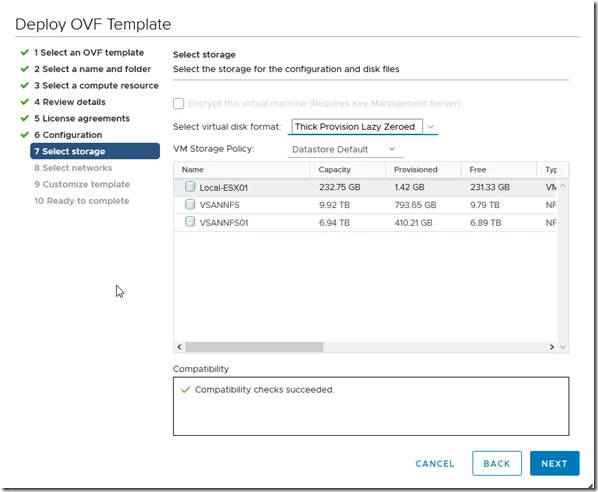
Starting vmware-vcd-cell: [ OK ]