0

VMware vRealize Operations Manager remote collector

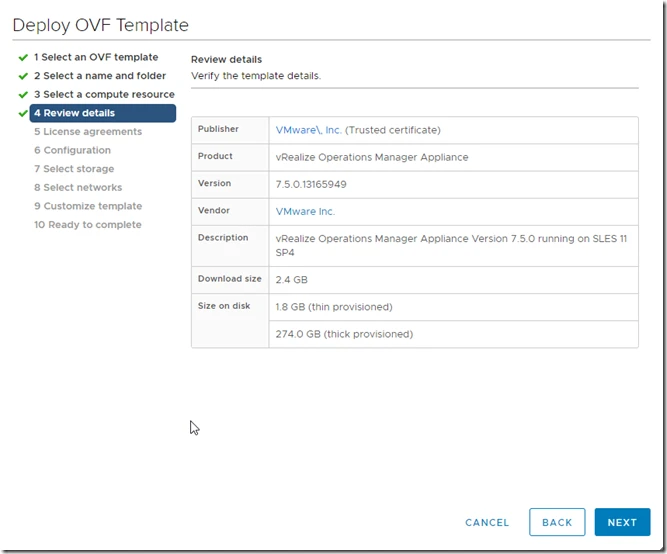
Download the OVA file from vmware

1. upload it in your vCenter server.

image

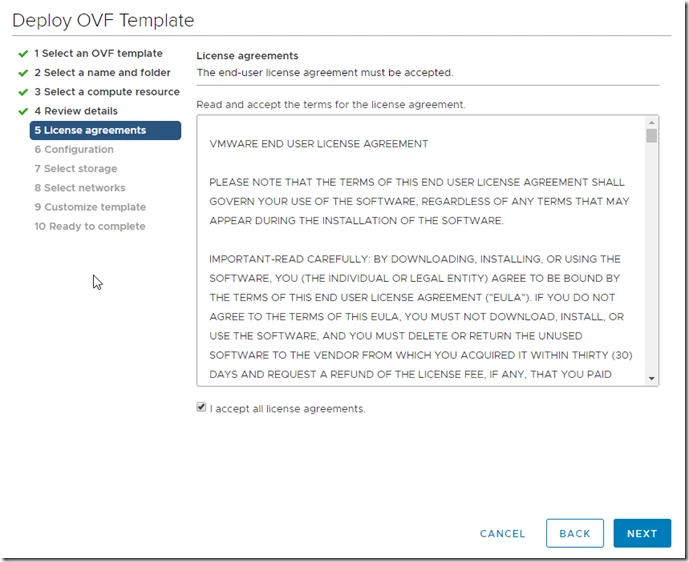
2. Now click on “I accept all license agreements”

image

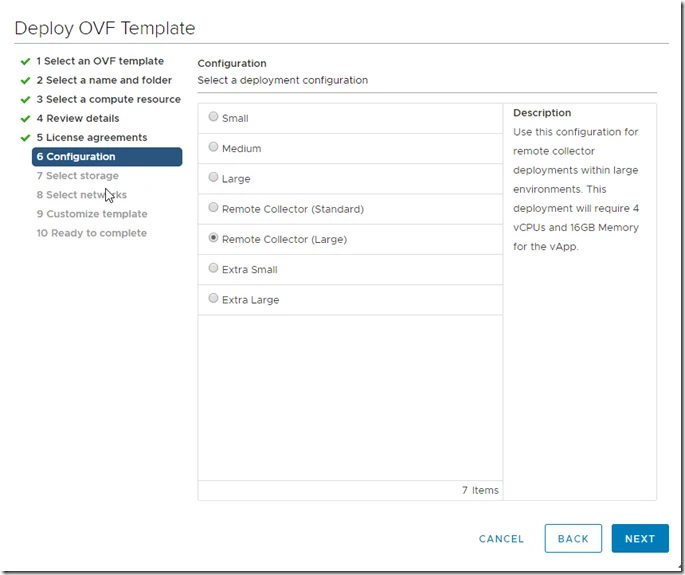
3.  Select as Remote collect (Large) as per your requirement.

image

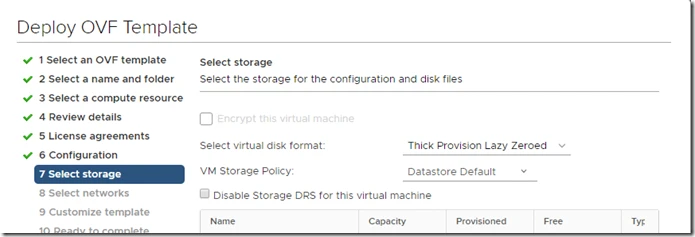
4.  Select datastore

image

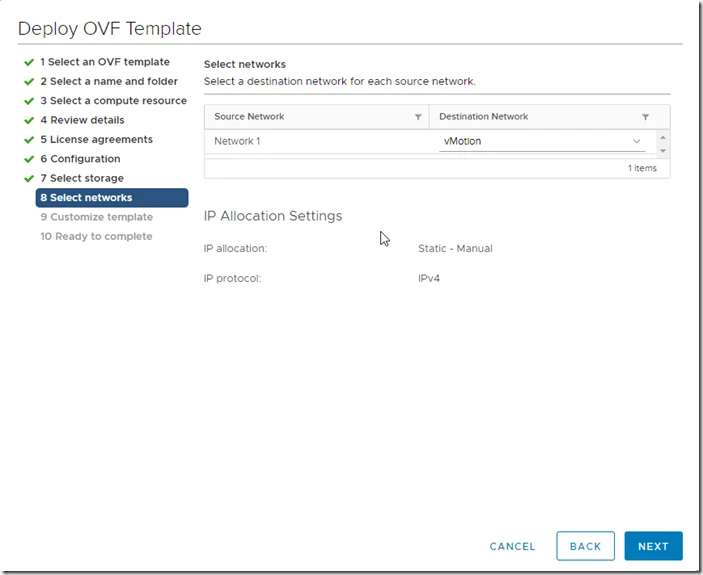
5. Select Network

image

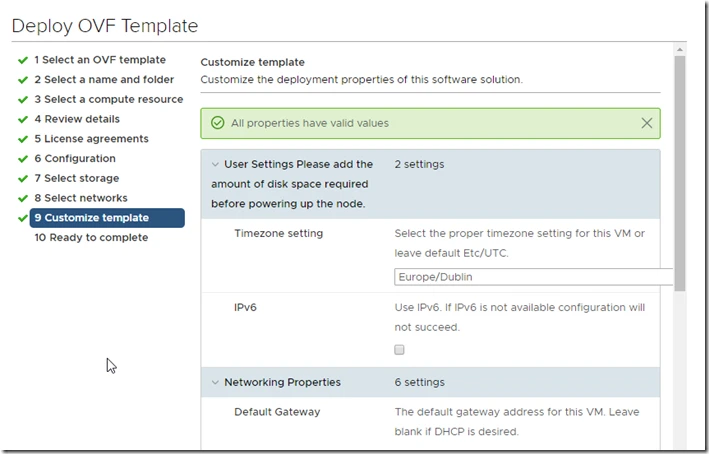
6. Provide IP and other details.

image

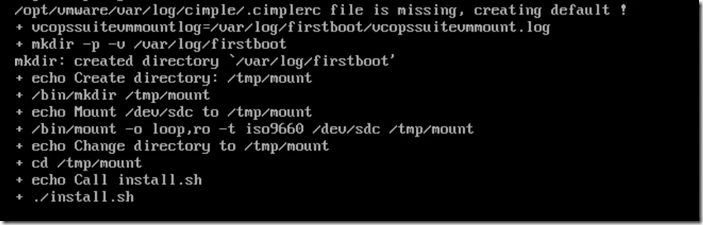
7. It will wait and install required modules in appliance.

image

8. Now appliance is deployed, lets configure it.

Open collector https://IP/admin

image

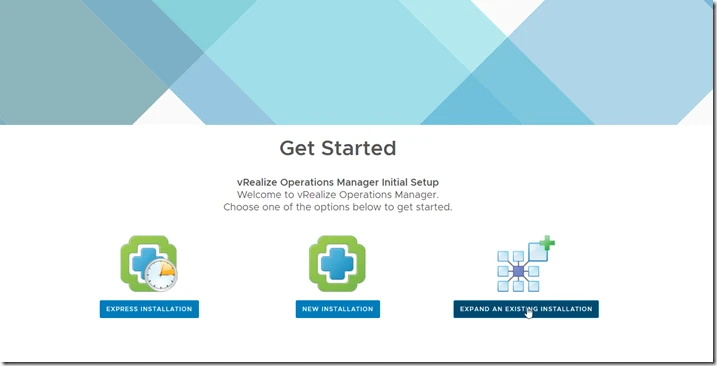
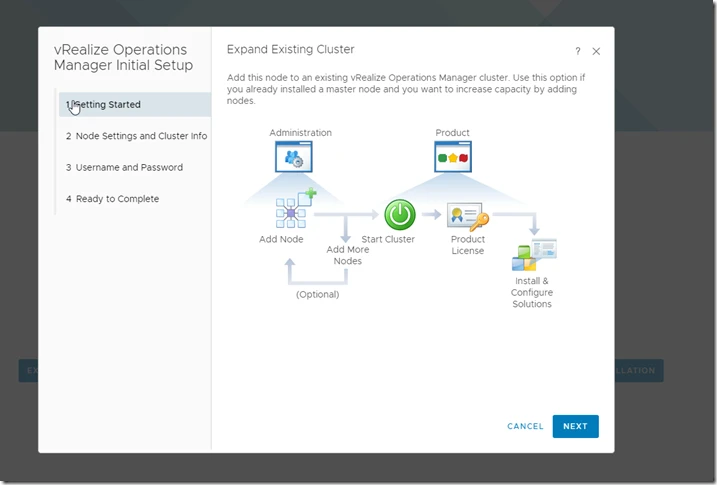
9. Click on Expand an existing installation

image

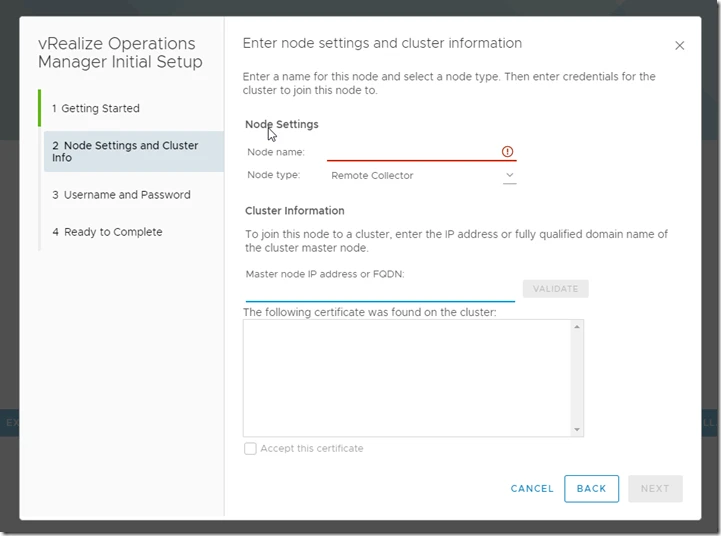
10. Node name as per company naming convention.

image

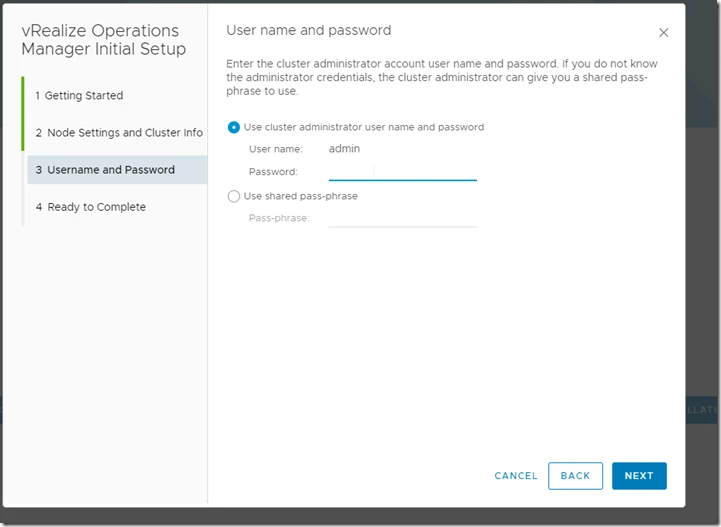
11. Now provide Master node ip or name also accept the Thumbprint.

 image

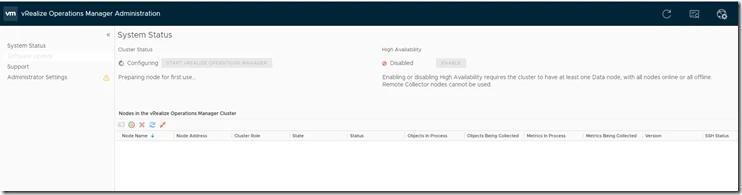
image

image

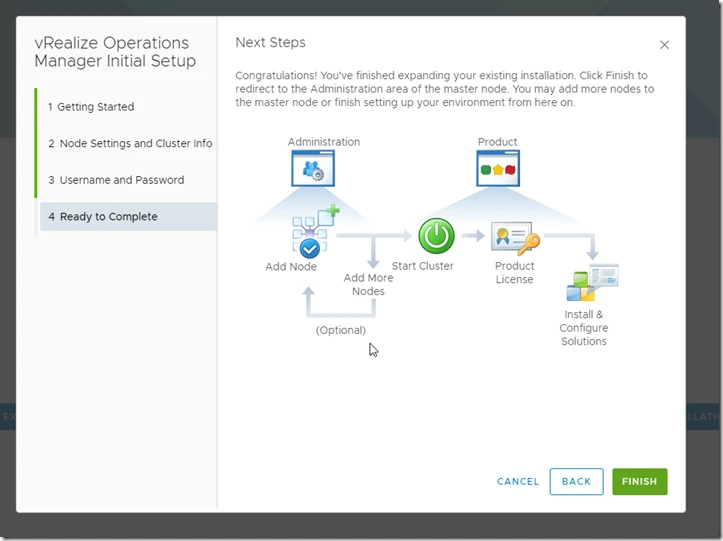
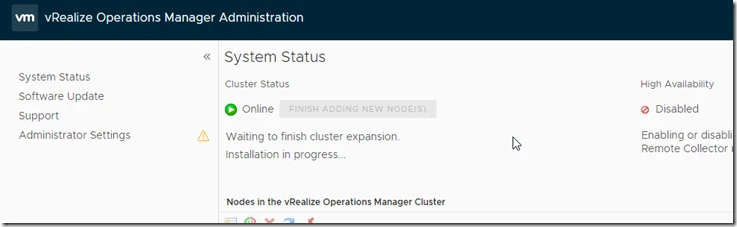
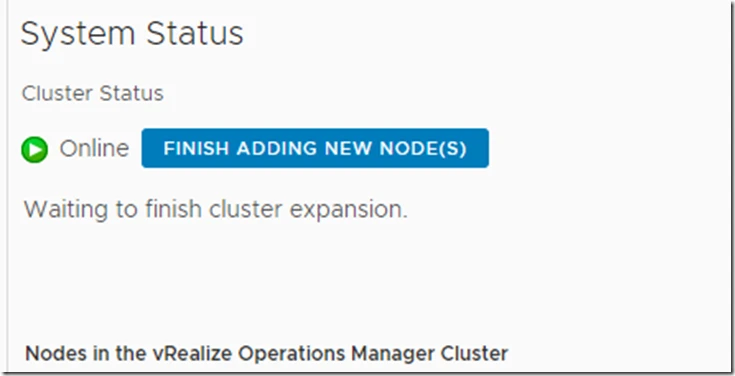
In master node you can see this message.

image

image

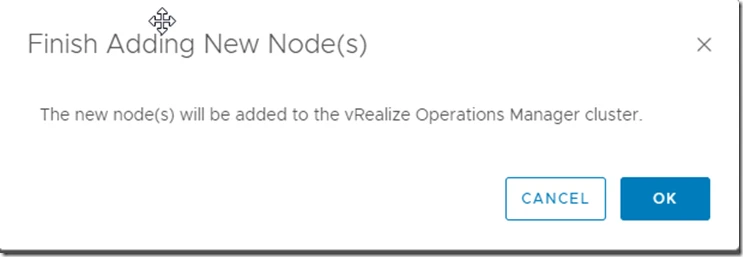
image

0

Project Pacific – VMworld 2019 Deep Dive Updates

Project Pacific – VMworld 2019 Deep Dive Updates

I’m sure most readers will be somewhat familiar with VMware’s Project Pacific at this point. It really is the buzz of VMworld 2019. If I had to describe Project Pacific in as few words as possible, it is a merging of vSphere and Kubernetes (K8s) with the goal of enabling our customers to deploy new, next-gen, distributed, modern applications which may be comprised of container workloads and virtual machine workloads. Not only that, but we also need to provide our customers with a consistent…Read More


VMware Social Media Advocacy

0

VMware vRealize Operations Manager 6.6 to 7.5

Updating VMware vRealize Operations Manager 6.6 to 7.5

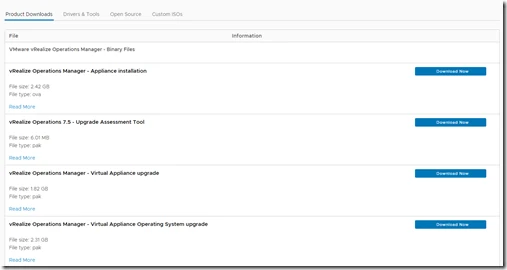
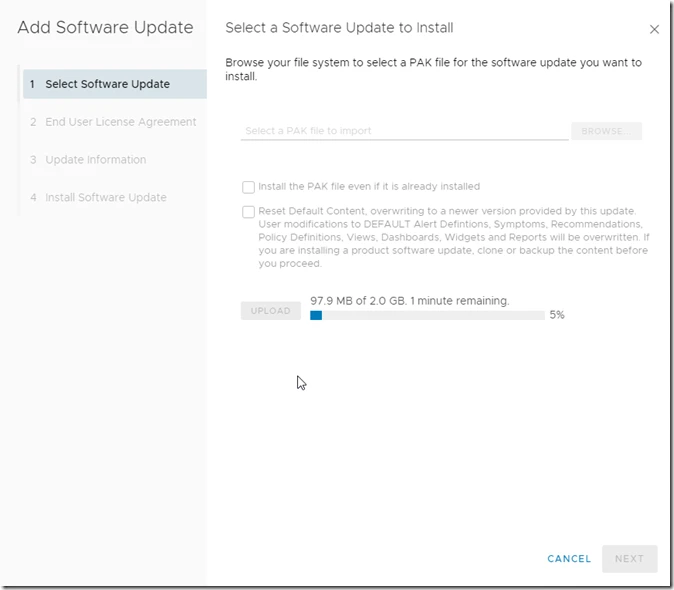
First download the PAK file from VMware website.

image

Note: Also download vRealize Operations 7.5 – Upgrade Assessment Tool

Procedure

  1. Log into the vRealize Operations Manager Administrator interface at https://IP-address>/admin.
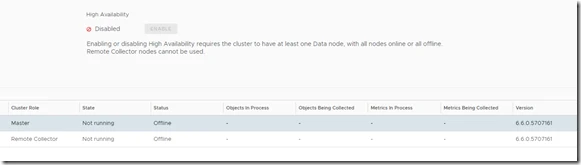
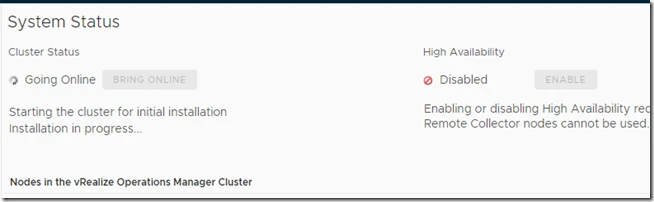
  2. Click Take Offline under the cluster status.

2019-11-26 14_22_02-Window

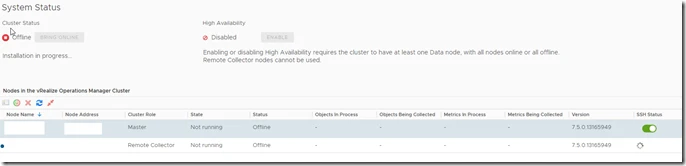
When all nodes are offline.

2019-11-26 14_22_09-Window

Take Snapshot for Each master and Remote nodes.

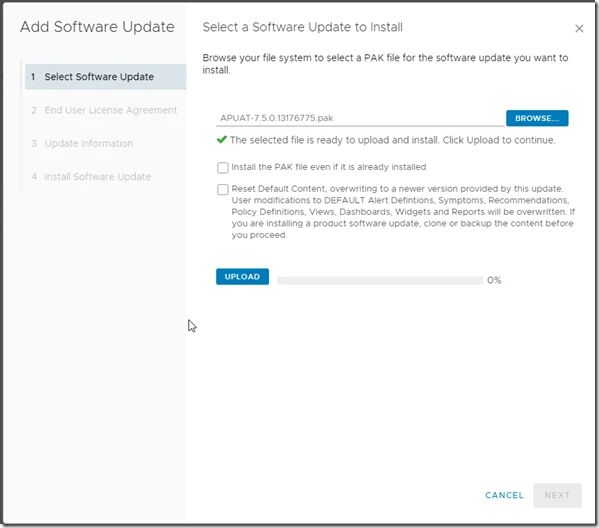
Now First thing we have to do is run the Assessment Tool

image

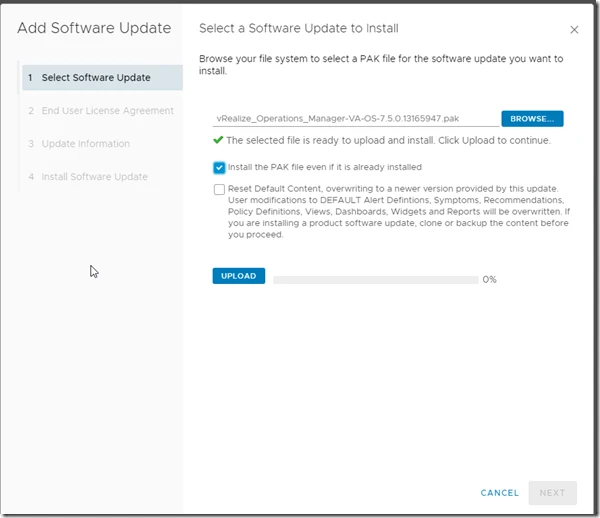
Here upload the file.

image

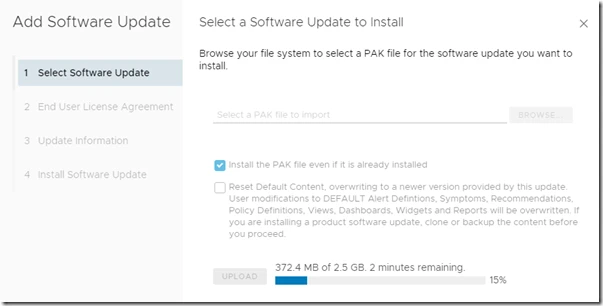
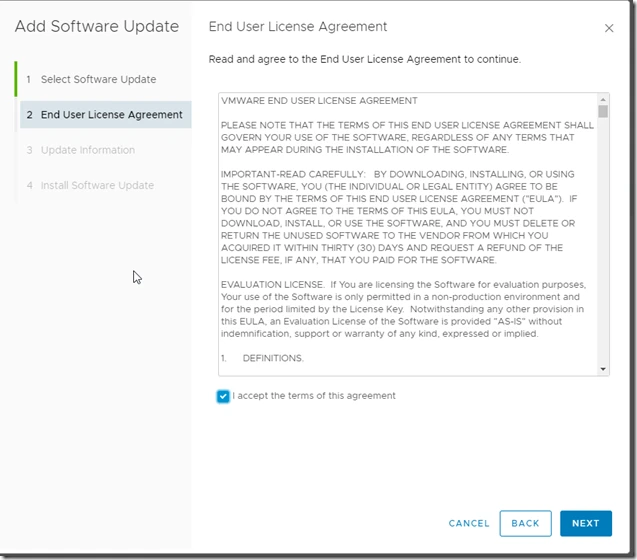
Post this we have to upgrade OS

image

image

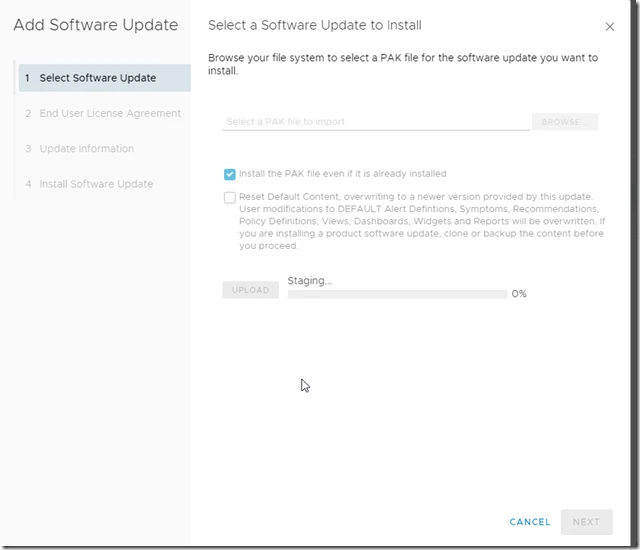
It will start staging.

image

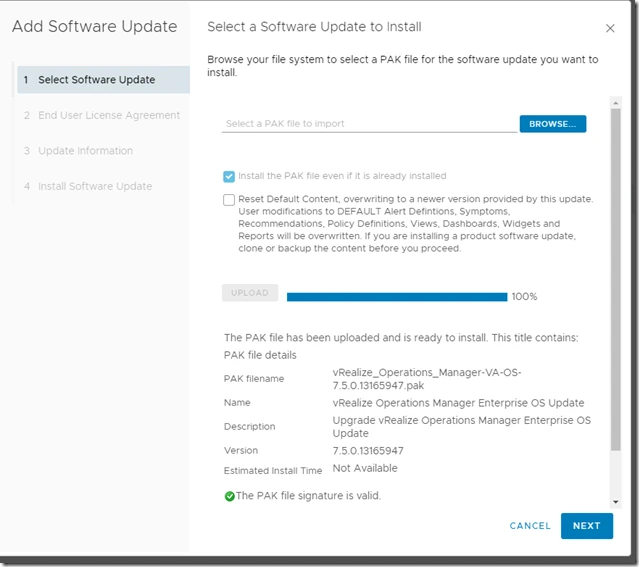
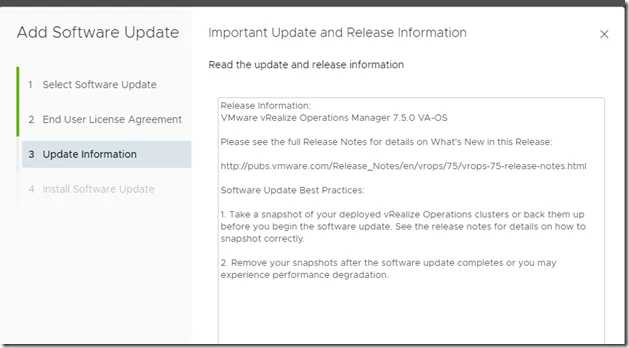
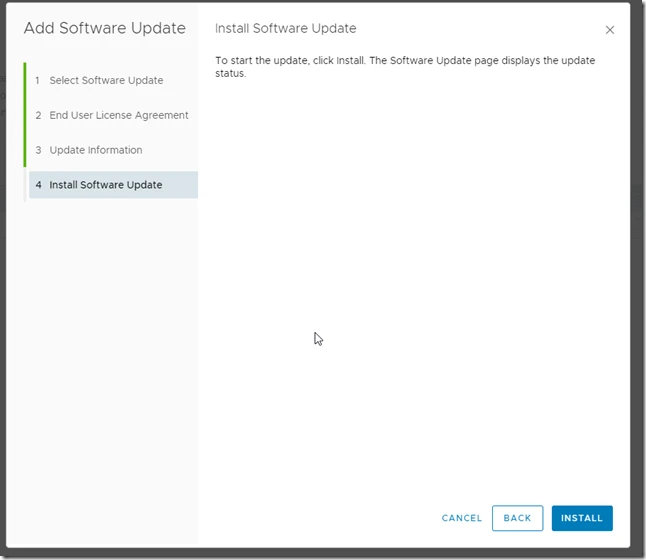
Now it’s ready for installation

image

image

image

image

image

image

Inked2019-11-26 16_12_40-Window_LI

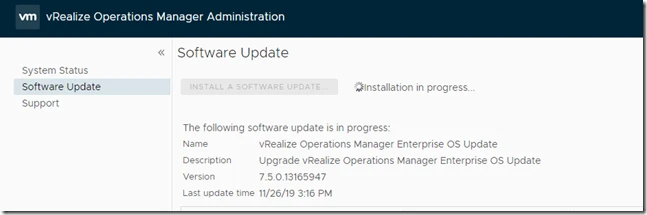
Now the OS has been upgraded.

Now we have to upgrade Manager.

image

image

2019-11-26 16_53_30-Window

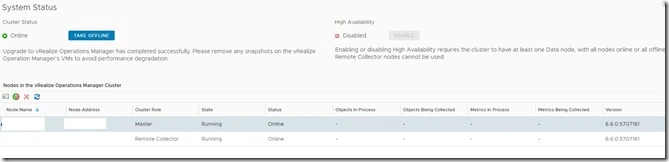
Now both the remote collectors are on 7.5

Identifying Fibre Channel, iSCSI, and NFS storage issues on ESX/ESXi hosts

Identifying Fibre Channel, iSCSI, and NFS storage issues on ESX/ESXi hosts

  • No targets from an array can be seen by:
    • All of the ESX/ESXi hosts
    • All of the ESX/ESXi hosts on a specific connection or LUN
    • One ESX/ESXi host
  • Targets on the storage array are visible, but one or more LUNs are not
  • LUN not visible
  • LUN cannot connect
  • Connectivity issues to the storage array
  • ESX/ESXi host initiators are not logging into the array
  • The share cannot be mounted by the ESX/ESXi host
  • The share is mounted, but nothing can be written to it
  • You see one or more of the following errors:
    • Unknown inaccessible
    • SCSI: 4506: Cannot find a path to device vmhbax:x:x in a good state
    • WARNING: LVM: 4844: vmhbaH:T:L:P detected as a snapshot device. Disallowing access to the LUN since resignaturing is turned off.
    • Date esx vmkernel: Time cpu3: : 5637: status SCSI LUN is in snapshot state, rstatus 0xc0de00 for vmhbax:x:x. residual R 999, CR 8-, ER3
    • Date esx vmkernel: Time cpu3: world ID SCSI 6624: Device vmhbax:x:x. is a deactivated snapshot
 
 Purpose
This article helps you identify problems related with the storage subsystem of ESX/ESXi.
 
 Resolution
Troubleshooting ESX host storage issues begins with identifying how far reaching (the scope) the problem is. In many cases, a detected problem may be misidentified until the scope has been ascertained.
 
To identify the scope of the problem:
  1. Verify that the storage device cannot be seen by any or a subset of the ESX cluster. If so, select the appropriate storage technology:
     
    • For Fibre channel, see Troubleshooting fibre channel storage connectivity (1003680).
    • For iSCSI connected by hardware initiator, see Troubleshooting iSCSI array connectivity (1003681).
    • For NFS, see Troubleshooting connectivity issues to an NFS data store (1003967).
  2. Verify that no more than a single ESX host cannot see the shared storage. If so, select the appropriate storage technology:
     
    • For iSCSI connected by hardware initiator, see Troubleshooting ESX and ESXi connectivity to iSCSI arrays using hardware initiators (1003951).
    • For iSCSI connected by software initiator, see Troubleshooting ESX and ESXi connectivity to iSCSI arrays using software initiators (1003952).
    • For NFS, see Troubleshooting connectivity issues to an NFS datastore (1003967).
       
  3. Verify that the LUN is presented and available. For more information, see Troubleshooting LUN connectivity issues (1003955).
  4. Verify that the ESX host cannot see the datastore:
    • For Fibre channel or iSCSI, see Troubleshooting VMFS-3 datastore issues (1003964).
    • For NFS, see Troubleshooting connectivity issues to an NFS datastore (1003967).
 
 Related Information
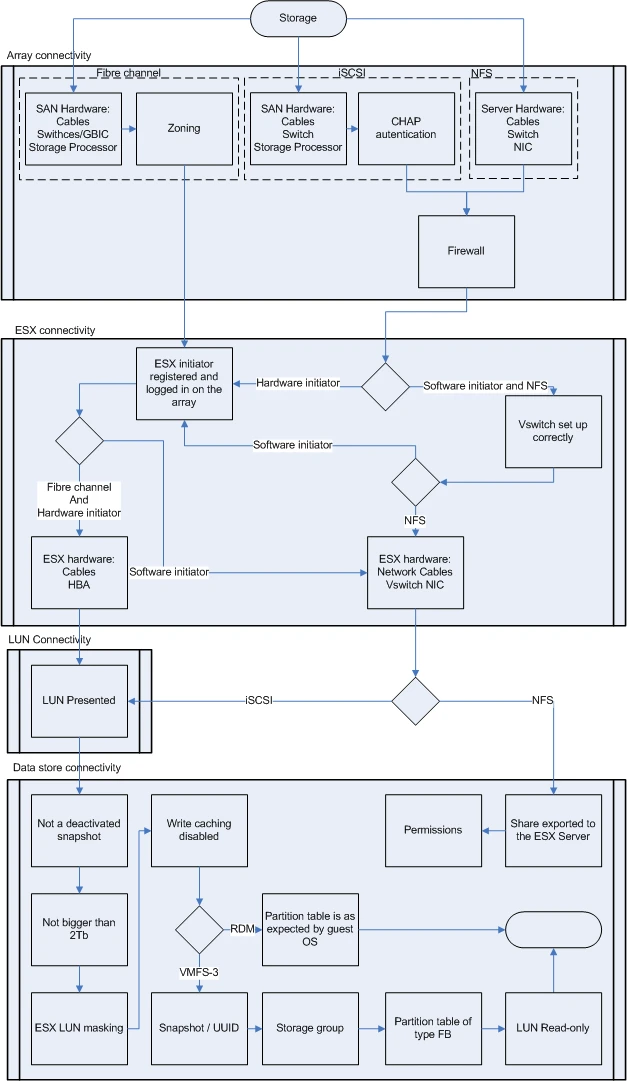
Troubleshooting flow chart:


Reference:

https://kb.vmware.com/s/article/1003659?lang=en_US&queryTerm=esxi+storage+issue

NFS datastores decrease within a couple of days after host reboot

NFS datastores decrease within a couple of days after host reboot

  1. The performance of VMs decrease on NFS datastores within a couple of days after a host reboot.
  2. IO Meter tests show increasing latencies and a significant drop of IOPS after a week, and gets worse after 2 to 3 weeks.
  3. A host reboot fixes the issue temporarily.


Login via ssh.

[root@Dtech-ESXi-01:~] esxcfg-advcfg -g /SunRPC/MaxConnPerIP
Value of MaxConnPerIP is 4

[root@Dtech-ESXi-01:~] esxcfg-advcfg -s 32 /SunRPC/MaxConnPerIP
Value of MaxConnPerIP is 32

The value should be bigger than the maximum number of shares mounted from the same IP address.
Reboot the host after changing the value.

Note: There is no impact by implementing the above workaround.


Finally vSphere 6.7 Flash-based Web Client Deprecated

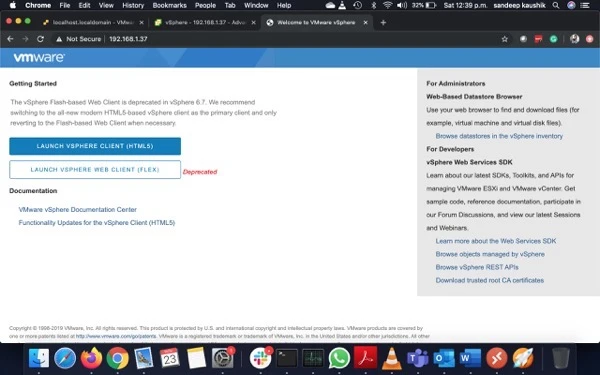
In vSphere 6.7 U3 finally Flash-based Web Client Deprecated.


Screenshot 2019 11 23 at 12 39 52 p m


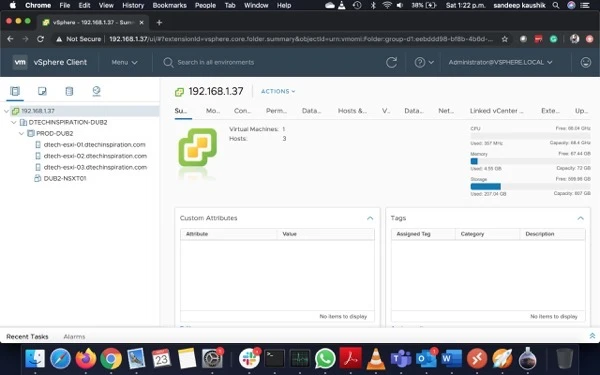
UI First Look

Screenshot 2019 11 23 at 1 22 09 p m

What’s New

vCenter Server 6.7 Update 3 supports a dynamic relationship between the IP address settings of a vCenter Server Appliance and a DNS server by using the Dynamic Domain Name Service (DDNS). The DDNS client in the appliance automatically sends secure updates to DDNS servers on scheduled intervals.

With vCenter Server 6.7 Update 3, you can configure virtual machines and templates with up to four NVIDIA virtual GPU (vGPU) devices to cover use cases requiring multiple GPU accelerators attached to a virtual machine. To use the vMotion vGPU feature, you must set the vgpu.hotmigrate.enabled advanced setting to true and make sure that both your vCenter Server and ESXi hosts are running vSphere 6.7 Update 3. vMotion of multi GPU-accelerated virtual machines might fail gracefully under heavy GPU workload due to the maximum switchover time of 100 secs. To avoid this failure, either increase the maximum allowable switchover time or wait until the virtual machine is performing a less intensive GPU workload.

With vCenter Server 6.7 Update 3, you can change the Primary Network Identifier (PNID) of your vCenter Server Appliance. You can change the vCenter Server Appliance FQDN or host name, and also modify the IP address configuration of the virtual machine Management Network (NIC 0). For more information, see this VMware blog post.

With vCenter Server 6.7 Update 3, if the overall health status of a vSAN cluster is Red, APIs to configure or extend HCI clusters throw InvalidState exception to prevent further configuration or extension. This fix aims to resolve situations when mixed versions of ESXi host in a HCI cluster might cause vSAN network partition.

vCenter Server 6.7 adds new SandyBridge microcode to the cpu-microcode VIB to bring SandyBridge security up to par with other CPUs and fix per-VM Enhanced vMotion Compatibility (EVC) support. For more information, see VMware knowledge base article 1003212.


Reference: https://docs.vmware.com/en/VMware-vSphere/6.7/rn/vsphere-vcenter-server-67u3-release-notes.html

0

vCloud Directory VMs Console not working

Invoke-WebRequest -Uri https://dtech.vcloud.com:443

Invoke-WebRequest : The underlying connection was closed: Could not establish trust relationship for the SSL/TLS
secure channel.
At line:1 char:1
+ Invoke-WebRequest -Uri https://dtech.vcloud.com:443 …
+ ~~~~~~~~~~~~~~~~~~~~~~~~~~~~~~~~~~~~~~~~~~~~~~~~~~~~~~~~~~~~~~~~~~~~~
+ CategoryInfo : InvalidOperation: (System.Net.HttpWebRequest:HttpWebRequest) [Invoke-WebRequest], WebExc

This means the issue is with your Firewall rule.

0

How to restore MS Exchange Mailbox via Vembu NetworkBackup

Topic outline:

  1. Restore MS Exchange mailbox
  2. What all Pre-requisites
  3. Which option need to choose
  4. Steps to restore mailbox


First lets see what all Pre-requisites for Exchange MailBox restore:

  • Ensure Exchange server is running.
  • Ensure that Default Information Store(MailBox Store in first storage group) and user’s information store are mounted.
  • Instead choosing entire MailBox store/public folder, select specific mailboxes to be restored.

Note:

  • It is recommended to configure backups as storage groups, instead configuring mailbox level backups as it takes less time compared to individual mailbox backups and come handy in restoring servers, at times of server crash.
  • Storage group backups can be granularly restored(i.e) restoring individual mailboxes.
  • However additional mailbox backups can be configured, if required.

Steps:

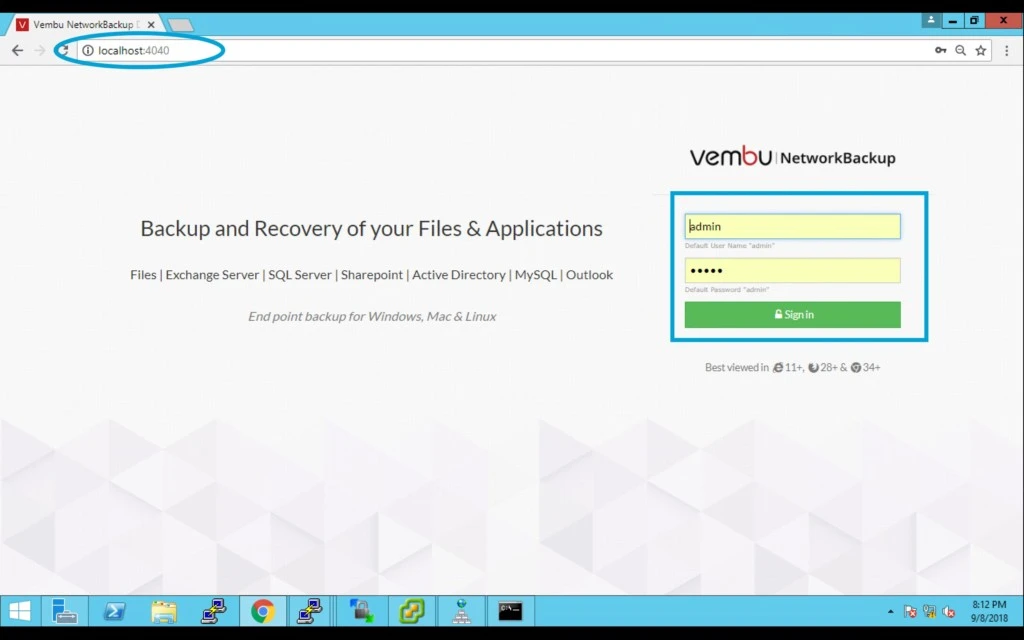
  1. First login into Vembu Network Backup Server.
 

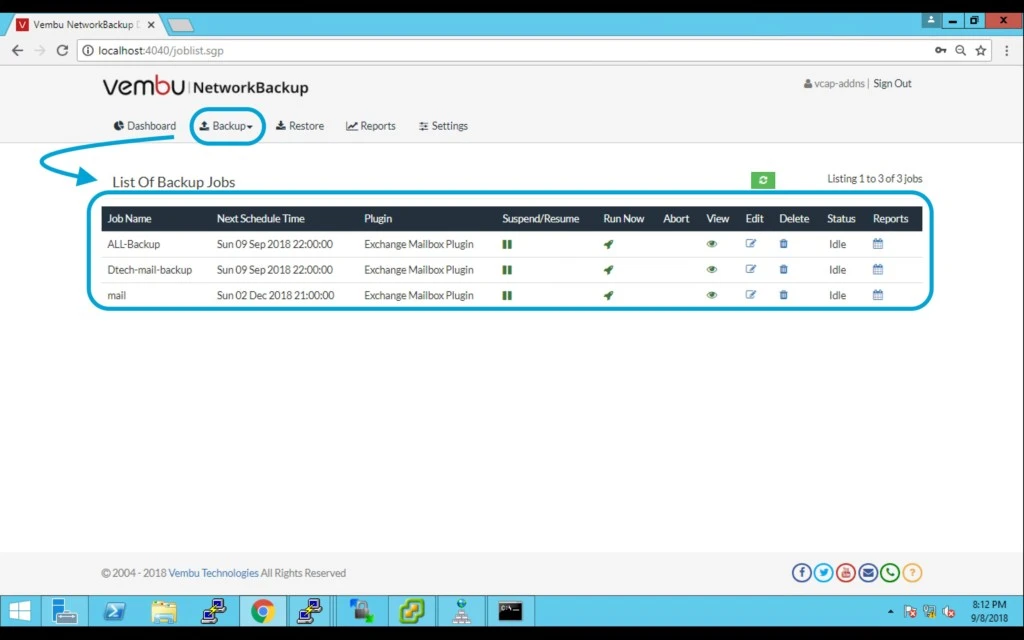
2. Go to Backup Tab and click on List of Backup jobs to see what all jobs are running and which you want to restore.
 

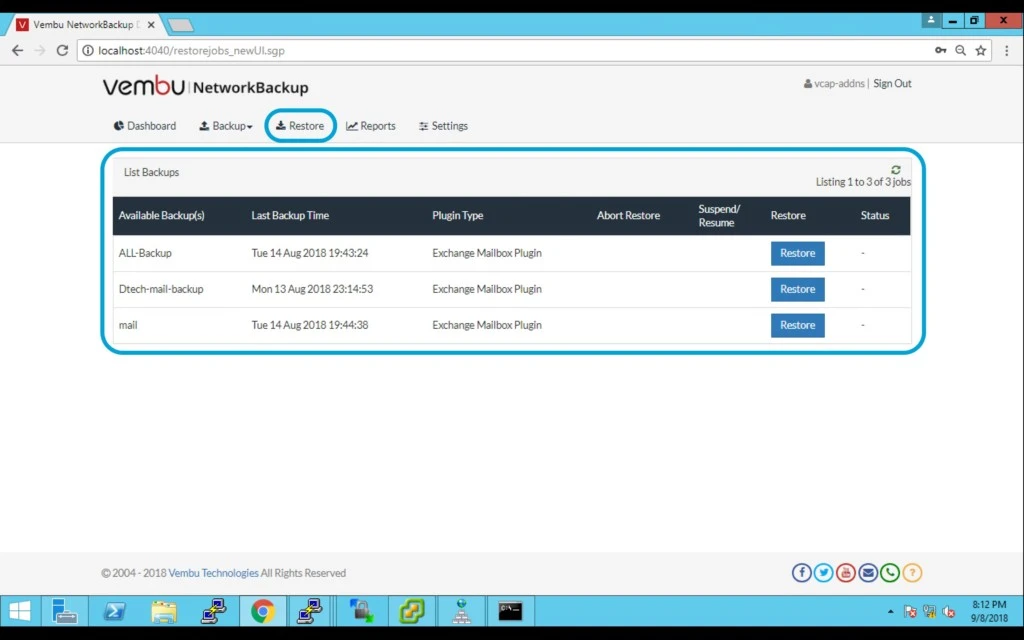
3. Now click on Restore tab and select the job for which you want to restore and click on Restore button.
 

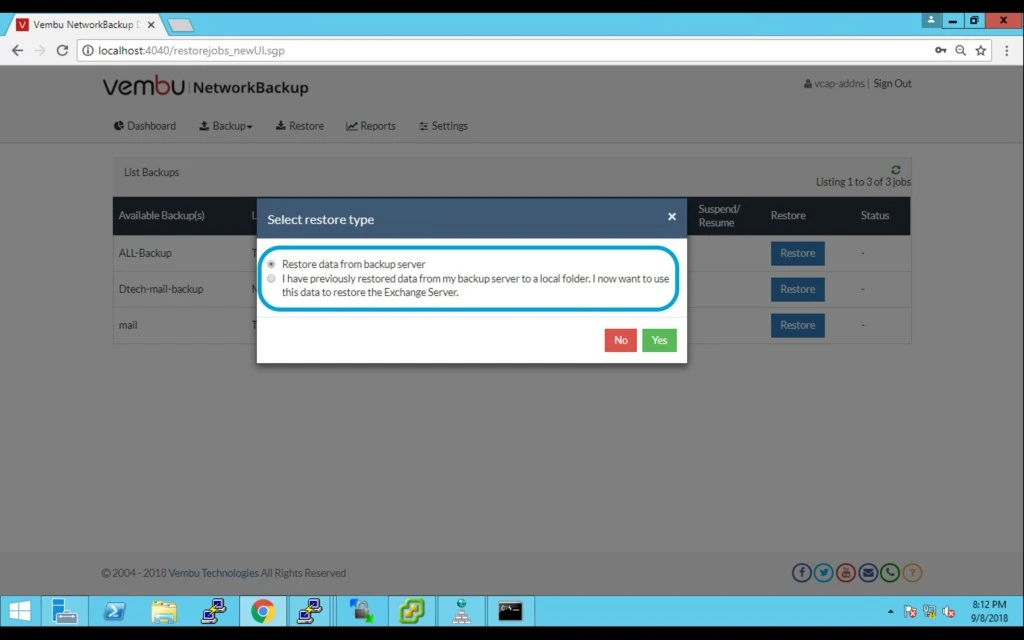
4. Now it will show you two options first one is restoring Exchange server directly from backup server, or second one is to use data that has been previously restored from backup server (to a local folder or mapped drive).
 

5. When you go with second option then in that case you need to make sure below point.

Exchange server backup data was restored from backup server locally through the menu

                               i.Recovery  

                               ii. List of backups

                               iii. Actions

                               iv. Proceed to restore backup and transferred to client machine.

or 

You had chosen the previous option ‘Restore data from backup server only (I will separately run Vembu NetworkBackup through the ‘locally restored files’ to restore the Exchange Server later)’ in “Step 4: Confirm Exchange Server Restore Settings” of the Restore Exchange Server Data page (during previous restore).

Enter the local restore location and click “Submit Location” to restore Exchange Server data from local folder. (Reference vembu)
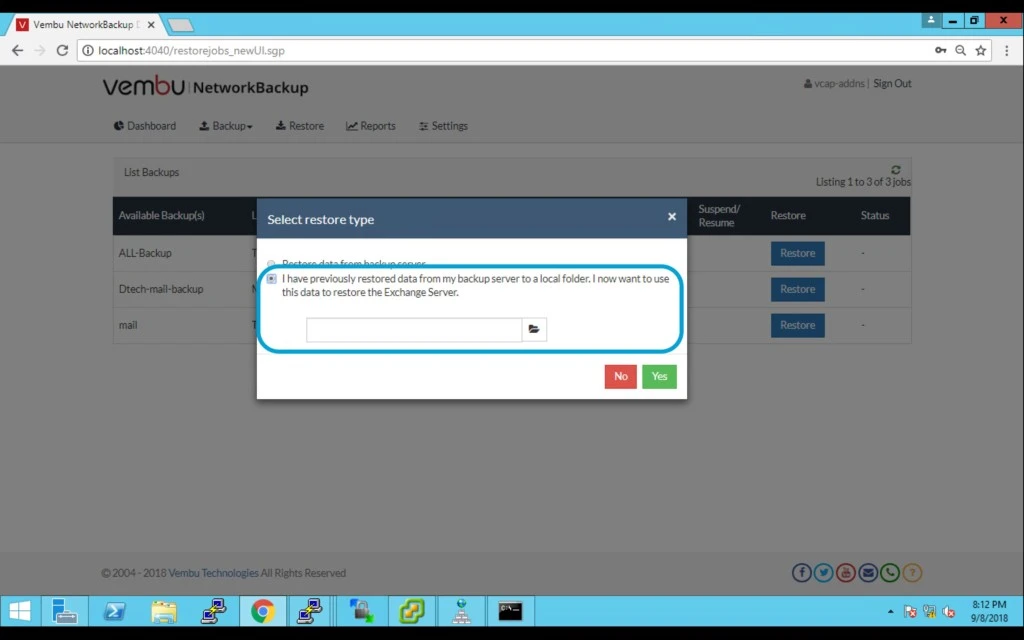
 

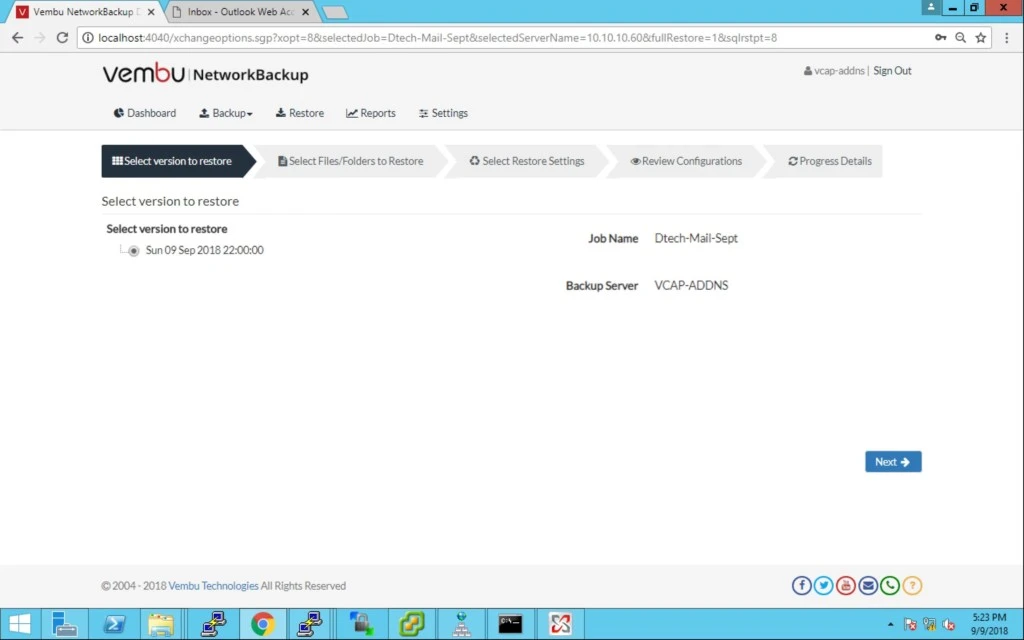
6. Here I am selecting first option. After selecting first option you can see the version select from given list on the left hand side and click on next.
 

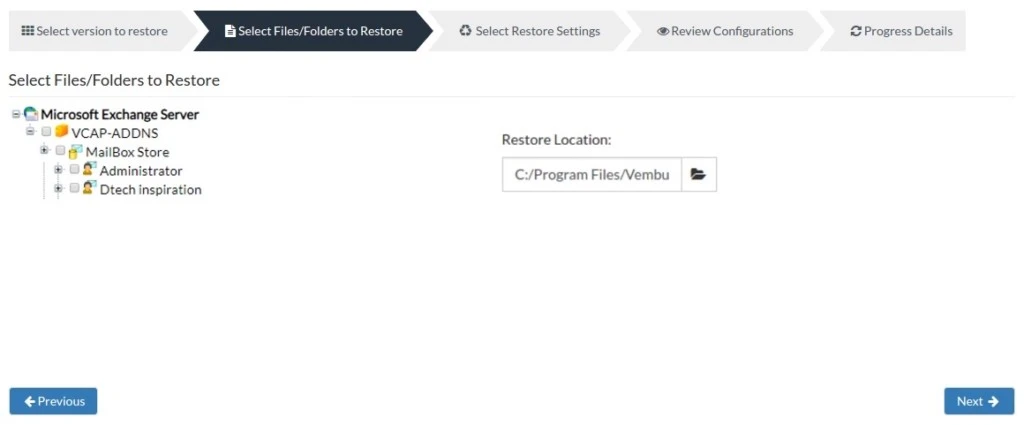
7. Now on second tab you have to select which mailbox and under that you can also select particular items like inbox, sent items etc.

On R.H.S — Restore location- Also specify the location where restore has to be stored and proceed. The restored backup will have the original folder structure.
 

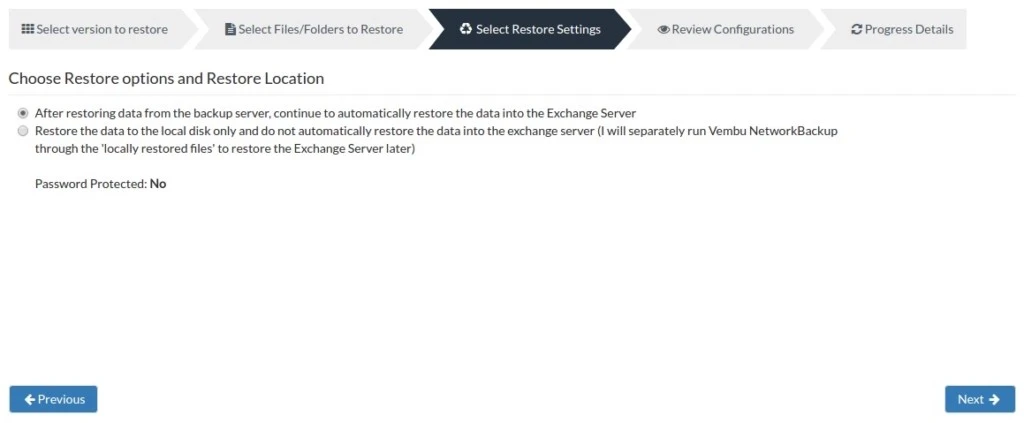
8. On third tab you will see two options.

  • After restoring data from backup server, continue to auto restore data into Exchange server (This is the default option chosen).
  • Restore data from backup server only and do not auto restore(I will separately restore ‘locally restored files’ into Exchange Server later).
 

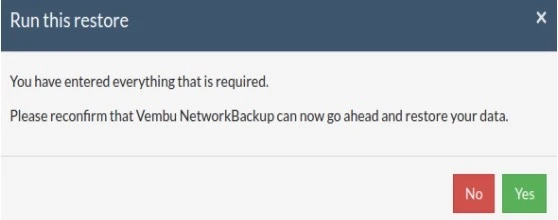
9. Review the restore configuration and click on next. Now Final step it will ask to run this restore click on yes and wait for restoration.
0

Introducing NSX Service Mesh on VMware Tanzu

Introducing NSX Service Mesh on VMware Tanzu

Authors: Mark Schweighardt, Tom Spoonemore Modern enterprises are sprawling and complicated. They are transitioning from private to public clouds to address, for example, performance, availability, and data residency requirements, and to gain access to advanced services such as analytics and ML. They are also transforming their application architectures from monoliths to distributed microservices. In August 2019, VMware introduced The post NSX Service Mesh on VMware Tanzu: CONNECT & PROTECT…Read More

VMware Social Media Advocacy