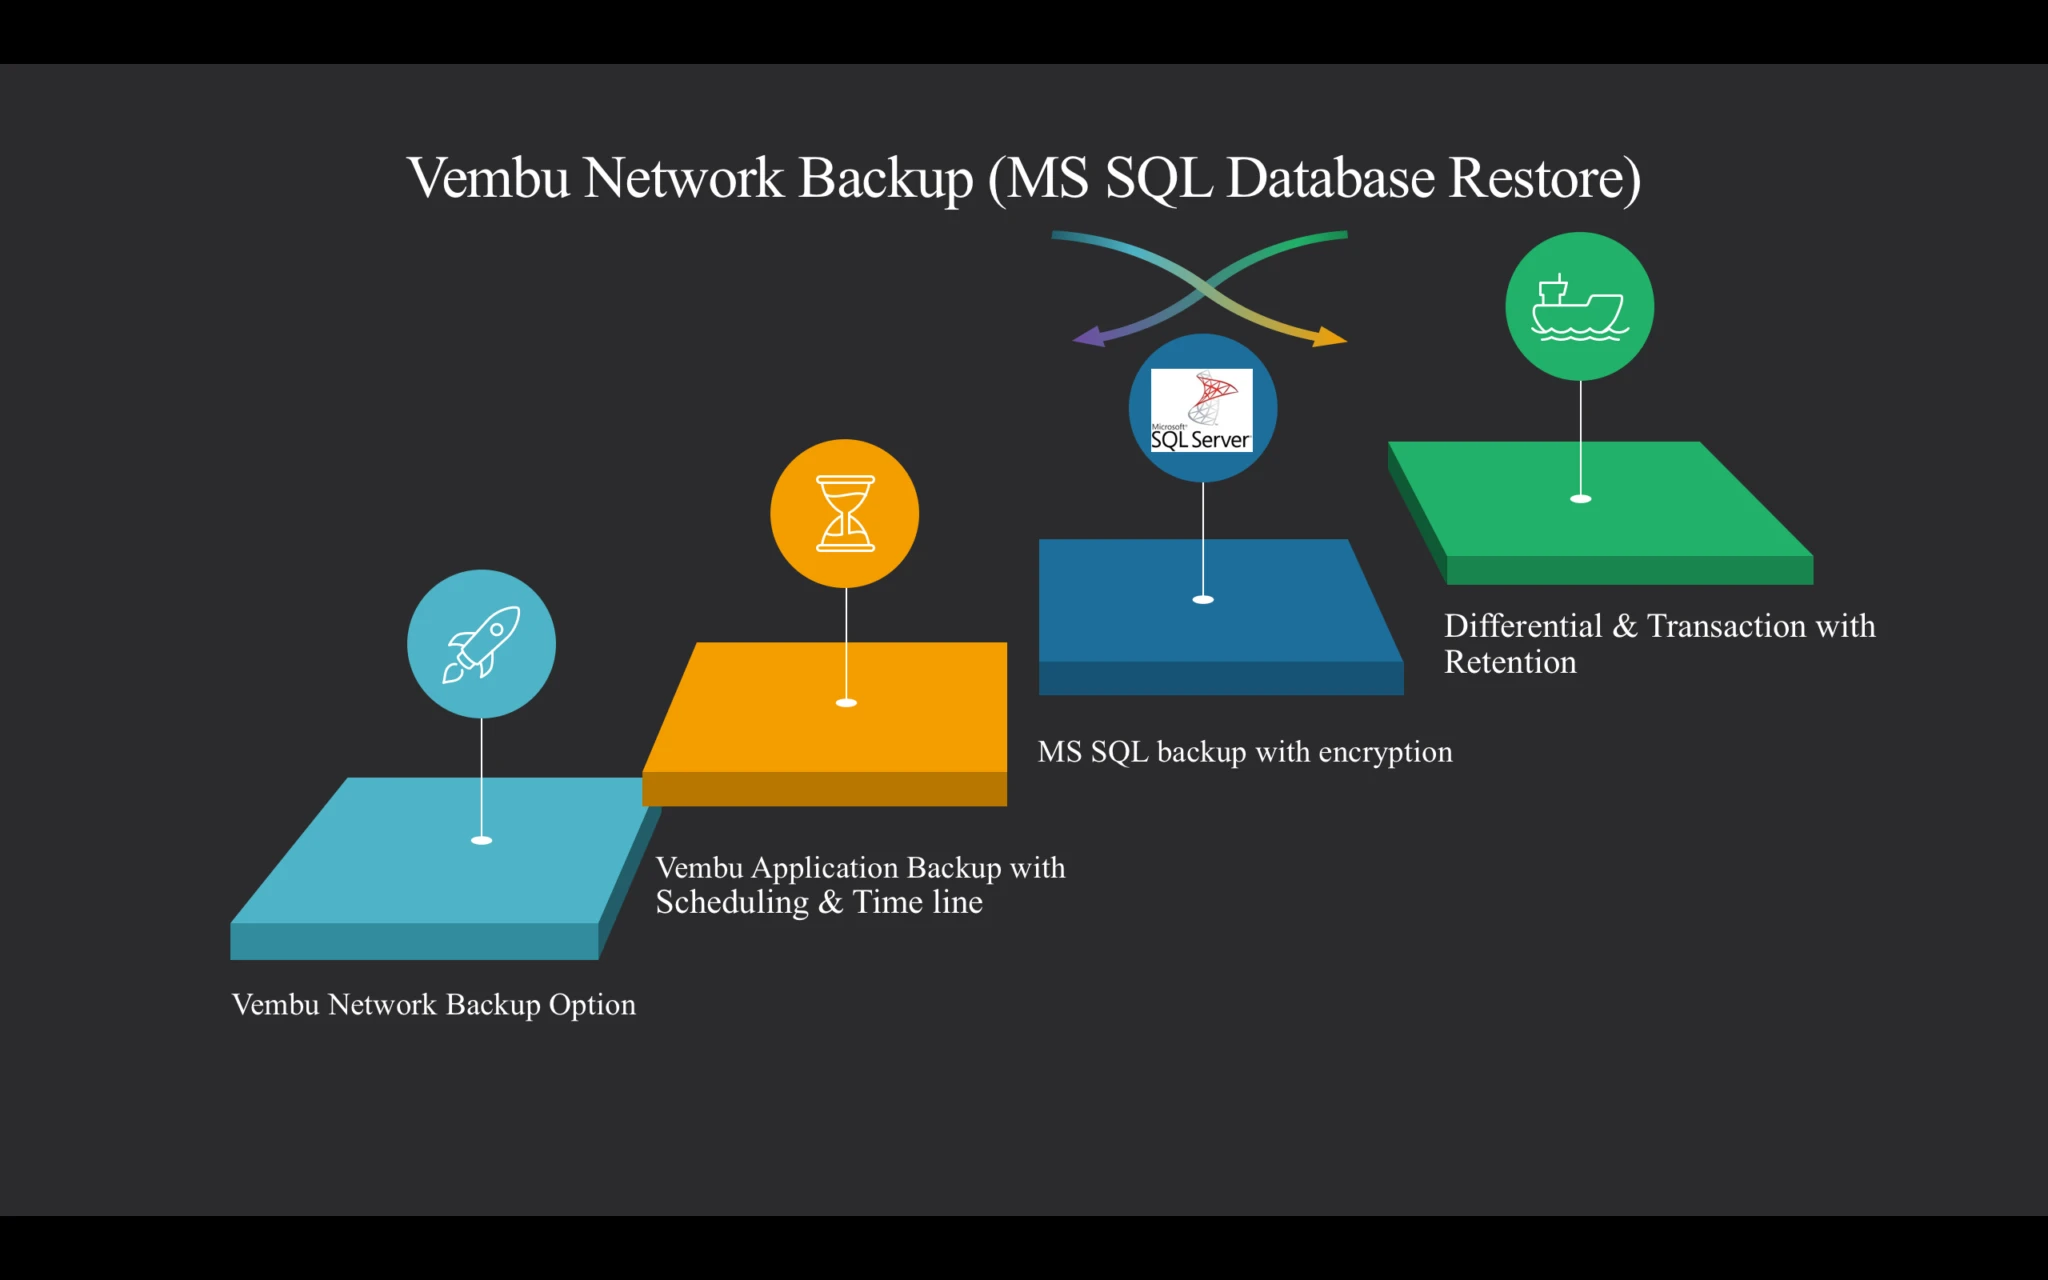
Topic outline:
 MS SQL Restore
Previously Restored Data
Restore Data from Backup
Time Stamp
Type of Restore
Recovery State
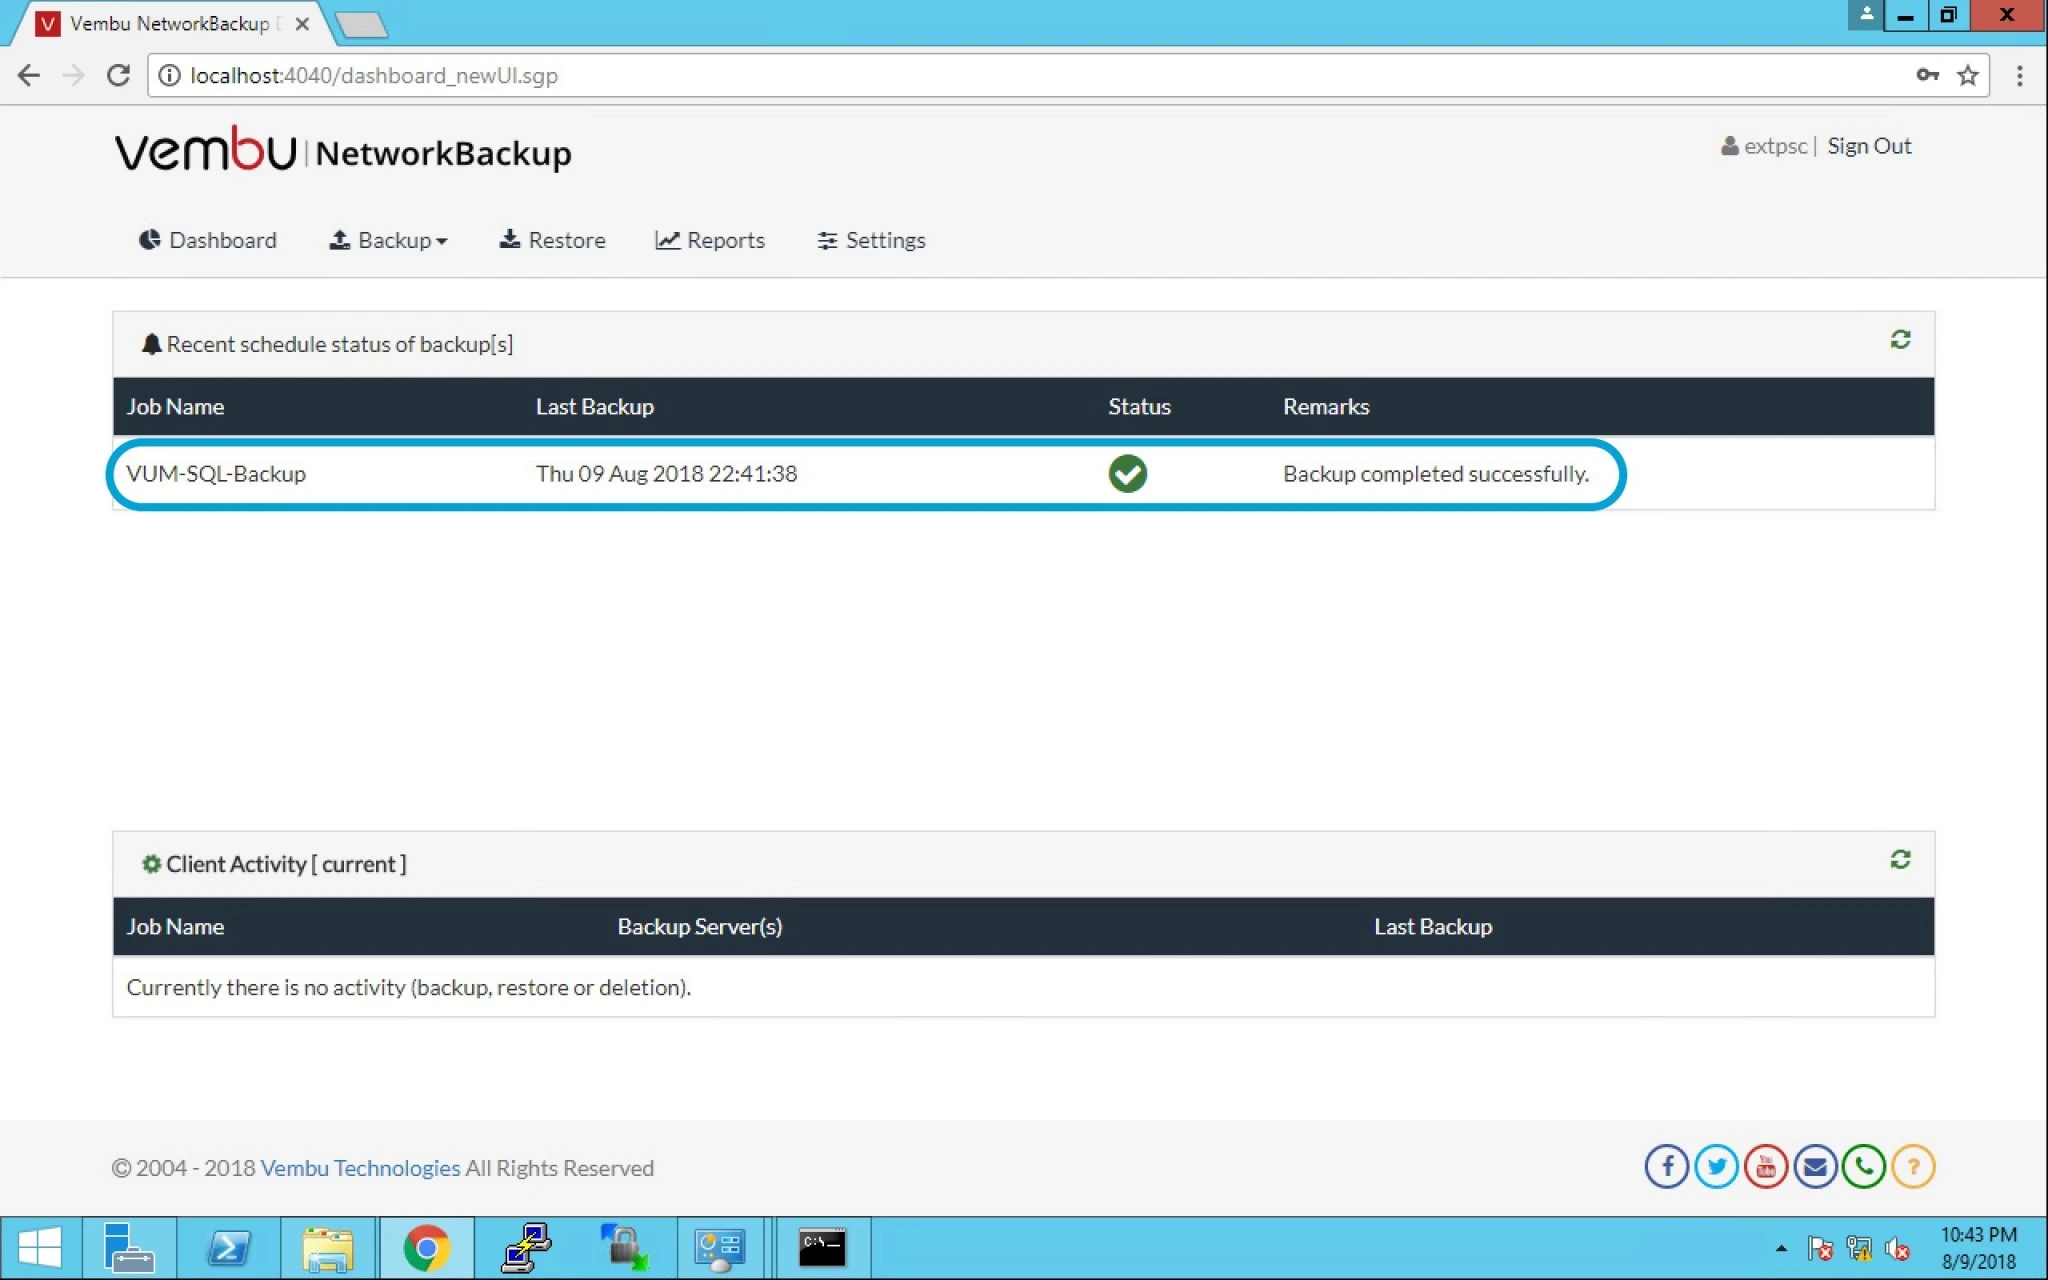
- Login into Vembu Network Backup page and check the last successfully completed backup.
2. Now Click on Restore option and you can see available backup to restore.
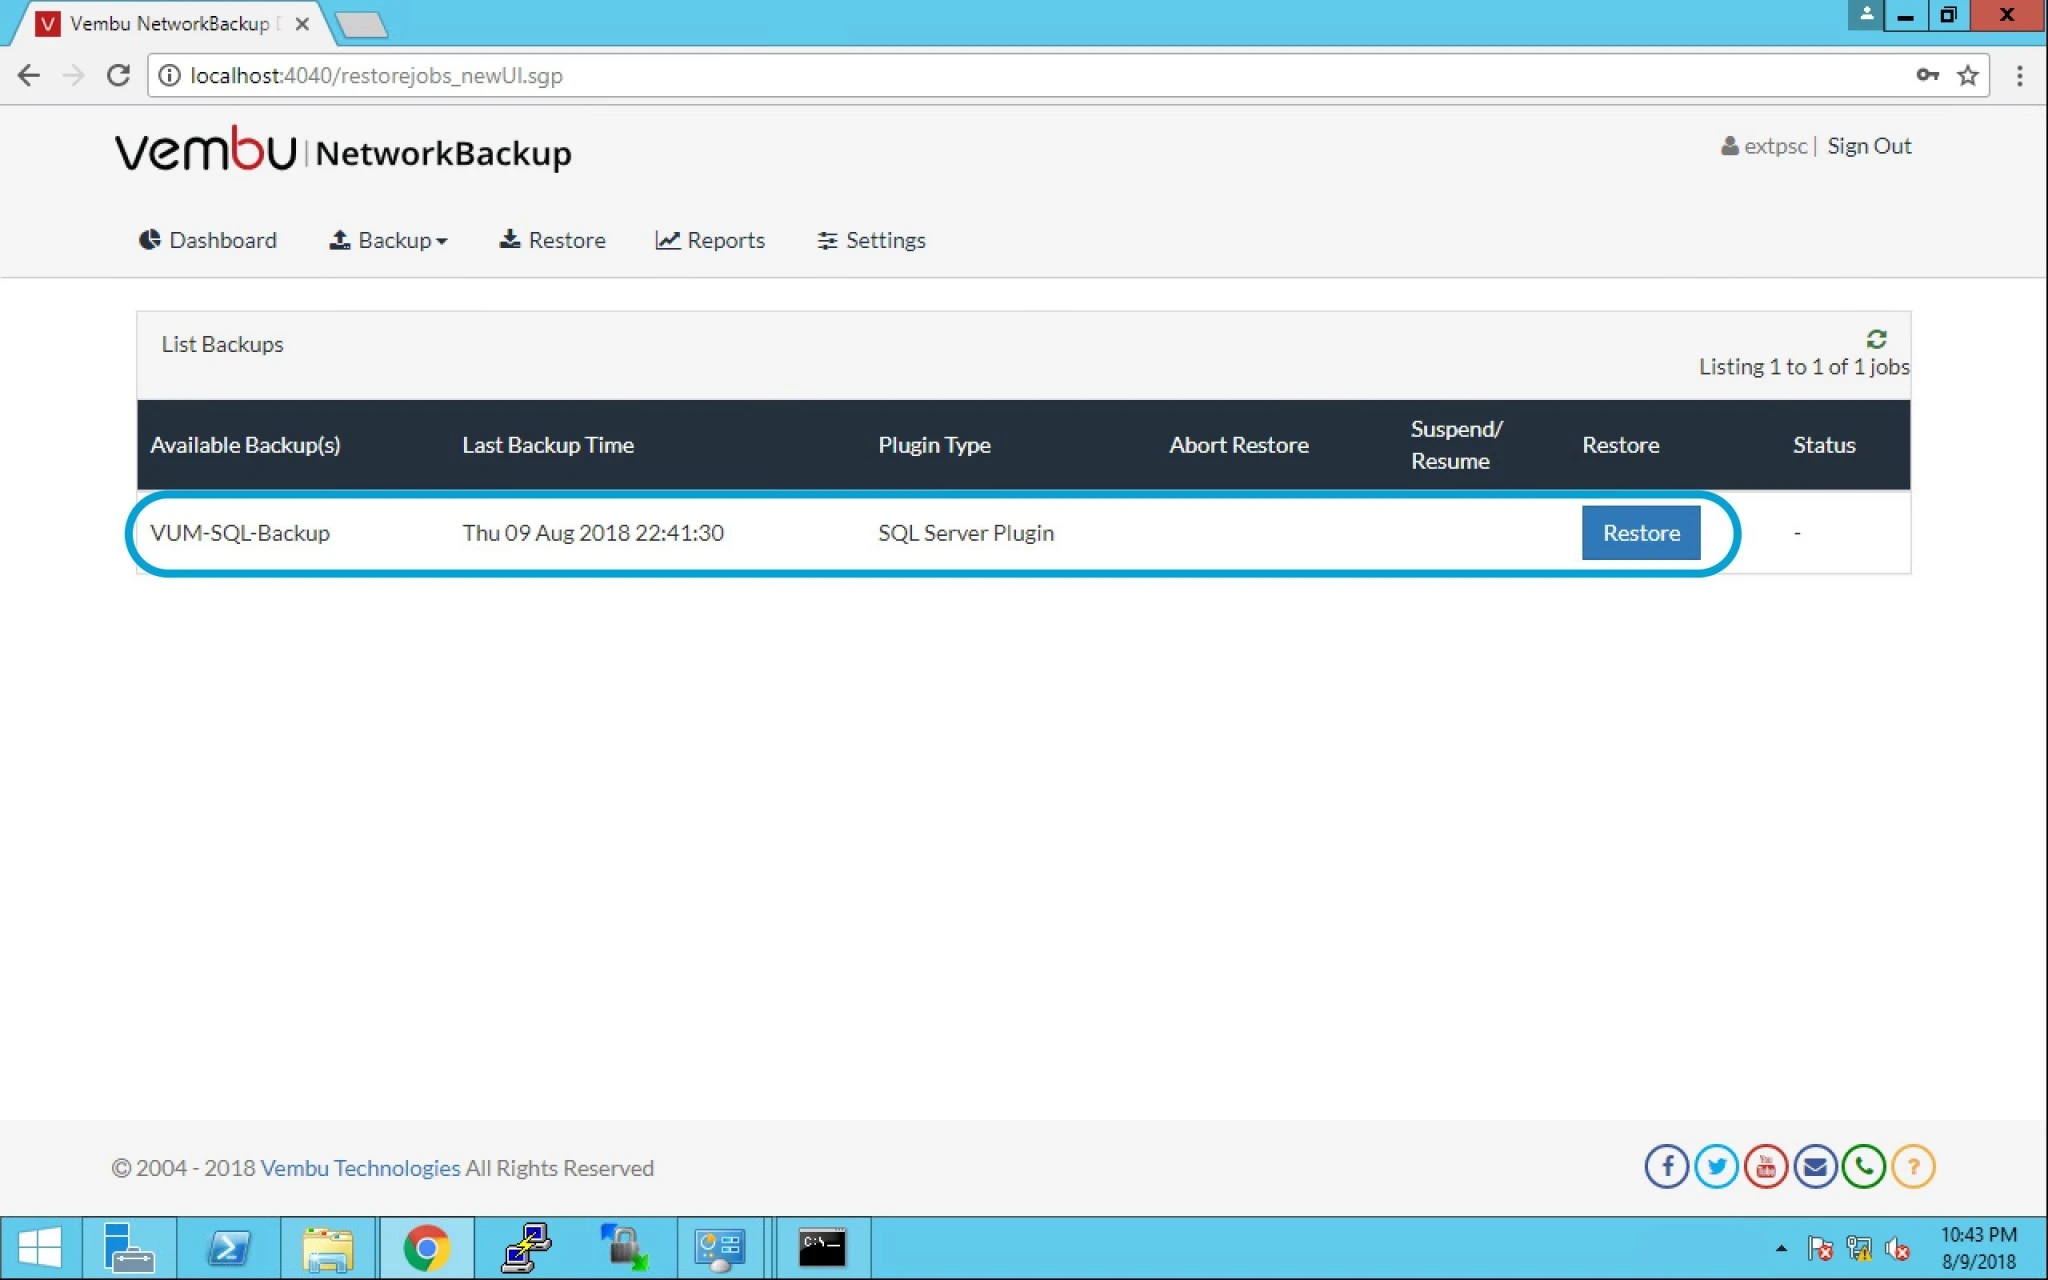
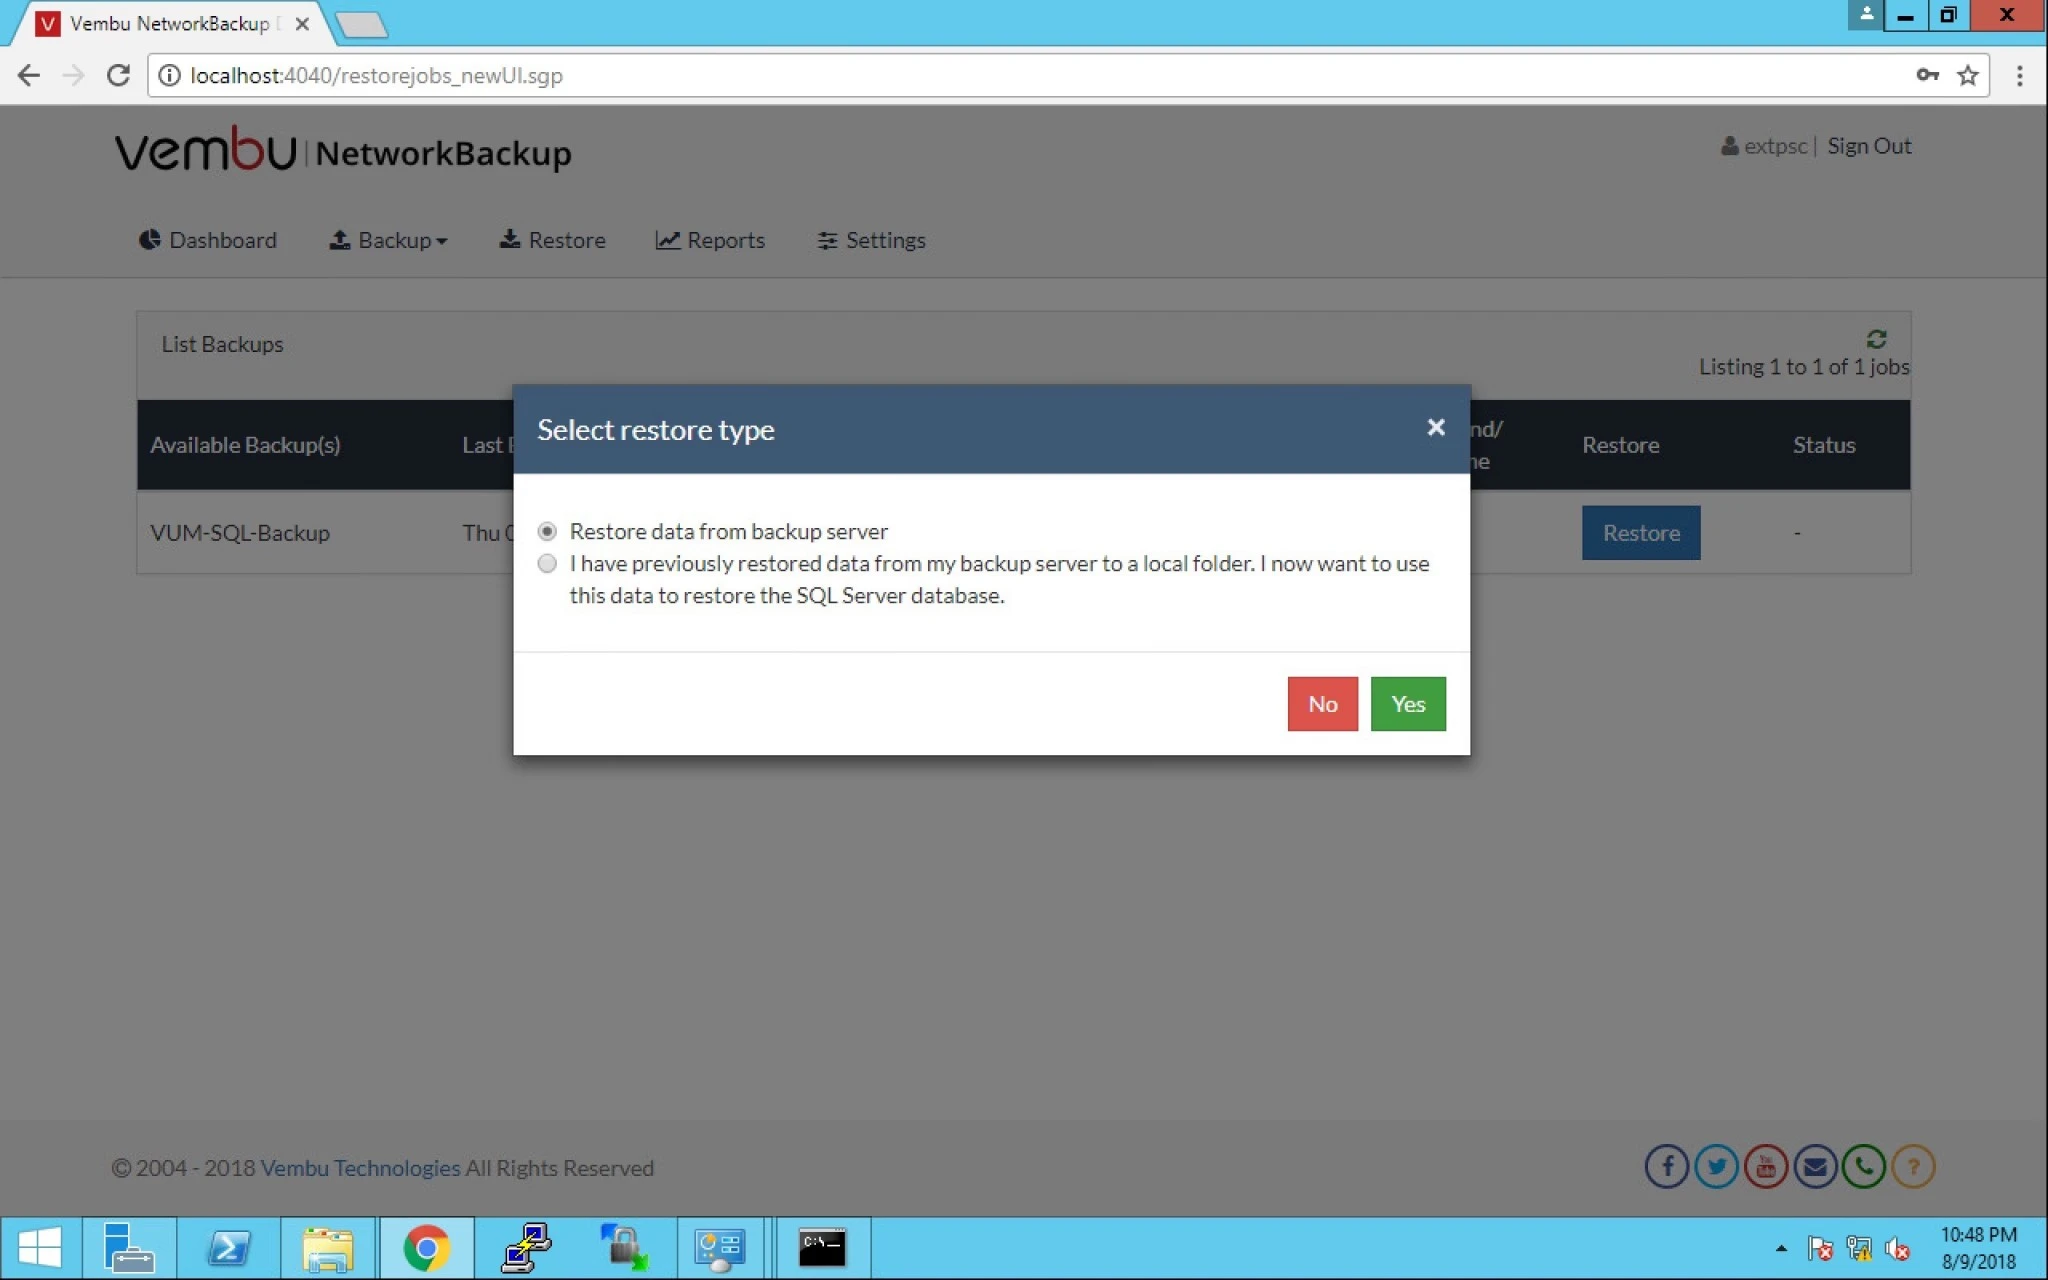
3. Now there are two options given below:
a) Restore Data from backup server. And
b) I have previously restored data from my backup server to a local folder. I now want to use this data to restore the MS SQL Server.
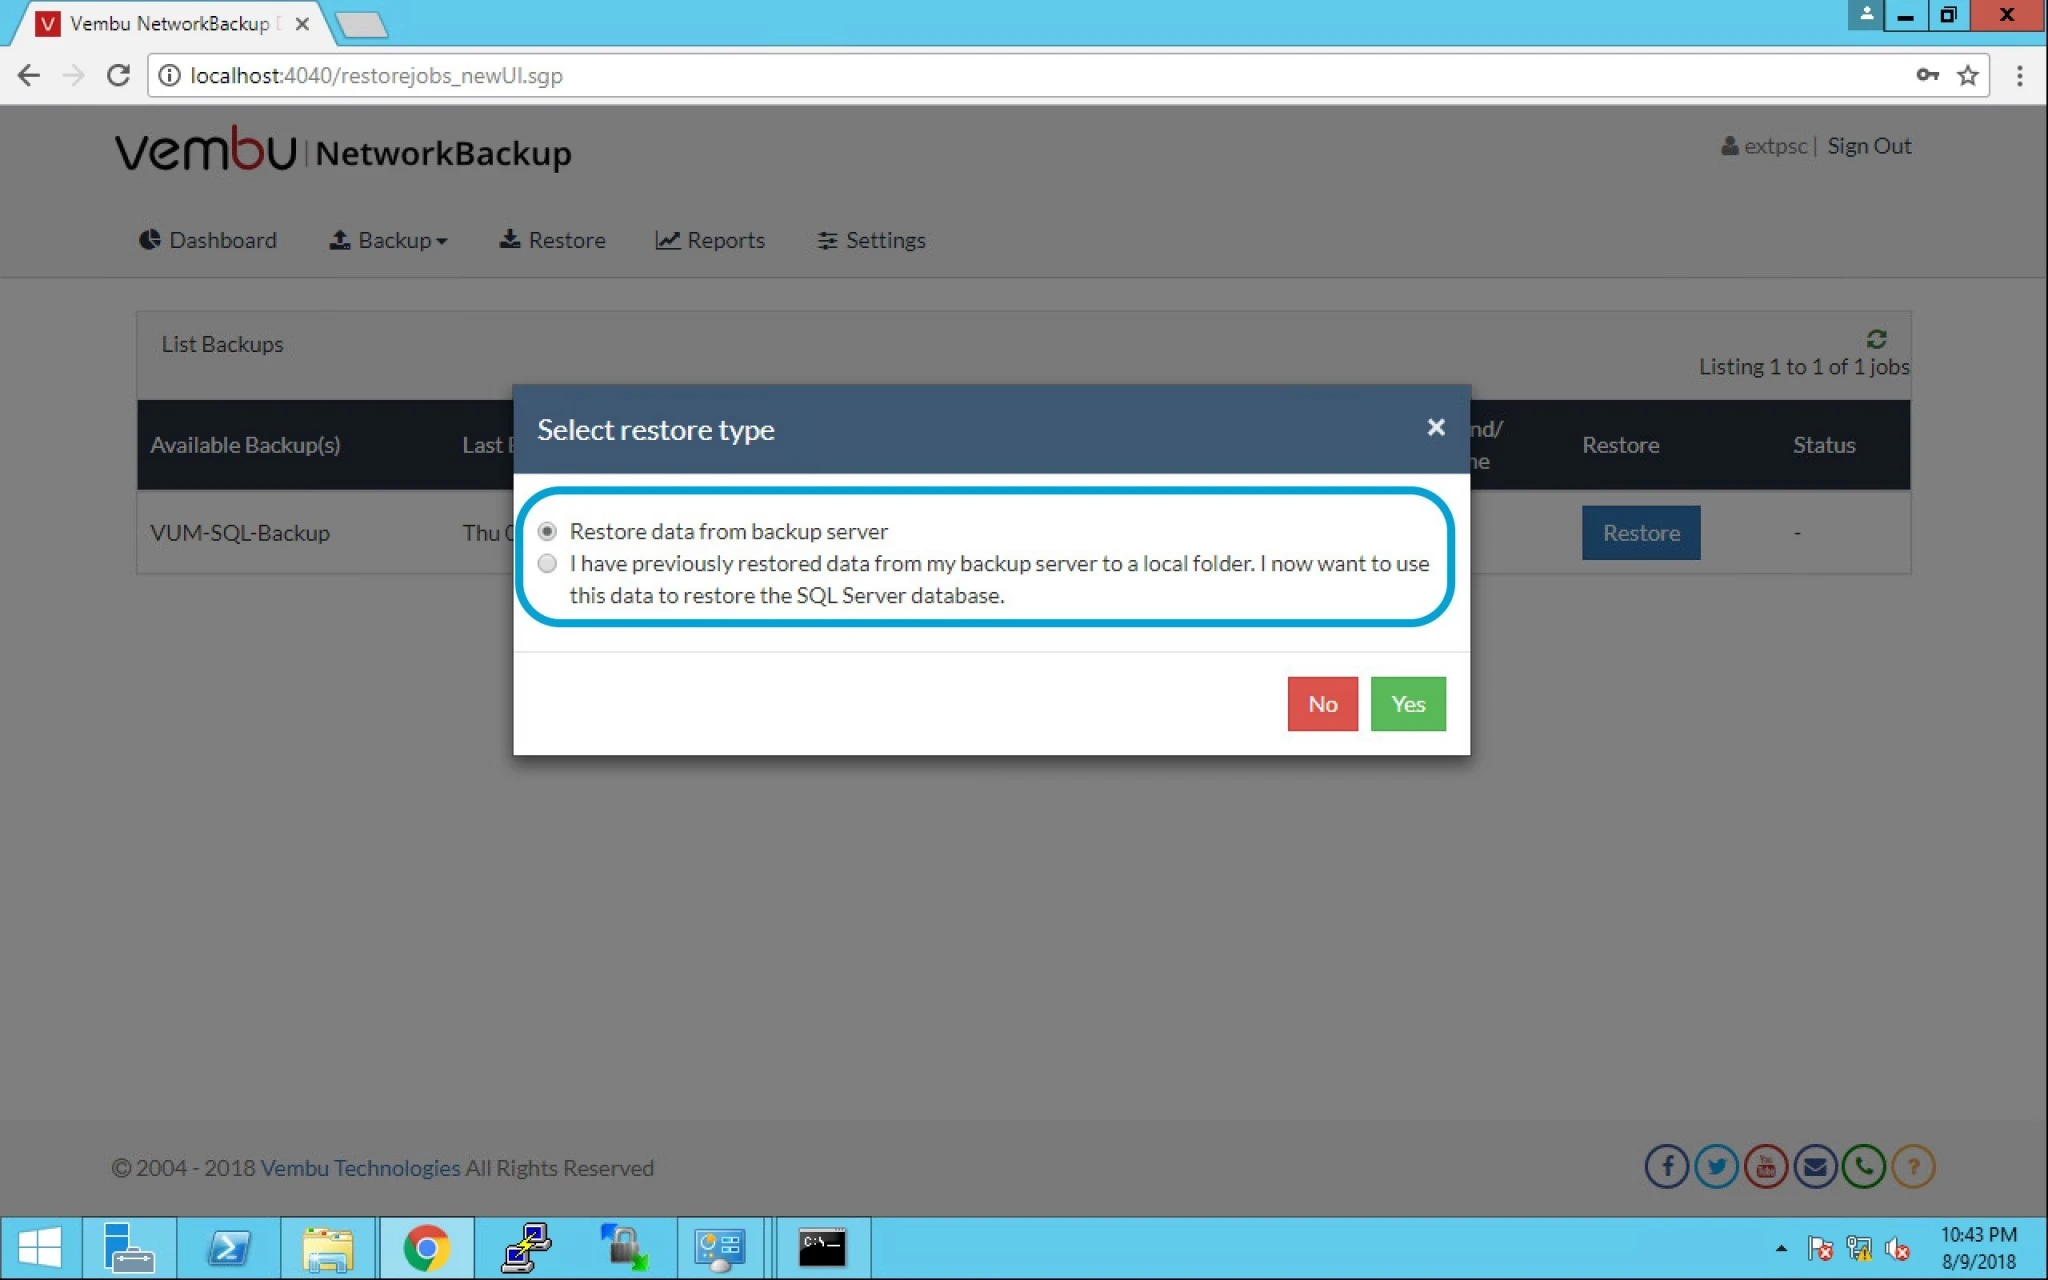
4. Browse the previously restored data from the backup server to a local folder.
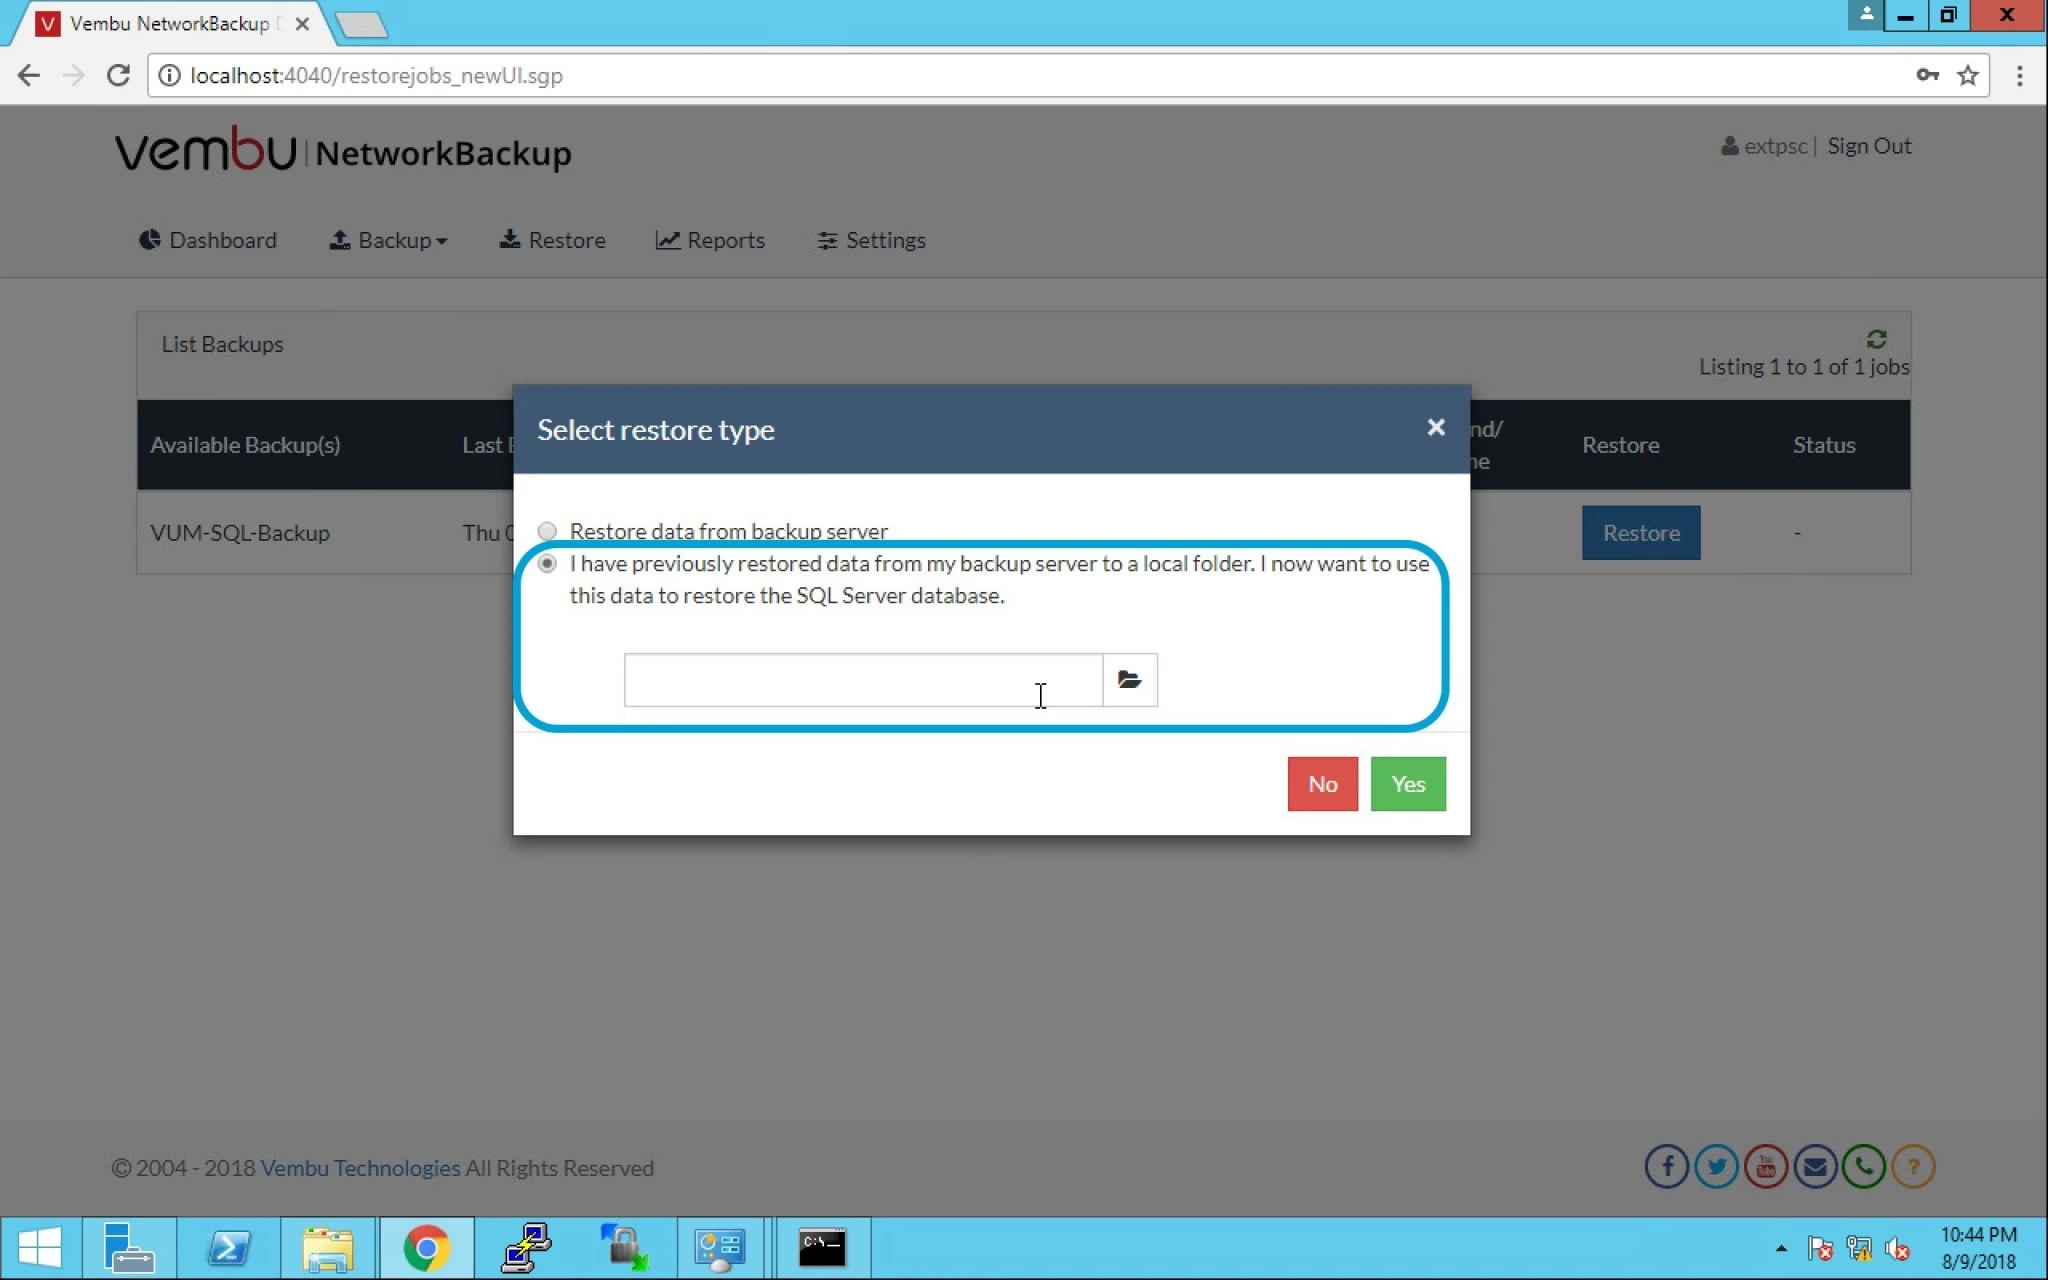
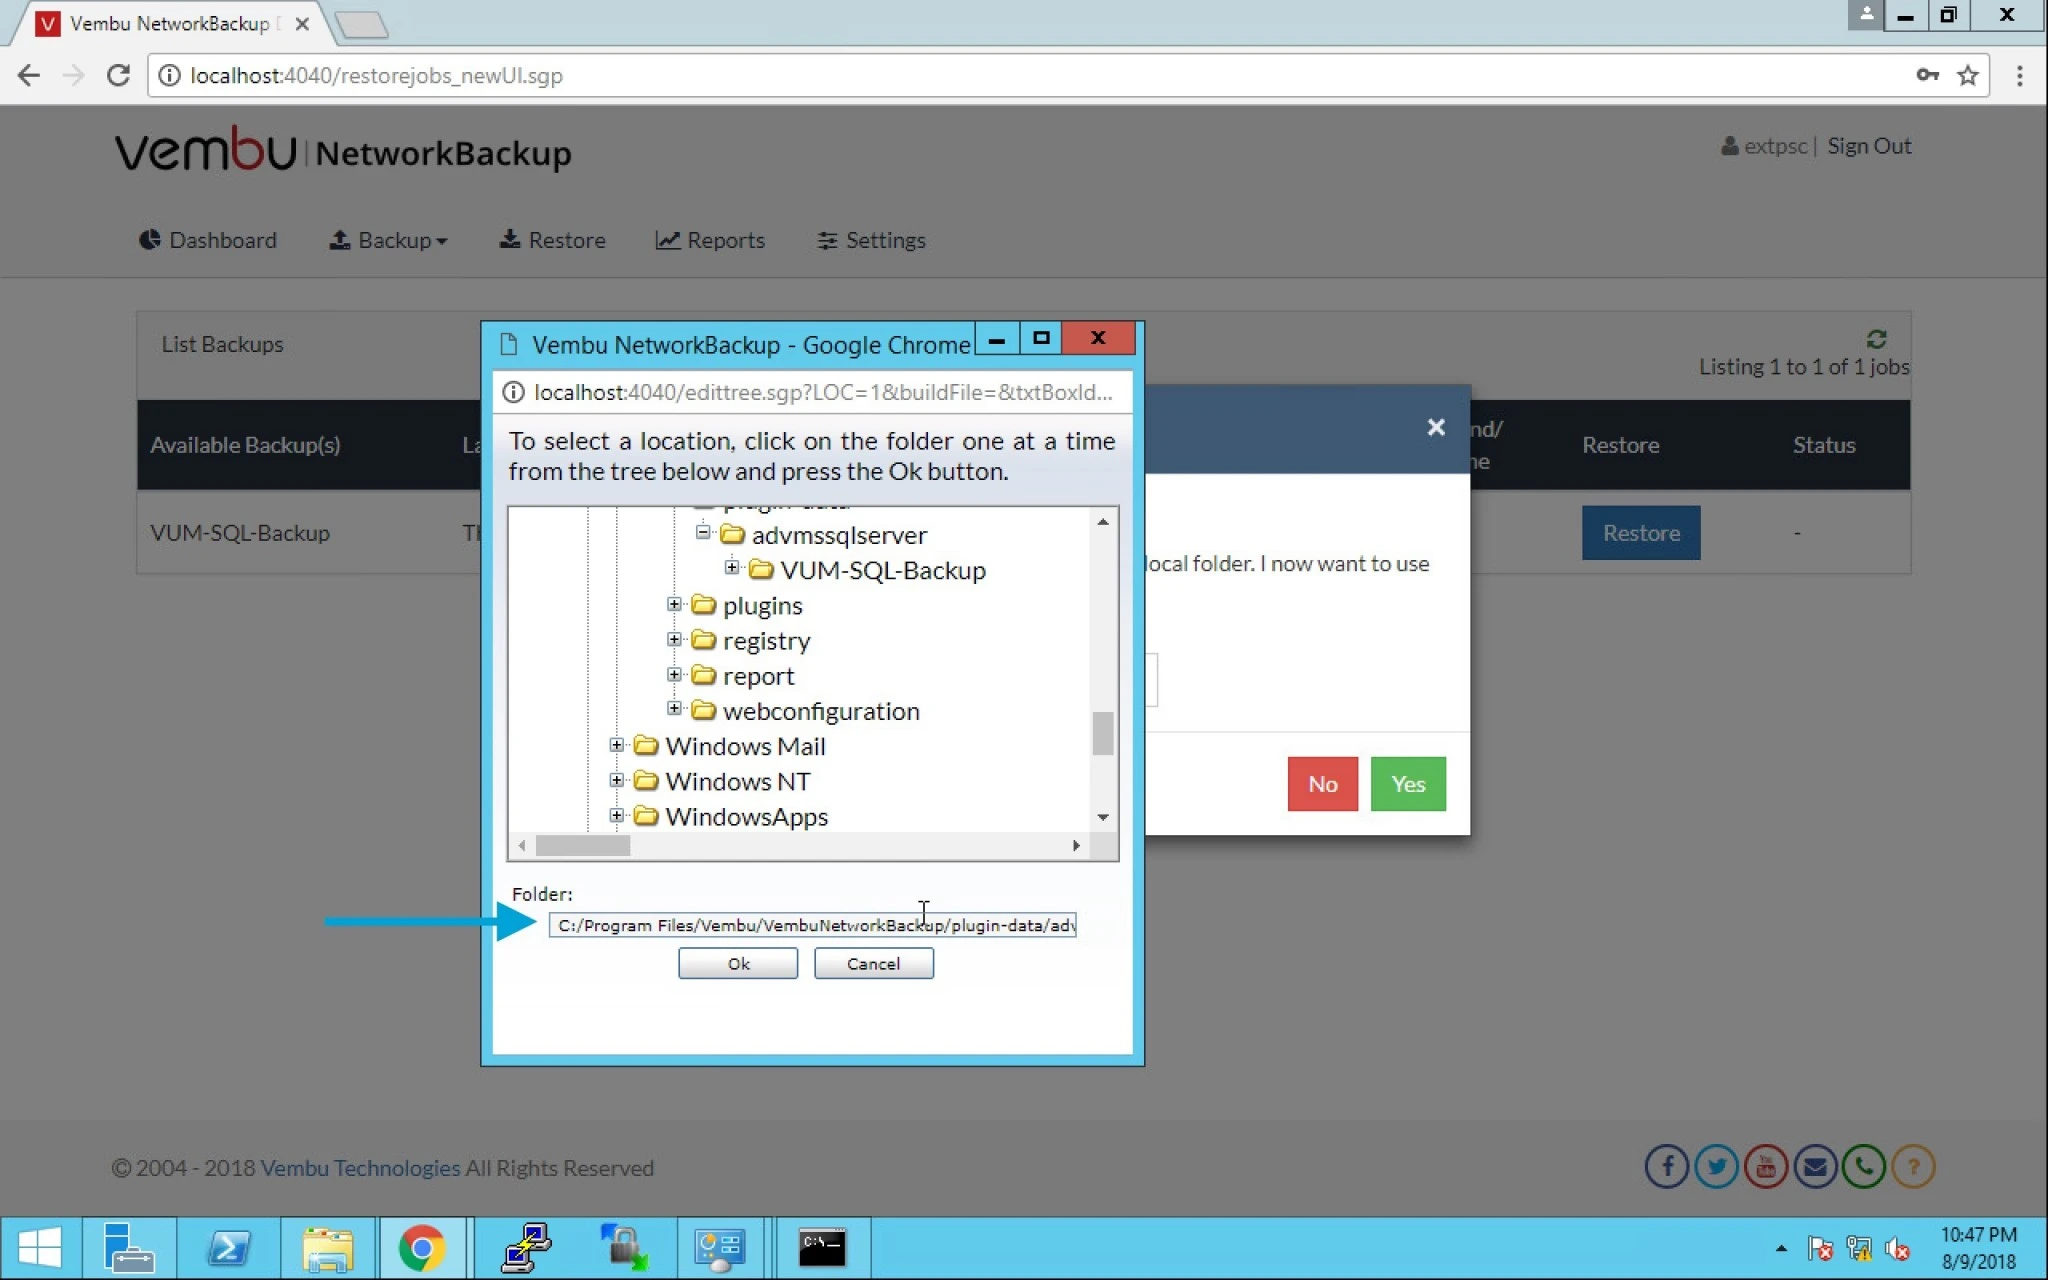
5. Select the data location of the folder or path to the folder . Click Ok.
6. Click on Yes.
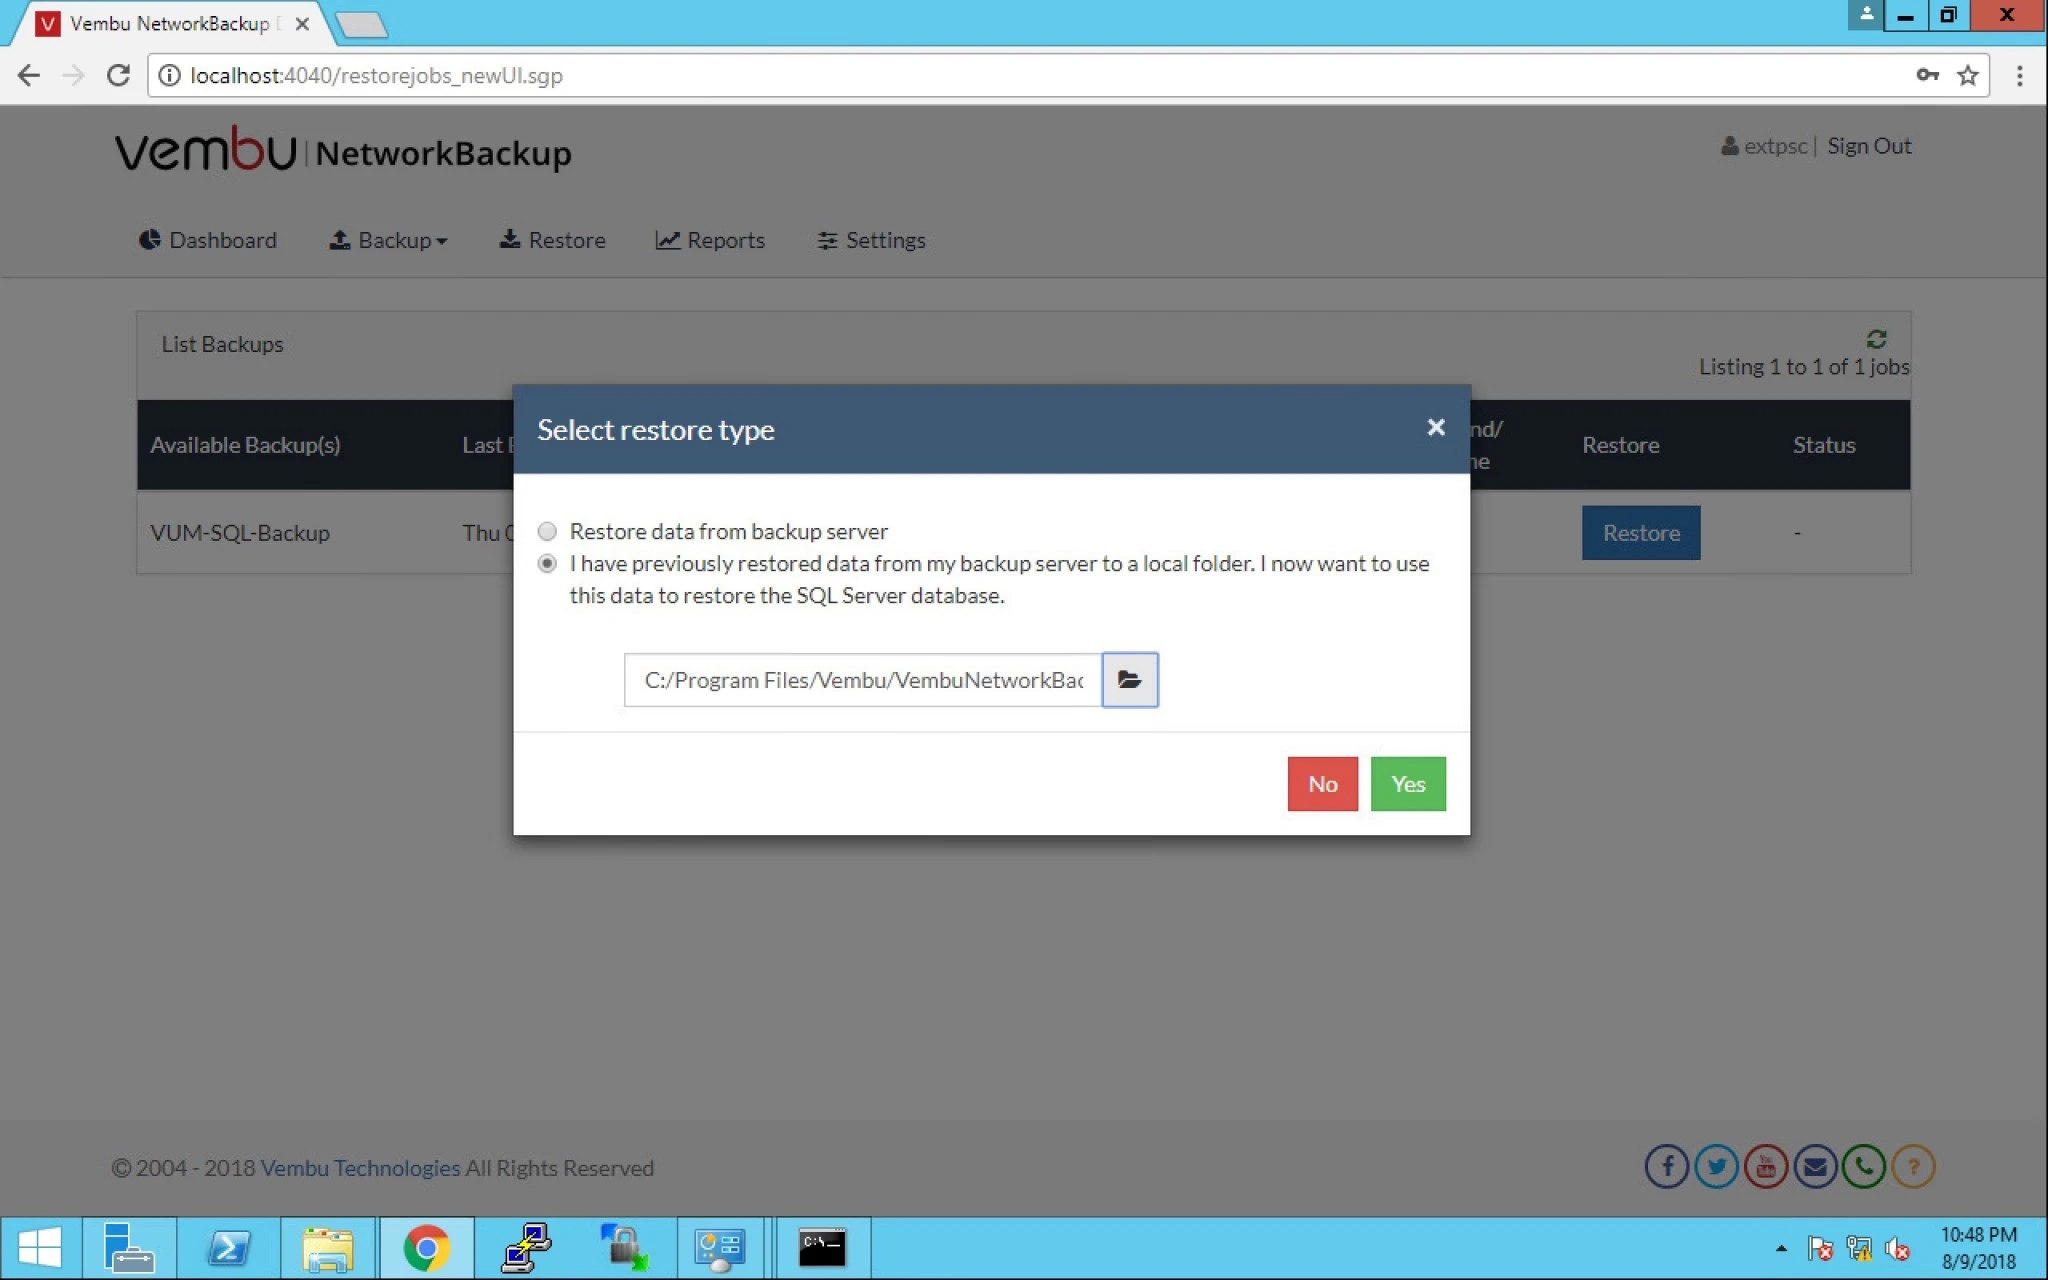
7. Let’s select the first one to get an overview of this option “Restore data from backup server”.
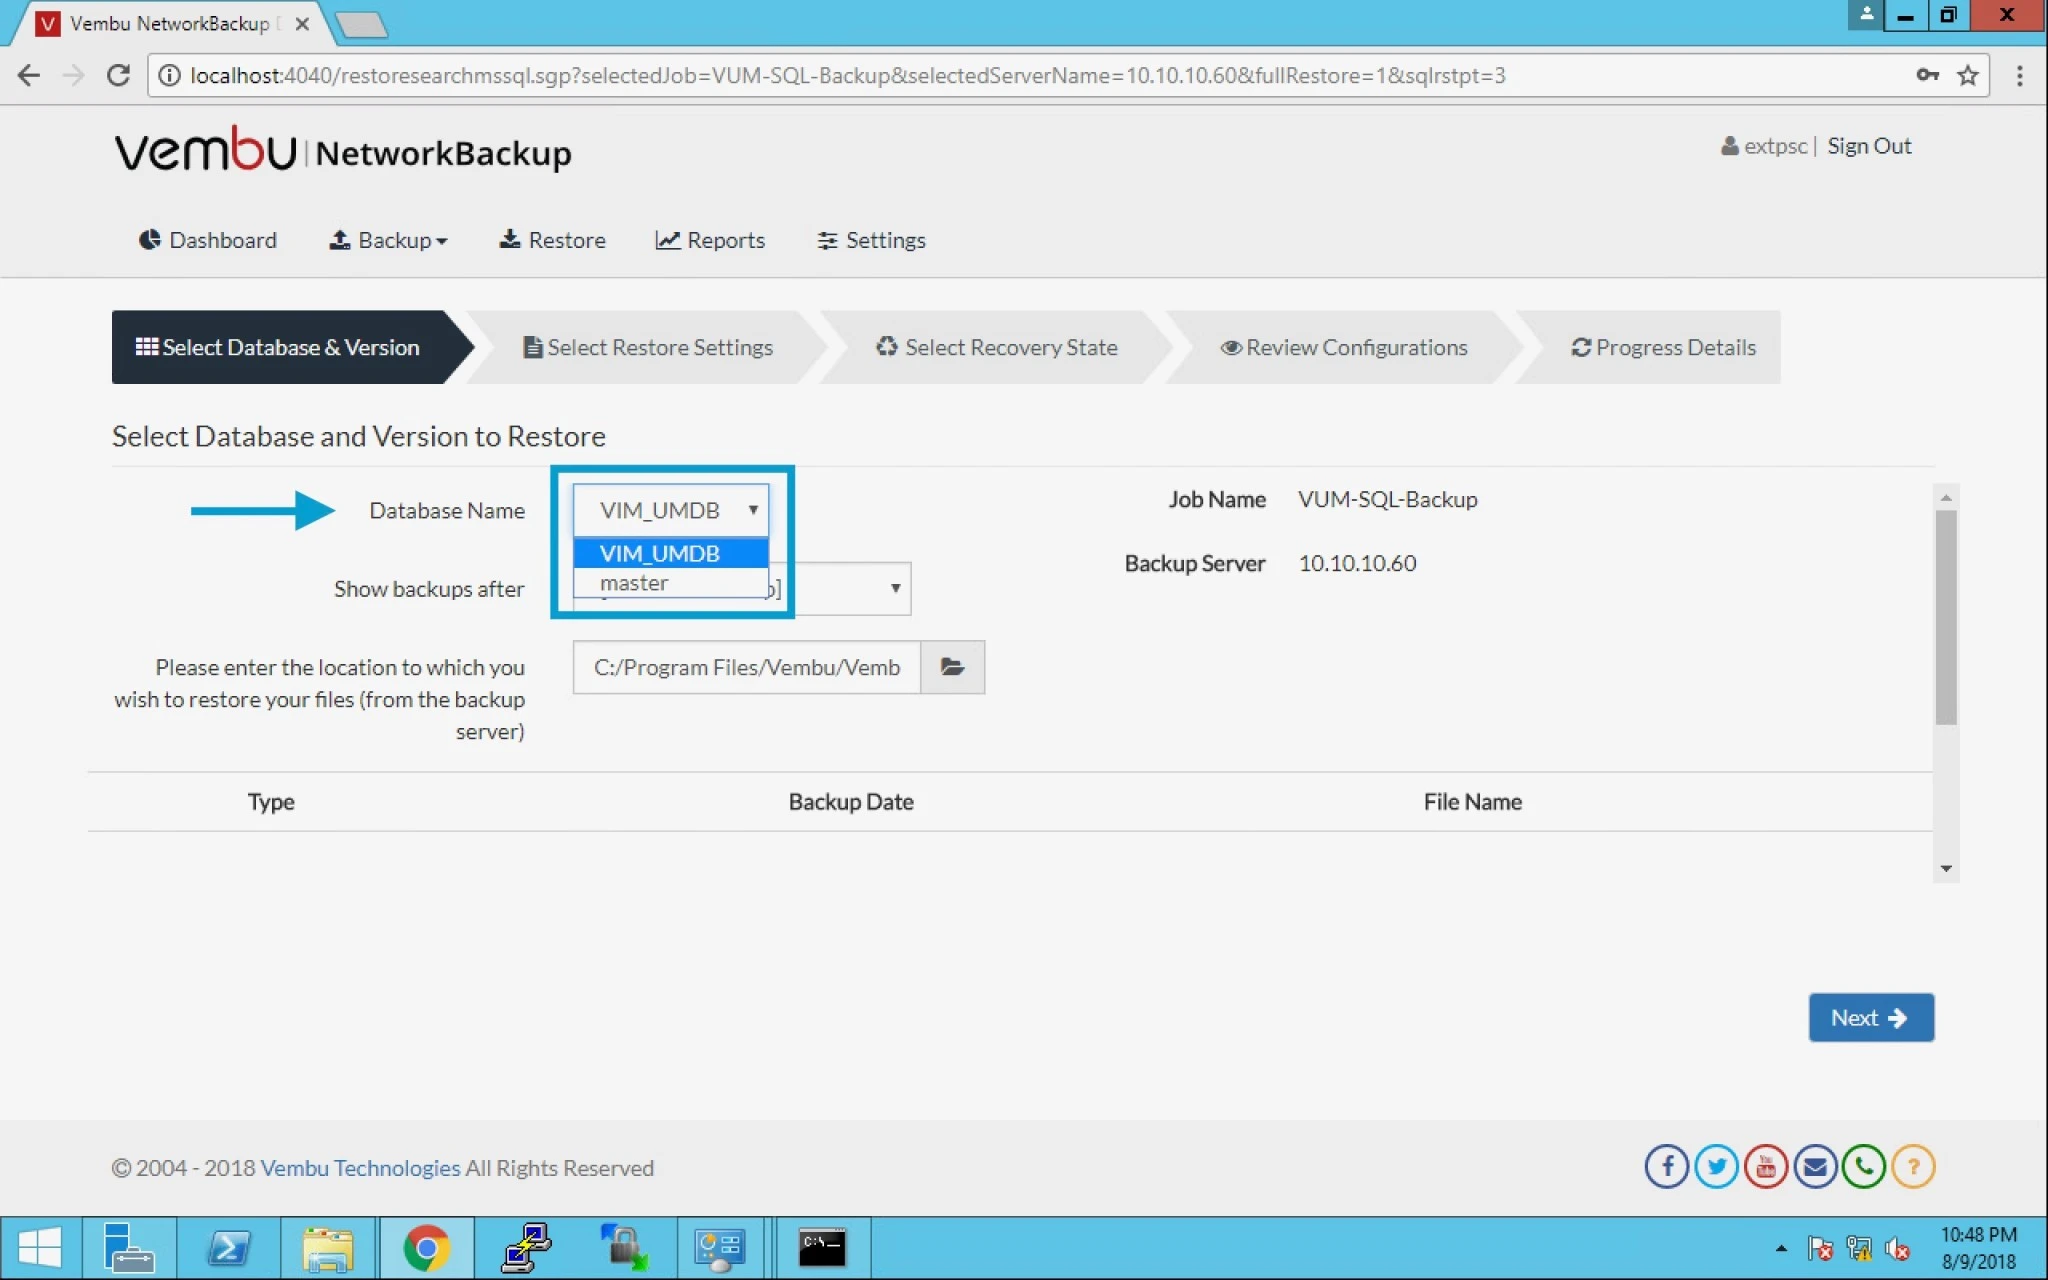
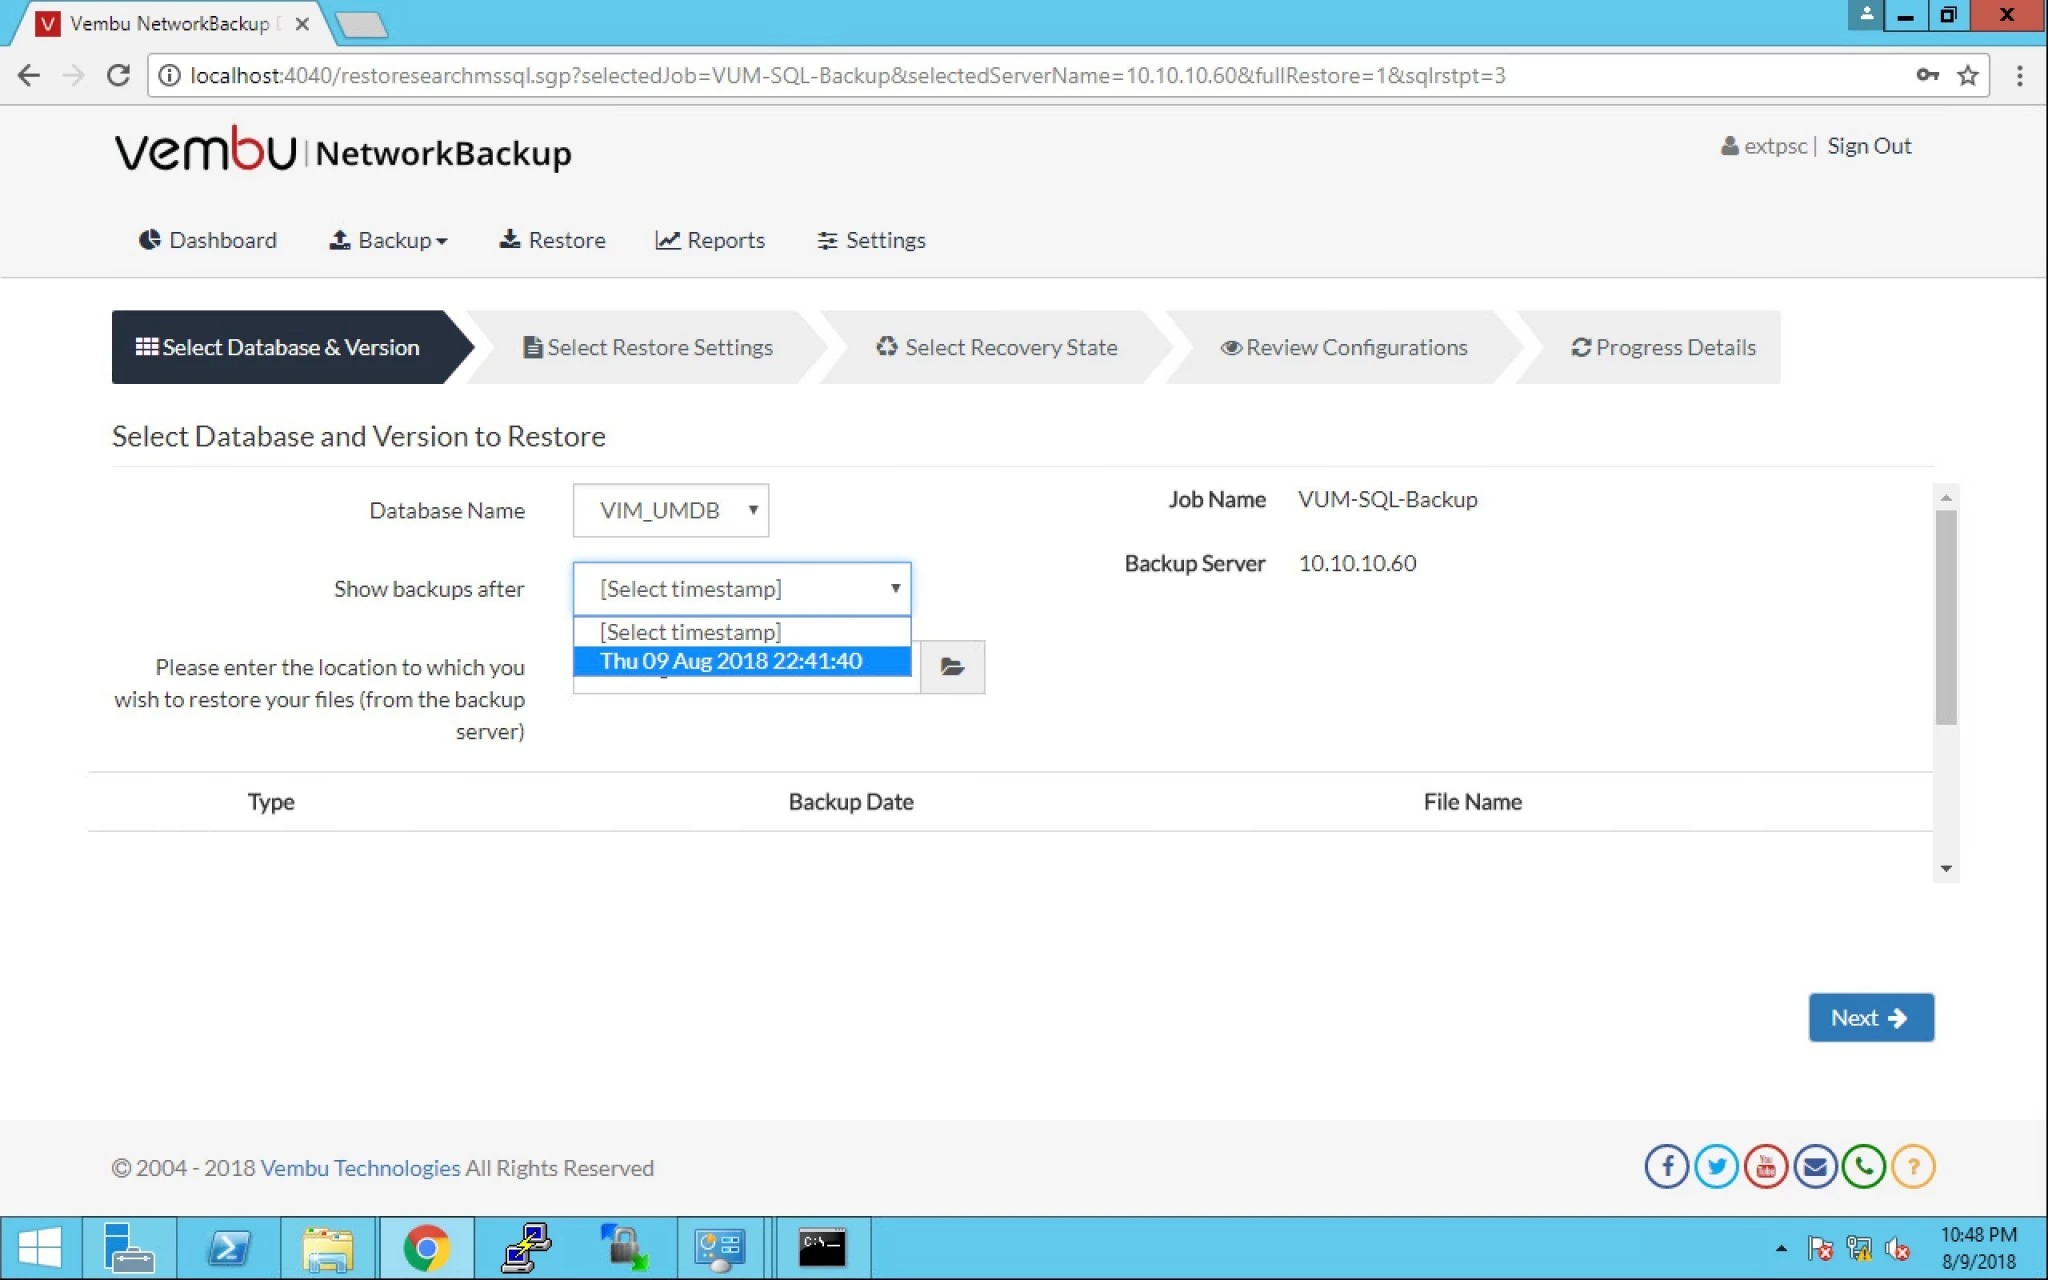
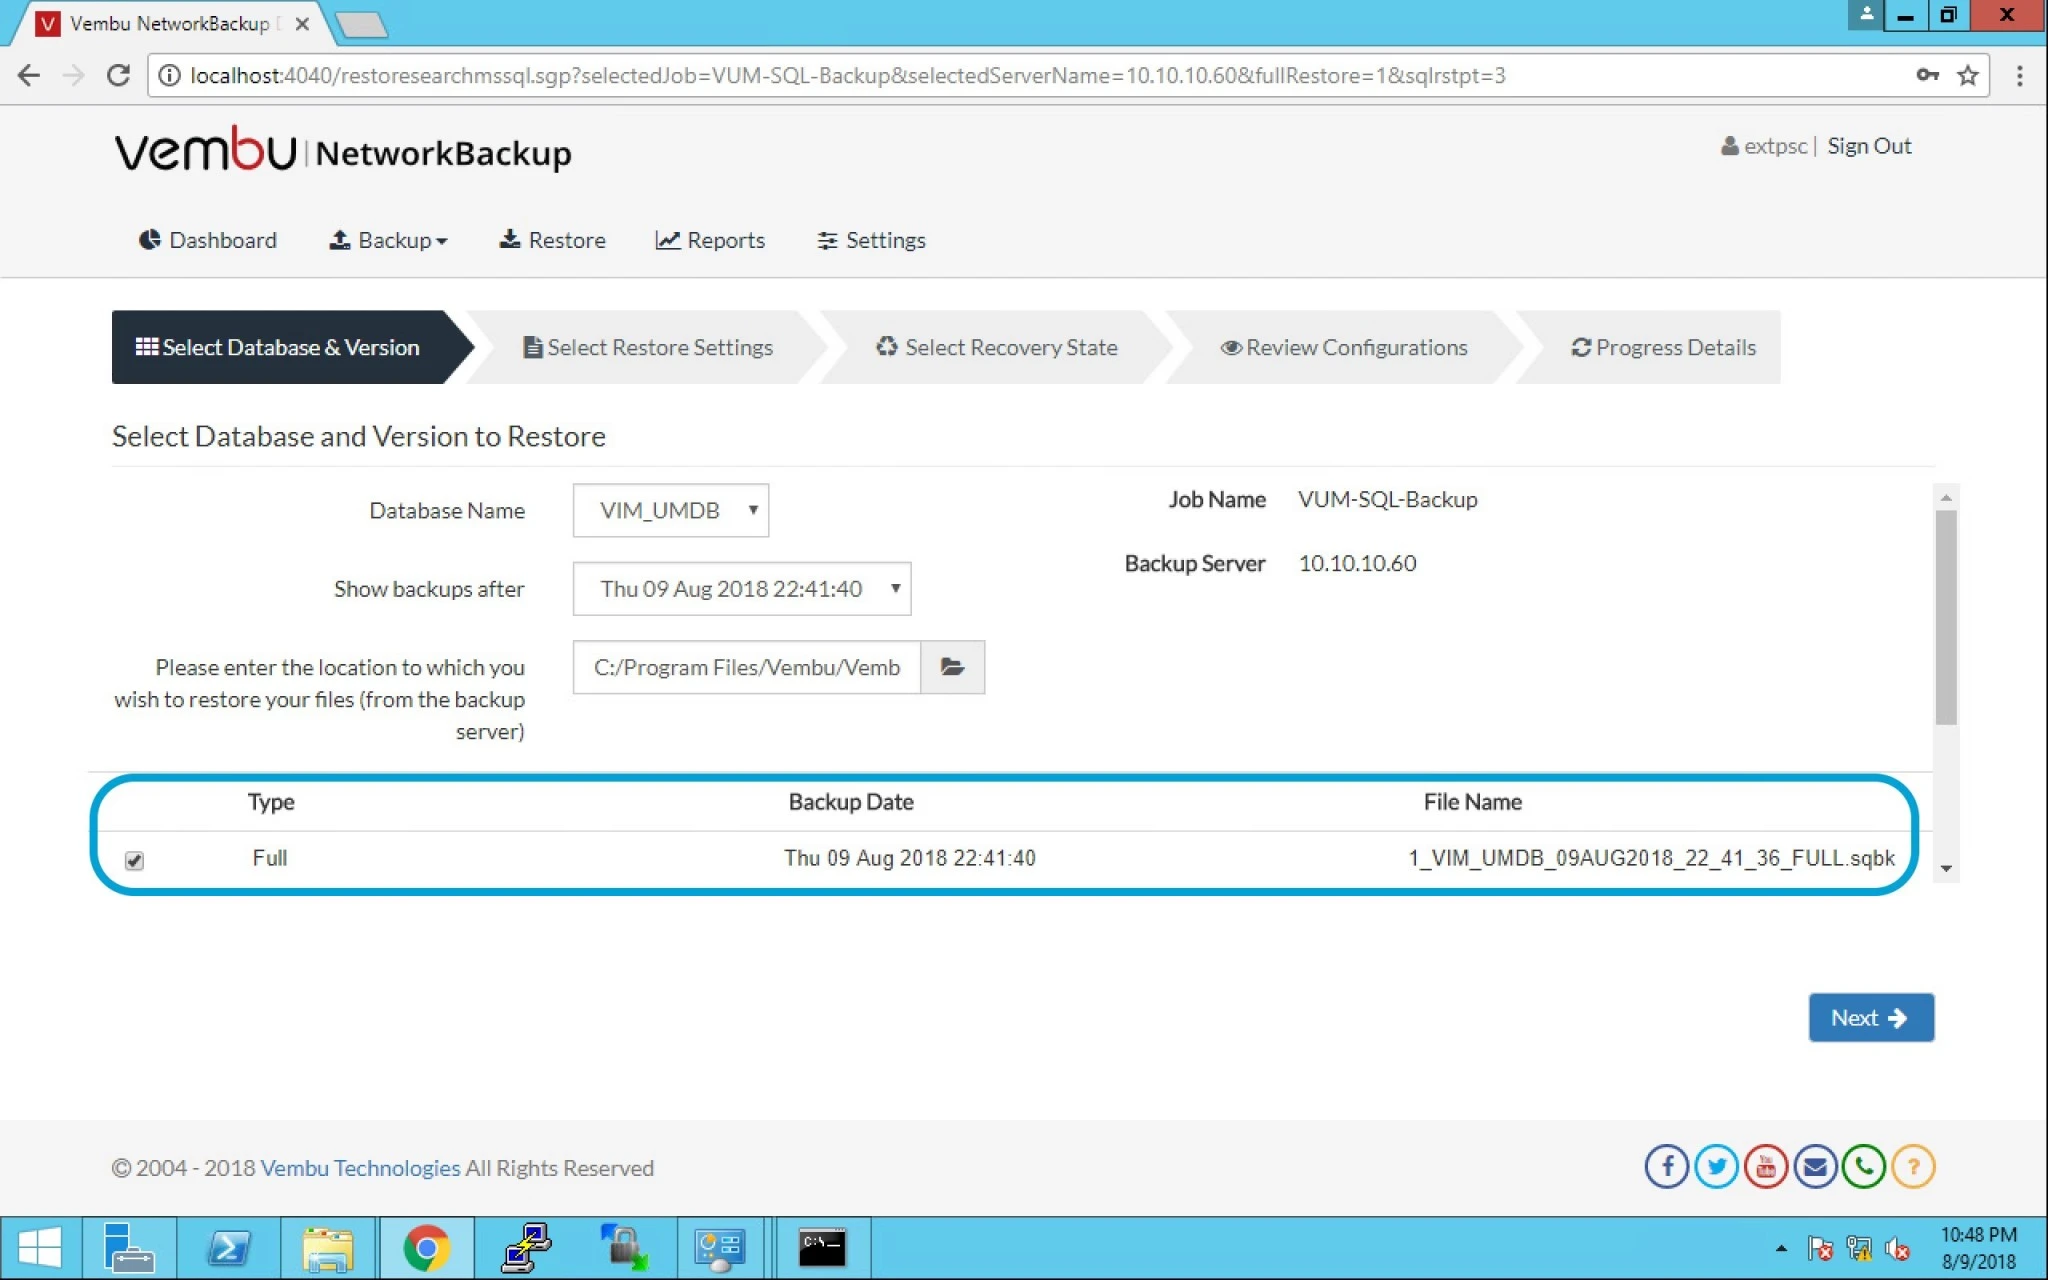
8. Now select the below information:
a) Database Name.
b) Select Time Stamp.
c) Location of file.

9. We have selected the VIM_UMDB as the database name.
10. We have selected the the Time Stamp of the backup for restore.
11. We have the prompt with the Full Backup to be restored option. Select Full and click next.
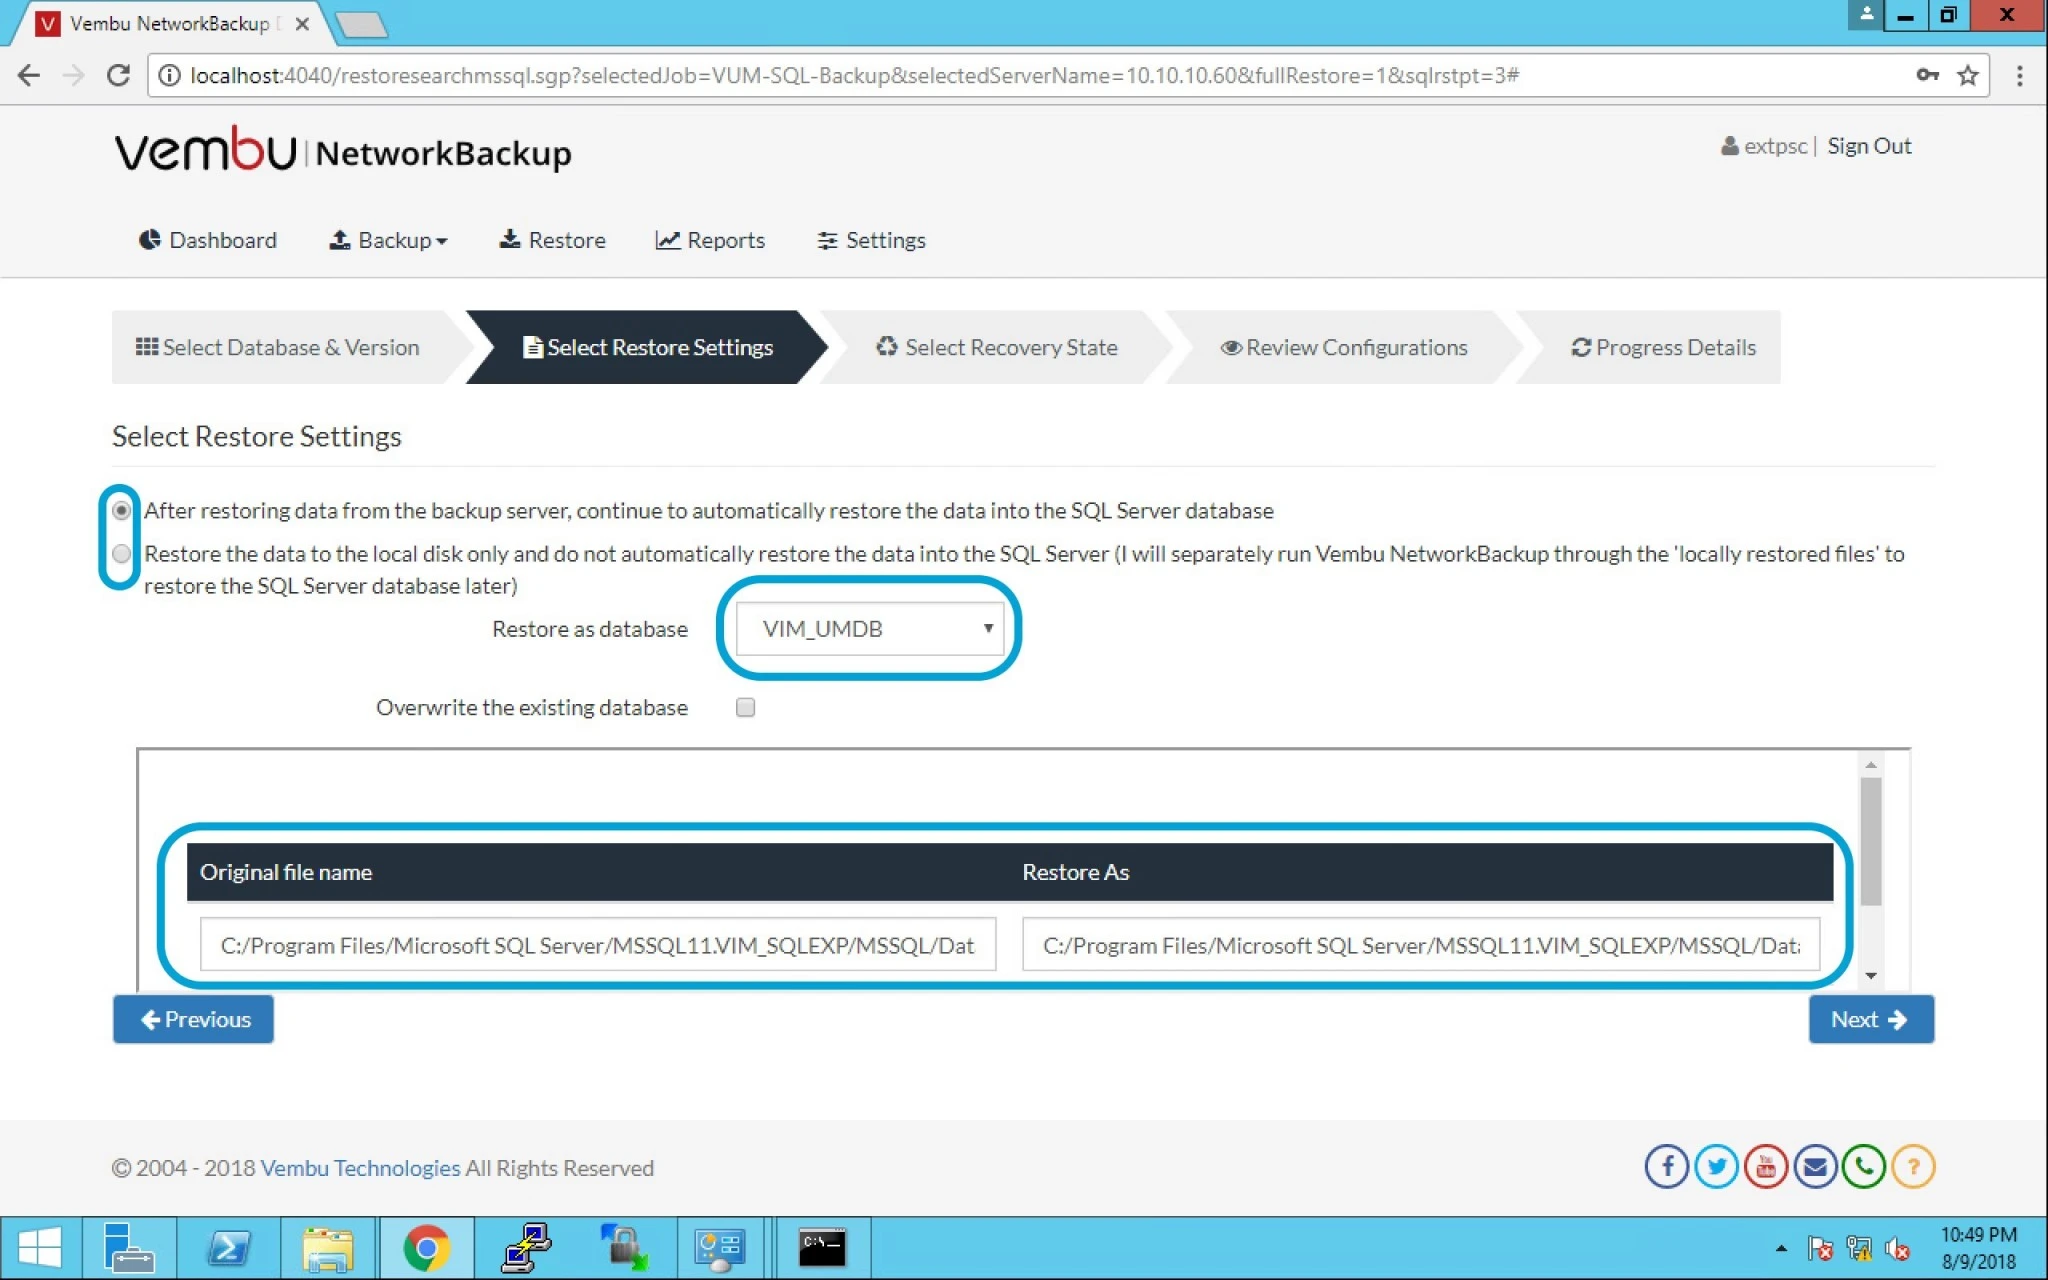
12. After restoring data from backup server, continue to auto restore data into SQL Server Database.
- Choosing this option will let user restore data into SQL Server database, where user have the option to either overwrite an existing database or restore as separate database.

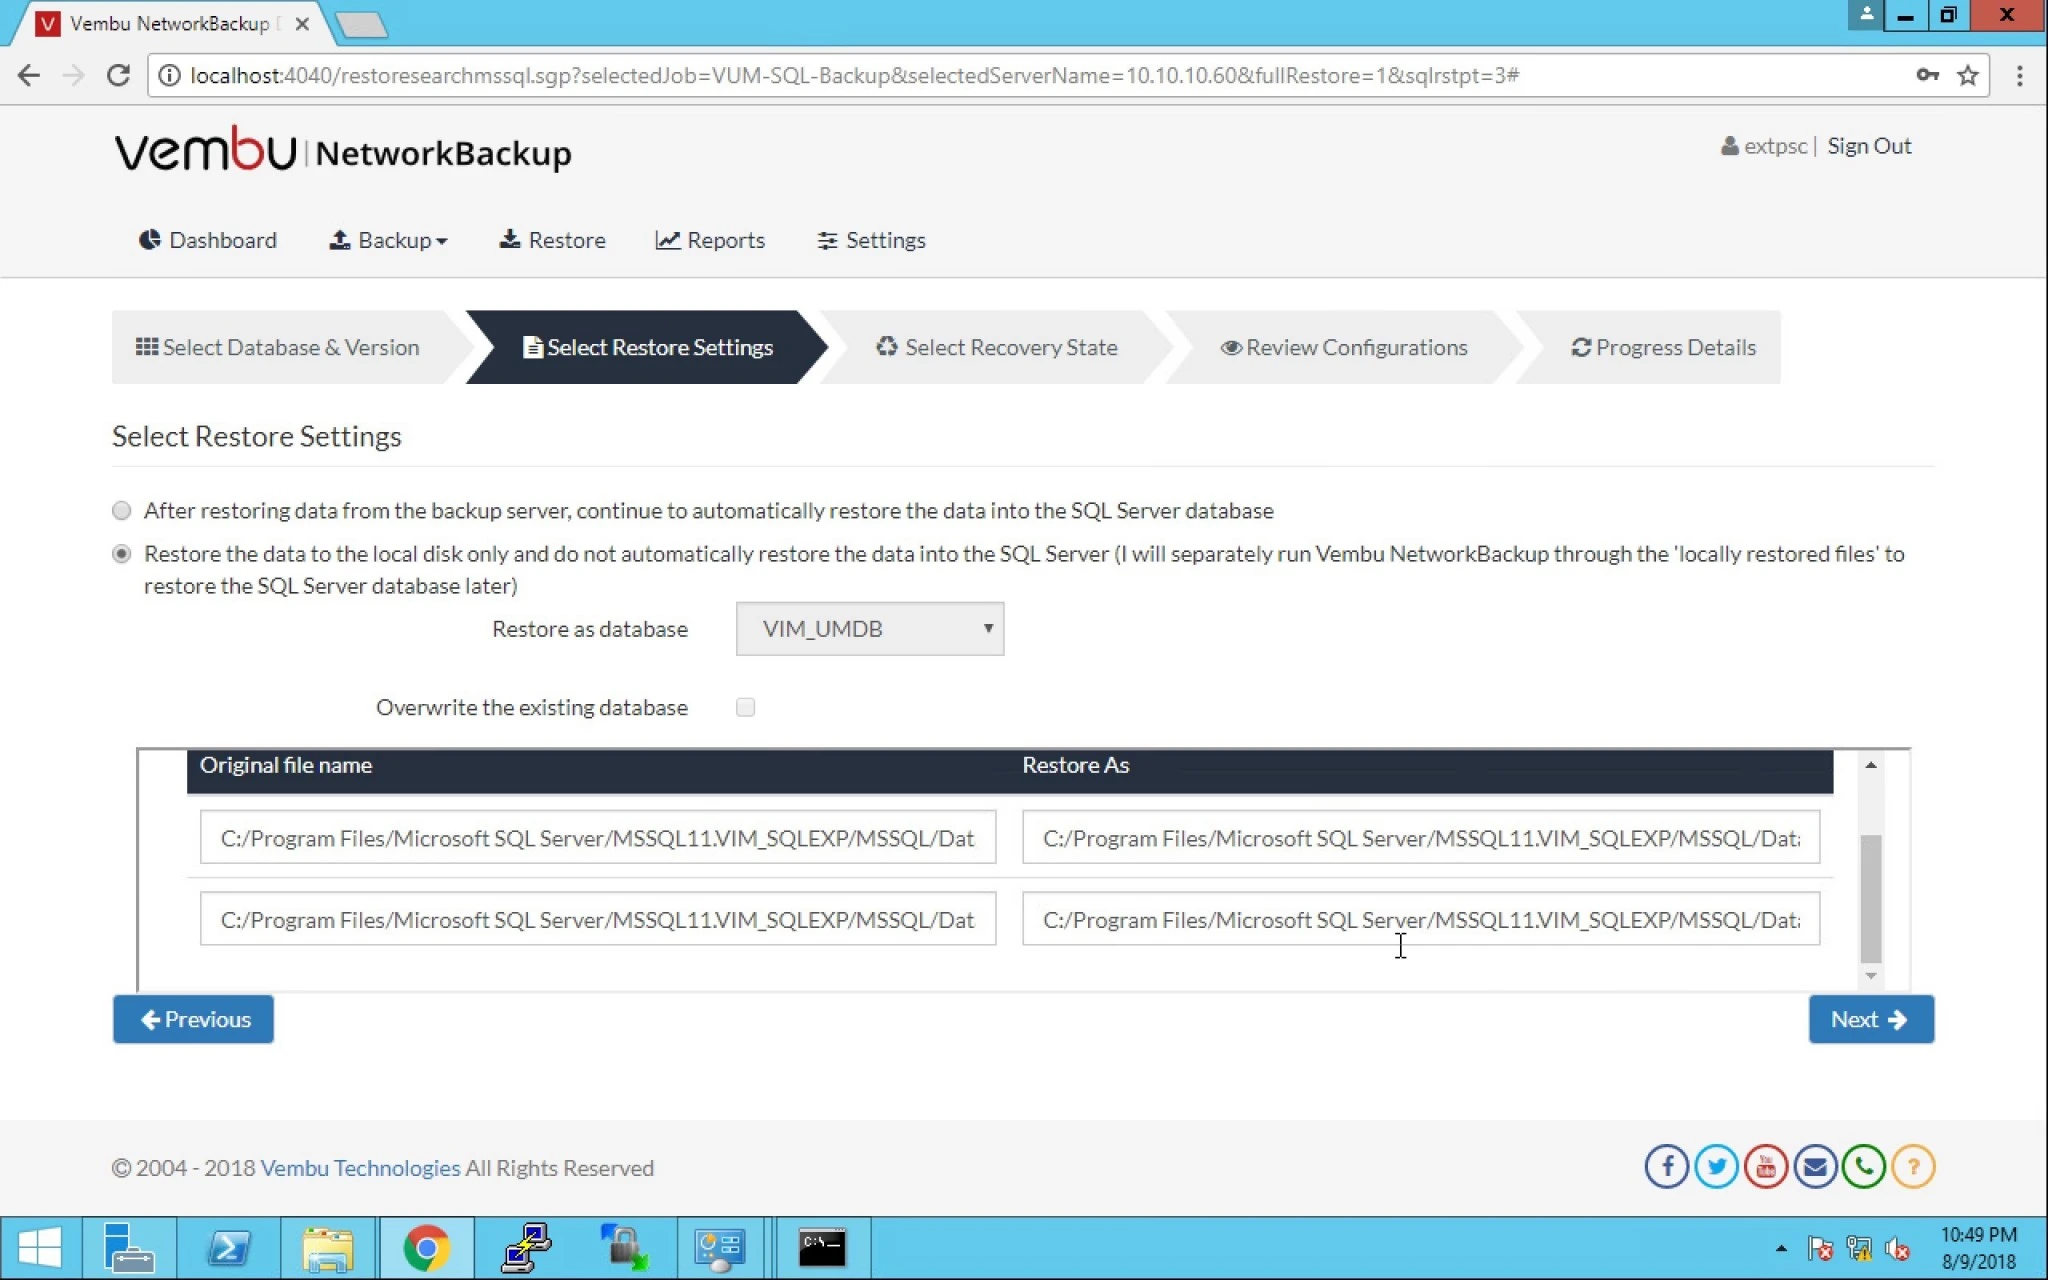
13. Restore data from backup server only (we will separately run Vembu NetworkBackup through the ‘locally restored files’ to restore the SQL Server database later).
- Choosing this option will restore data in a separate user defined location instead restoring data into SQL Server.
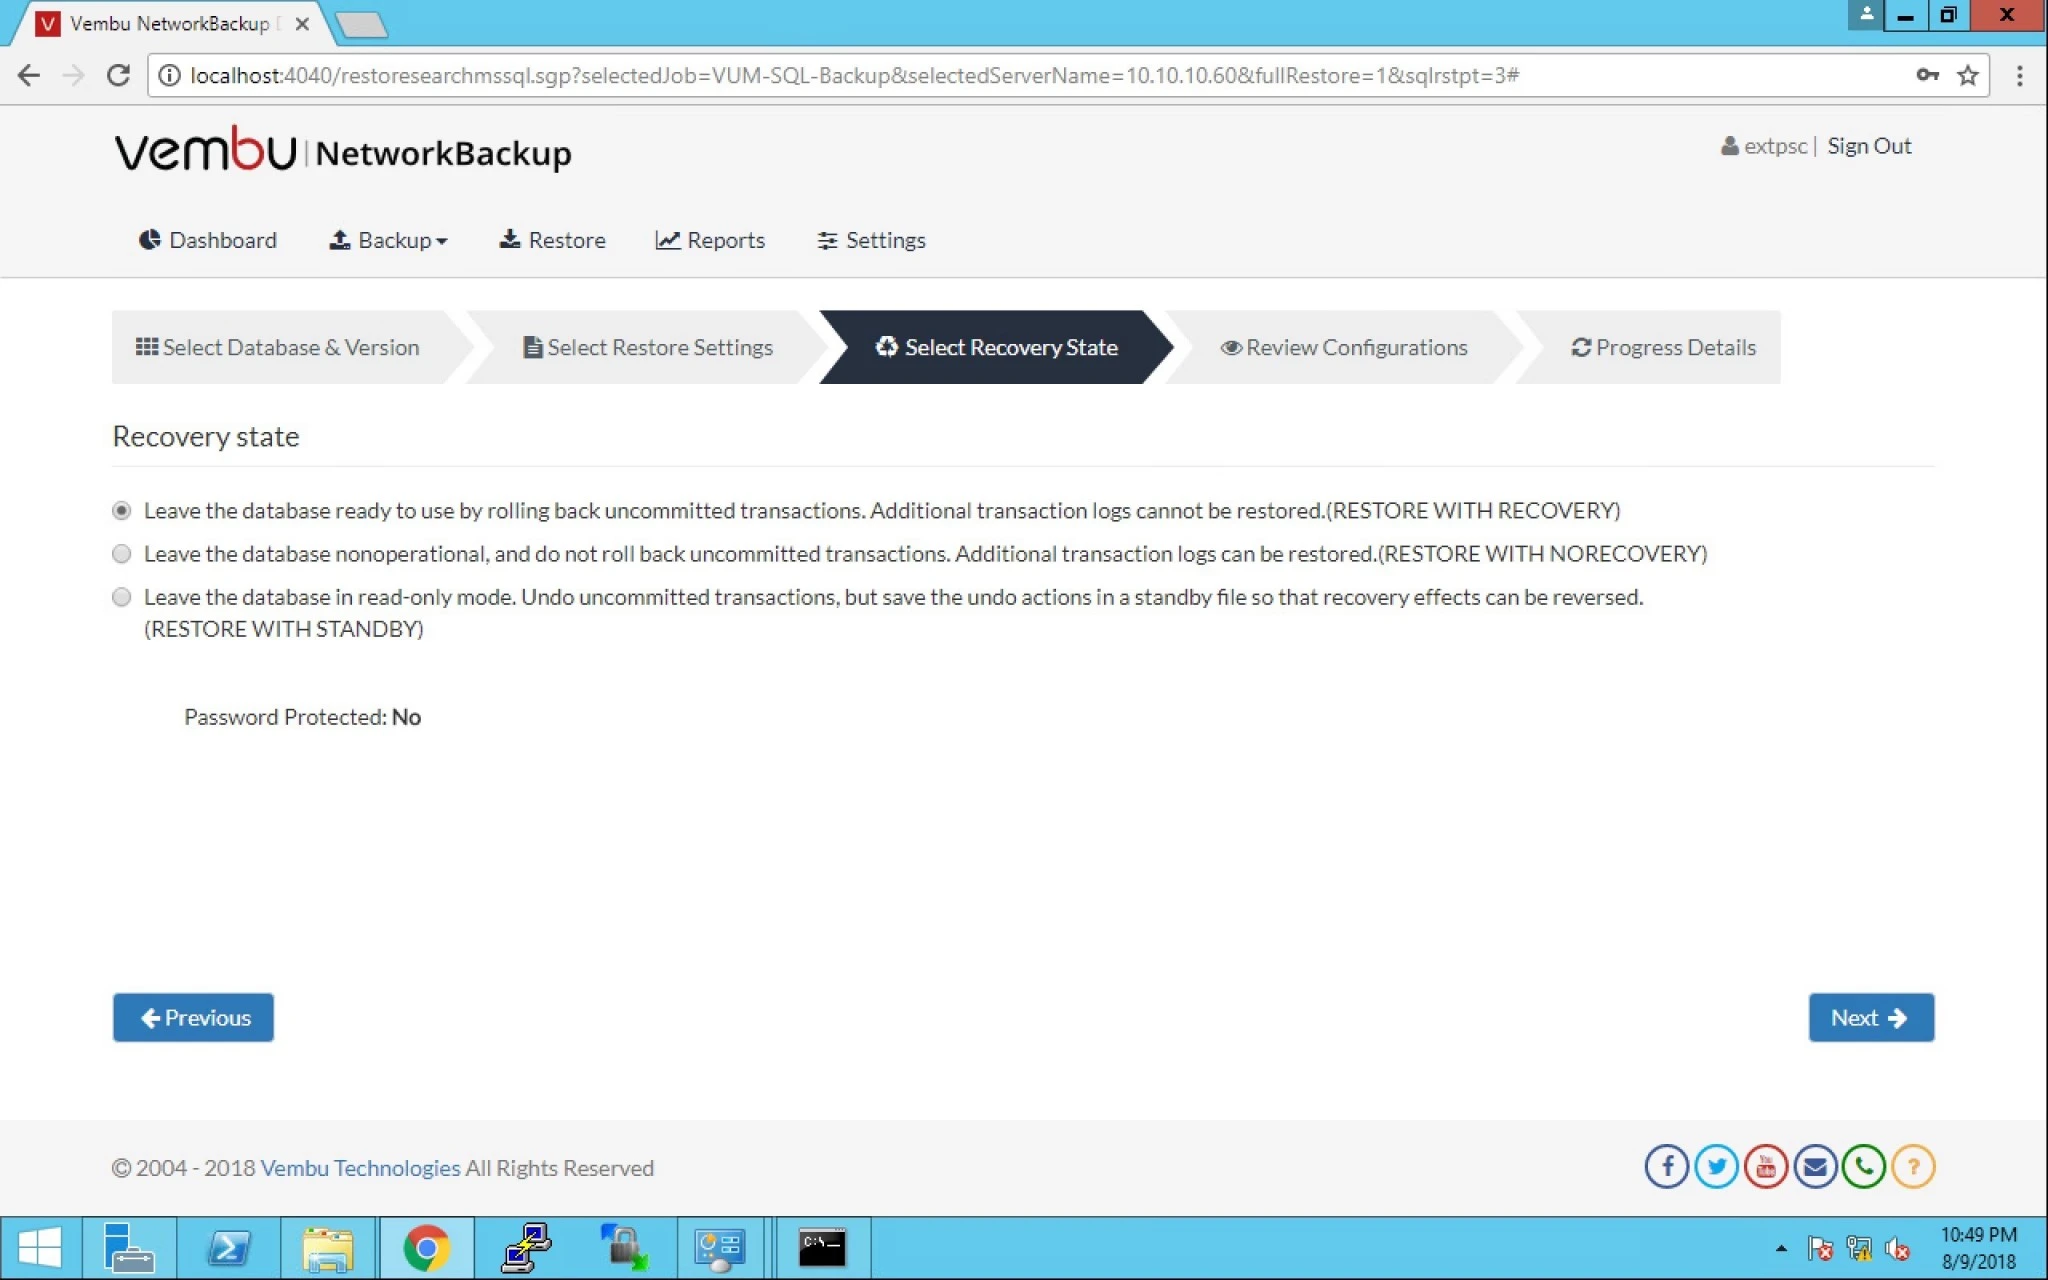
14. We have got these three options given below:
- Leave database in ready-to-use state by rolling back uncommitted transactions. Additional transaction logs cannot be restored (Restore with recovery).
- Leave database non-operational, and do not rollback uncommitted transactions. Additional transaction logs can be restored (Restore with Non-Recovery).
- Leave database in read-only mode. Undo uncommitted transactions, but save undo action in a standby file so that recovery effects can be reversed (Restore with Standby).
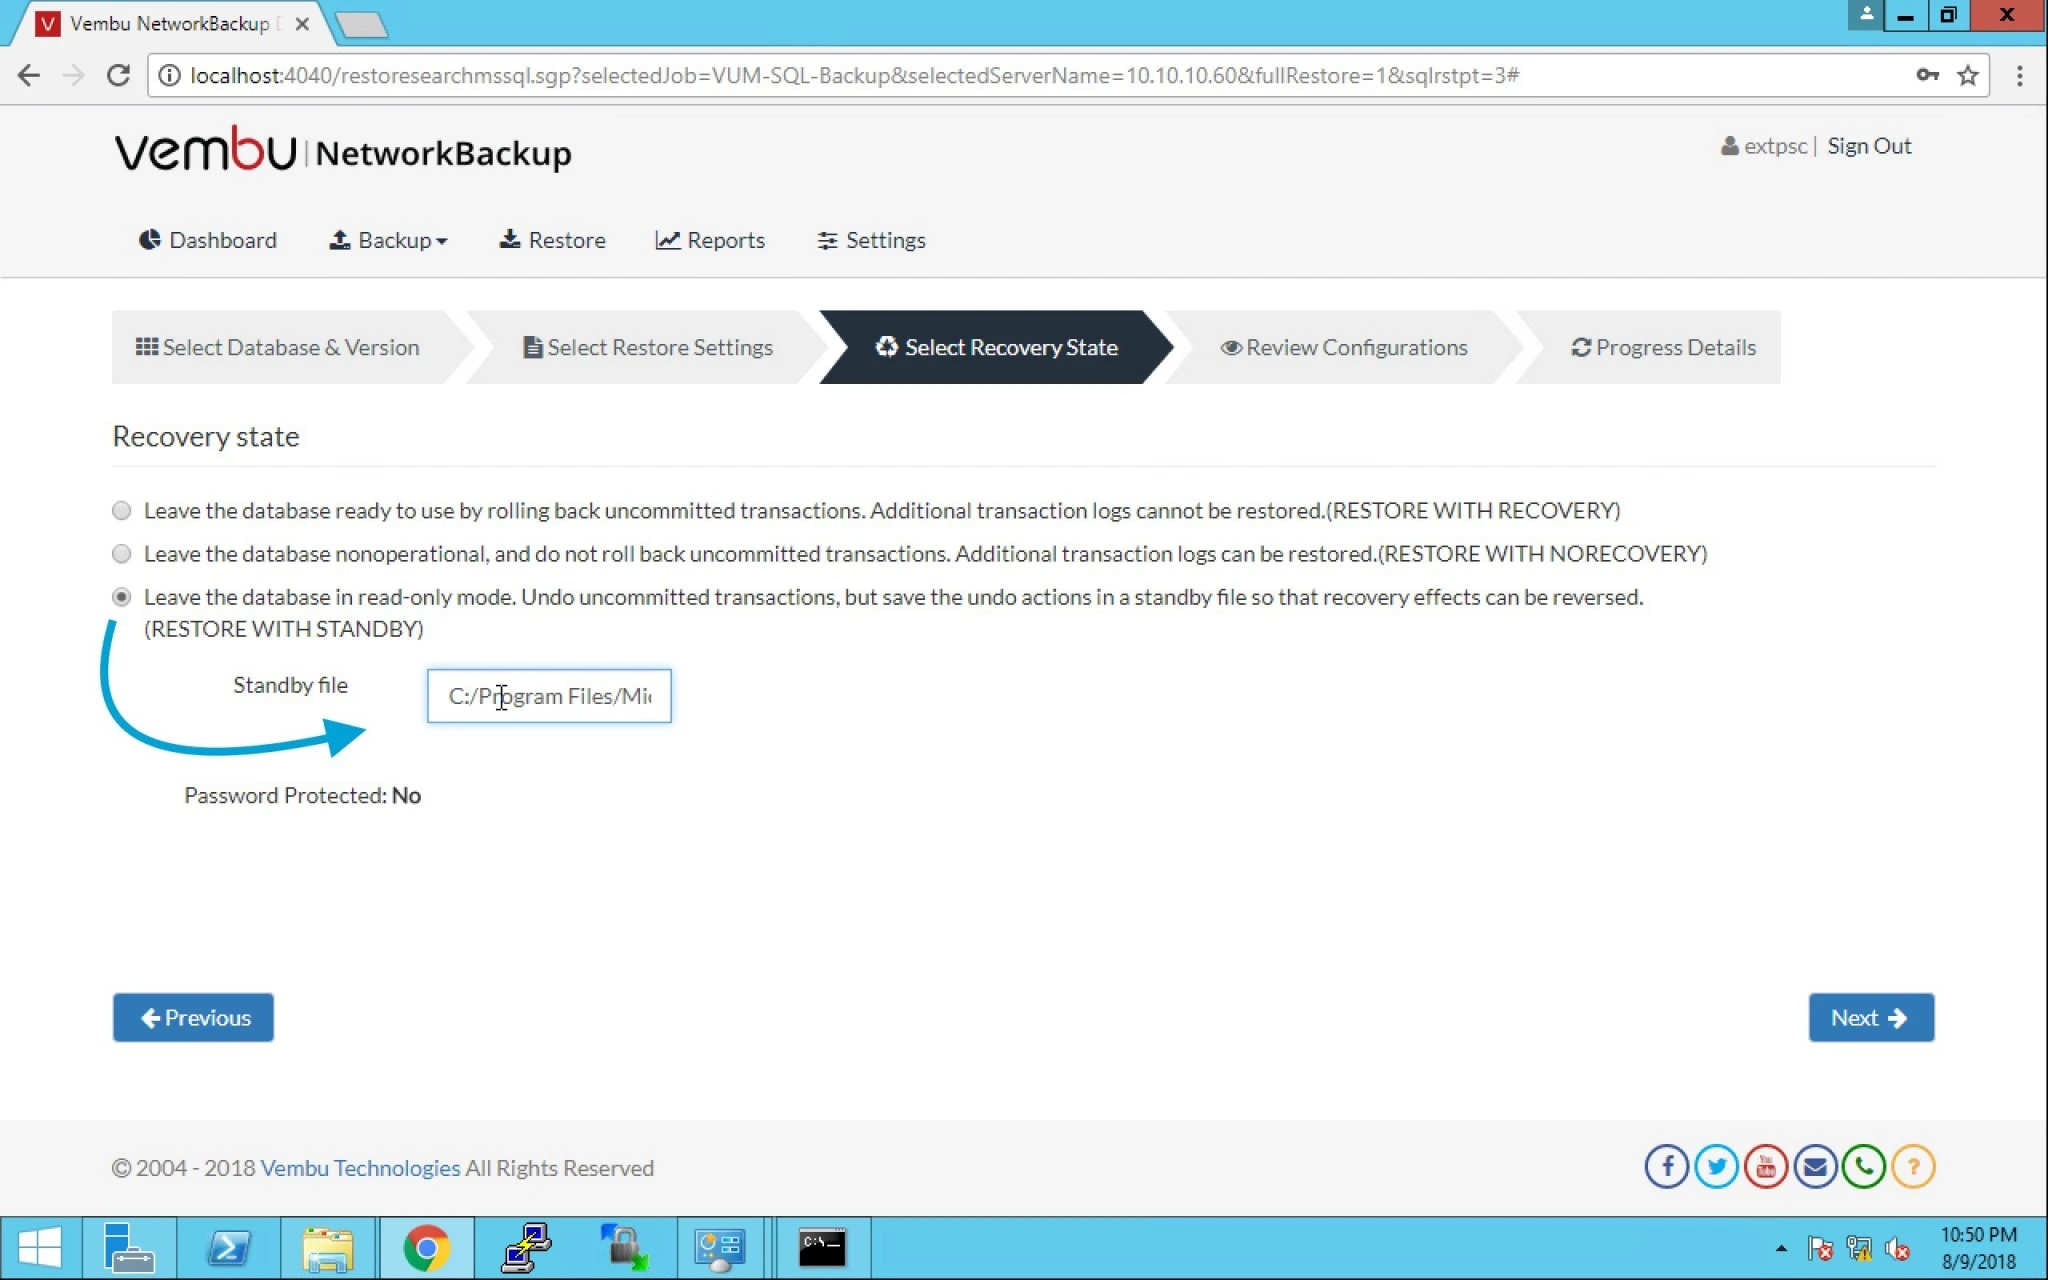
15. Lets choose the third option here and provide the Standby file location. Click Next.
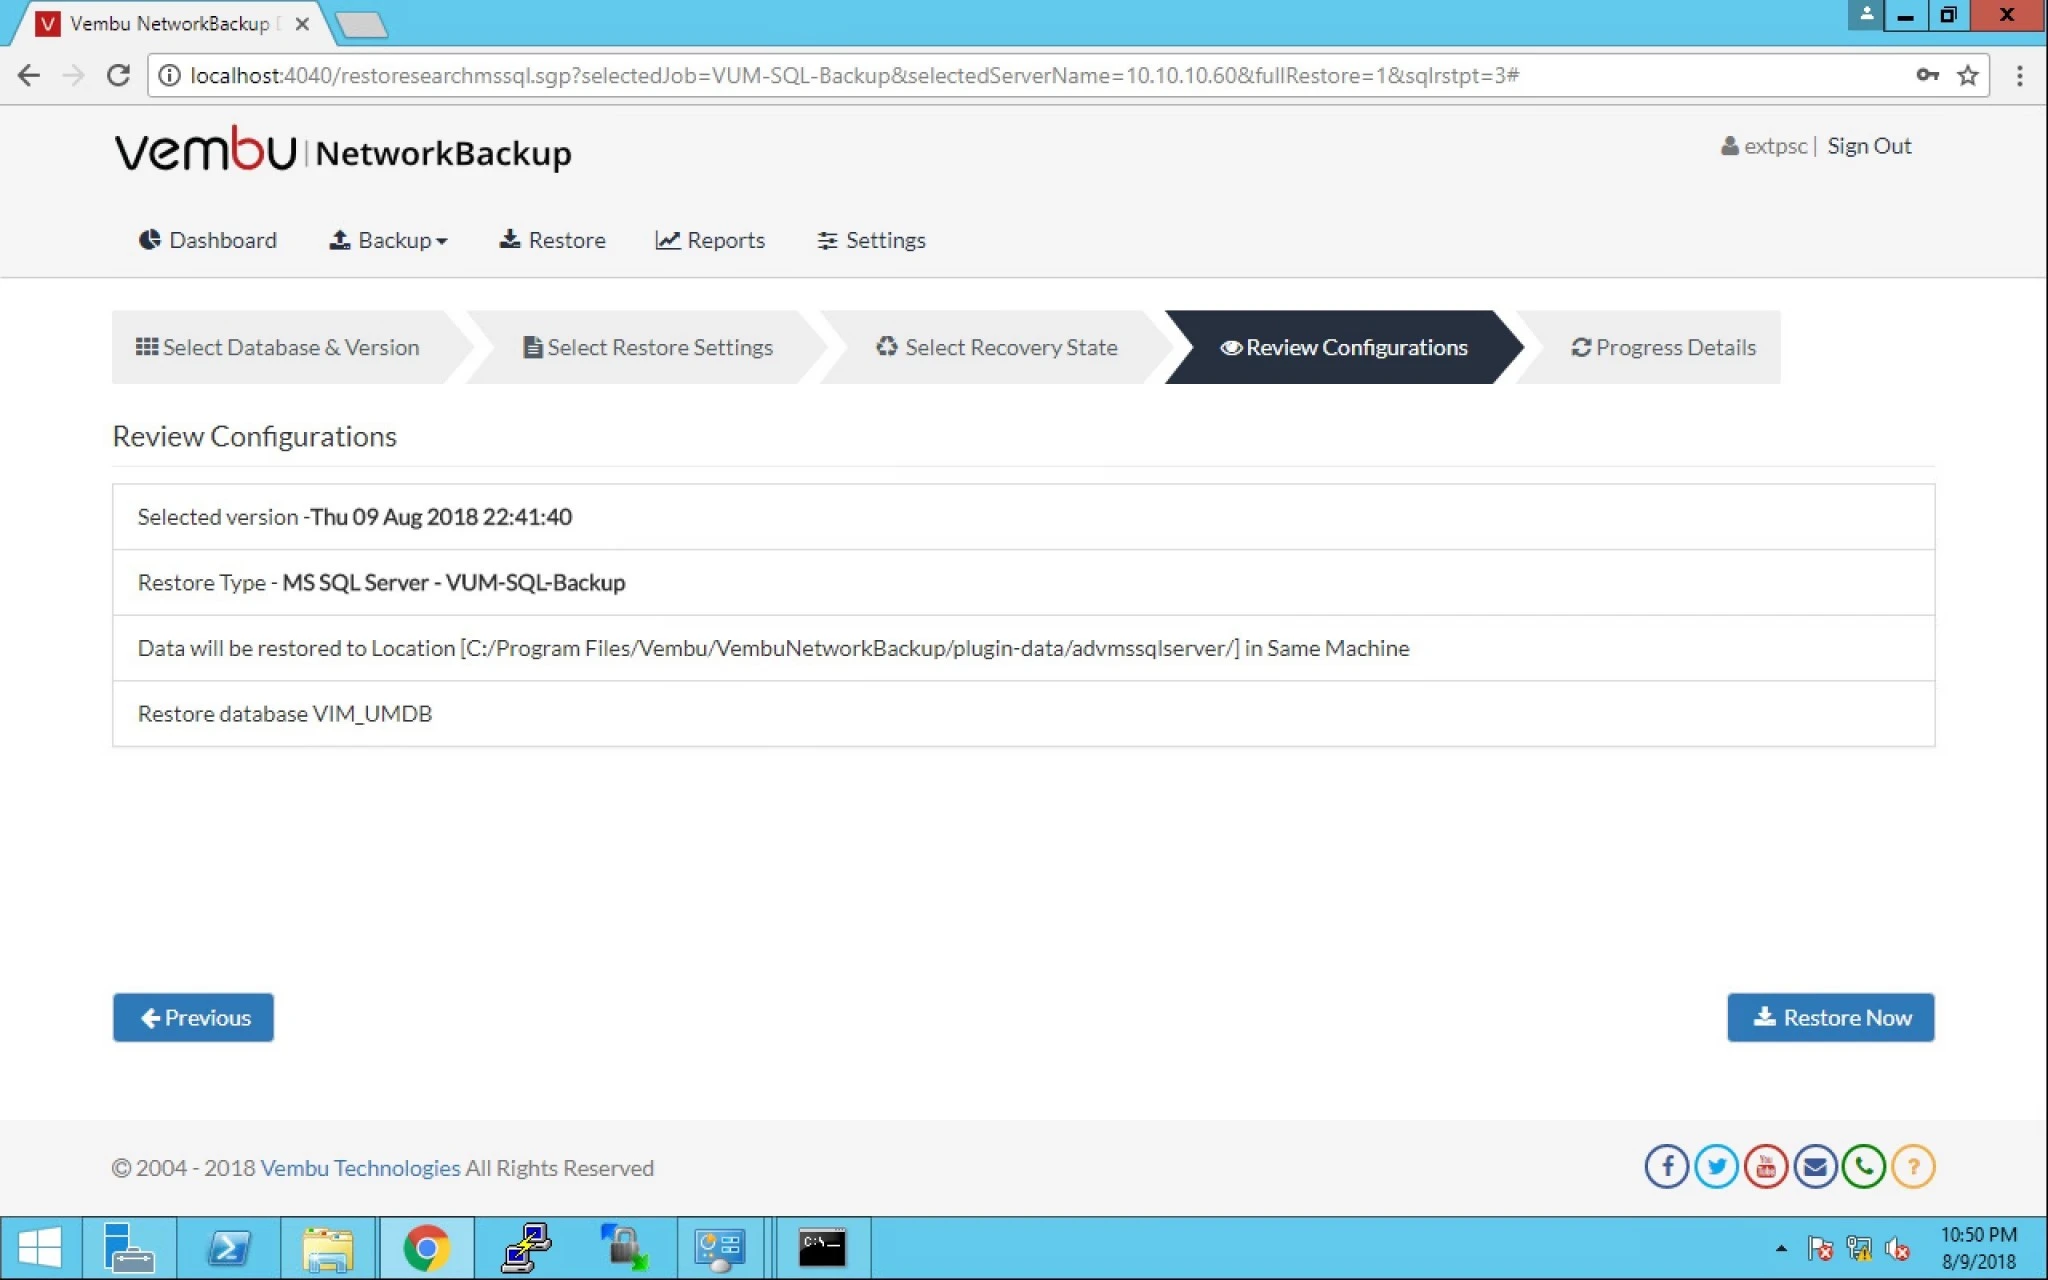
16. Now you can review the configuration and click on Restore Now.
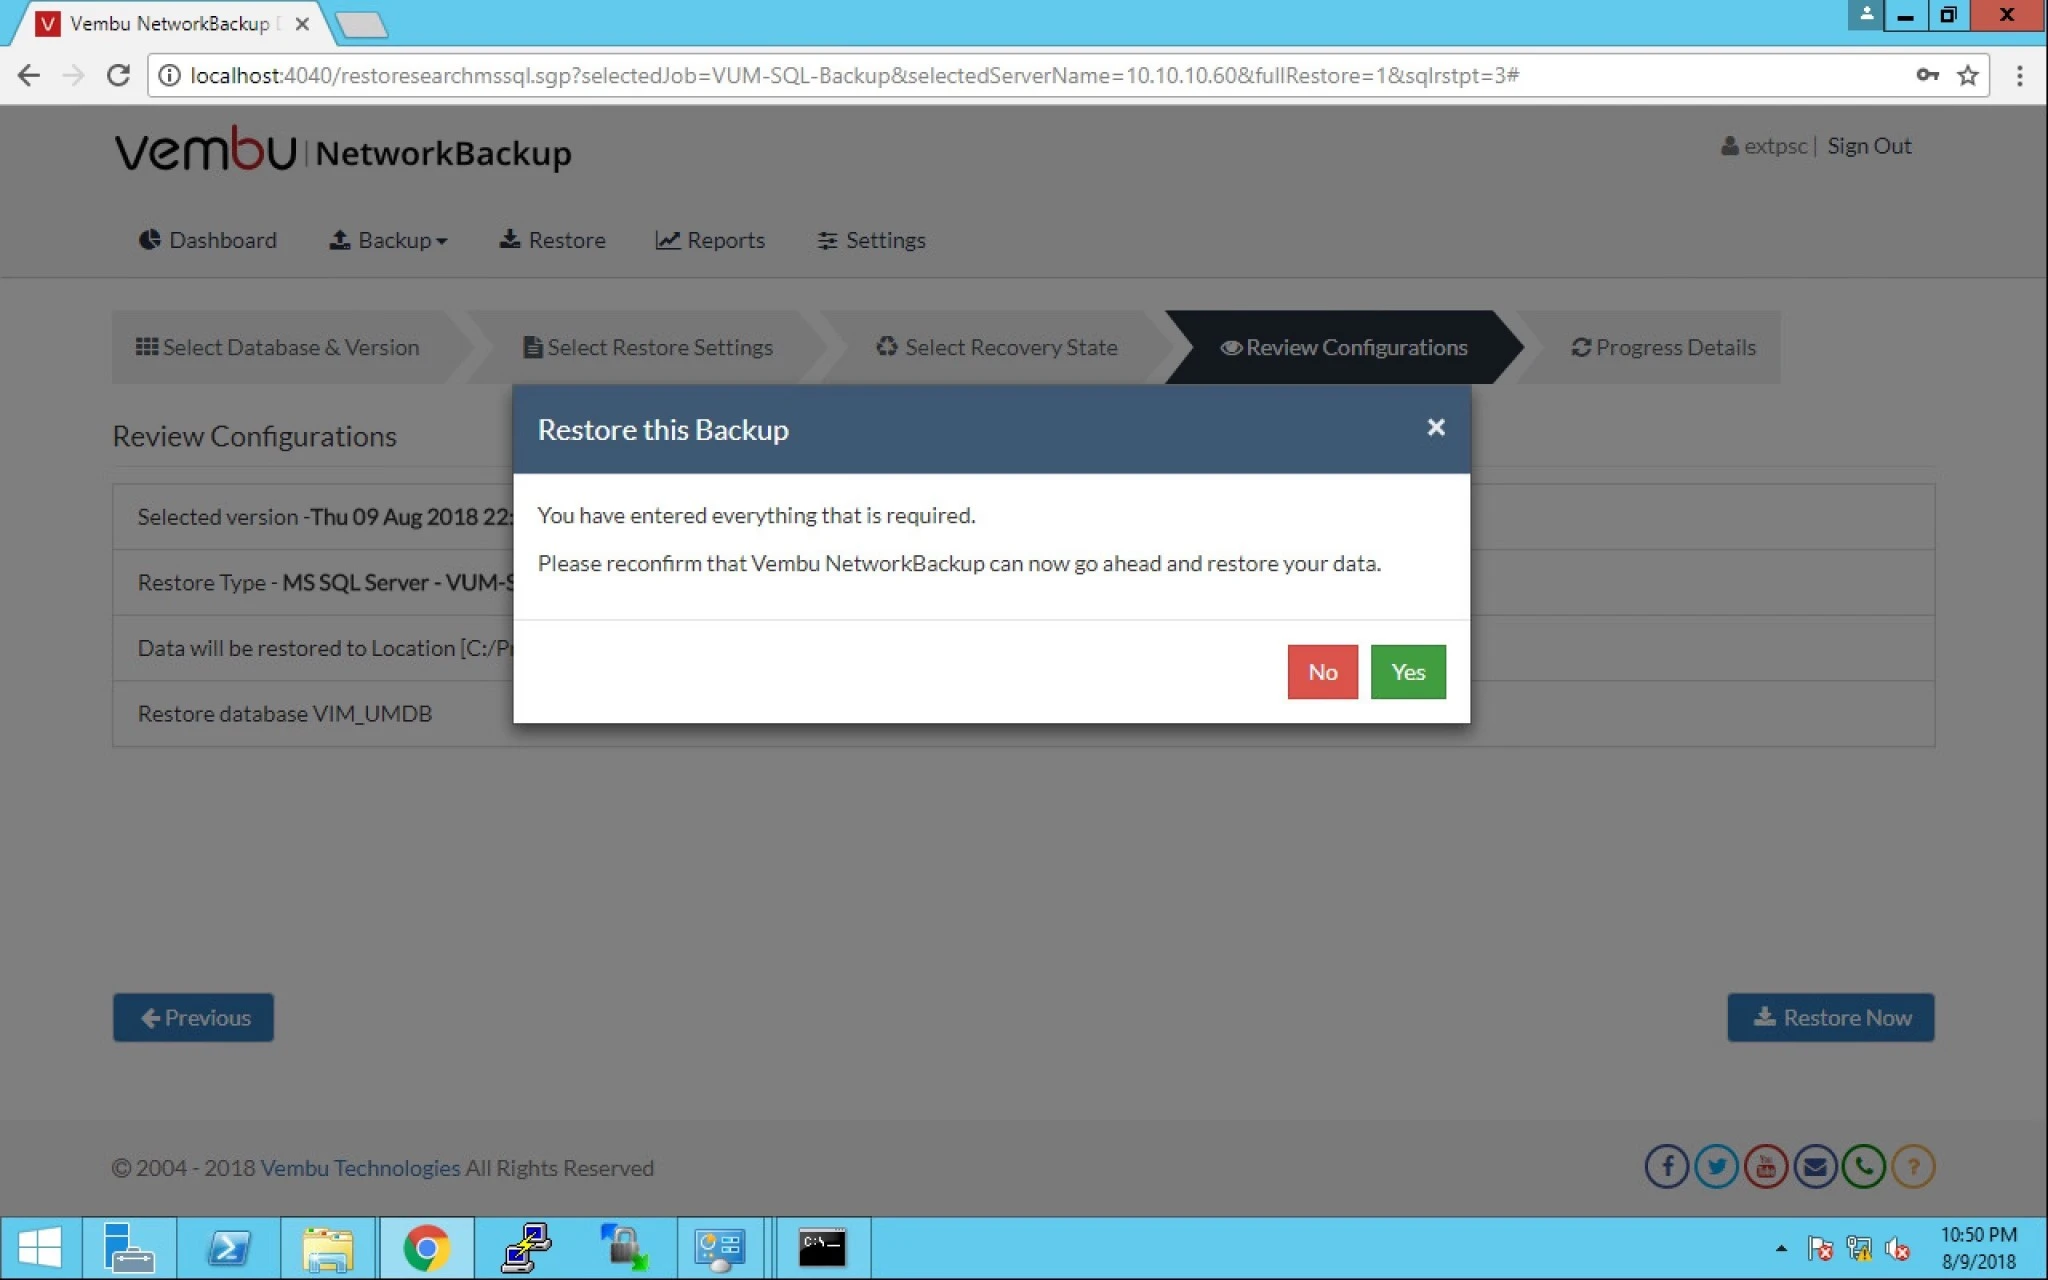
17. It will prompt you to confirm the restore operation to be executed. Click yes.
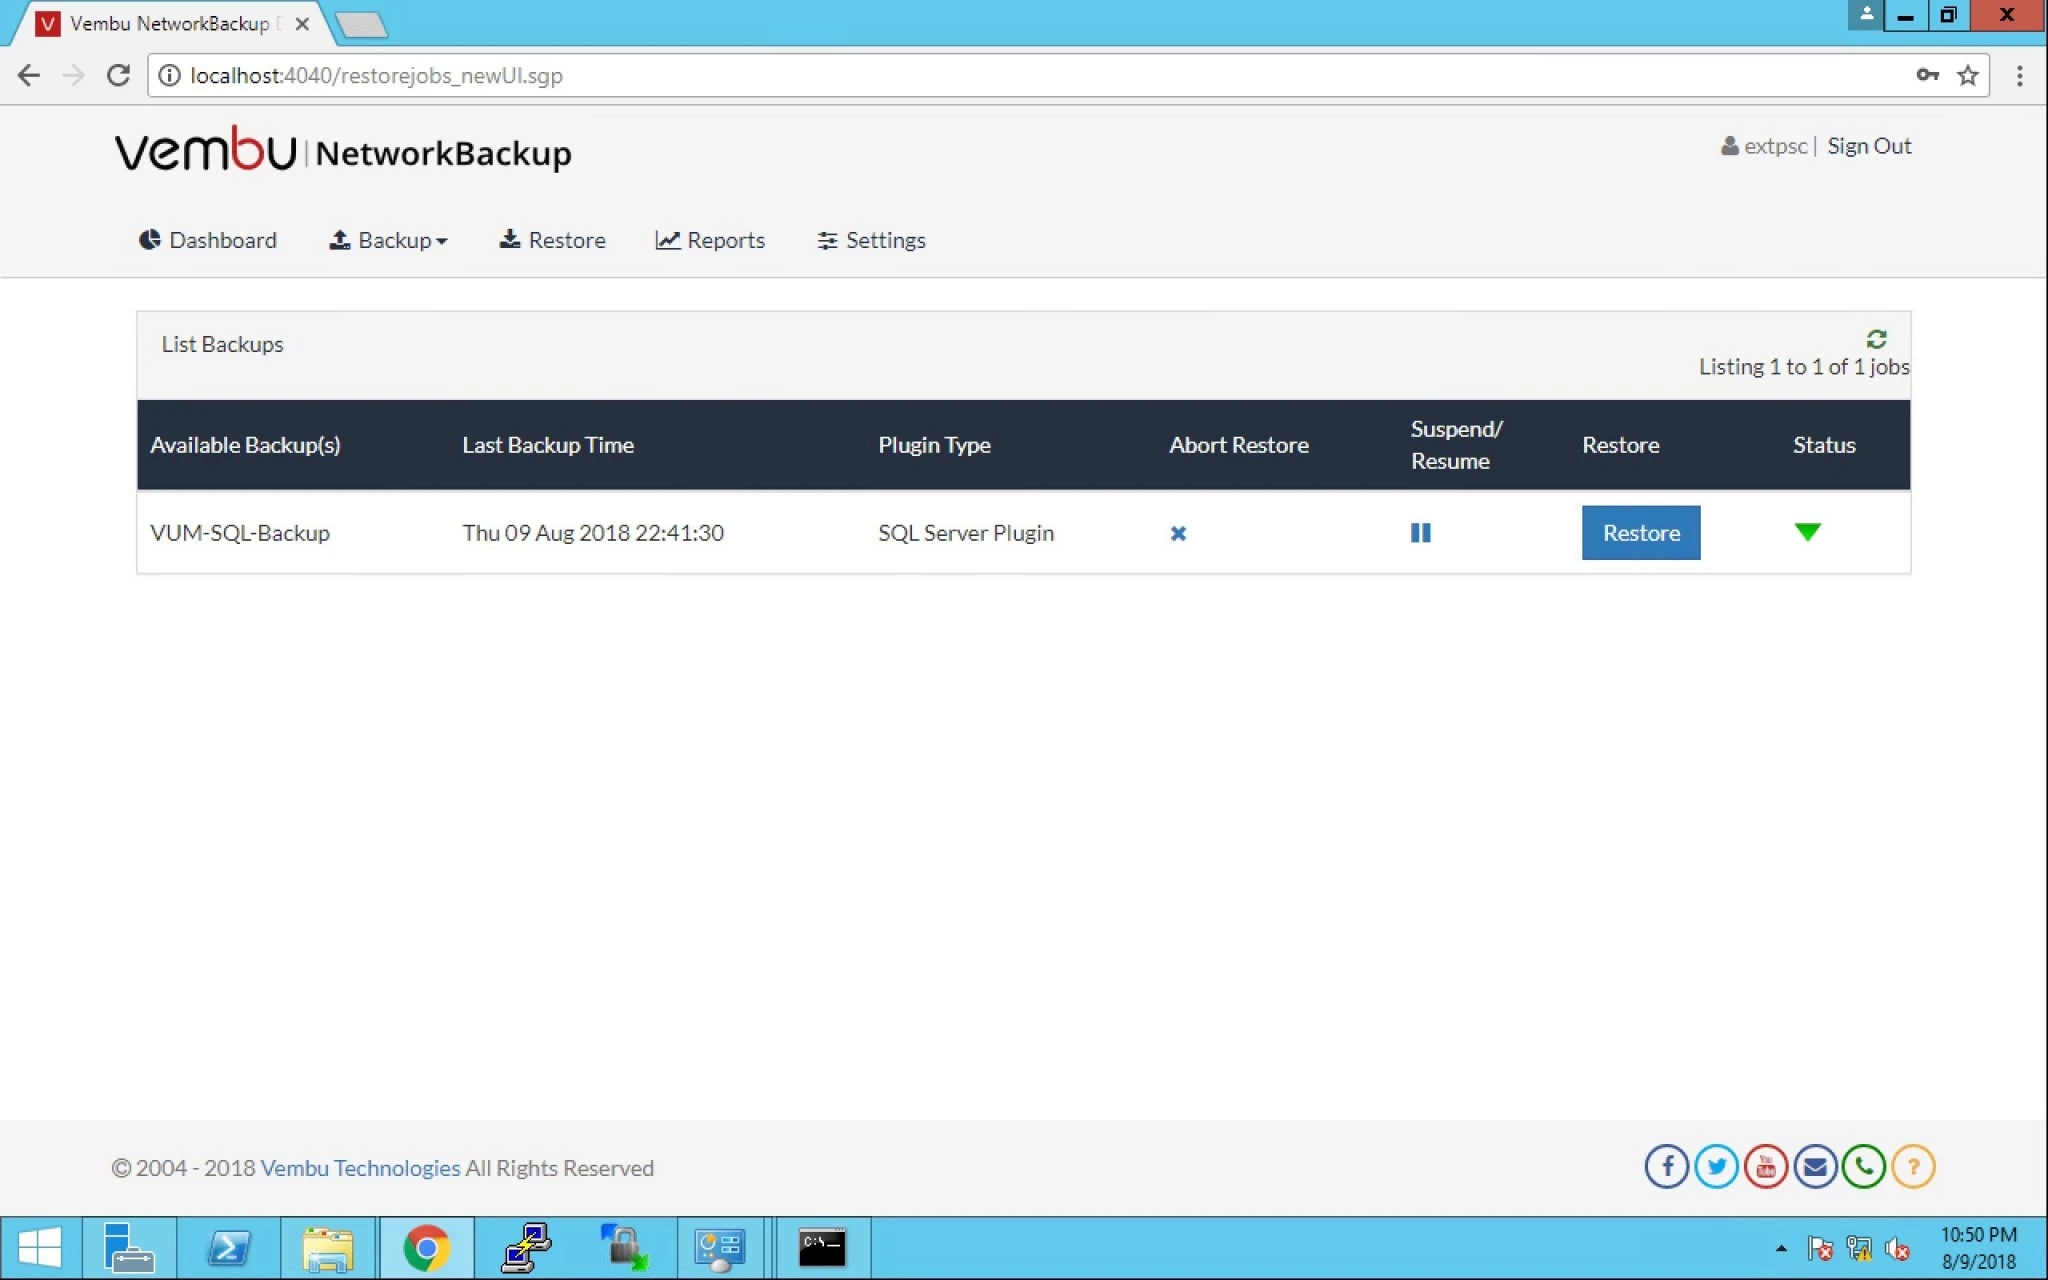
18. You can see the status for successful completion of the restore job.
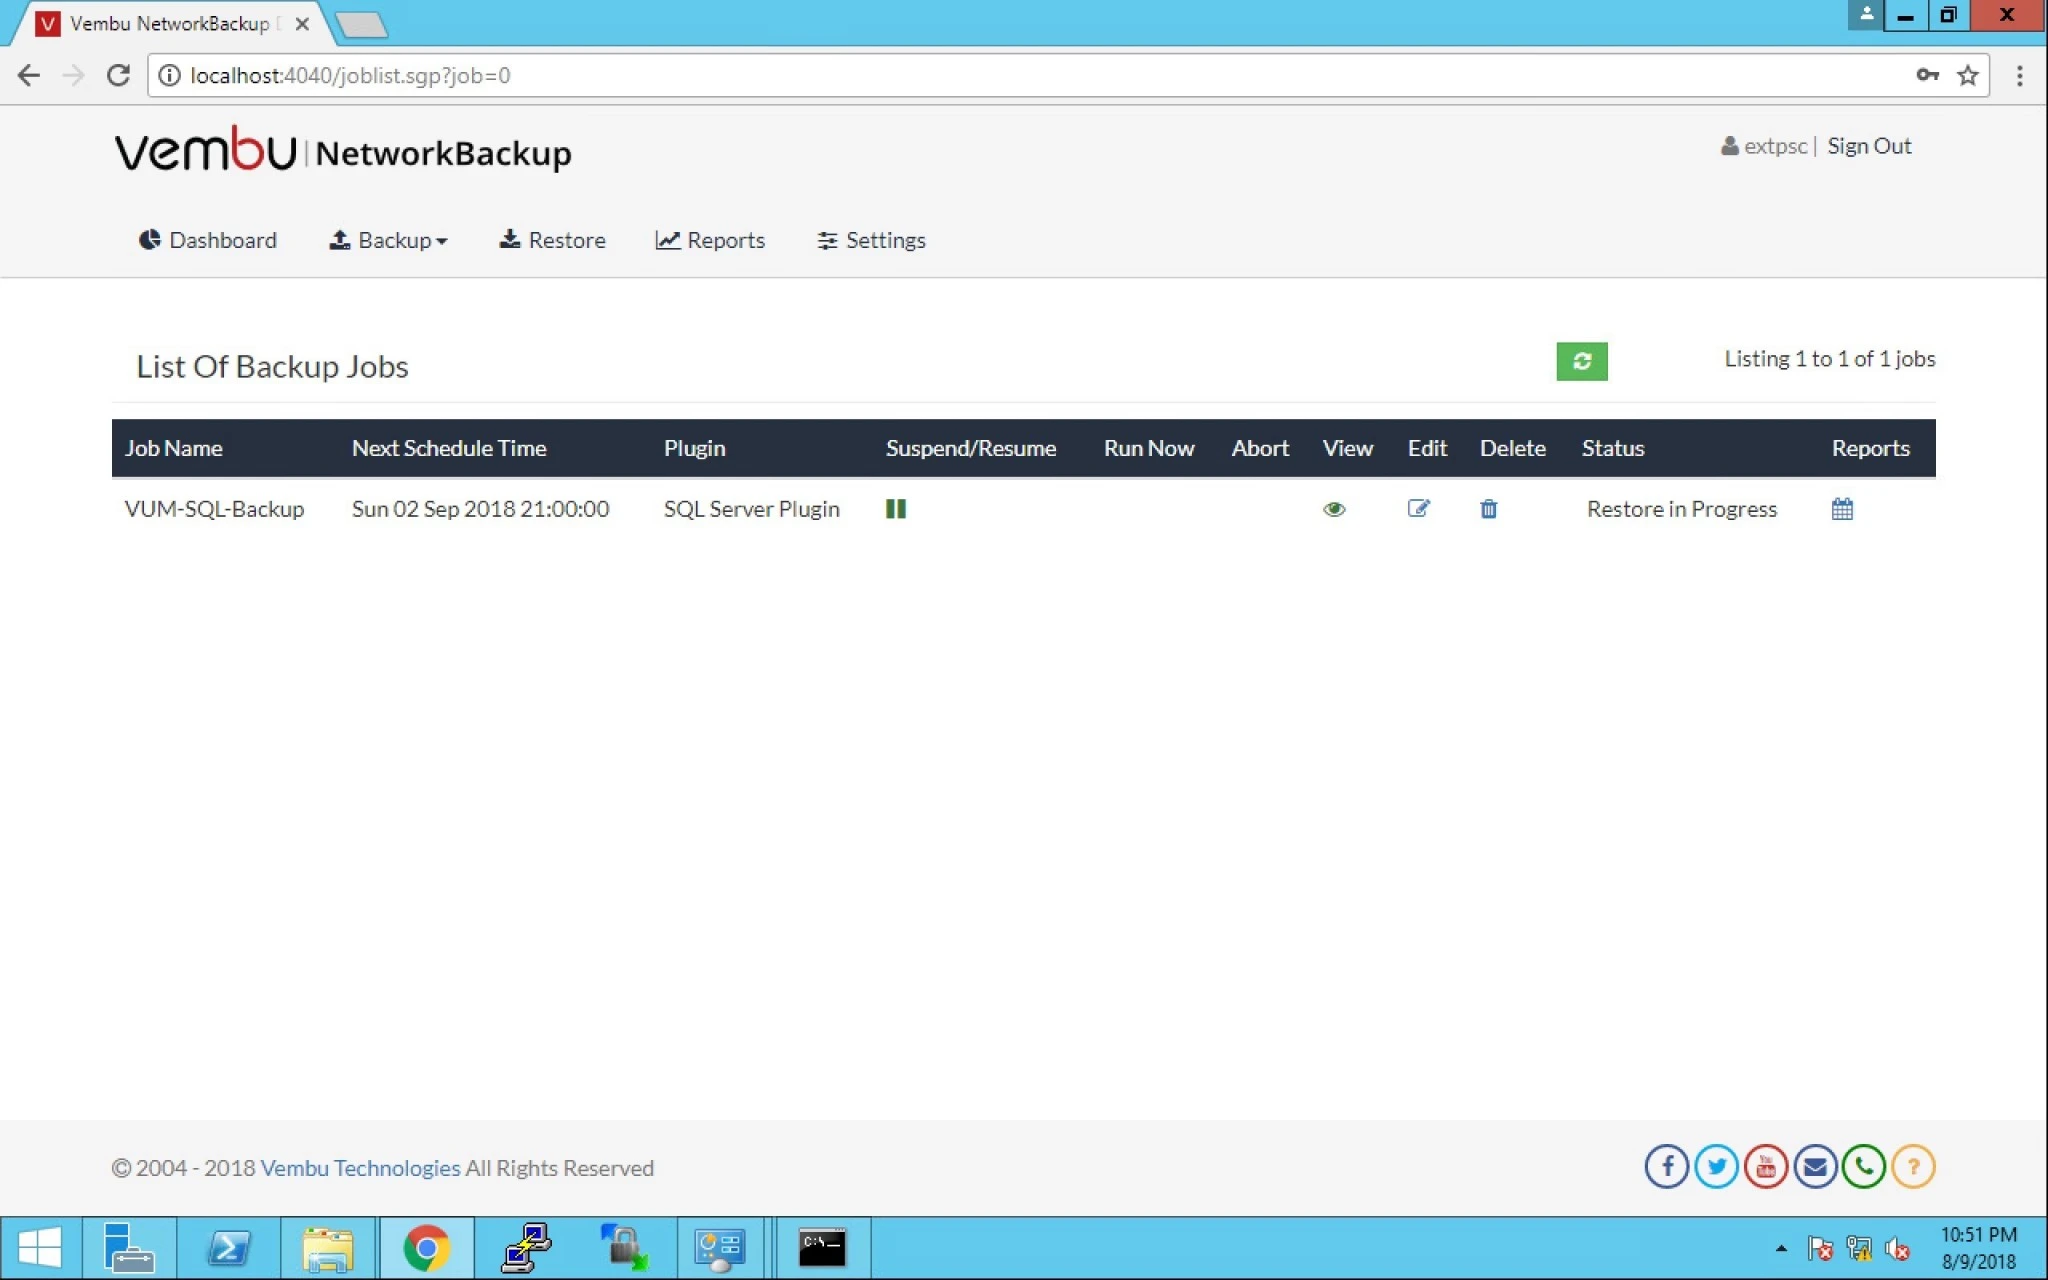
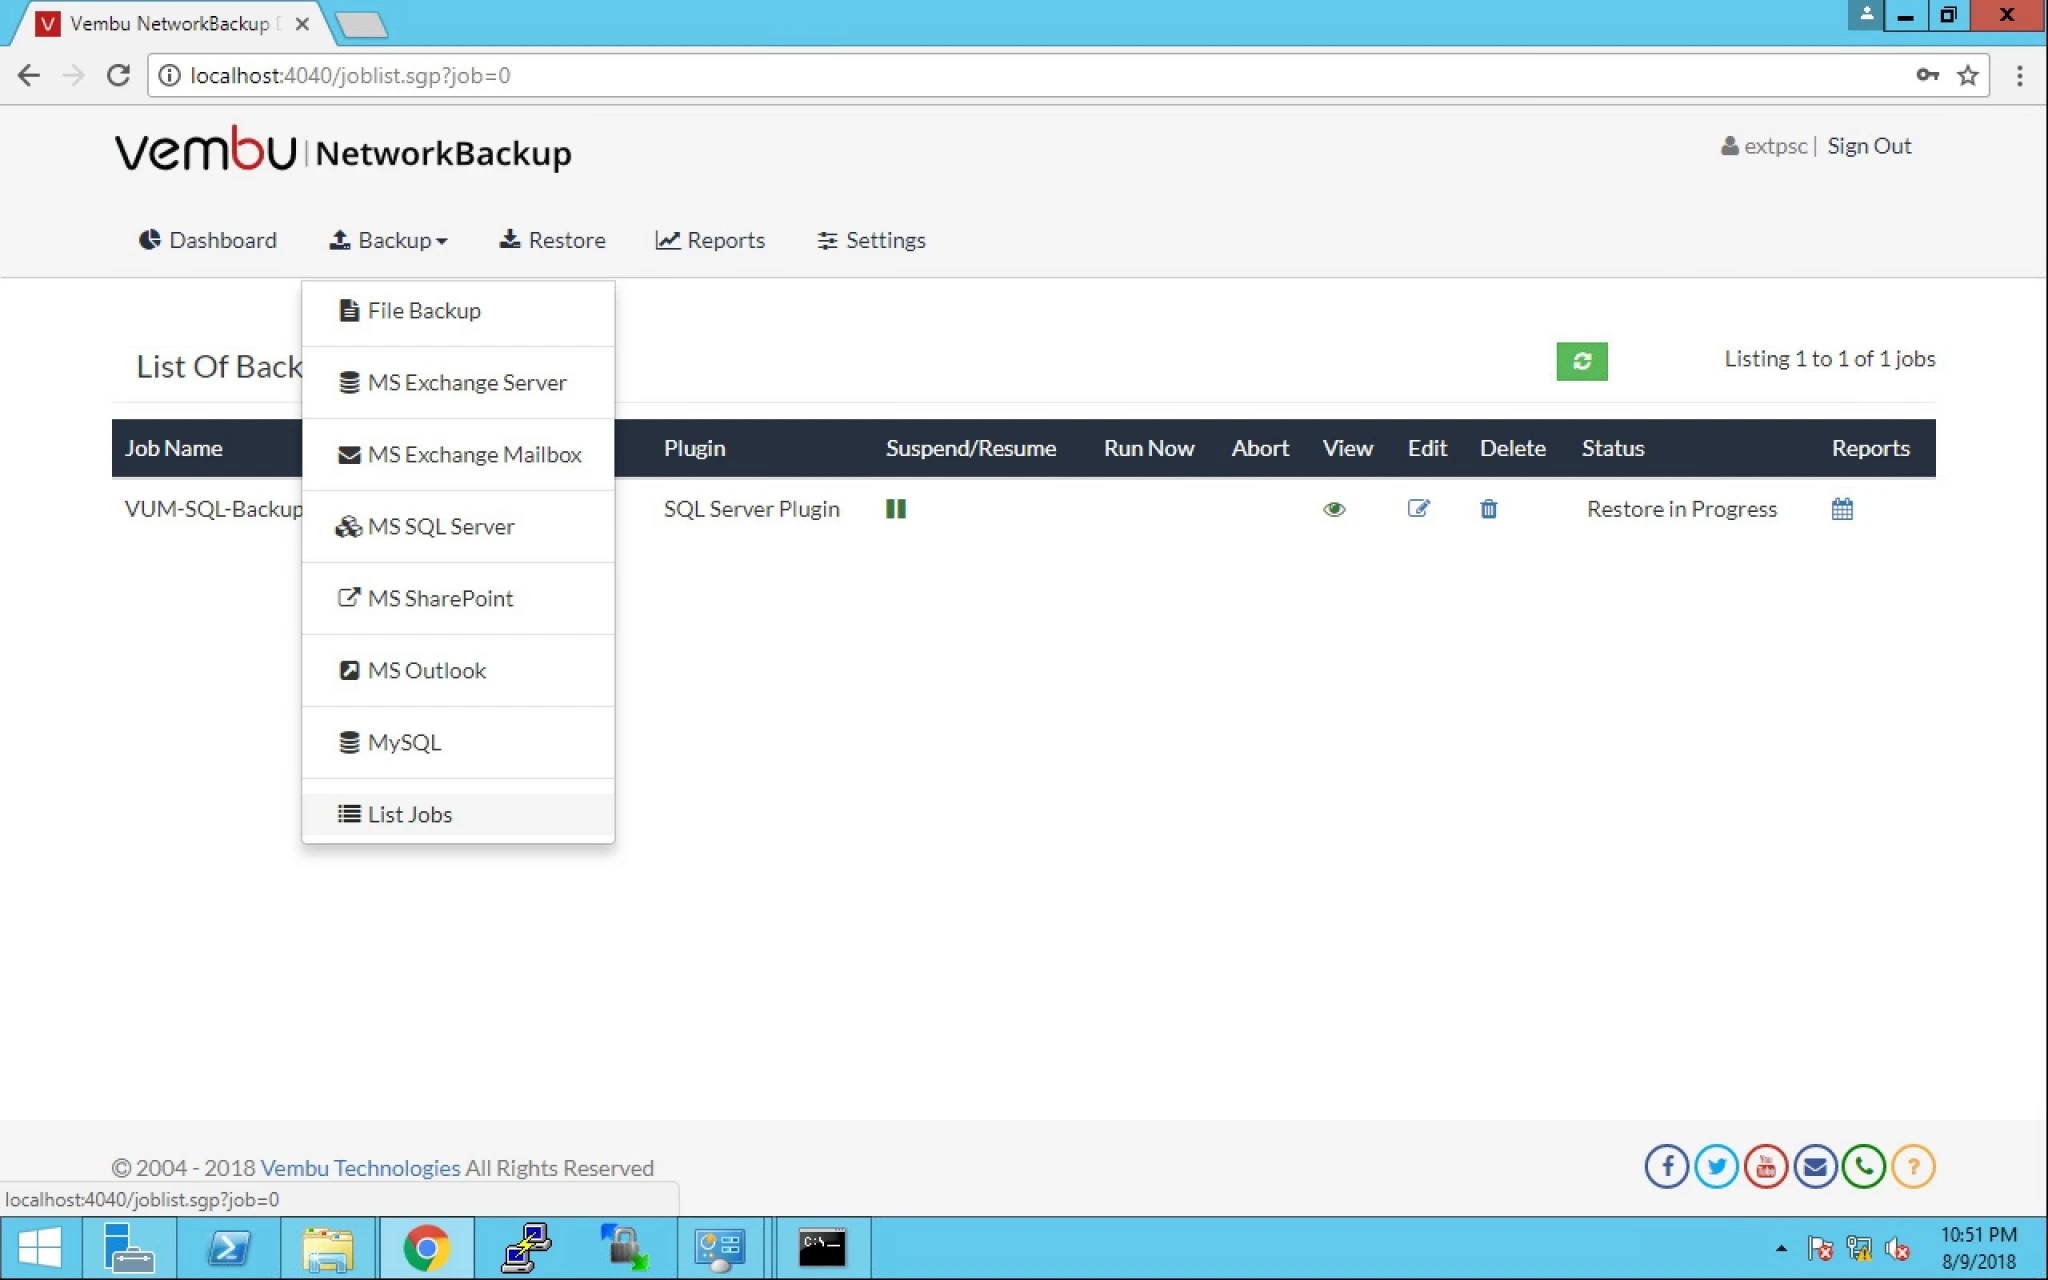
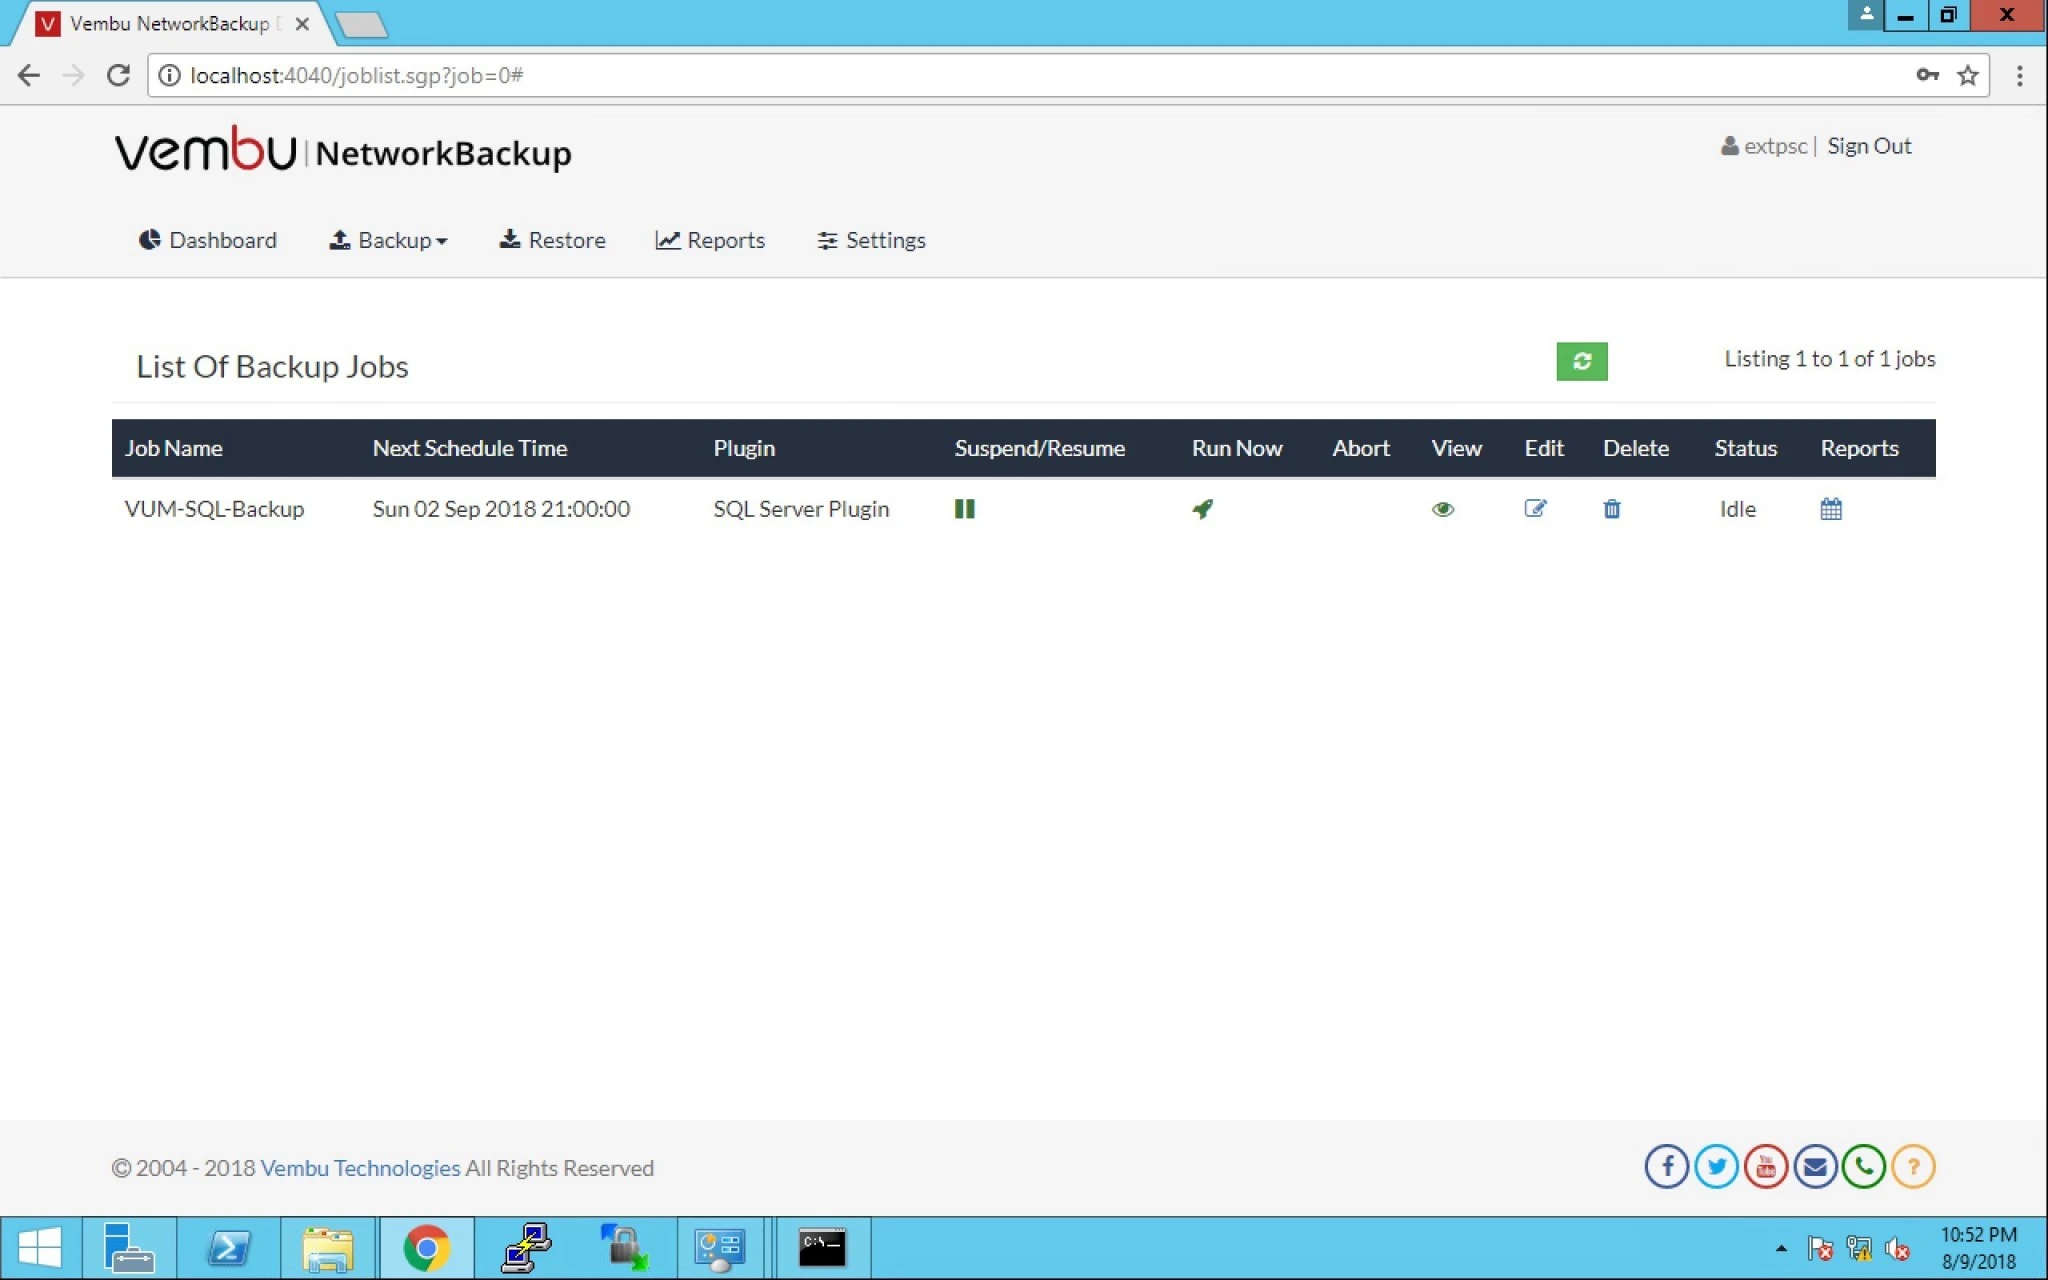
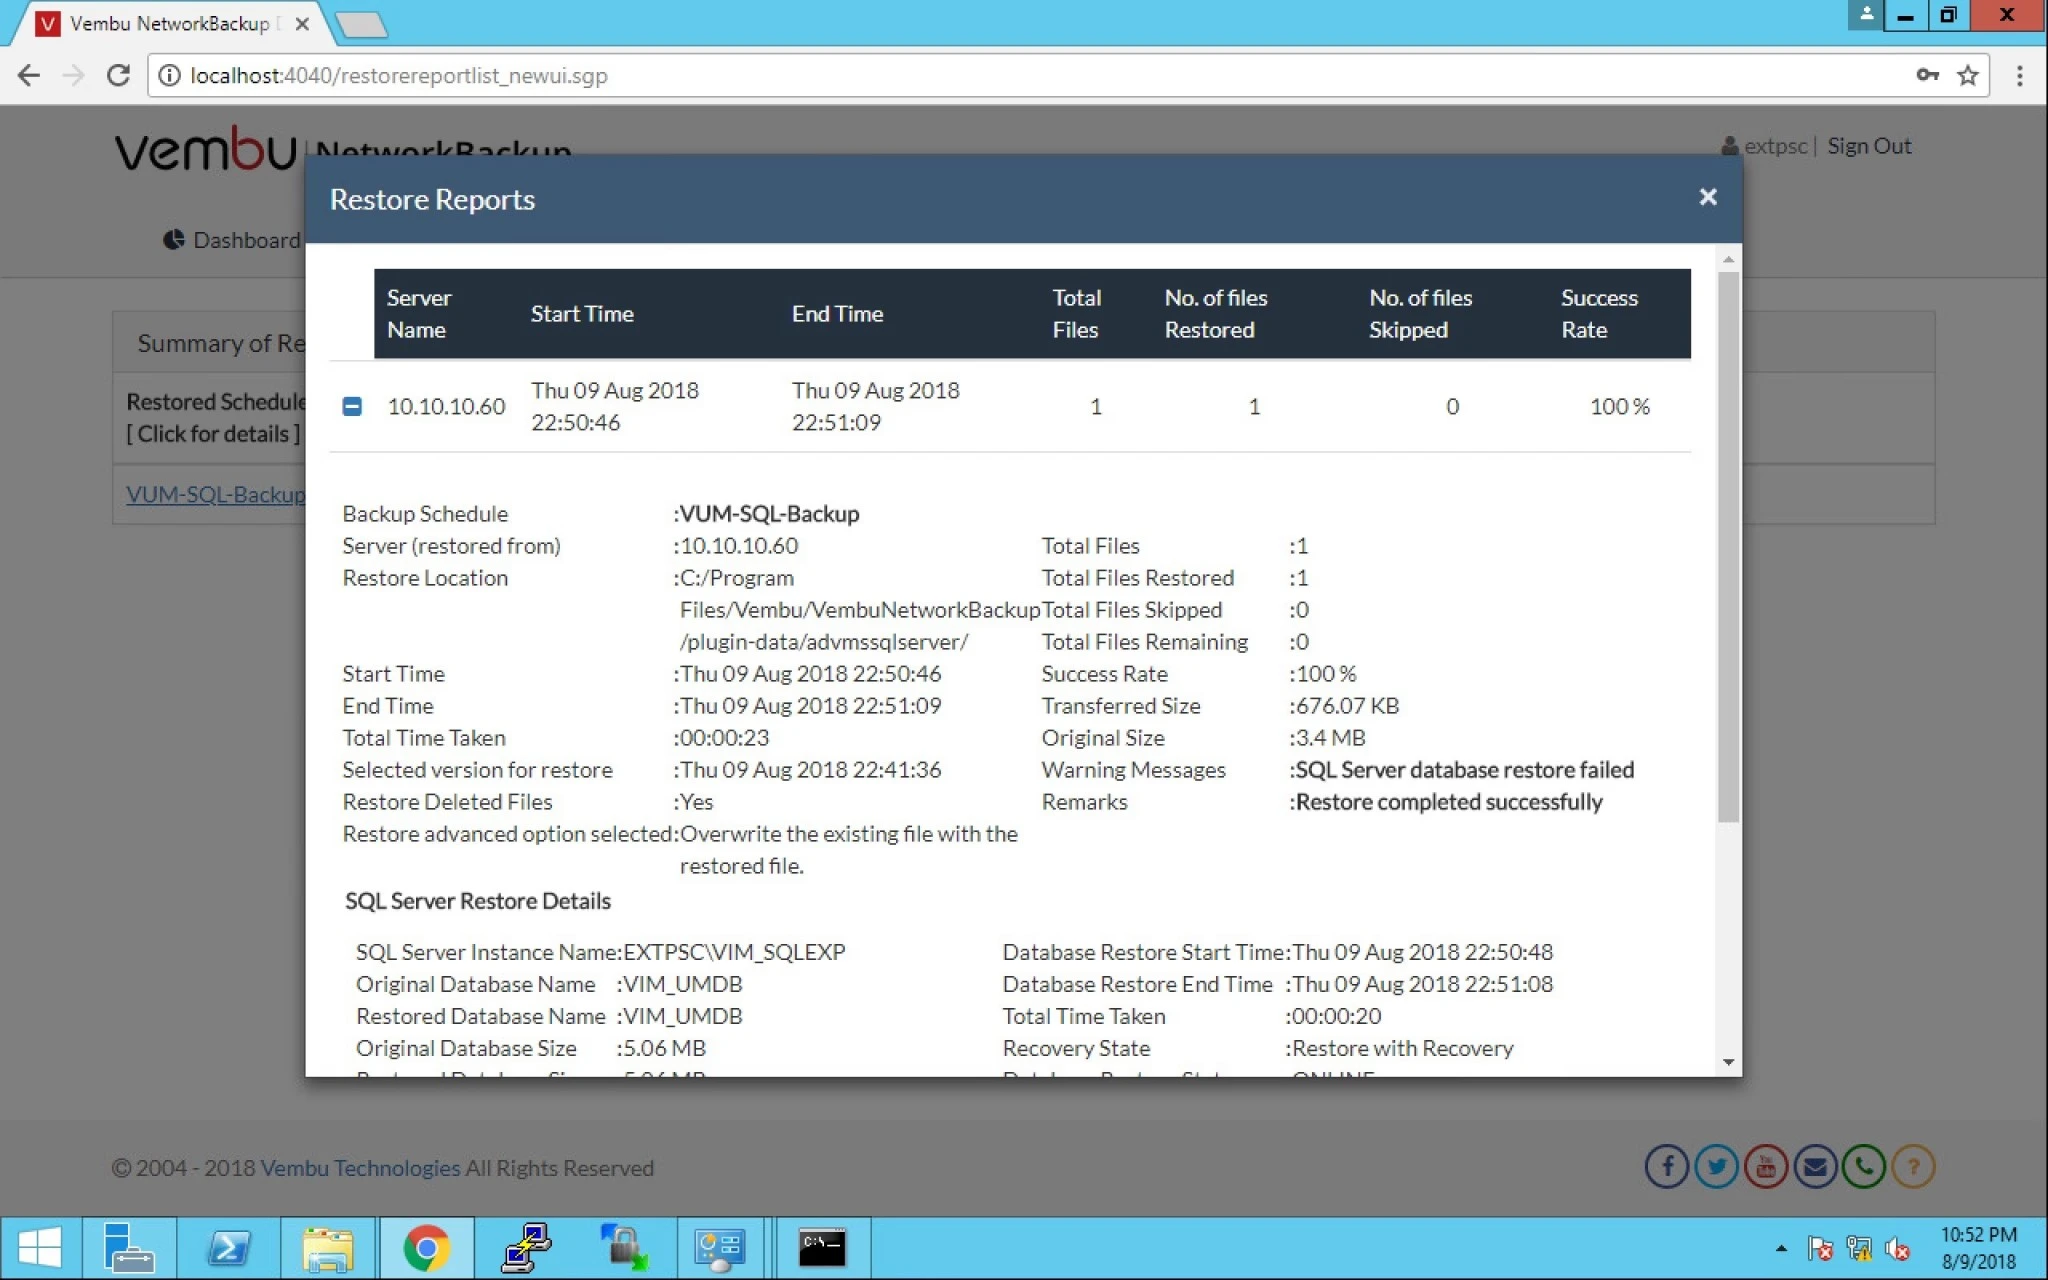
19. You can also check the report by clicking on Reports > Restore Reports.
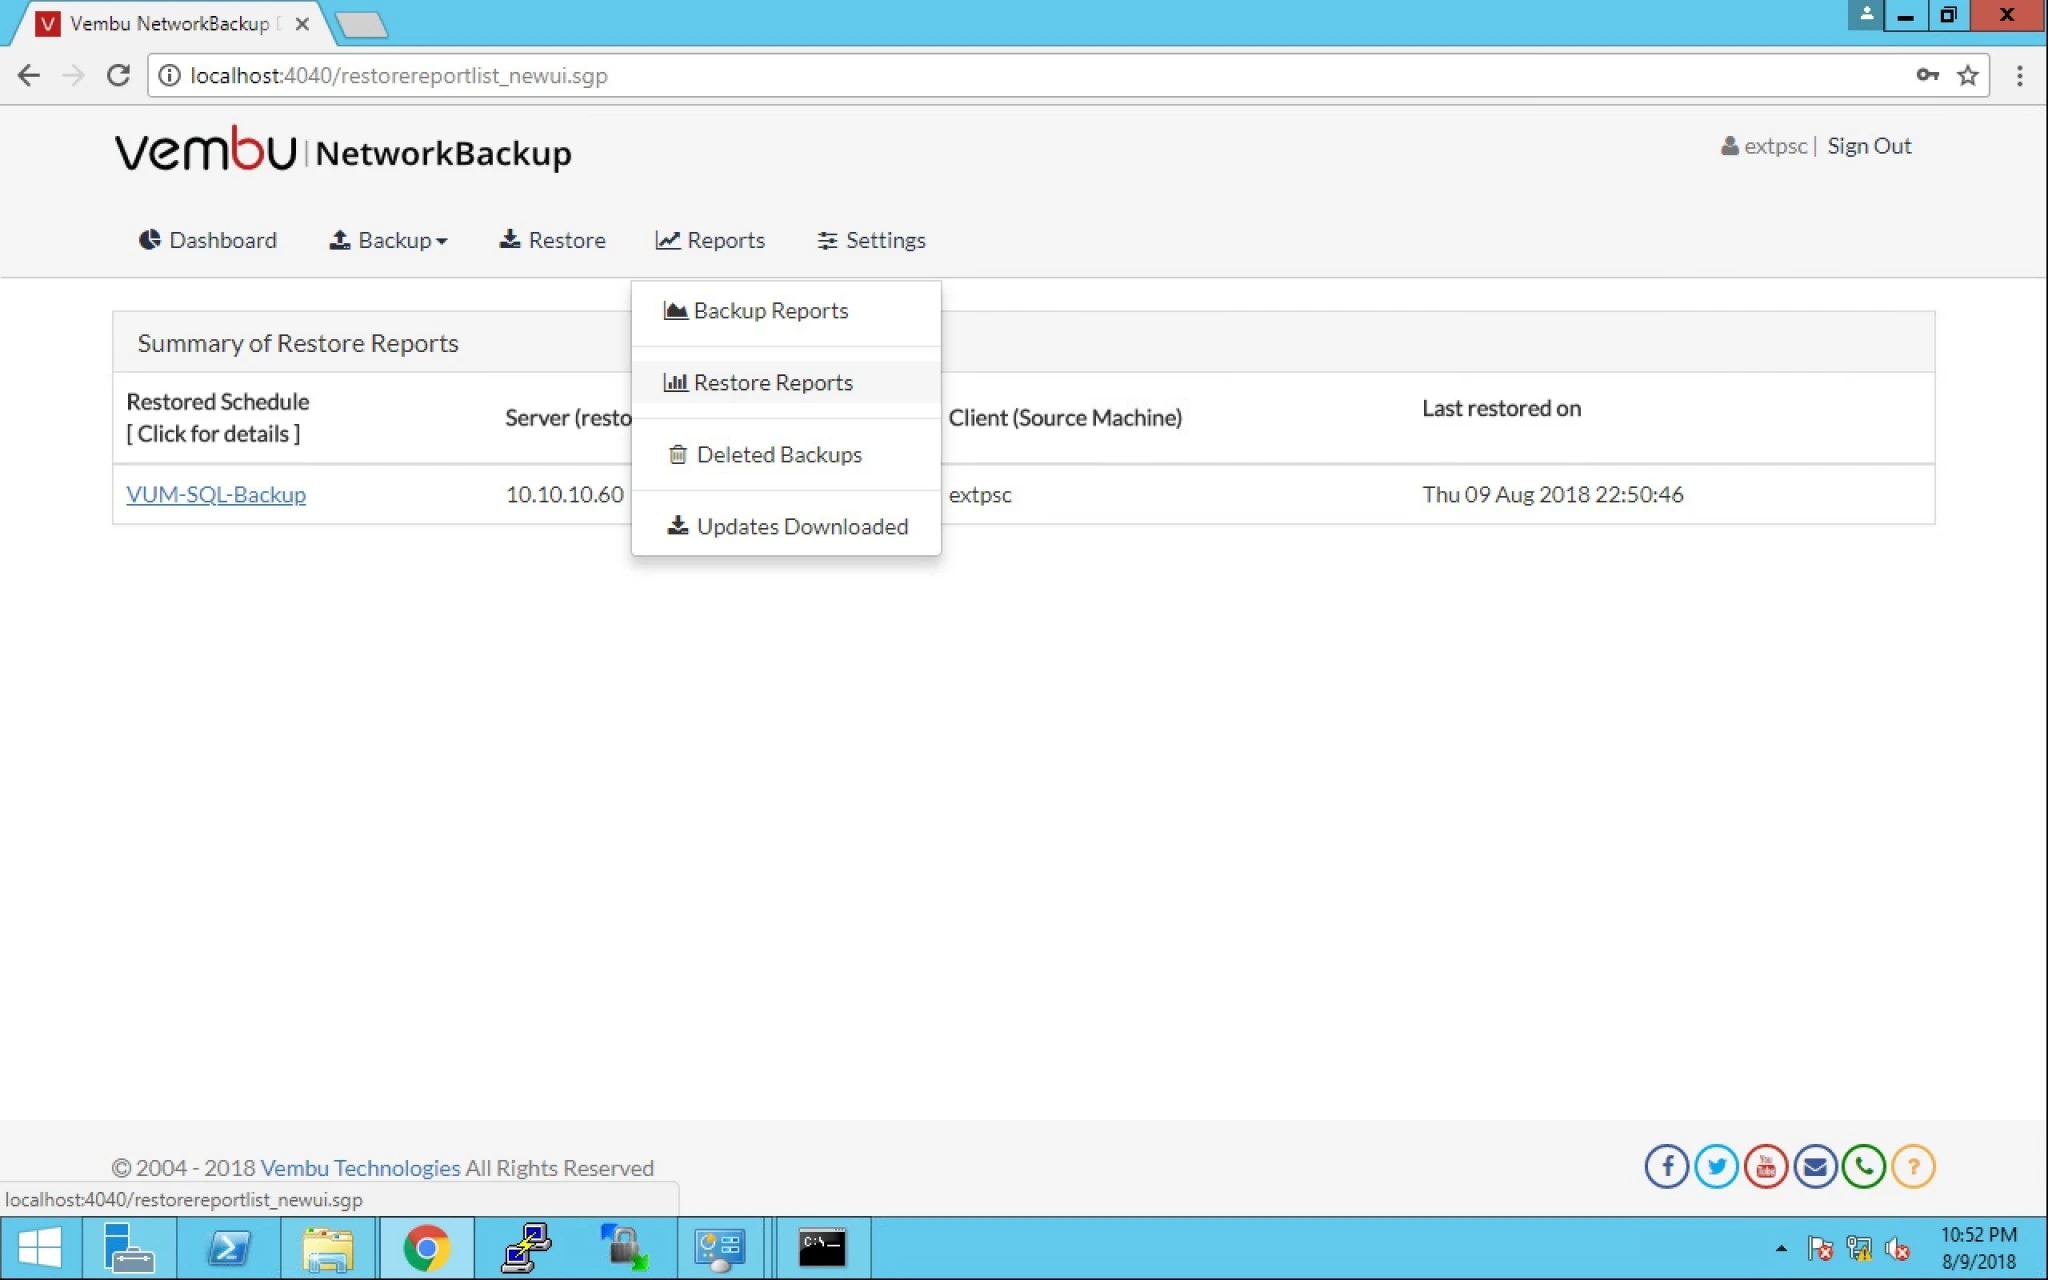
20. Click on Summary option and on VM hyperlink for report.
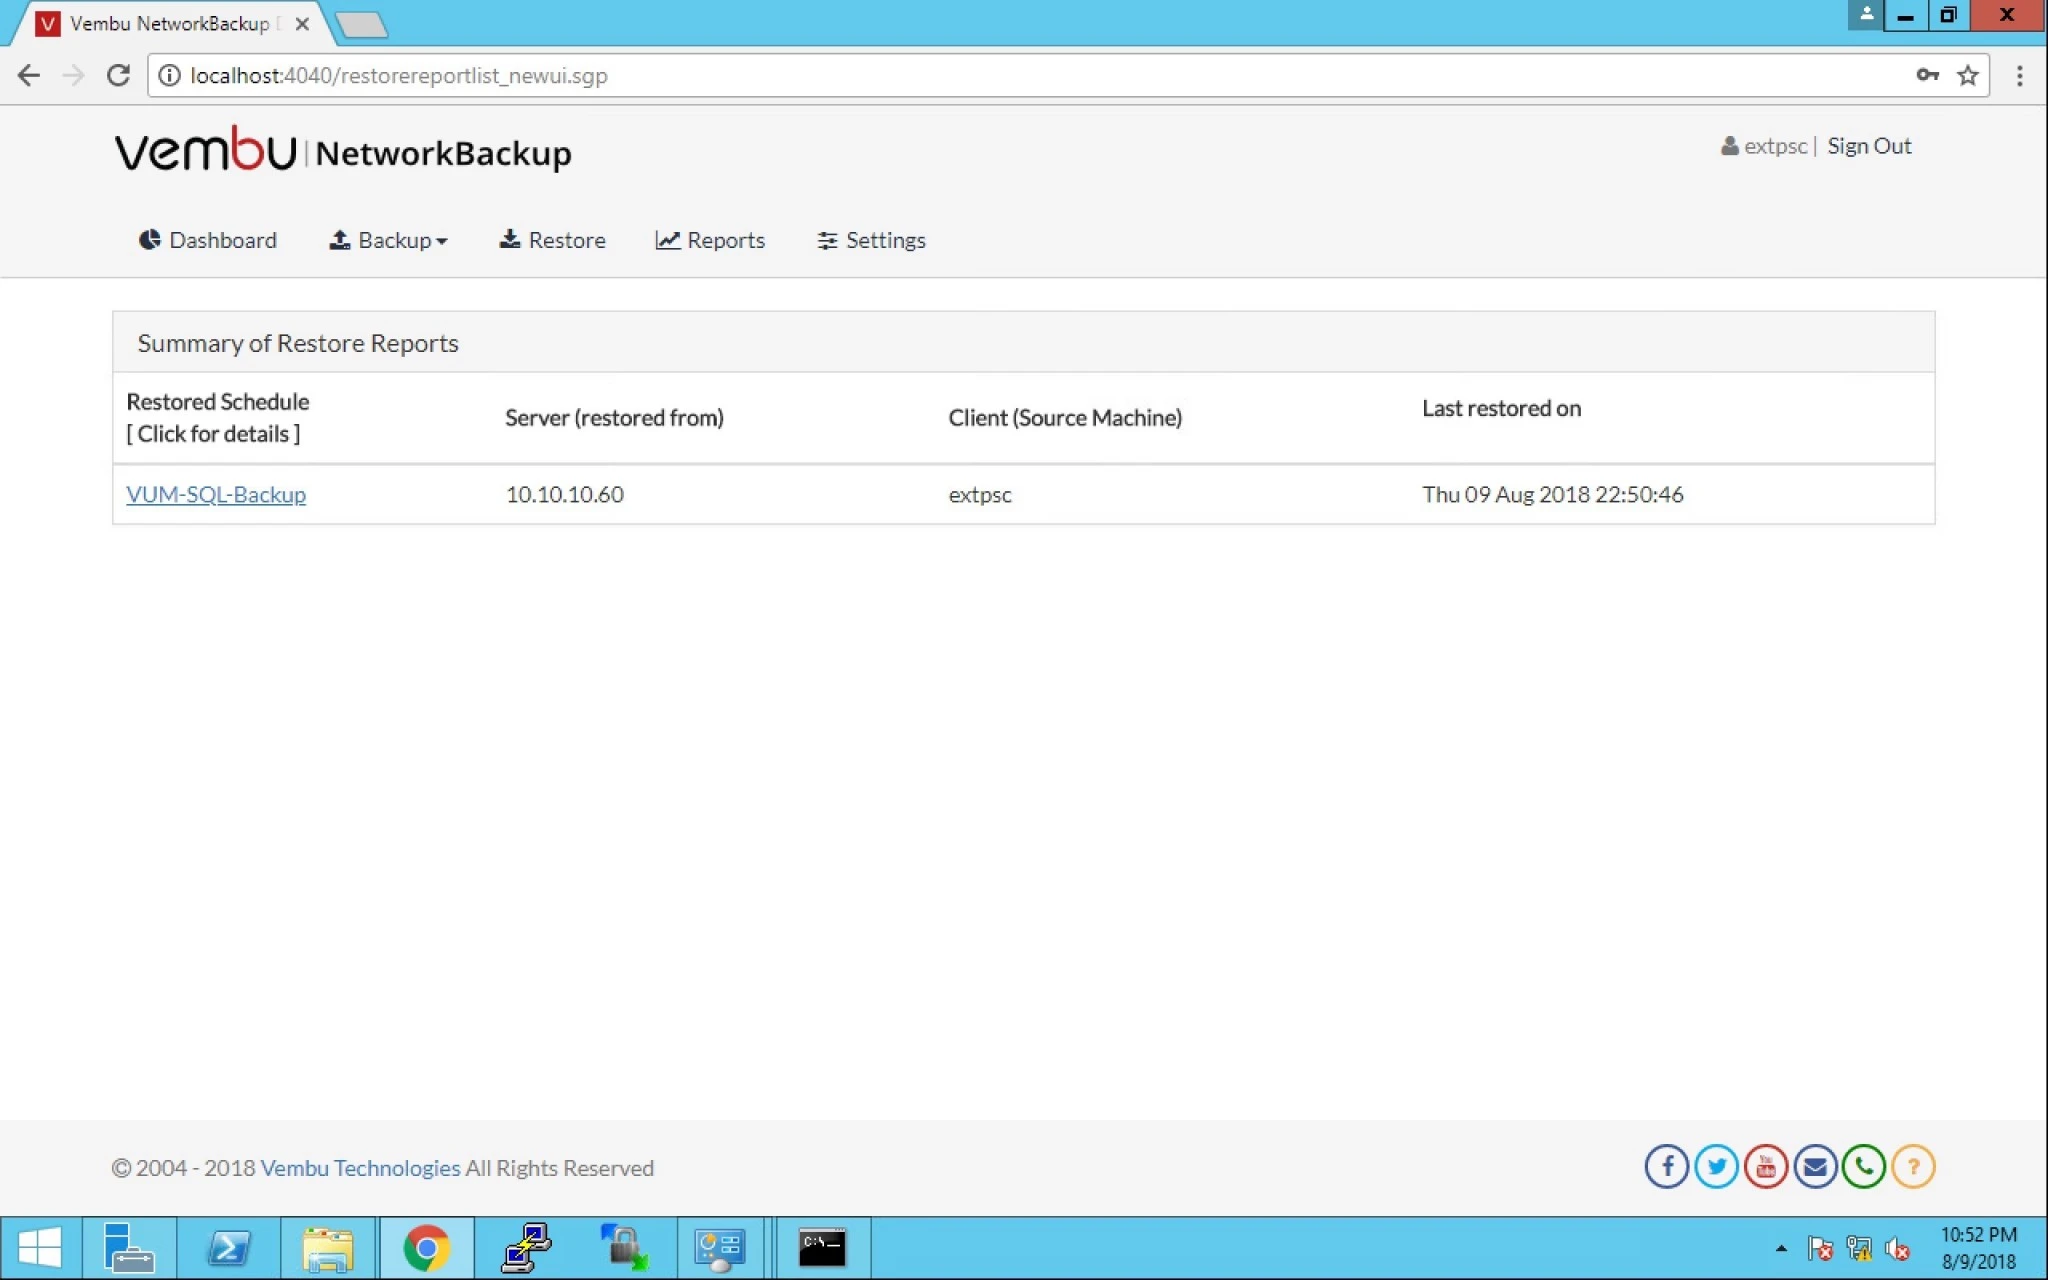
21. This is the restore report with all the details.