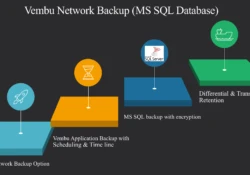
Topic Outline:
 Backup MS SQL Database
Database Options
Scheduling
Differential & Transaction
Encryption
If you are using Vembu BDR suits then you have a application backup option also. we will take MS SQL backup via Vembu Network Backup.
- First download the Vembu Network Backup (Click here).
2. After that install on the server where you are running MS SQL.
3. Open the console by typing URL : http://IP of server:4040 where the port is 4040.
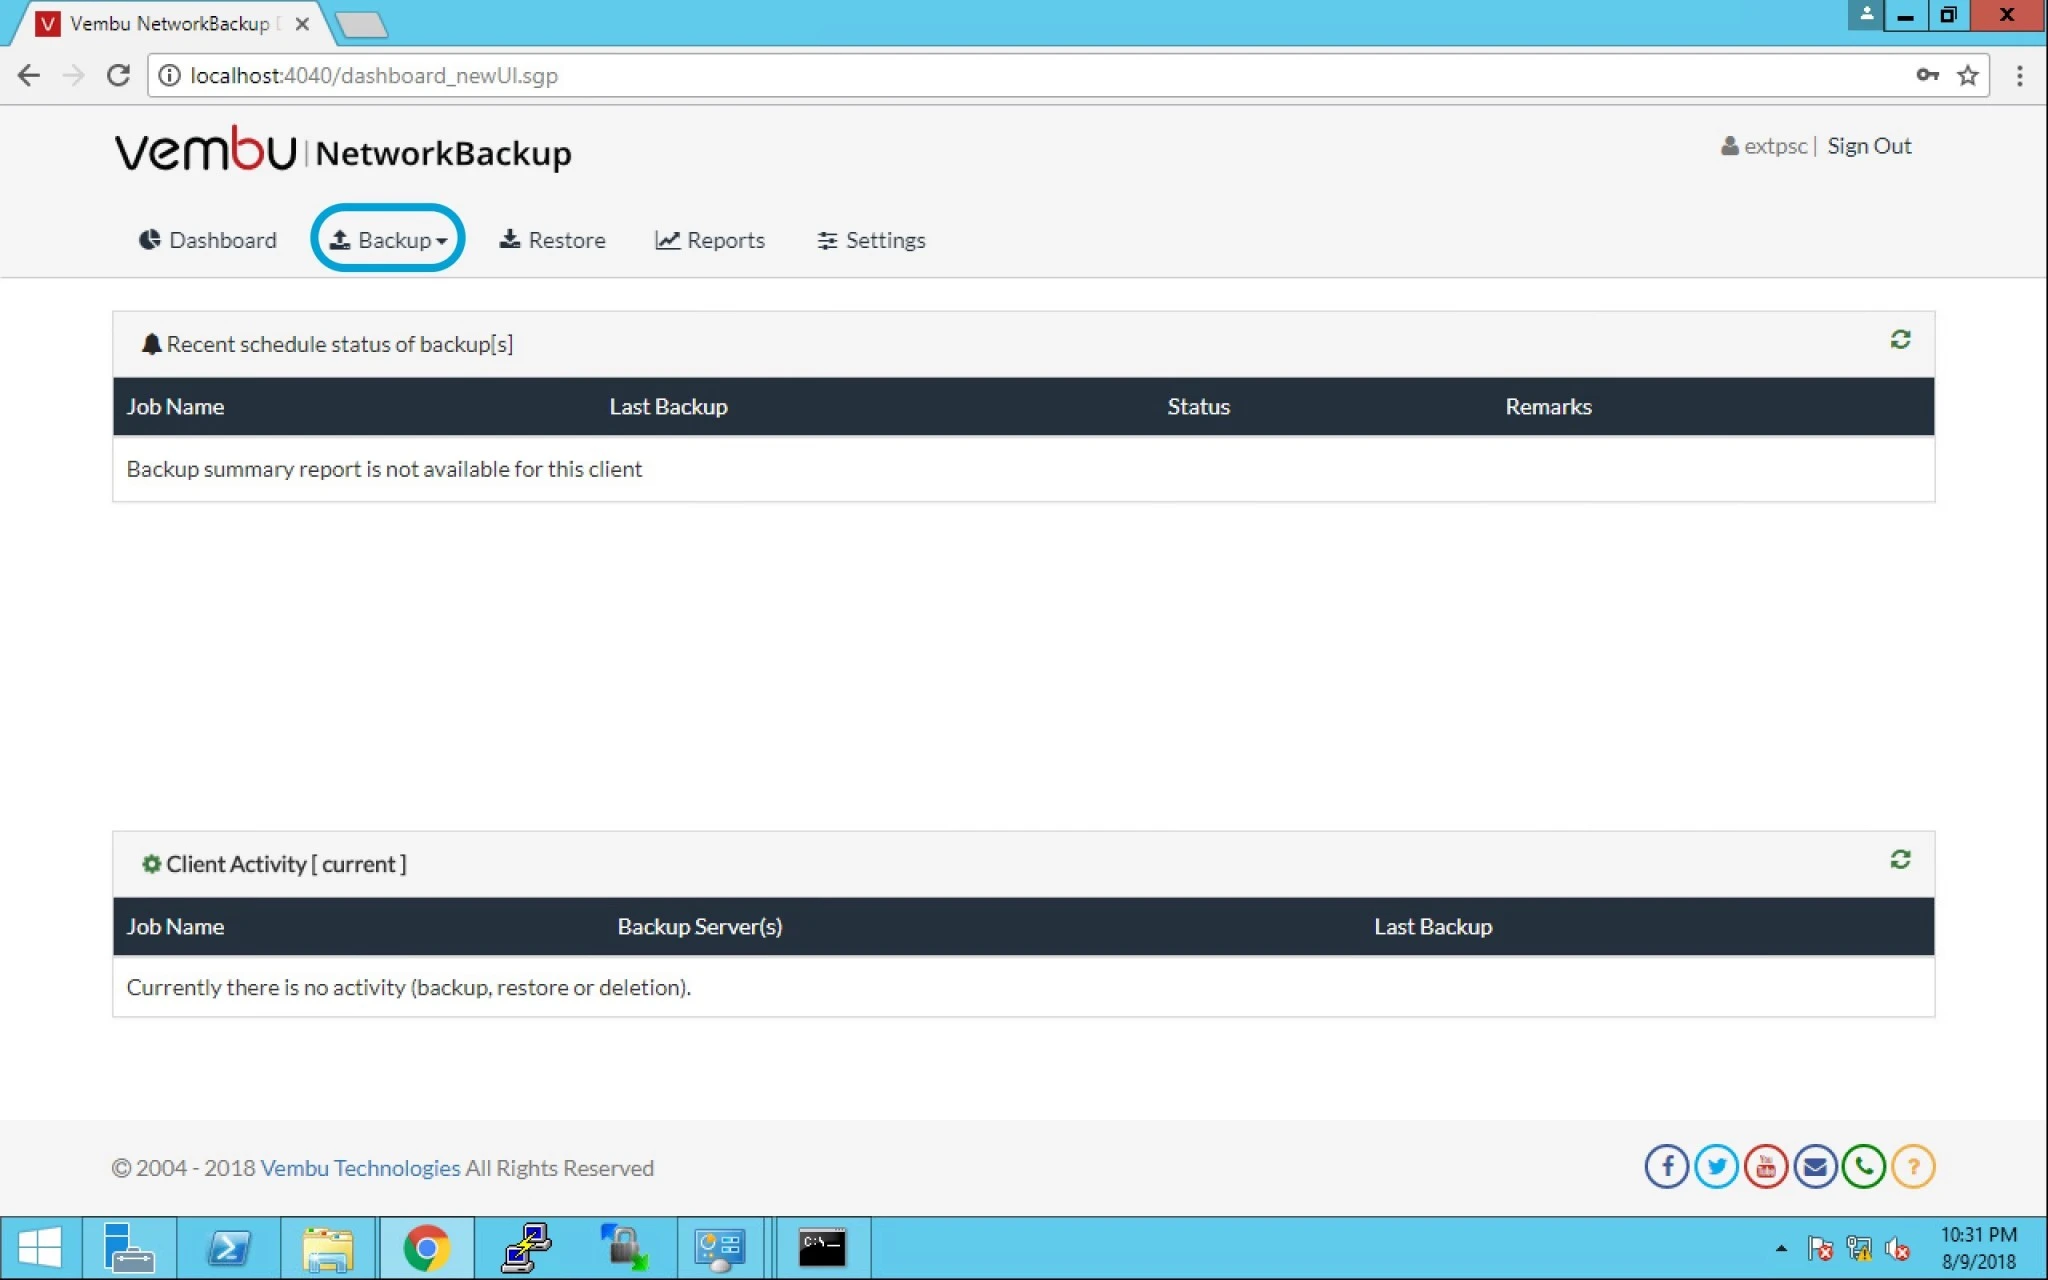
4. Go to Backup tab as seen in the below image.
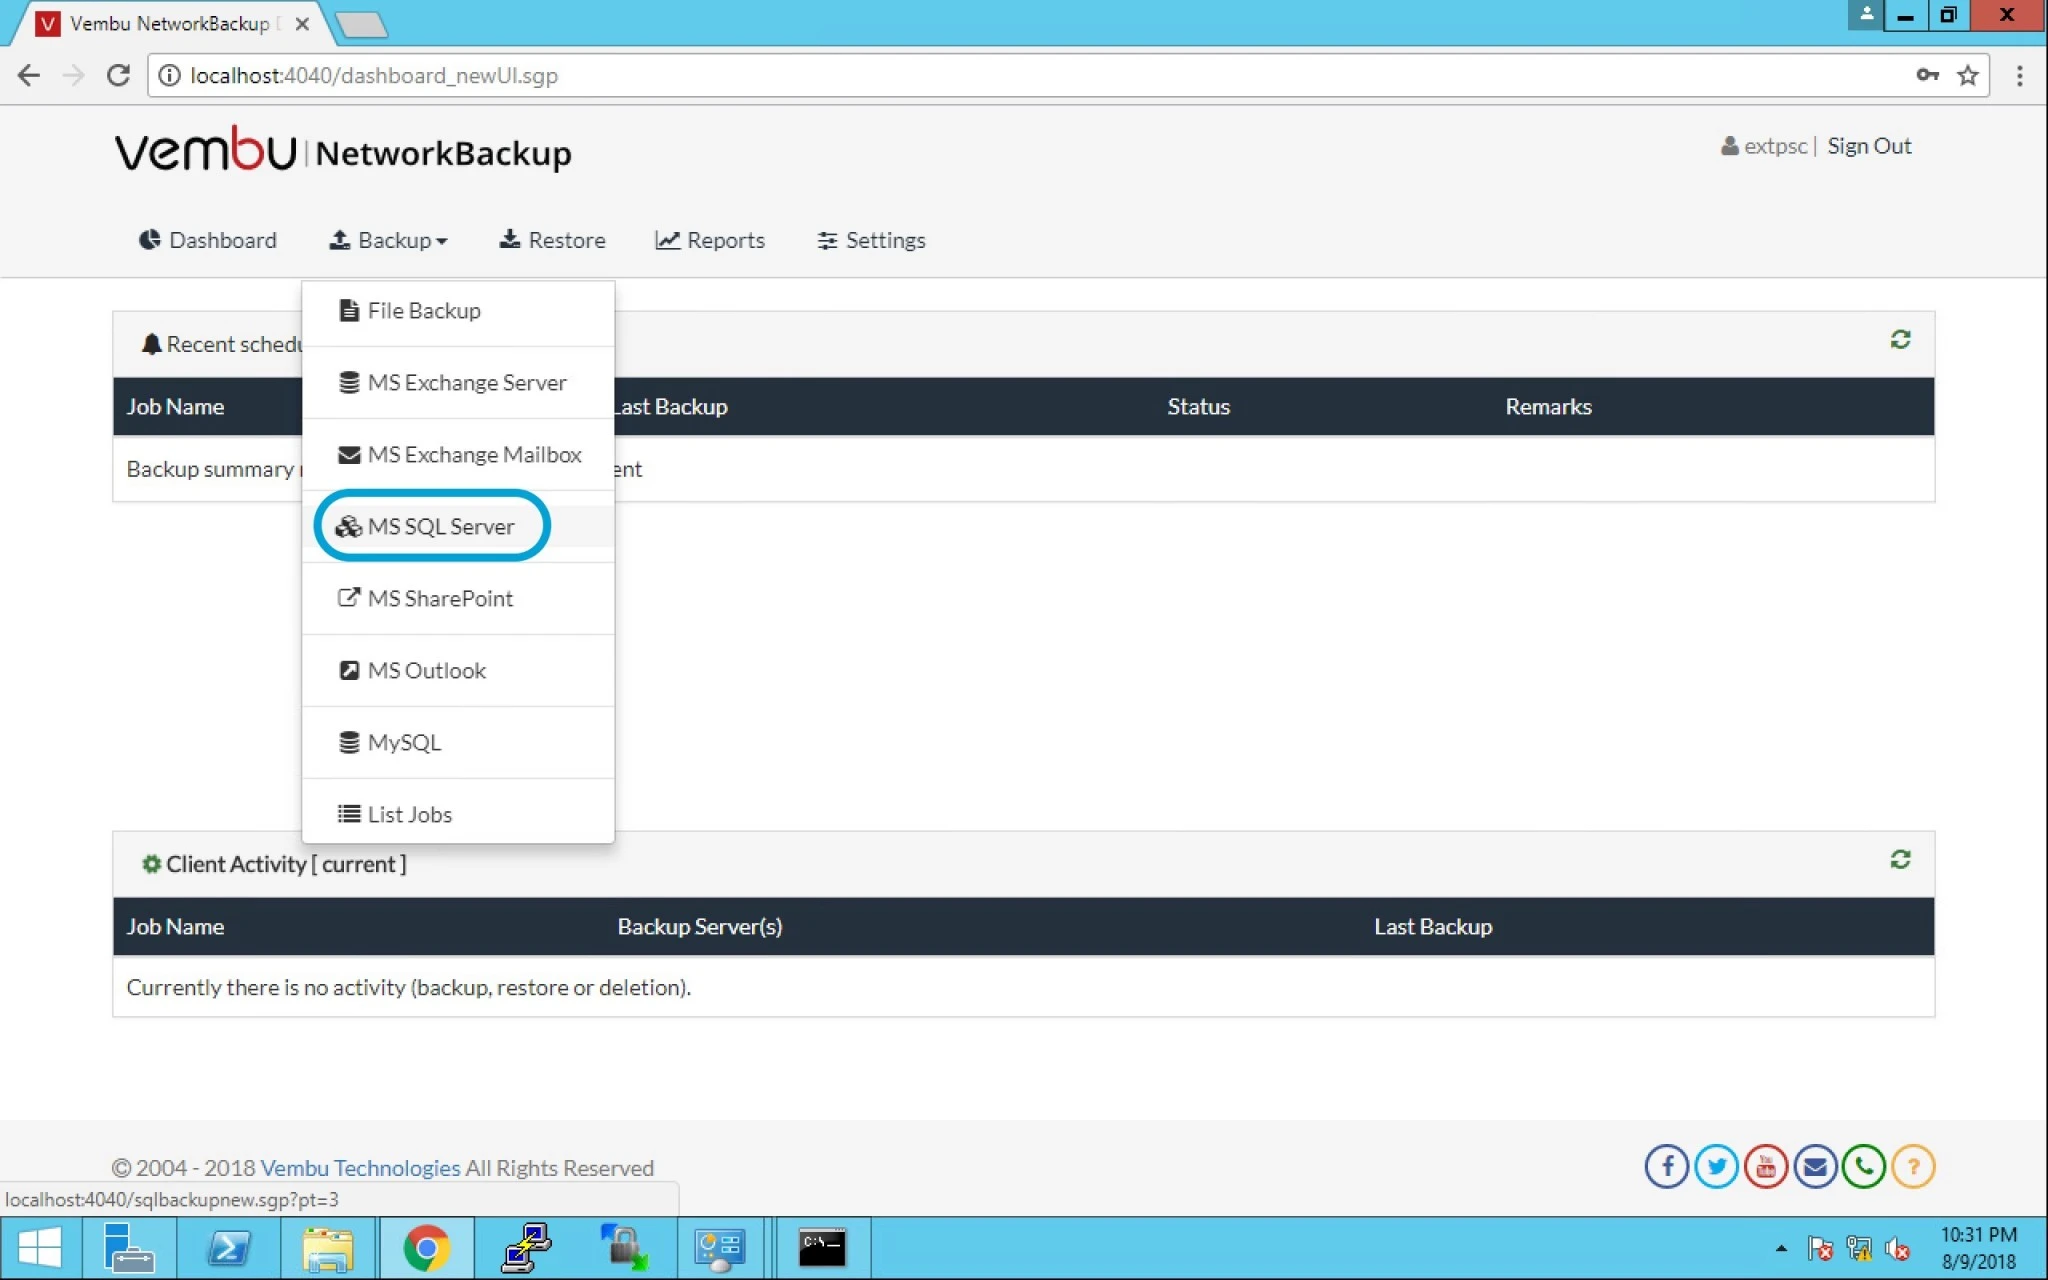
5. Now Click on the MS SQL Server option.
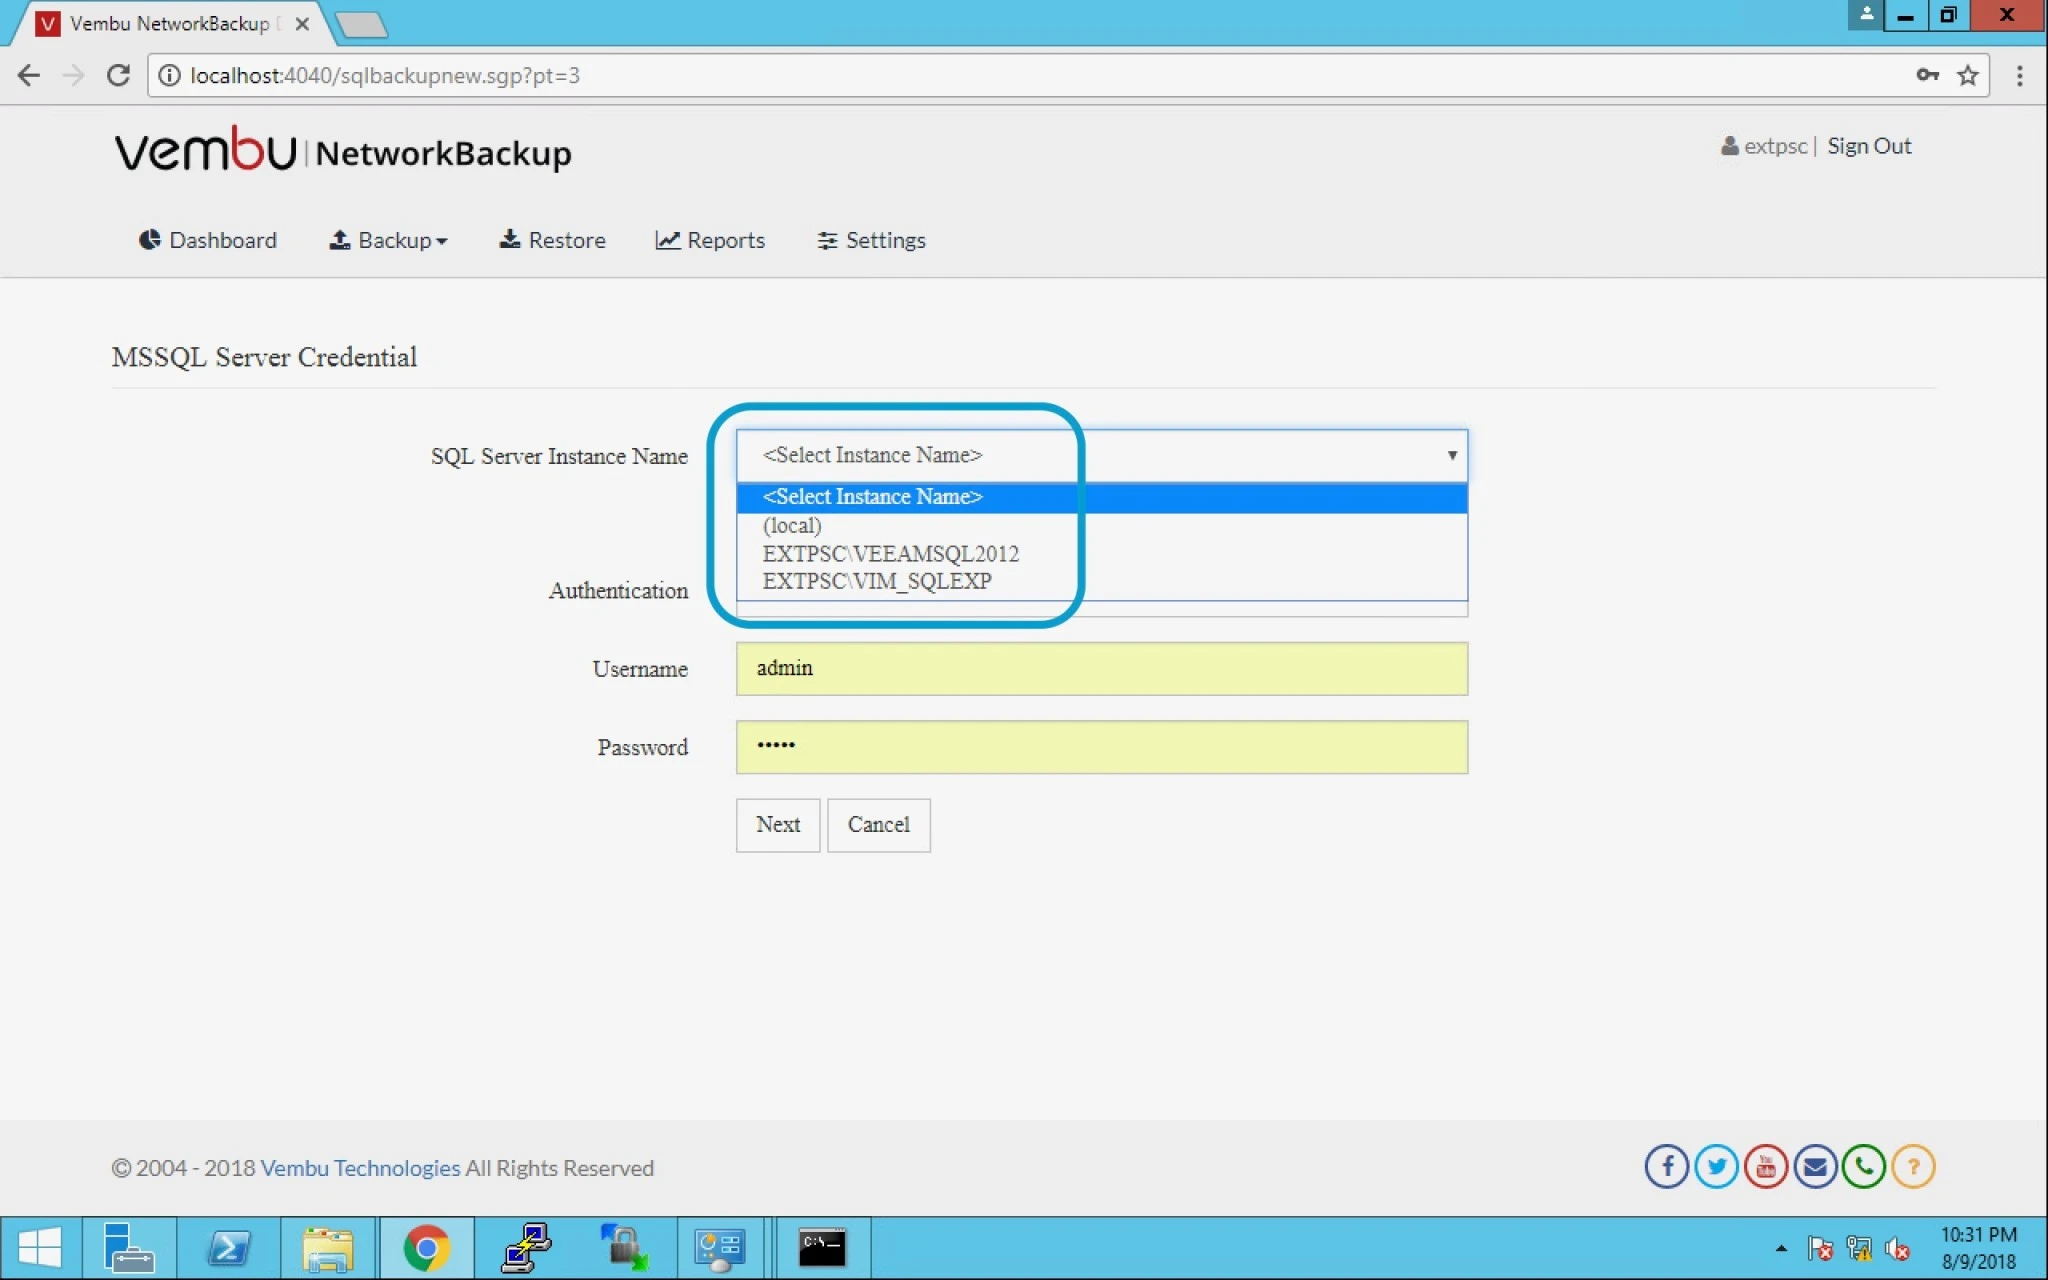
6. After this you can see below options:
SQL Server Instance name – you can select the database as per your requirement.
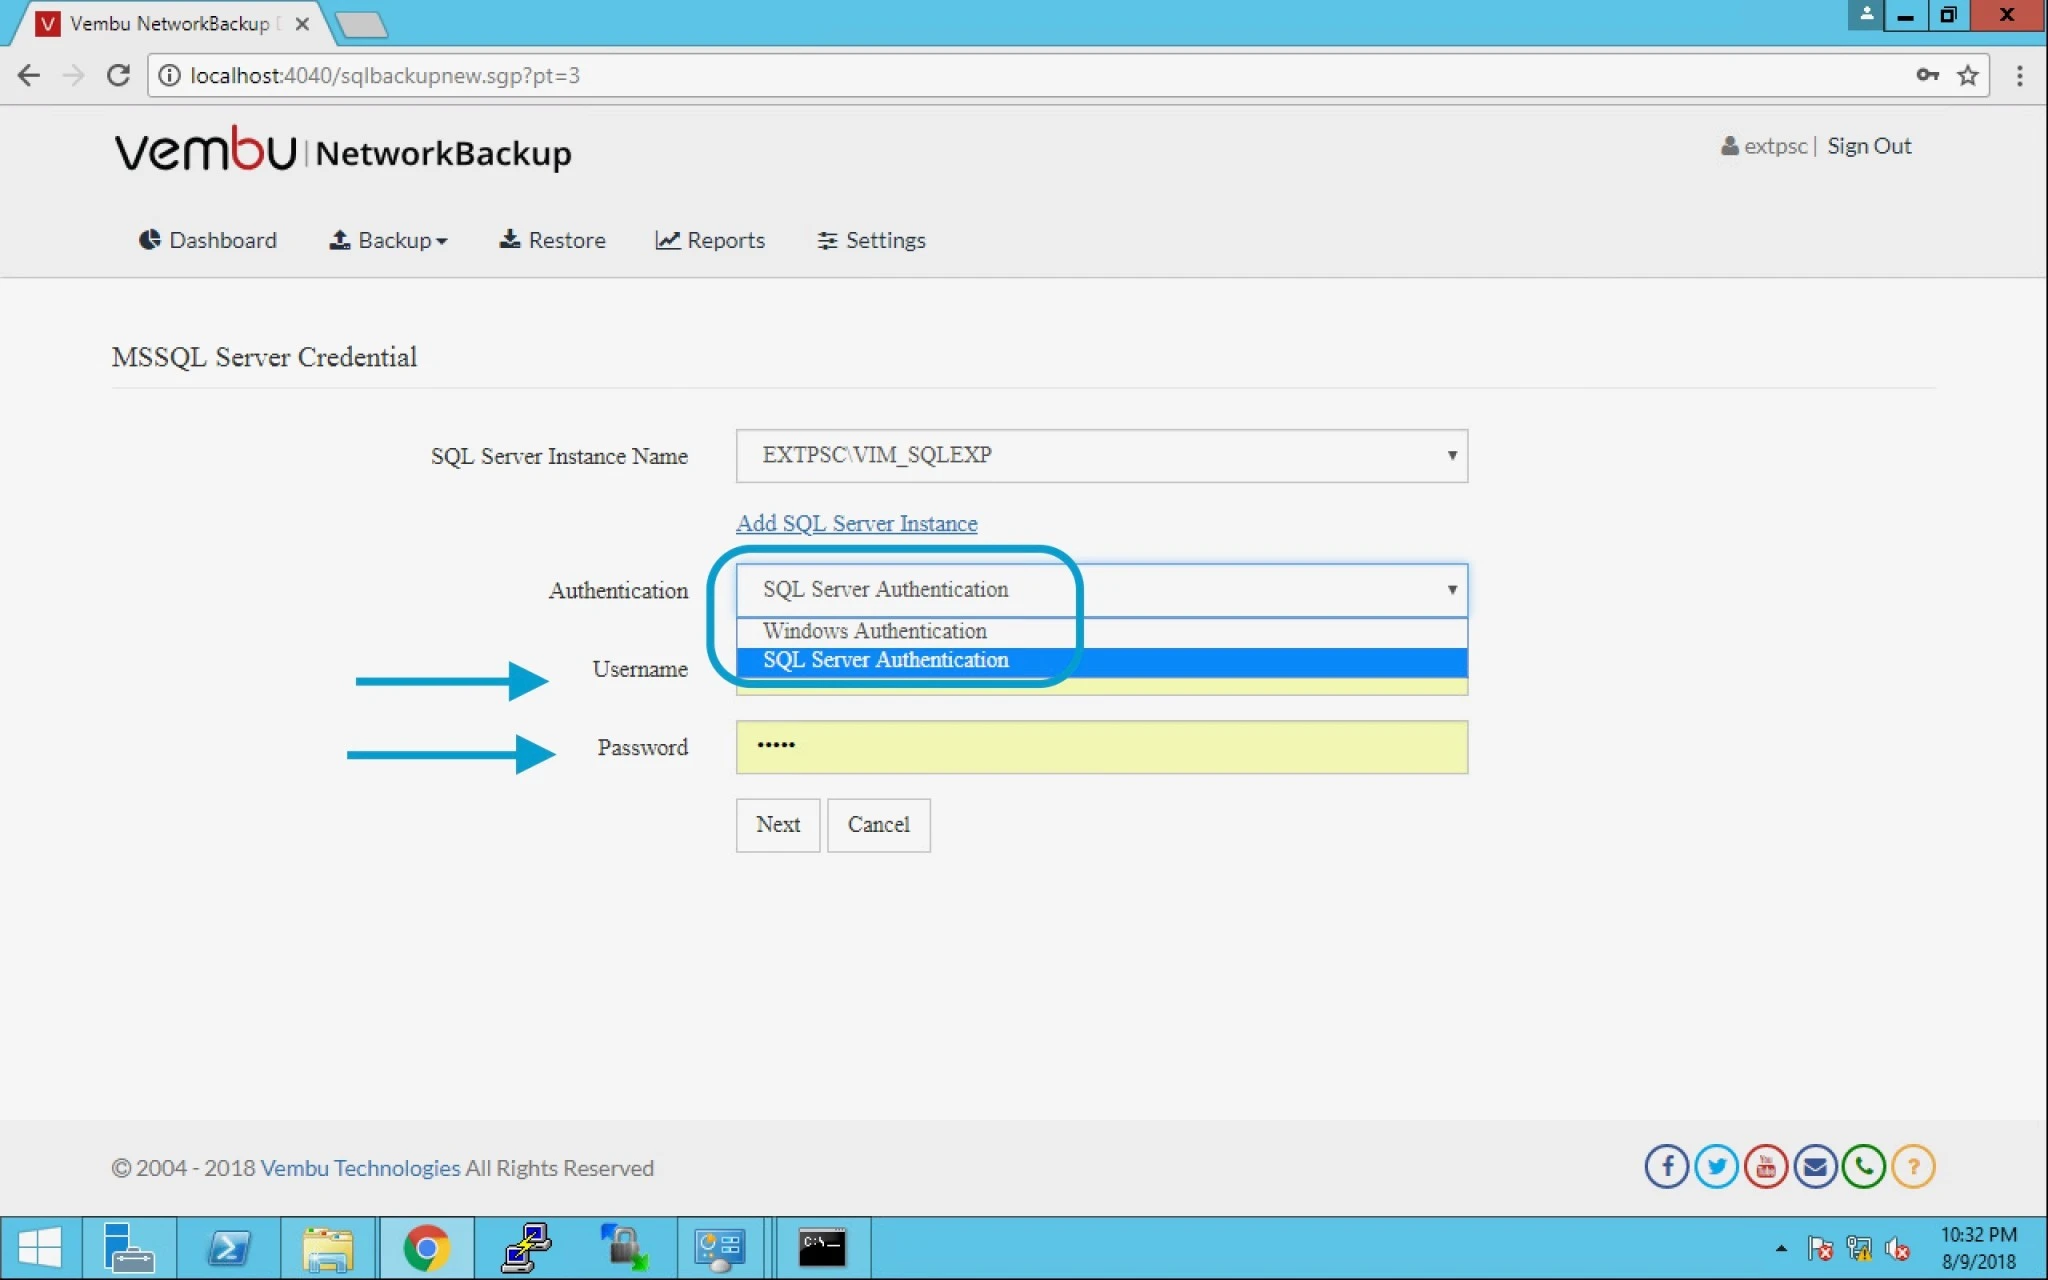
7. Authentication – use Windows or SQL Server Authentication.
Provide username and Password. Click next.
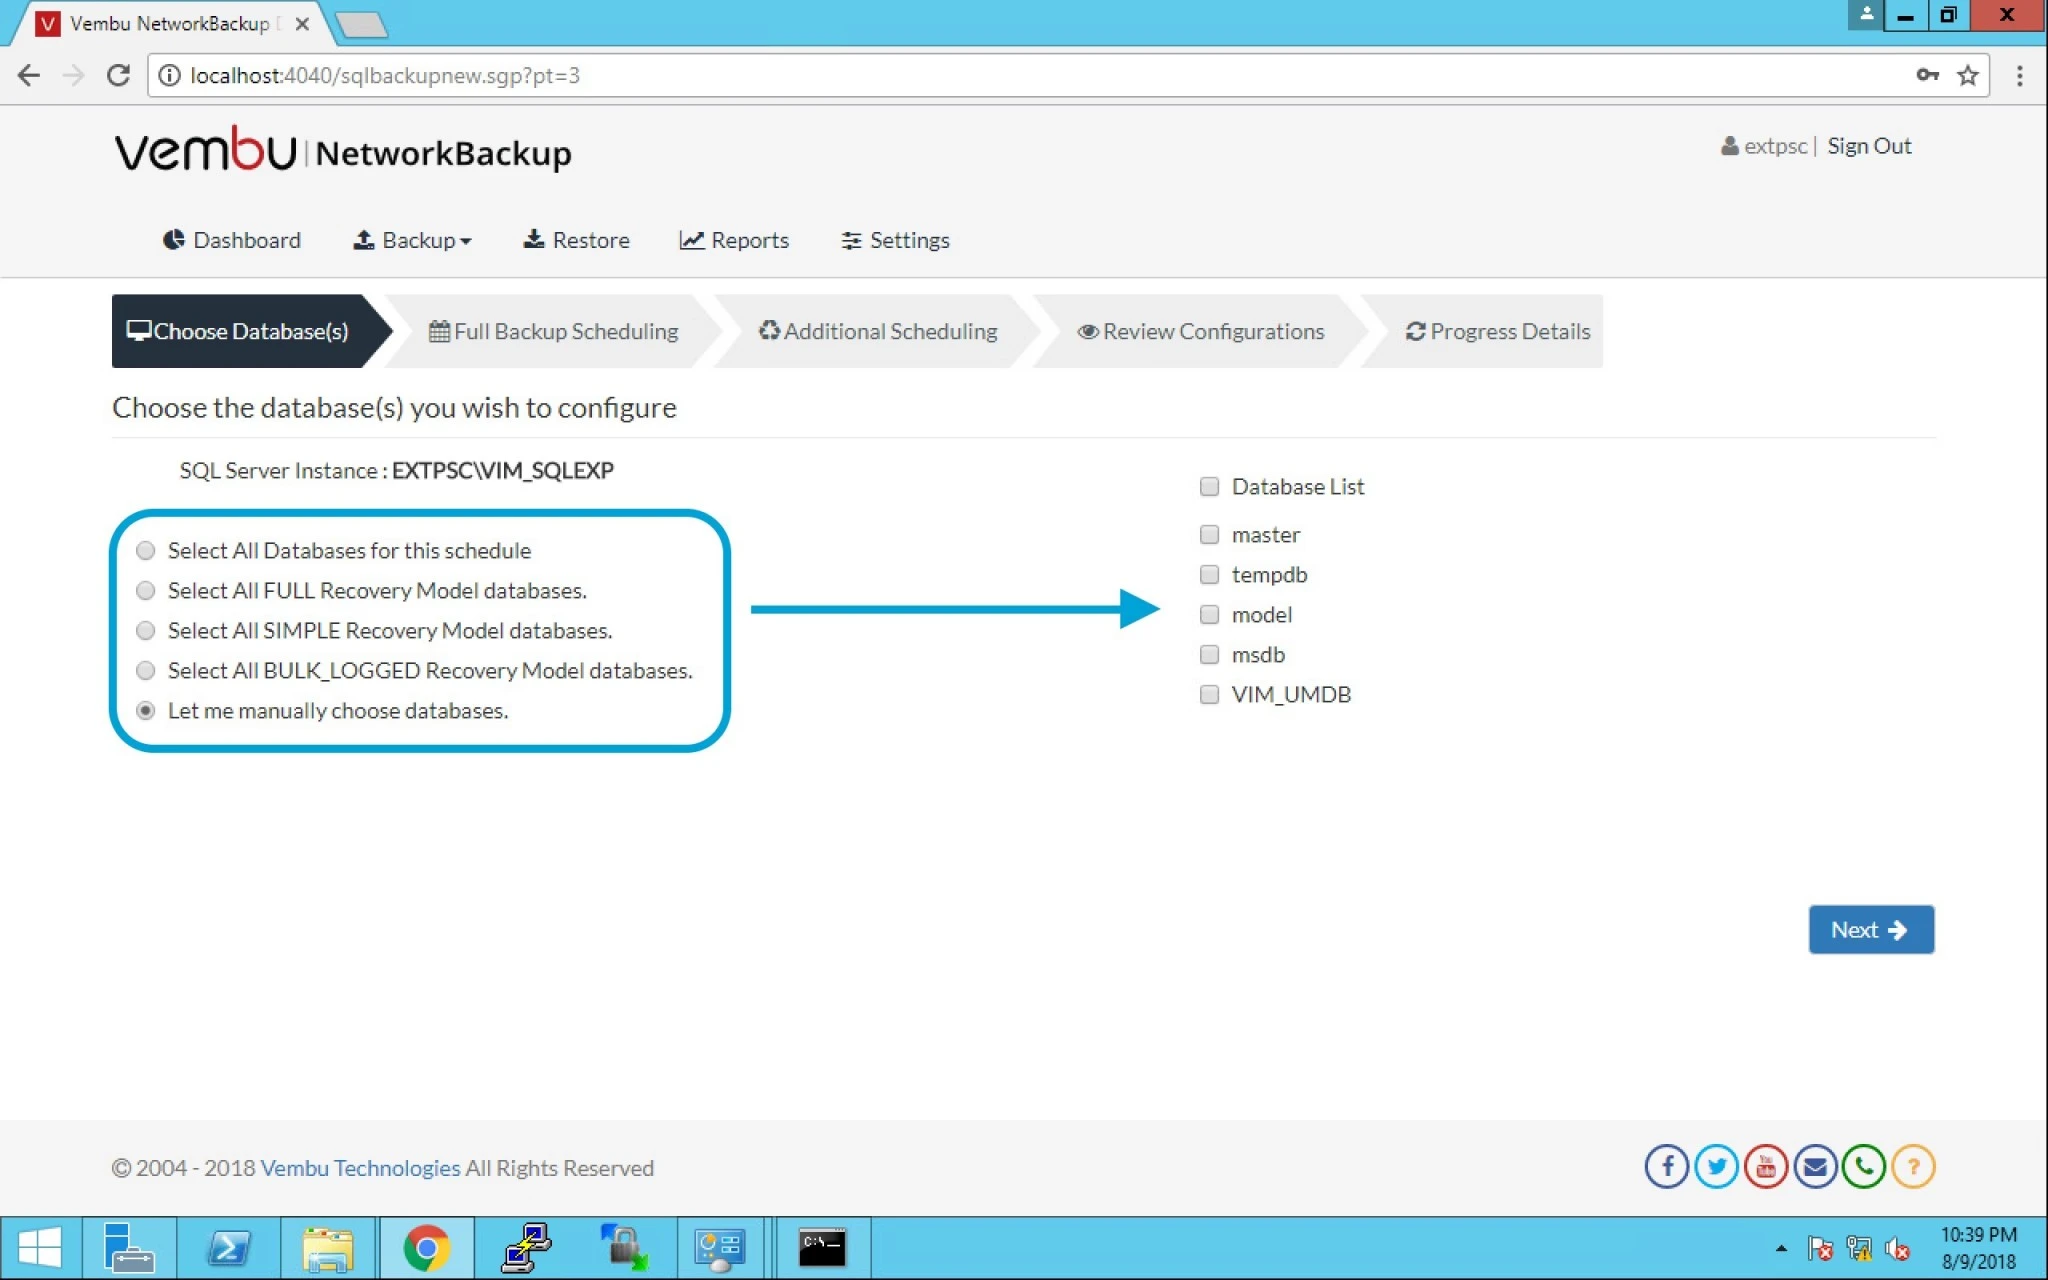
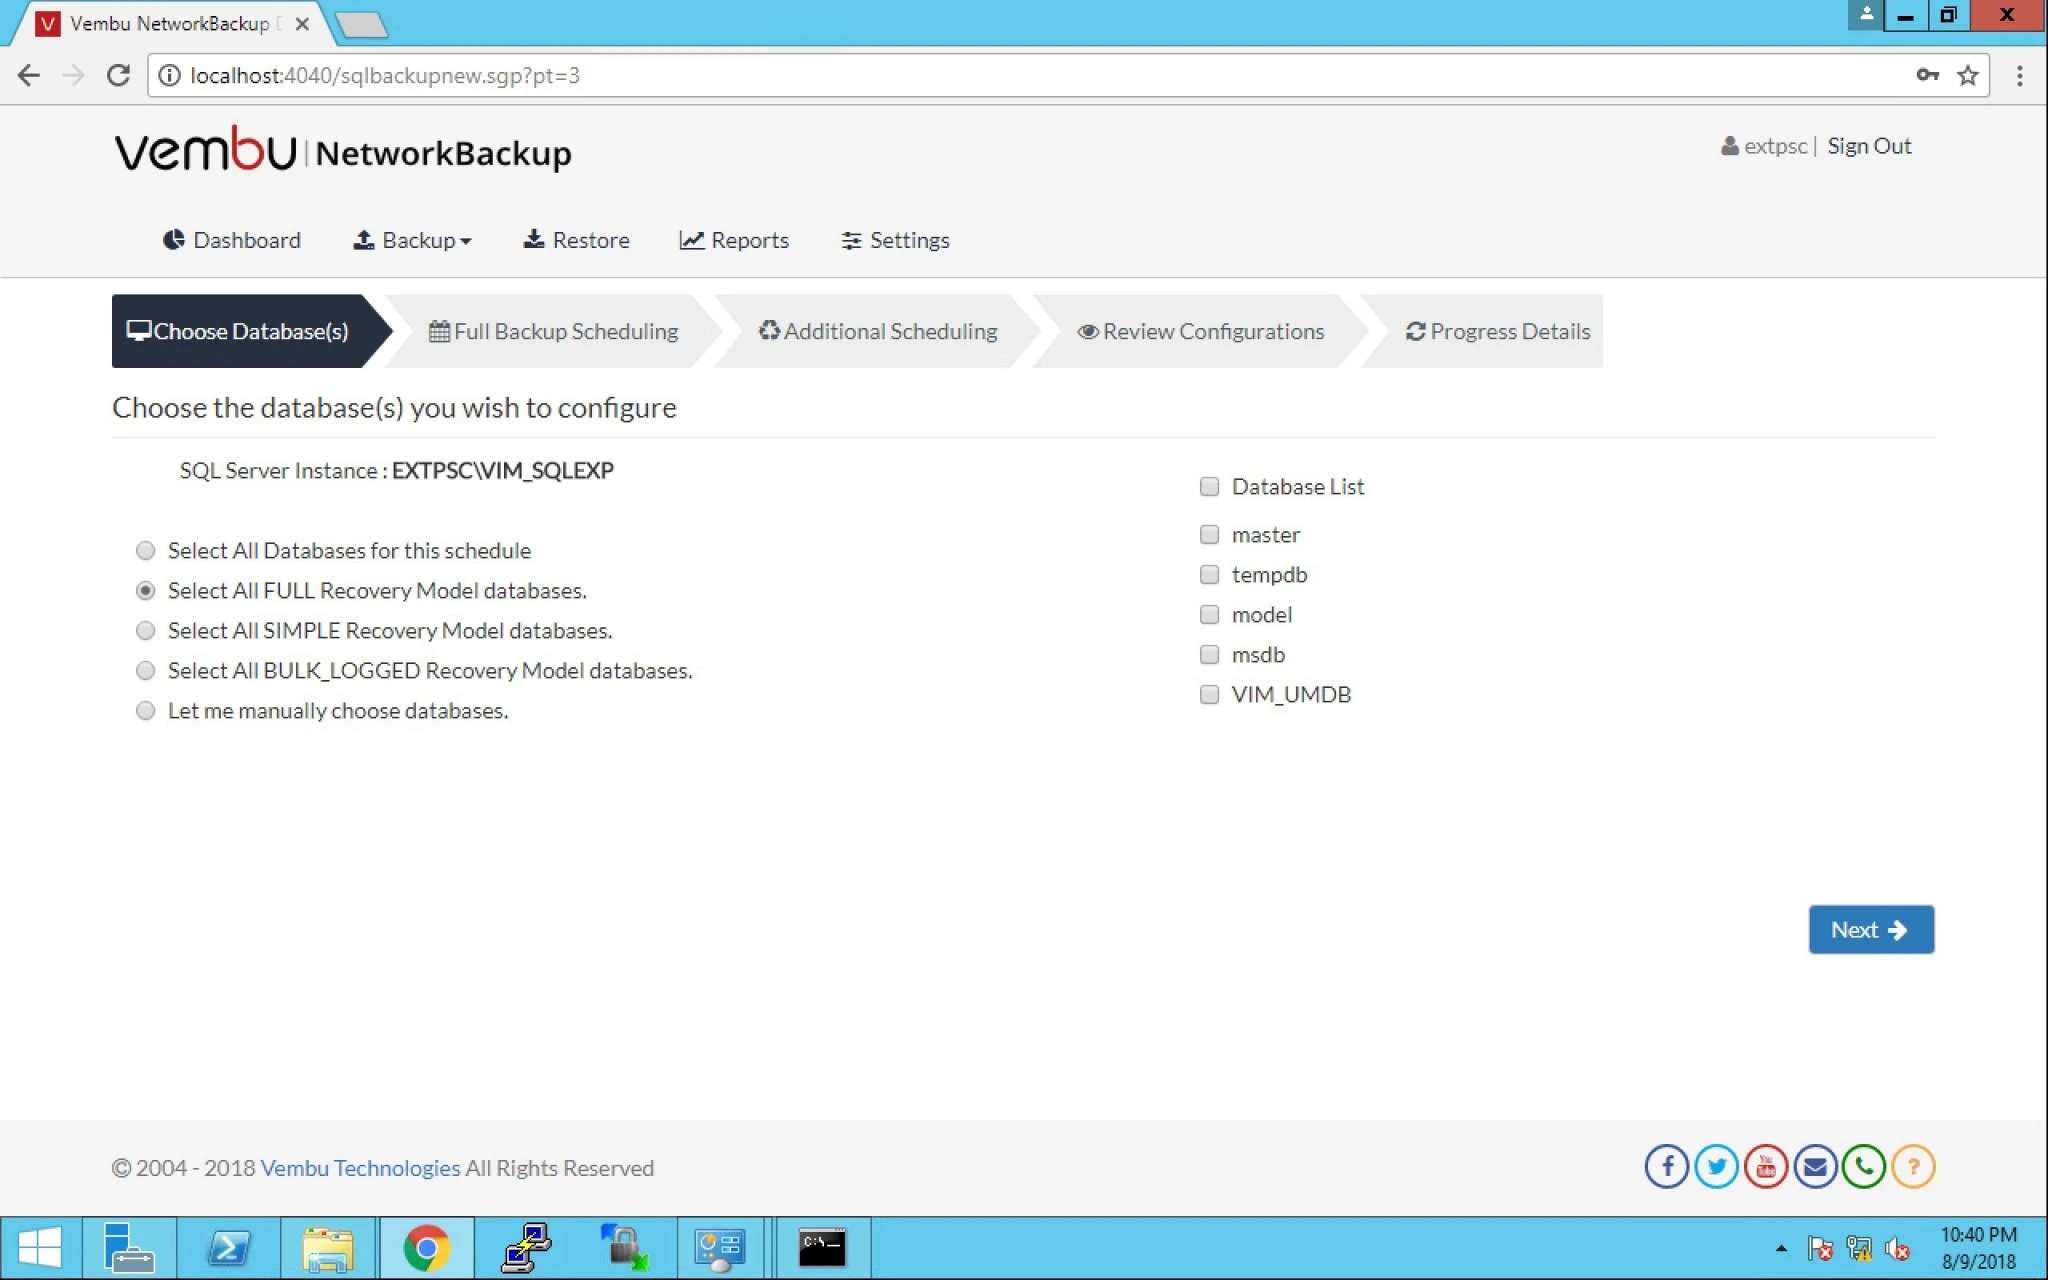
8. After choosing database, you can now select from the given below options to backup SQL instance.
9. Lets assume we choose the first option then it will automatically select the table given on right hand side.
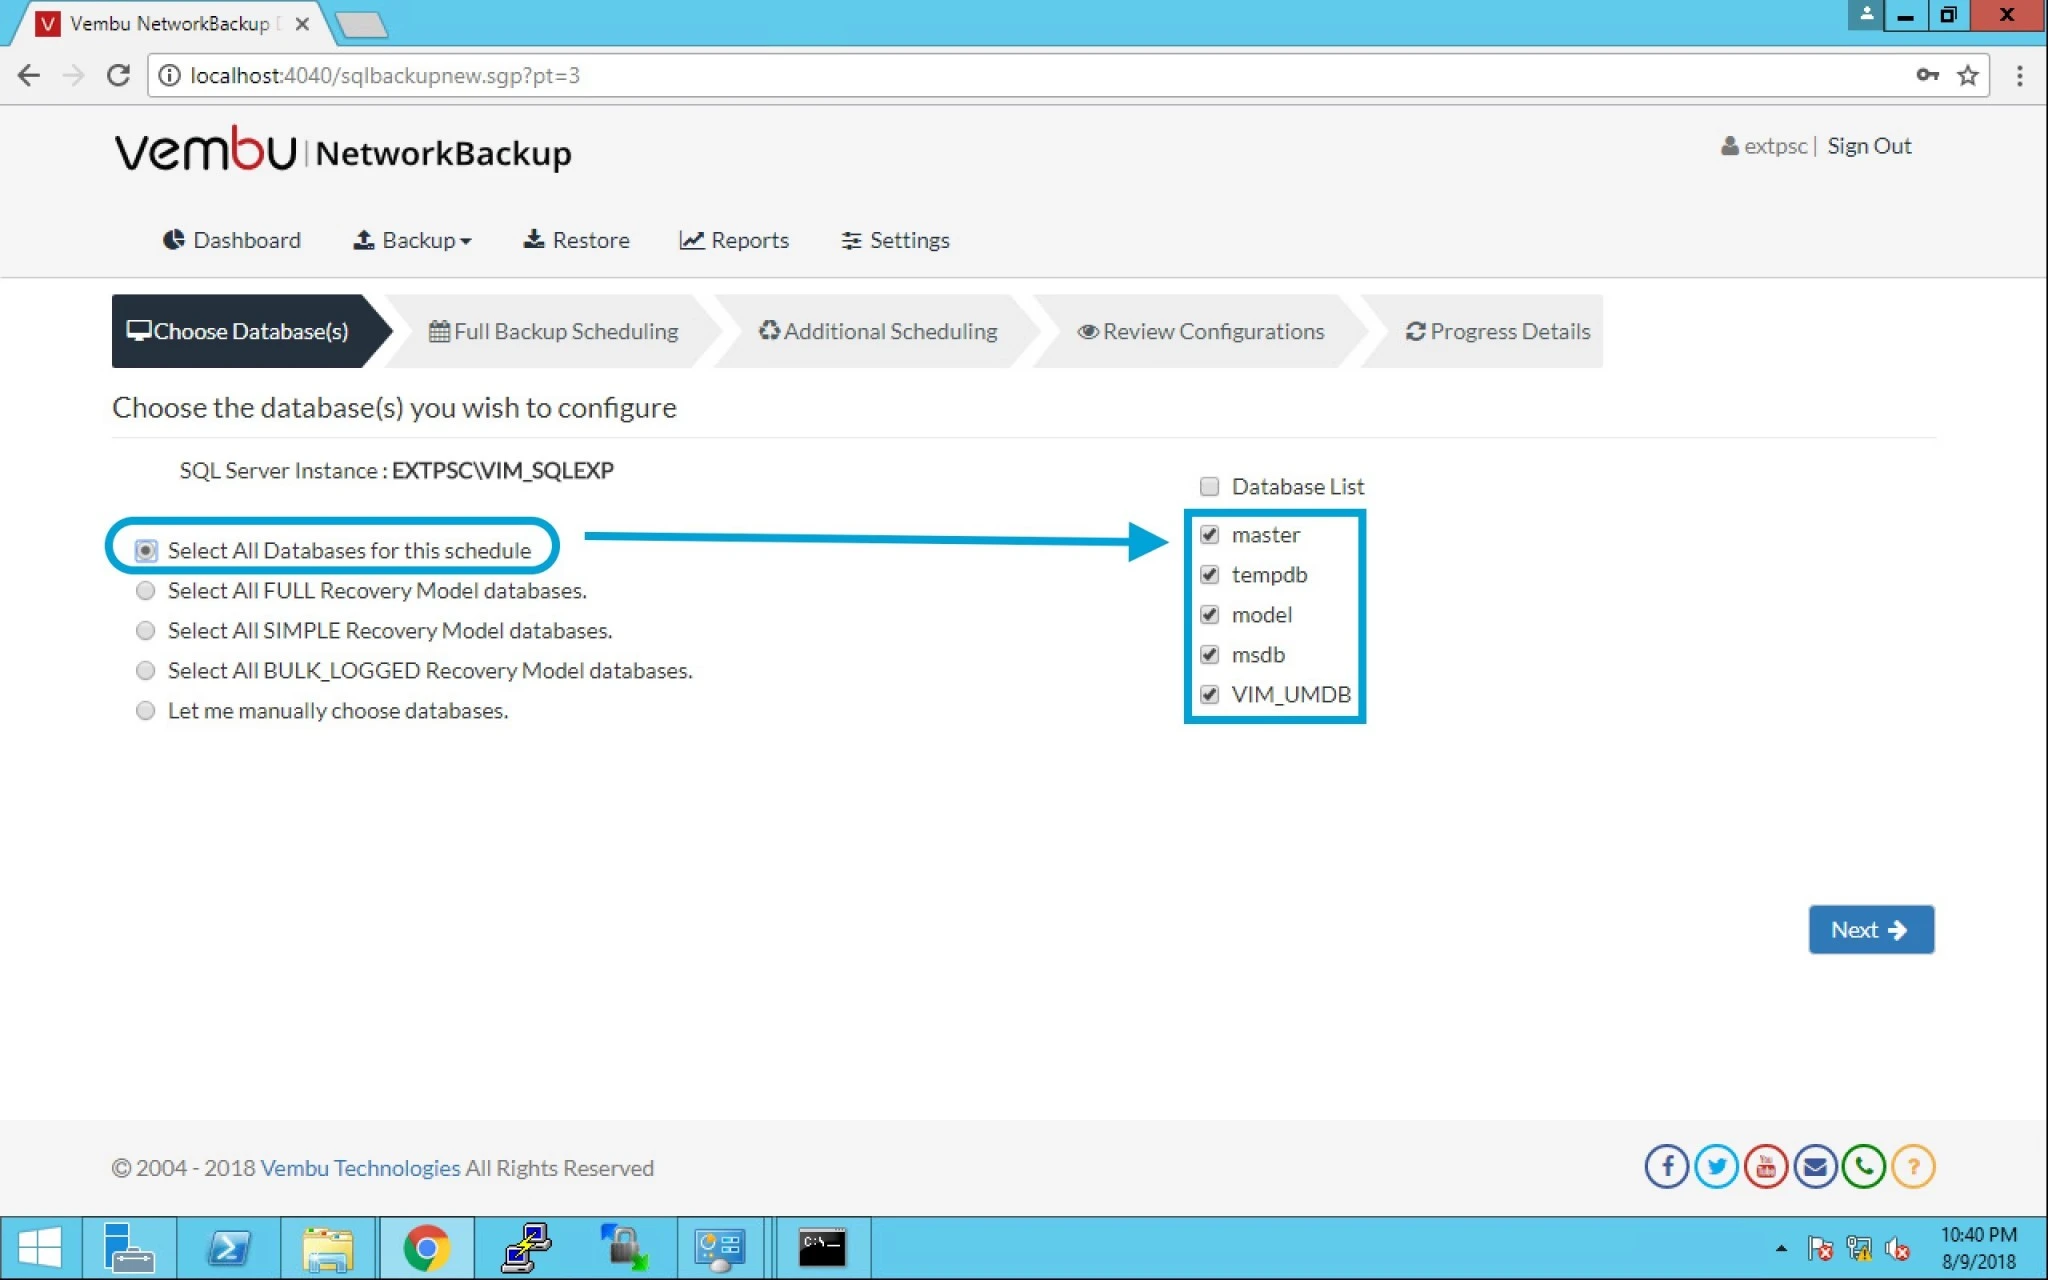
10. Similarly when we choose the second option “All FULL Recovery Model databases”, the R.H.S table isn’t selected automatically.
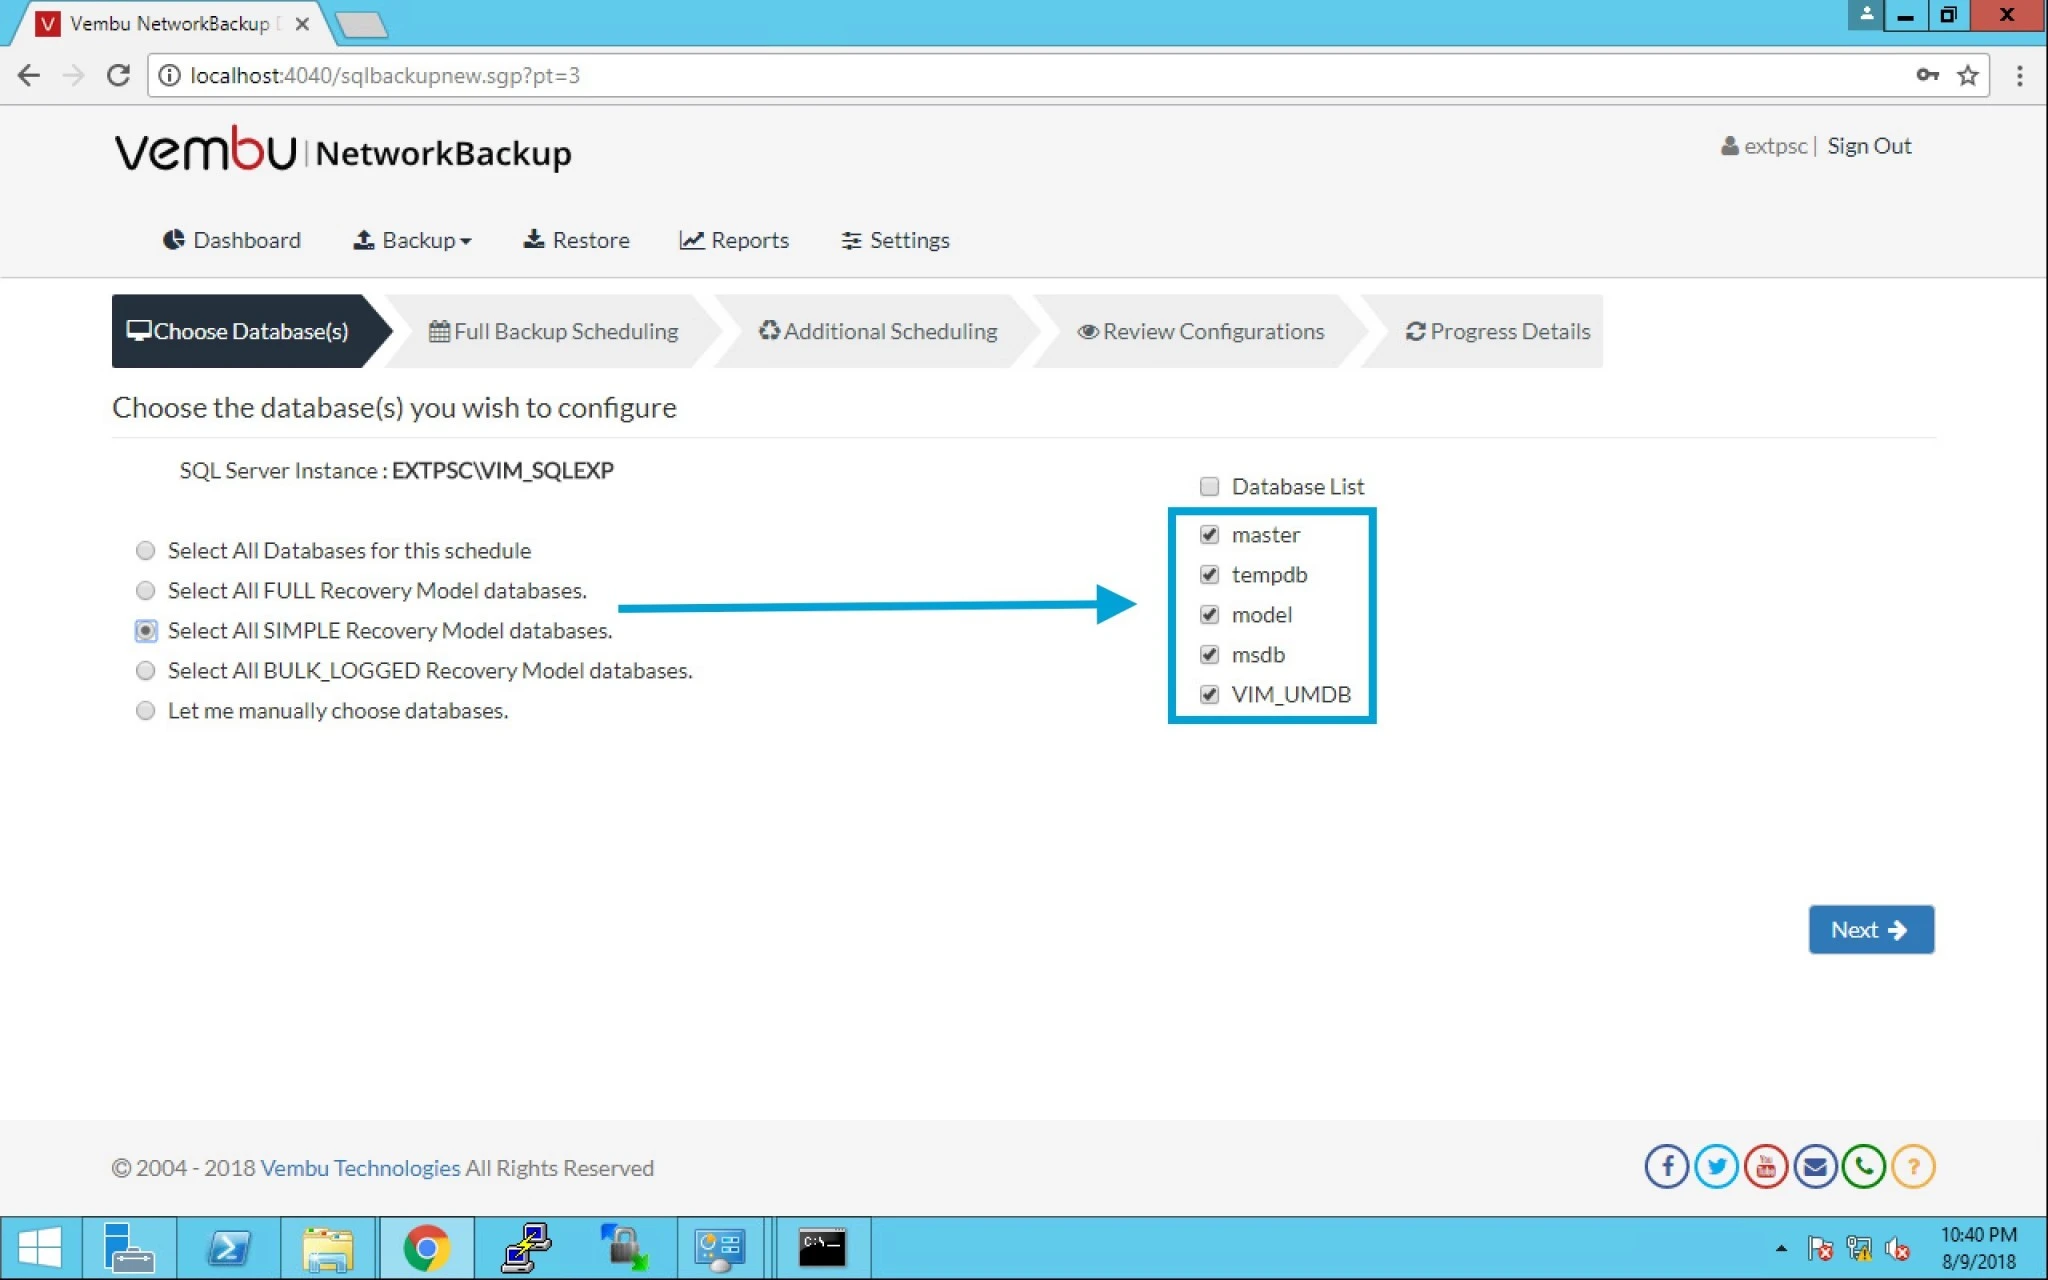
11. When we go ahead and select the third option “All SIMPLE Recovery Model databases”, the R.H.S table is selected by default.
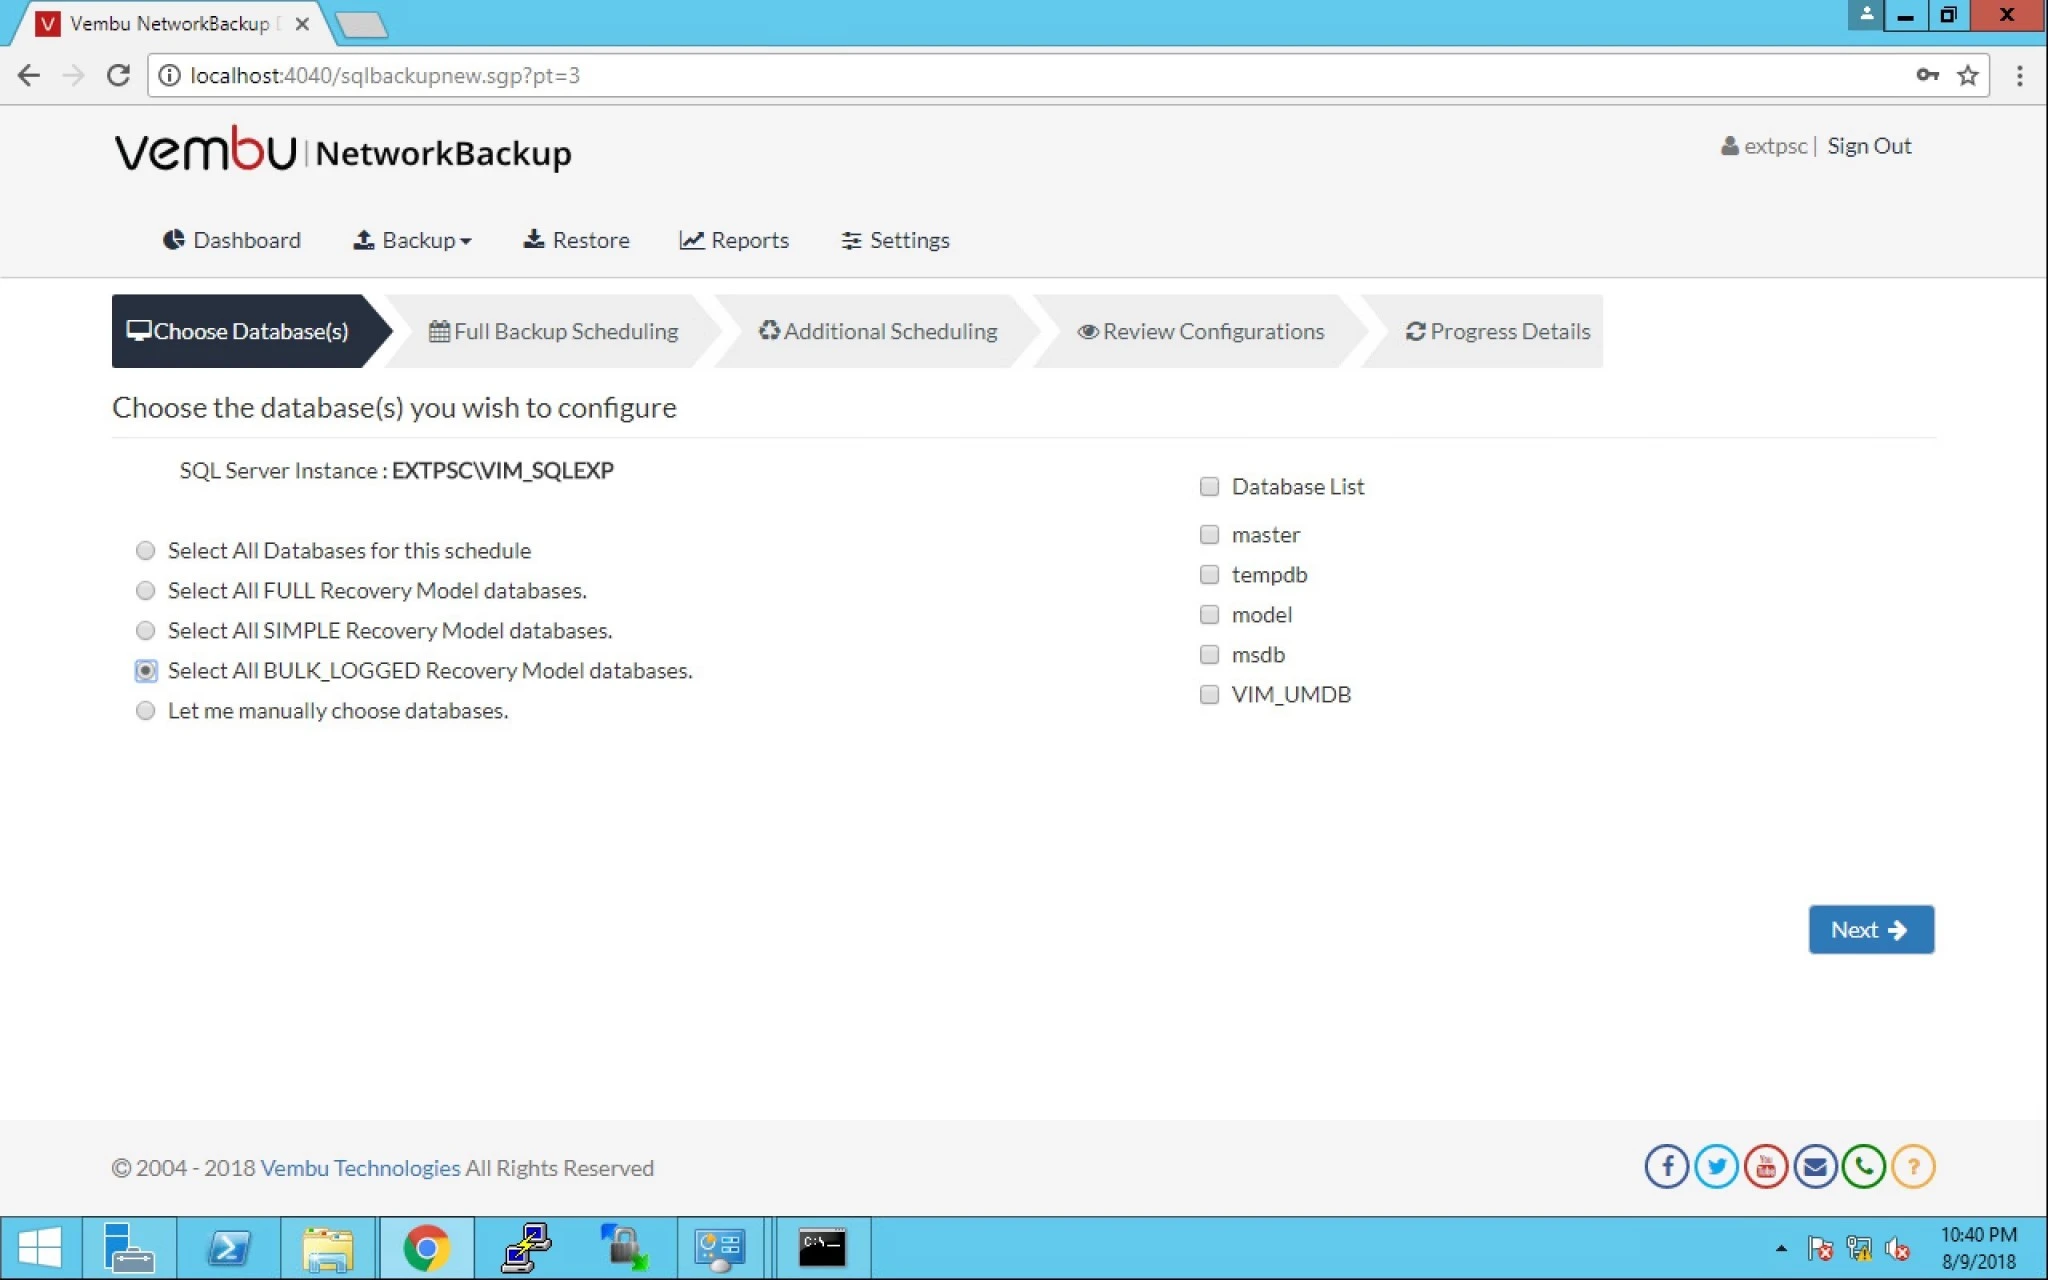
12. Select “All BULK_LOGGED Recovery Model databases” will not automatically select the R.H.S table.
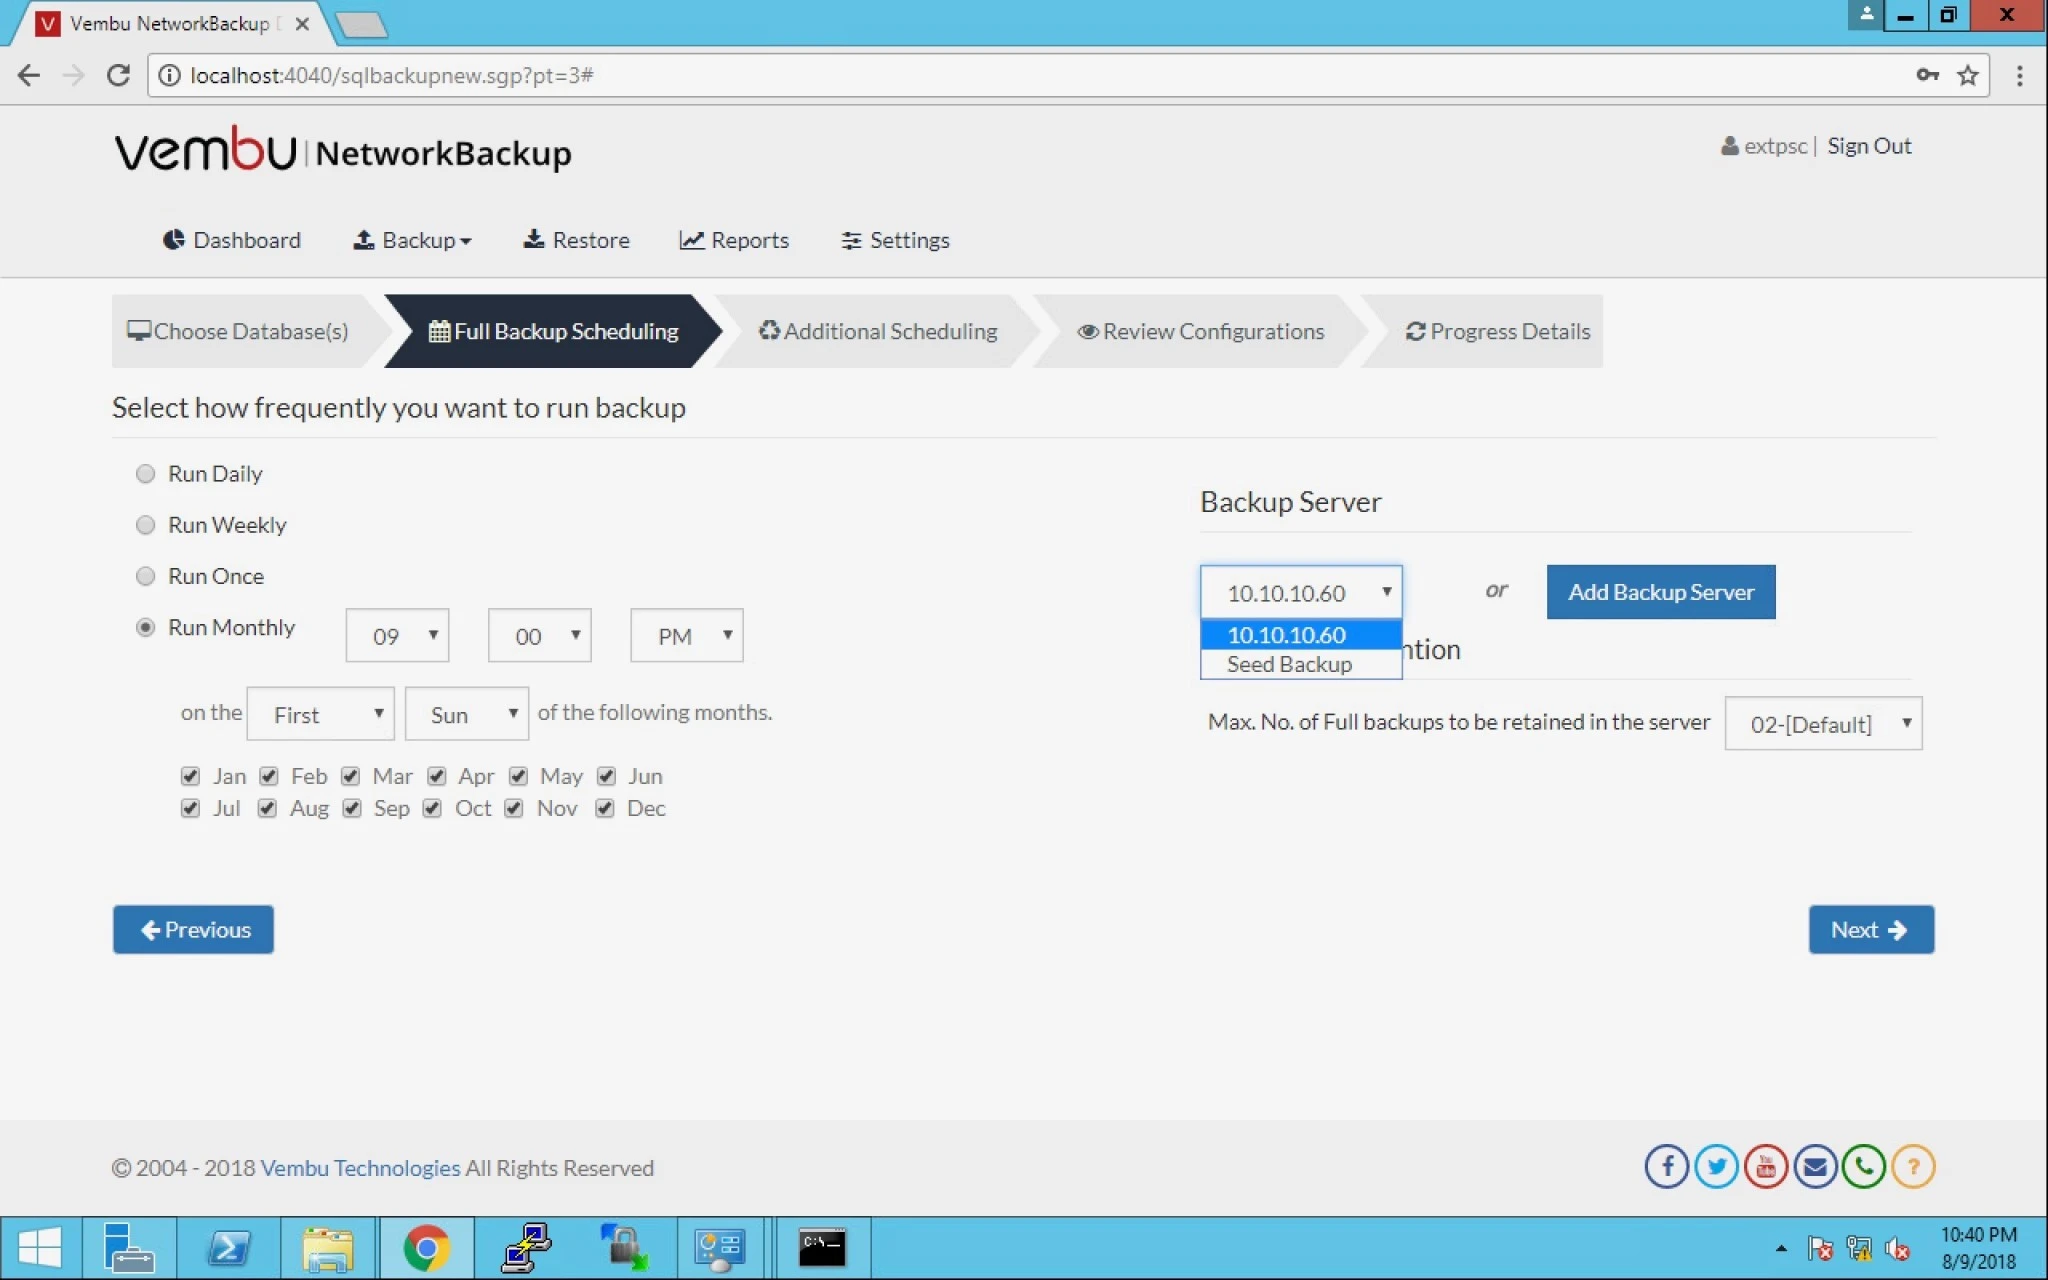
13. In this option you can select the Frequency or when it will take backup like as given below:
a) Run Daily
b) Run Weekly
c) Run Once
d) Run Monthly
You can specify the time as well.
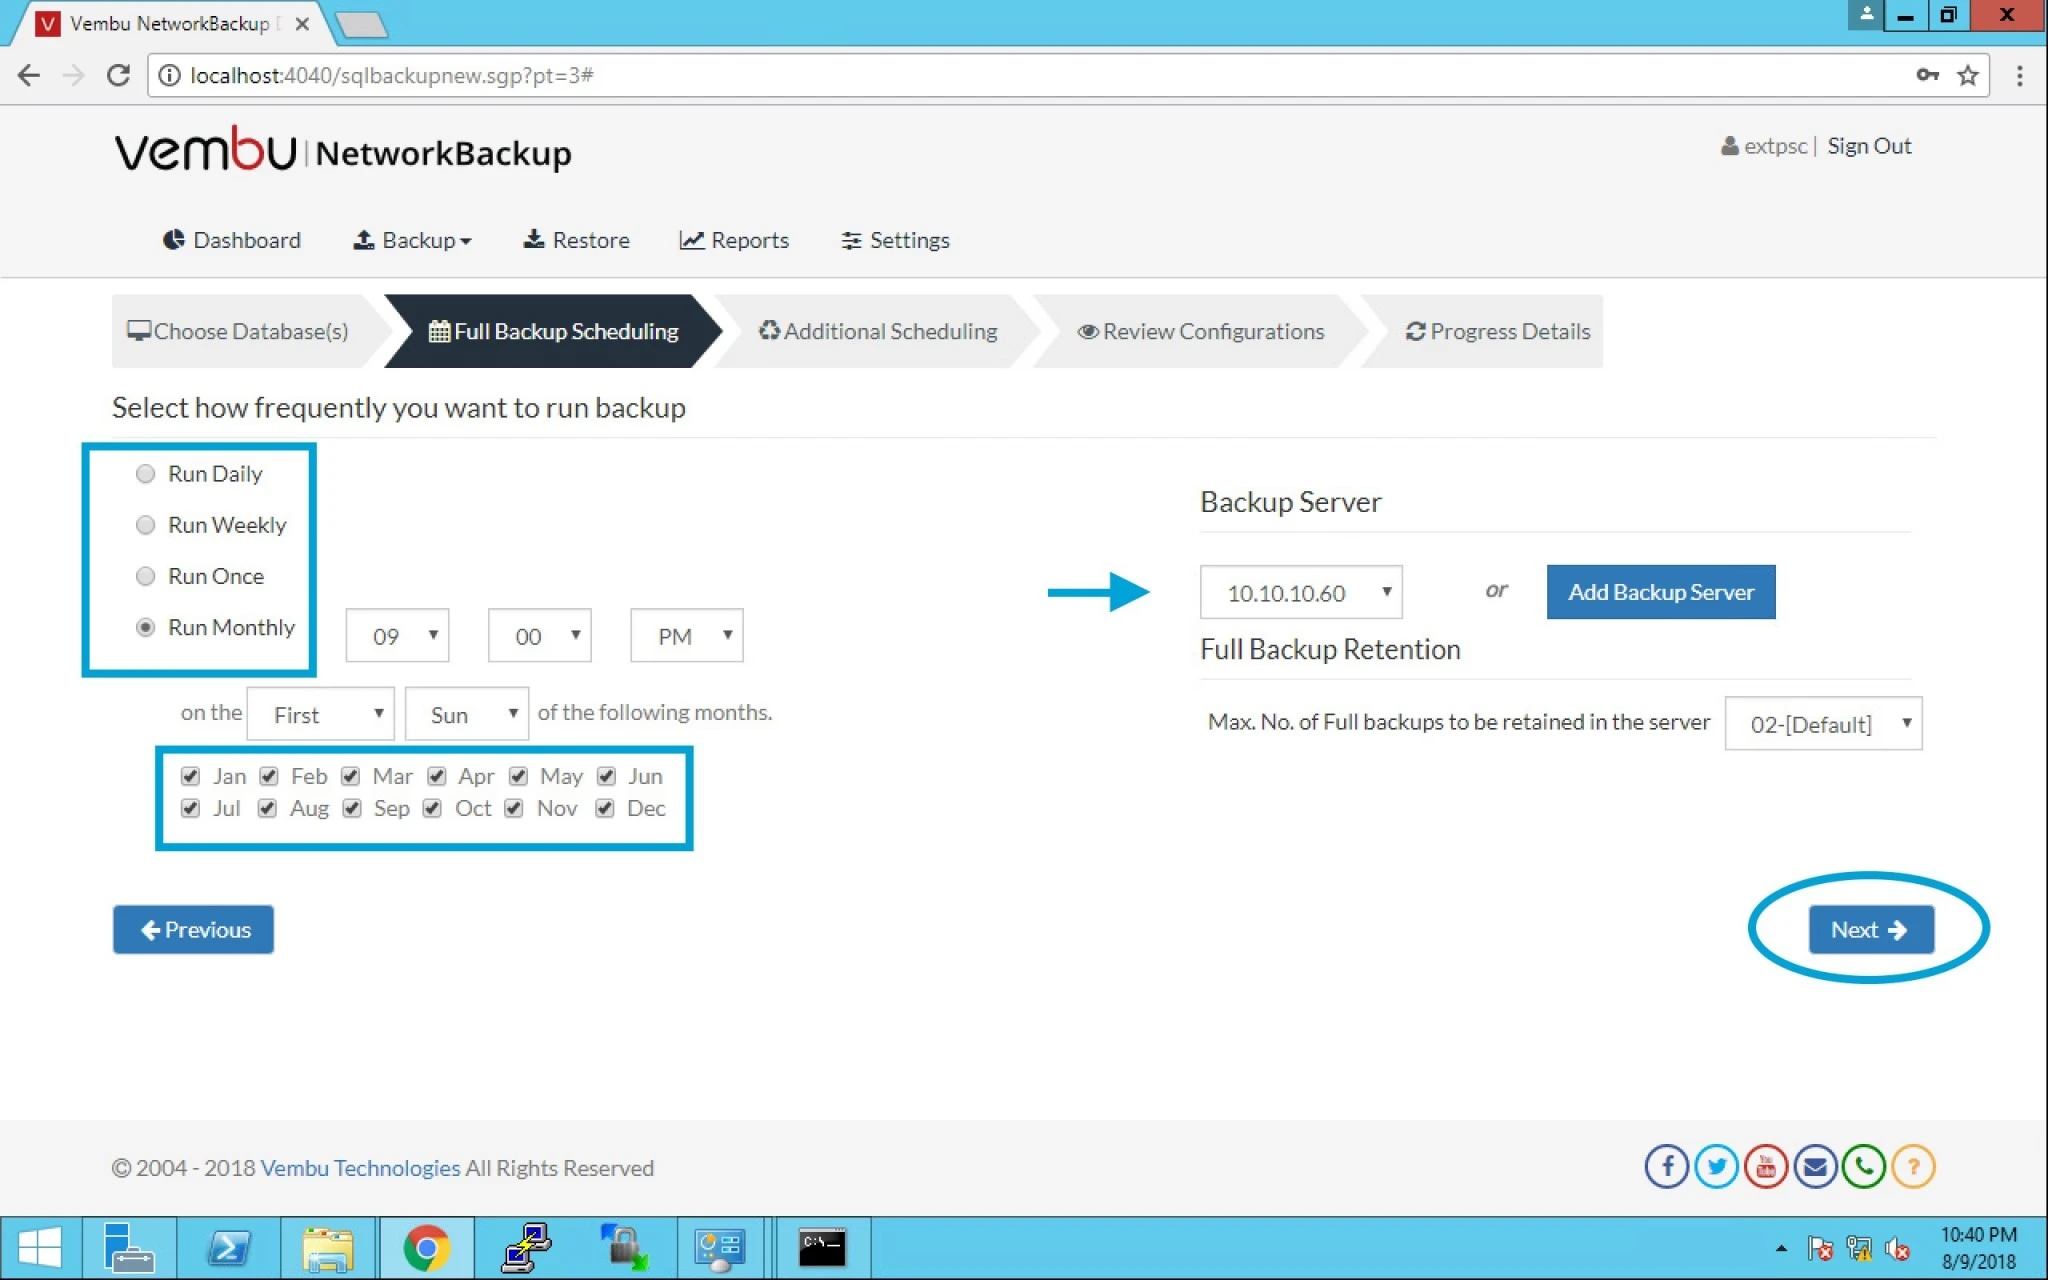
14. On the right hand side you can select Backup server or you have the option to add a backup server right here.
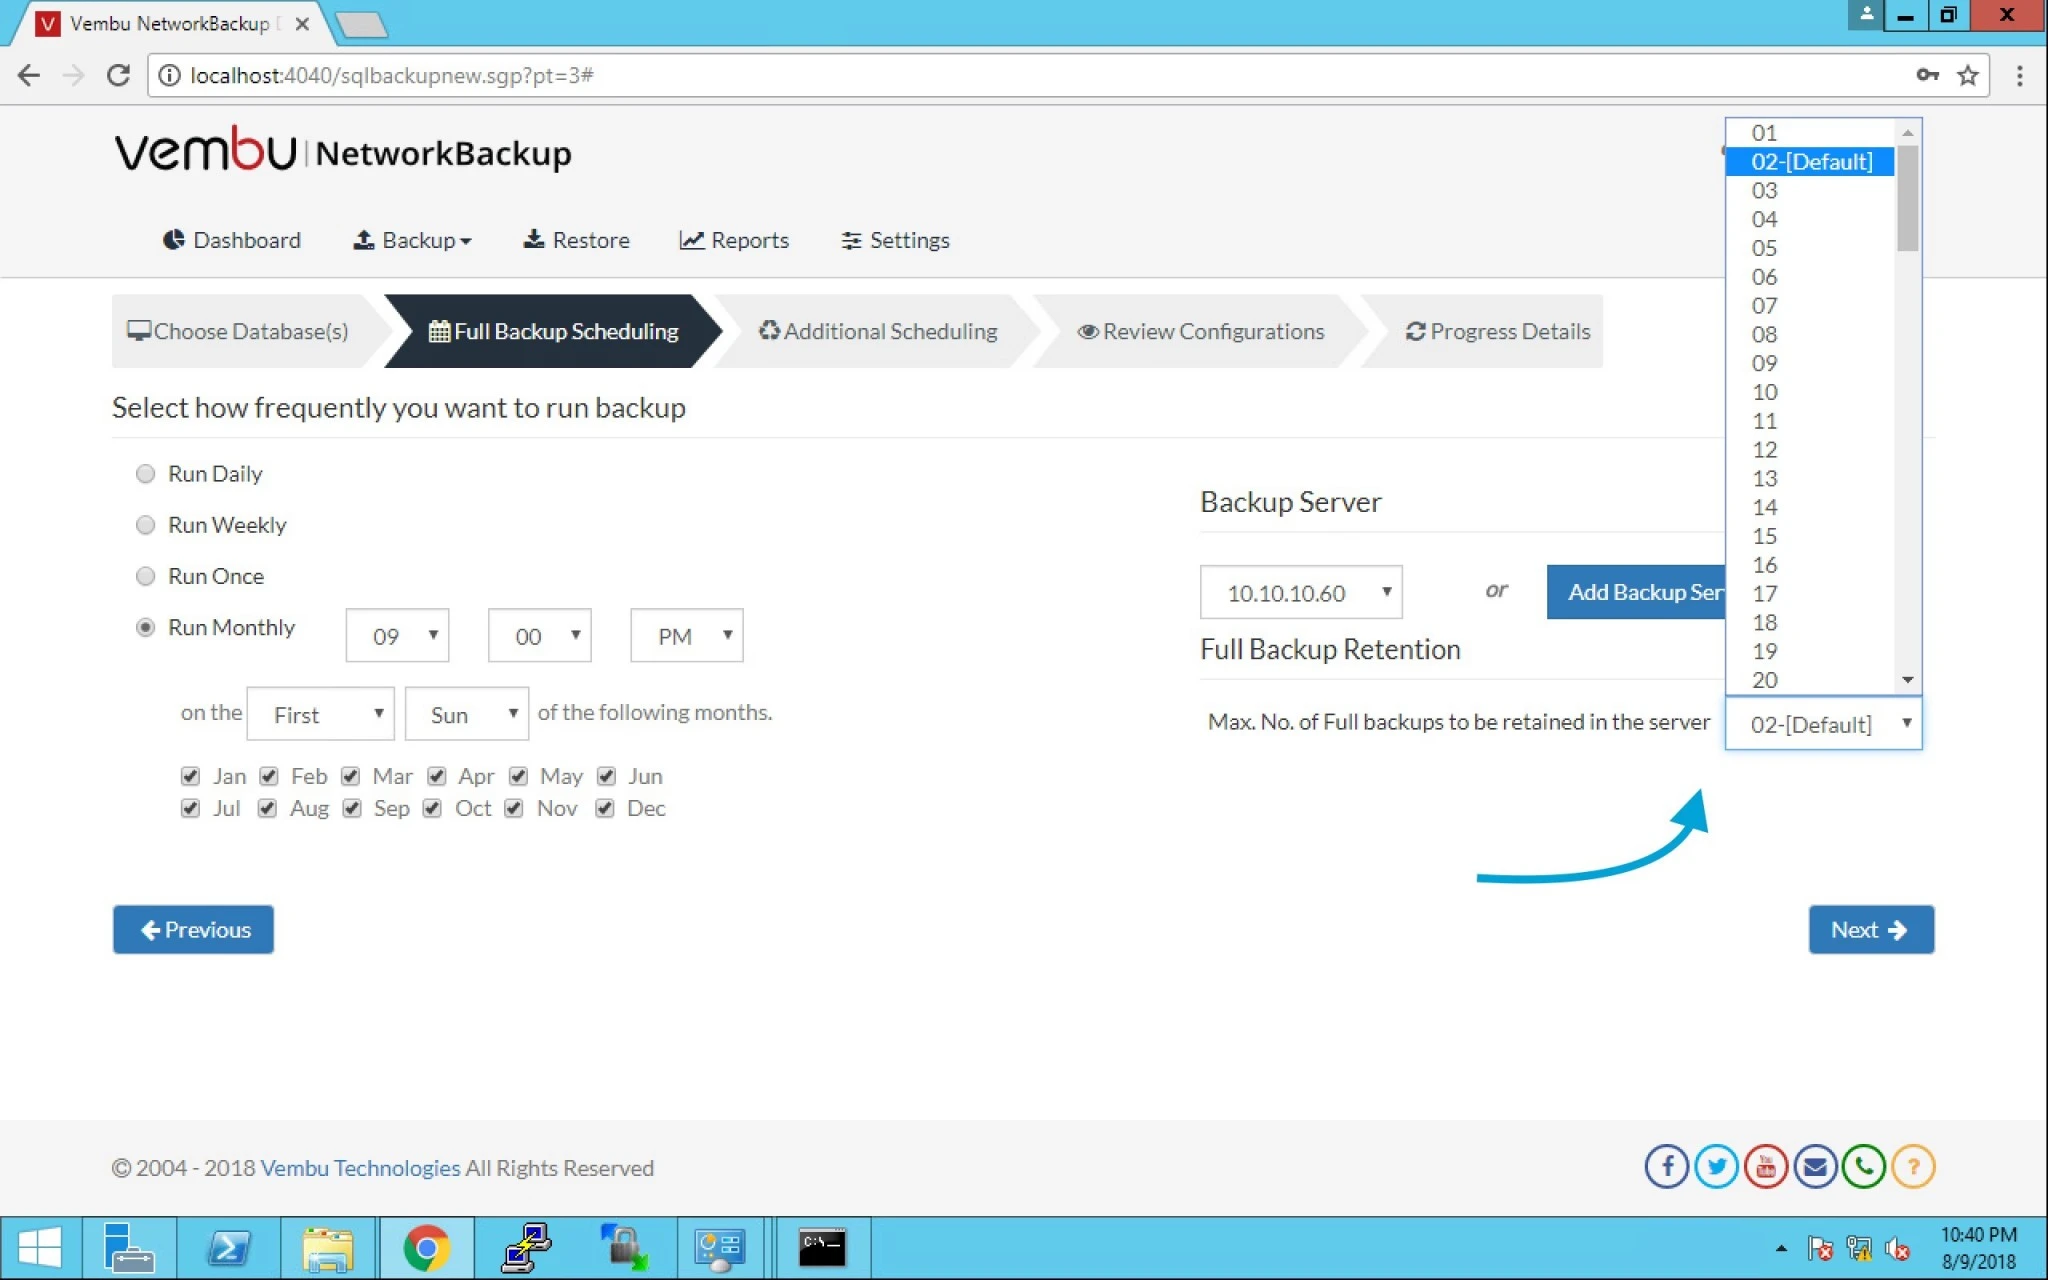
15. Here you can select Retention for this backup and click next.
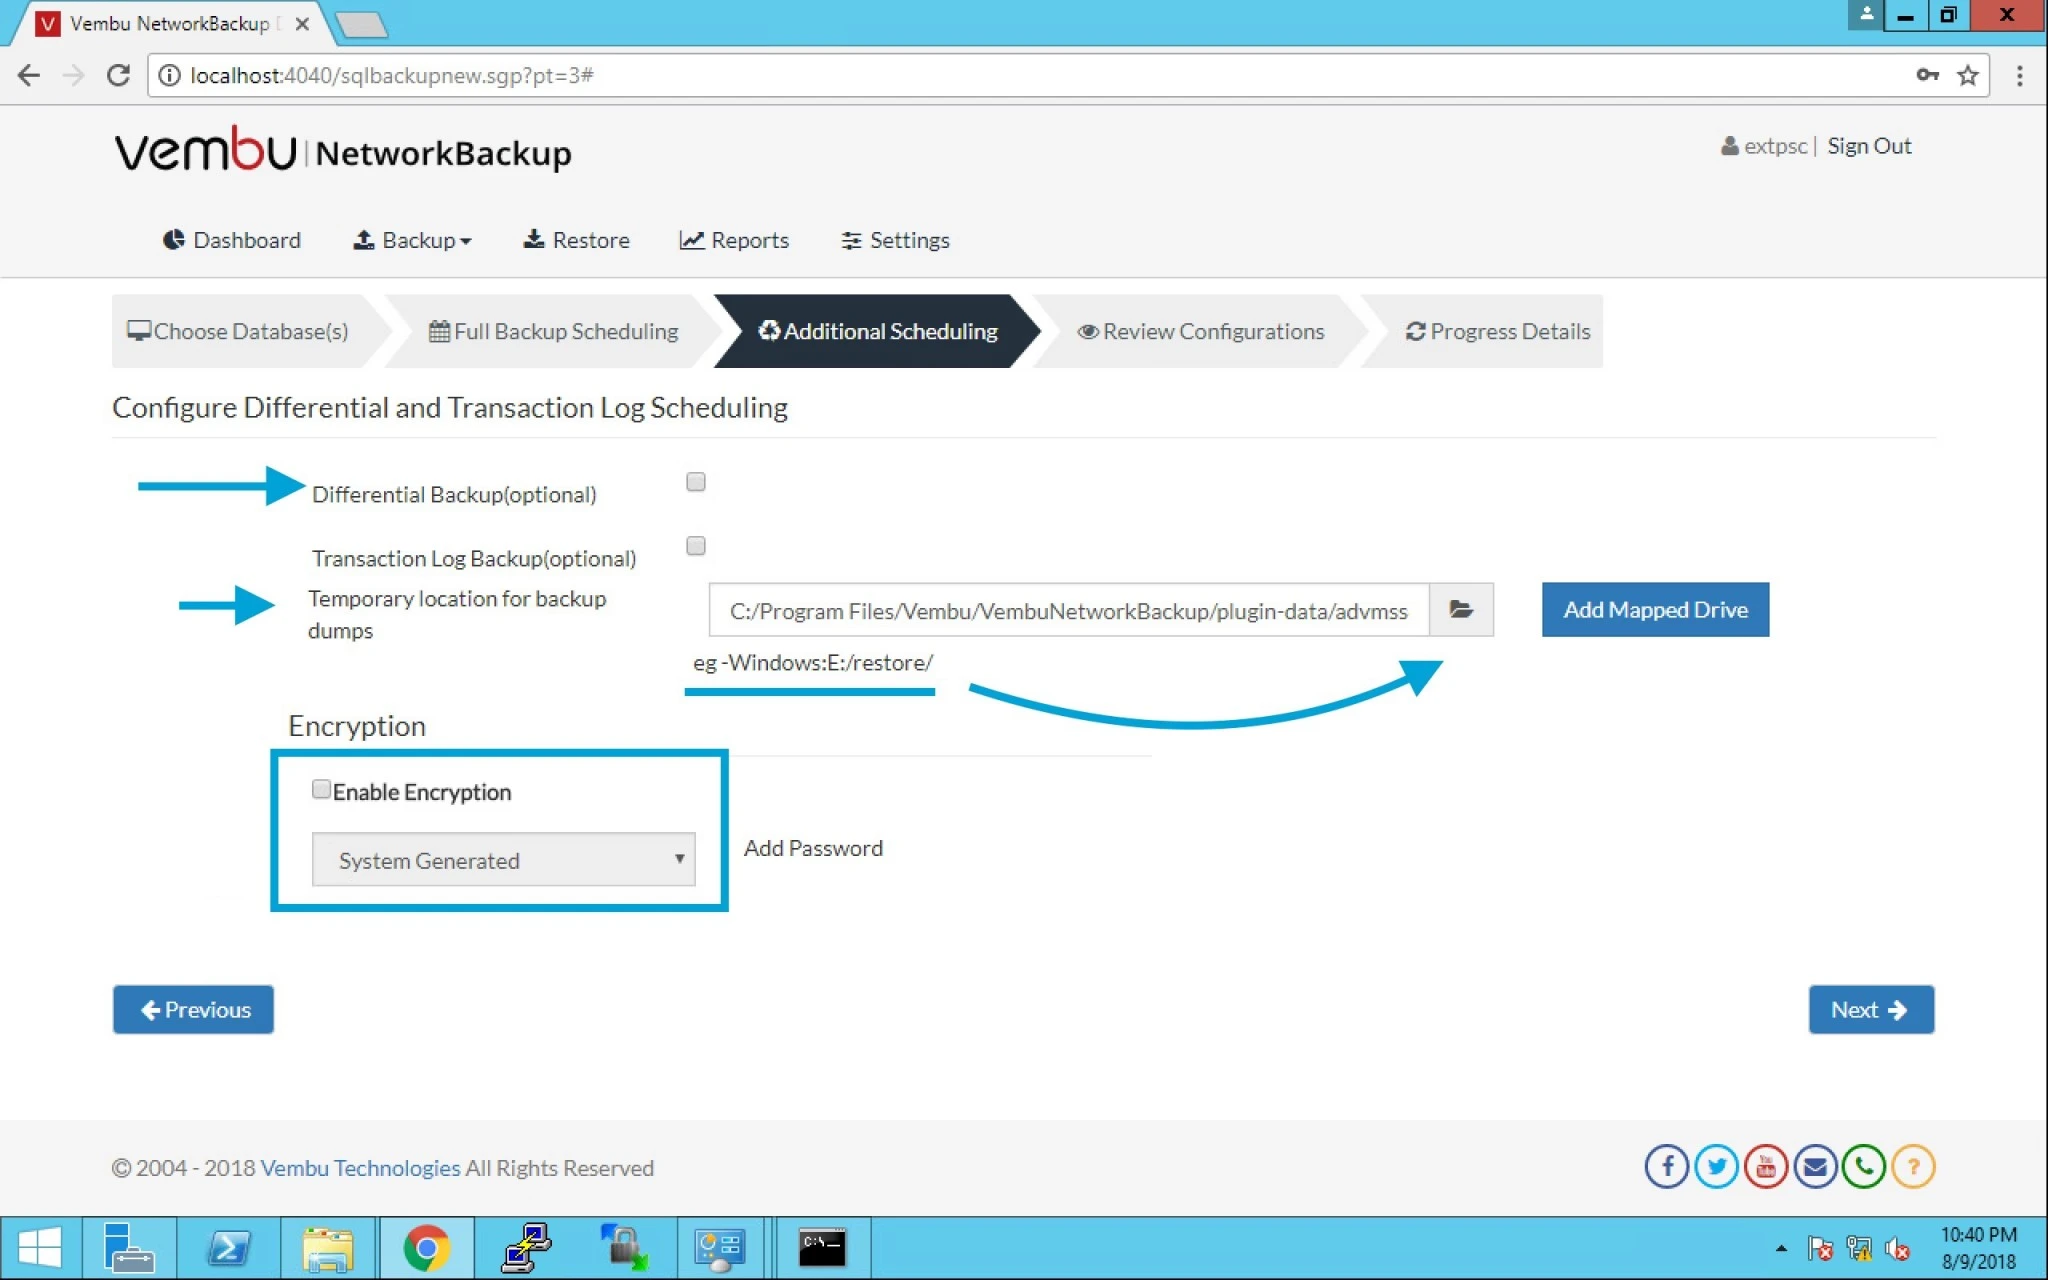
16. Here you have the options like Differential backup or Transaction Log Backup or even you can keep this in Temporary location.
Note: you can also select Encryption as per company policy or customer requirement.
17. Enter your Job name and save the backup. Click next.
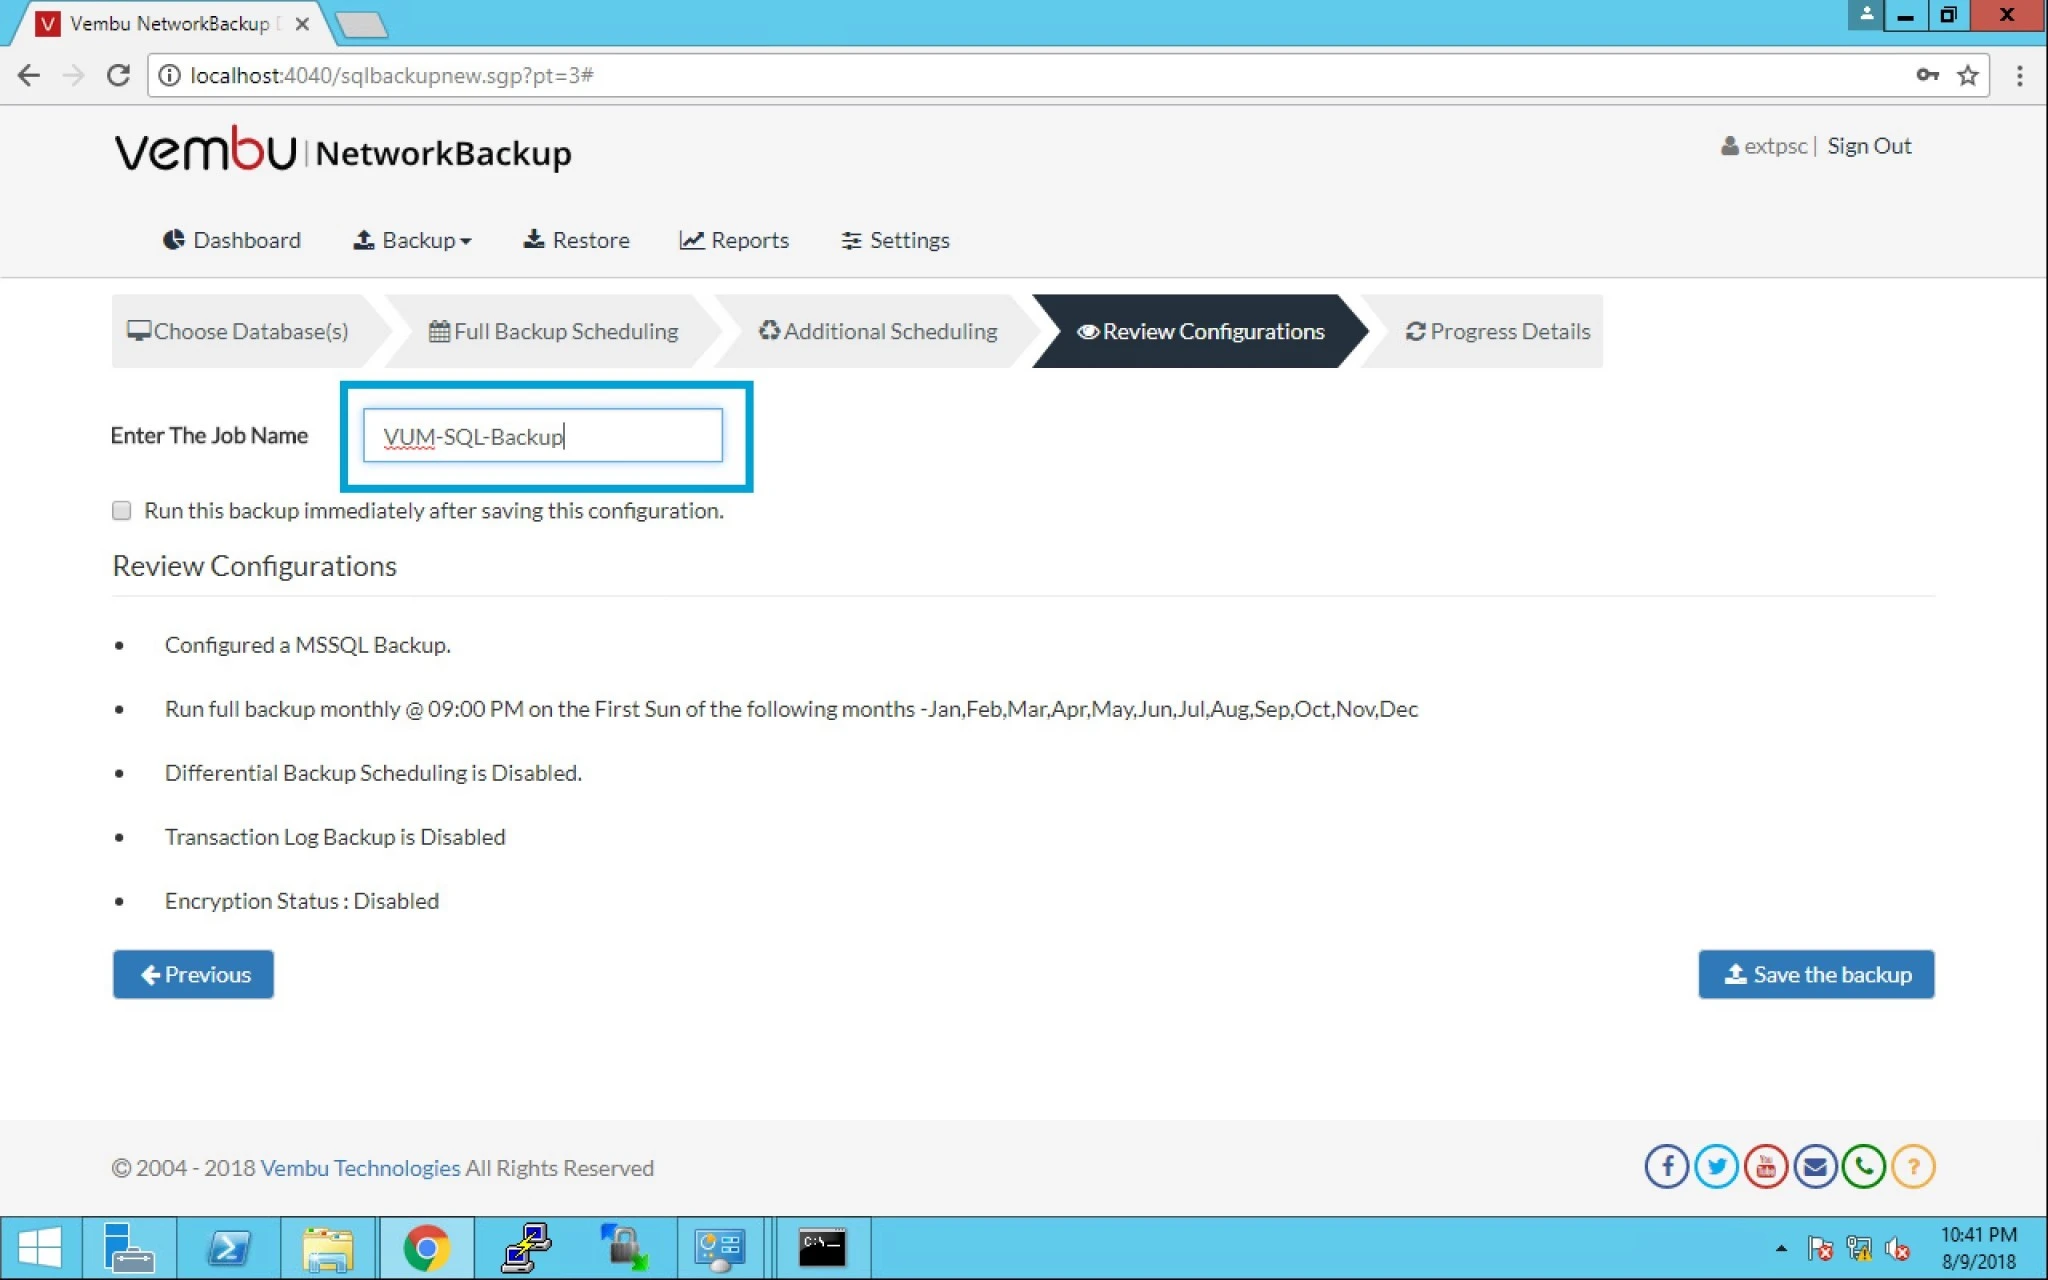
18. It will prompt you to reconfirm to go ahead and execute the backup configured.
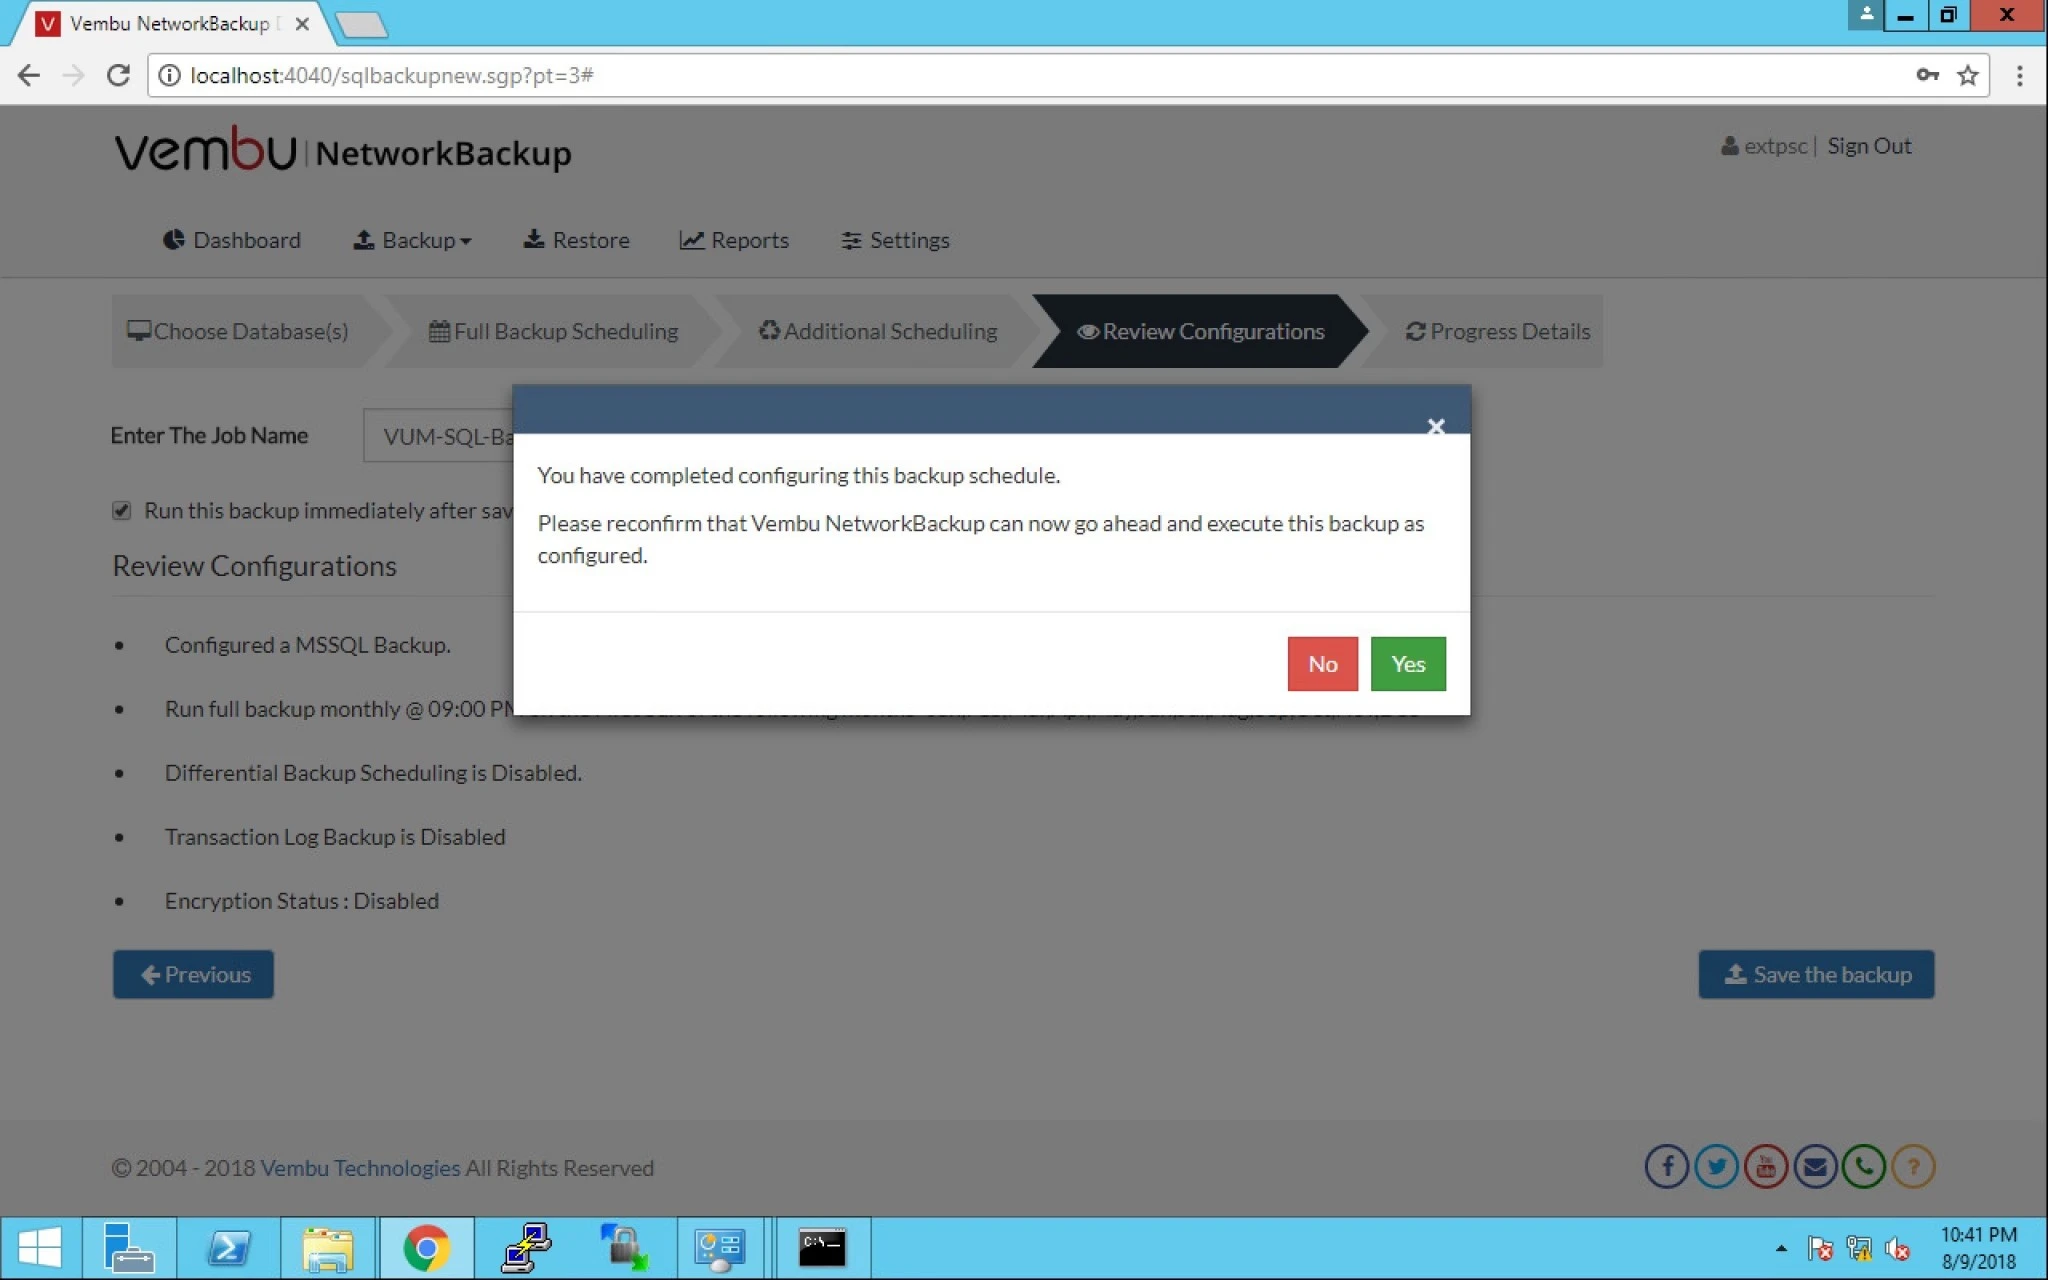
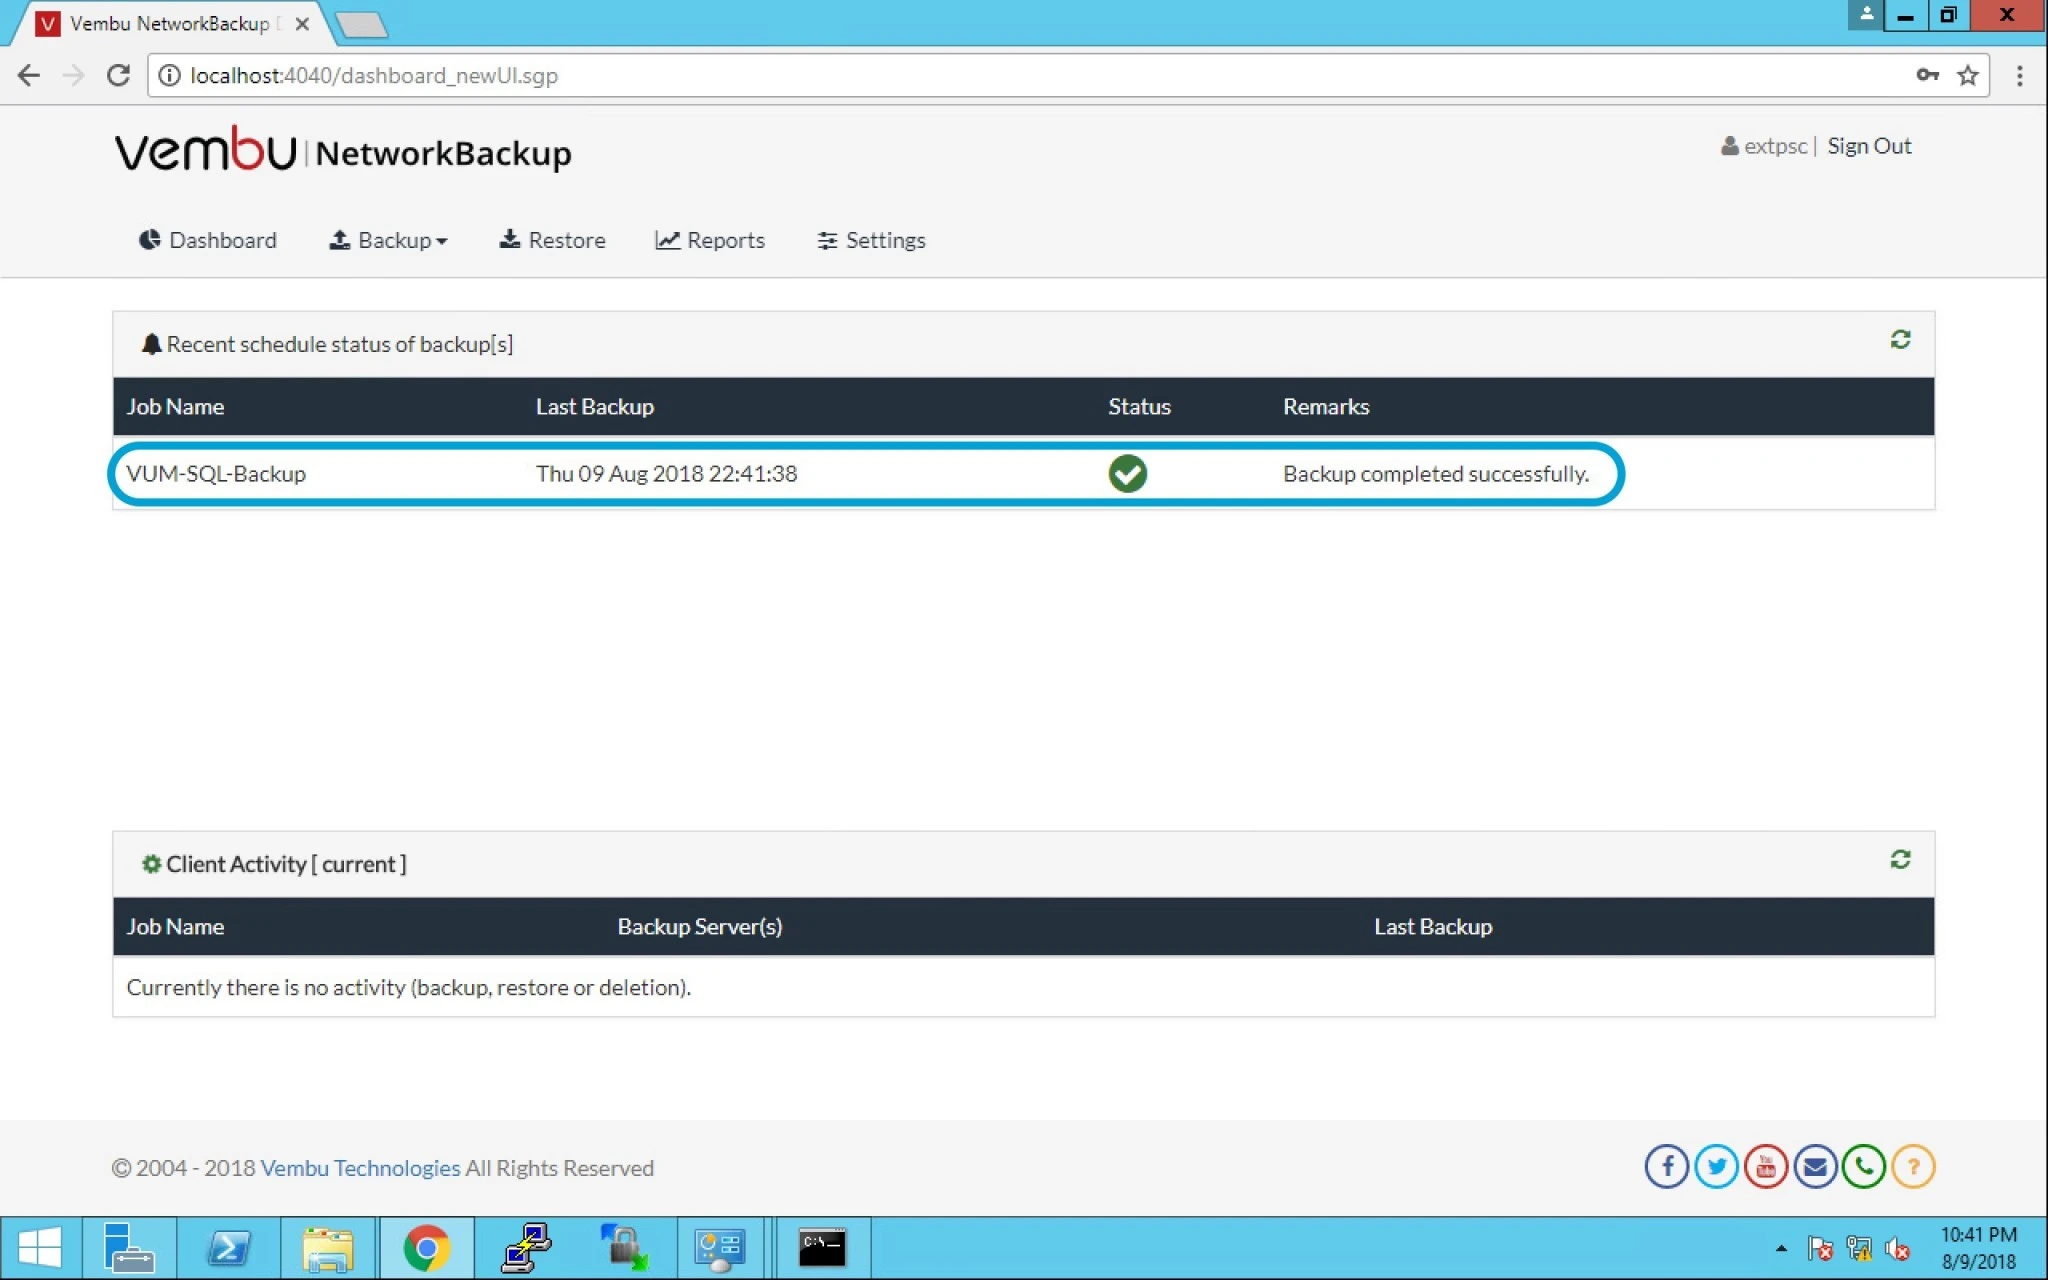
19. You can check the status under dashboard option for the backup executed successfully.